- Home
- Things to carve
- Turkey wood carving
Goofy turkey wood carving tutorial
Carve this fun caricature for the holidays.
LEVEL: SOME CHALLENGES
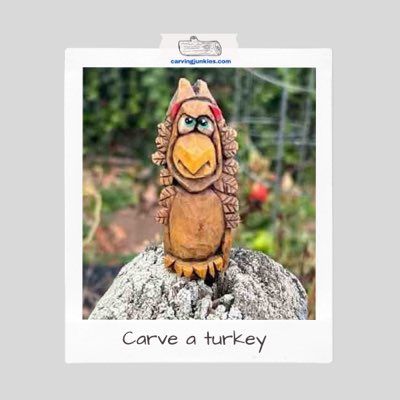
Ready to carve up some Thanksgiving fun with a turkey wood carving? This tutorial will walk you through creating a one-of-a-kind turkey caricature that’s sure to bring laughs and charm to your holiday table.
You will quickly shape this little gobbler into a character full of personality. It is perfect for a tabletop centerpiece or a unique place setting for each guest. Or, round out your decor with my super easy Thanksgiving pie wood carving tutorial.
This project has just enough challenges to keep you engaged, but is easy enough to finish in no time.
Grab your knife and let’s bring this turkey to life together!
What you need
For this turkey wood carving tutorial you will need:
- A block of wood that is 1 x 1 x 3 inches (2.5 x 2.5 x 10 cm). Of course, you can use a larger block and adjust this tutorial accordingly. If you want to roughout your turkey using a bandsaw, use the pattern at the end of this page.
- I used a roughout knife for most of this tutorial and switched to a smaller detail knife for the detail on the feathers.
- Keep a ruler and a writing tool nearby to sketch your guidelines.
- Always carve with a good carving glove and protect your legs (if you are a lap carver).
- If you want to finish your turkey in a similar fashion, following the painting guide at the end of the tutorial.
Quick overview
Watch this short video to see all the key steps before you start carving.
Set up your turkey wood carving
You are going to carve off the corner for this tutorial. Sketch a guideline that is 1.5 inches (3.8 cm) from the top (photo 1). Add another guideline that is 1/4 inch (0.6 cm) higher than your first guideline (photo 1).
Sketch the head, body, and feet of your turkey. Reserve wood on each side for the feathers (photo 2) that you will sketch later.
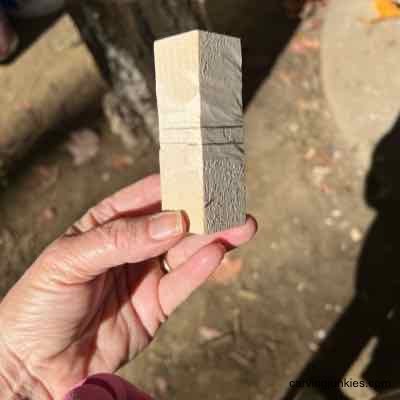 1. Guidelines are drawn
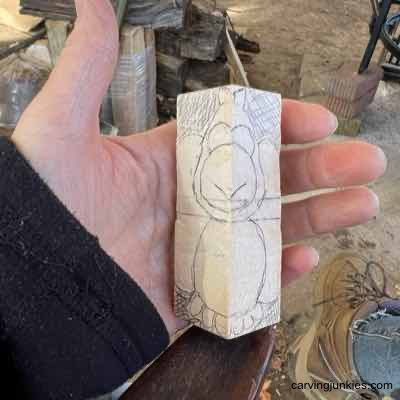 2. Turkey is sketched
3. Roughout your turkey wood carving
Remove a little wood from around each side of the head (photo 3). I used push cuts.
Use a stop cut to separate each side of the beak (photo 4), removing wood from underneath.
Separate the circle around the beak (photo 5). I started with a stop cut but you could also hold your knife like a pencil, move it along the guideline, and make a second slicing cut.
You will now have more access to shape the beak all around. Note: You may need to remove some wood to recess the eyes and redraw your guideline.
Separate the outer face guideline. I moved my knife along the guideline (photo 6) and made a second slicing cut.
Make a small pyramid cut in each corner of the beak (photo 7).
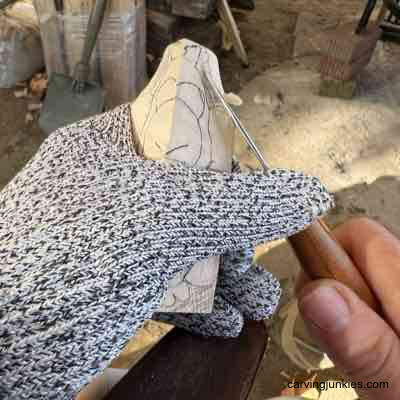 3. Removing wood
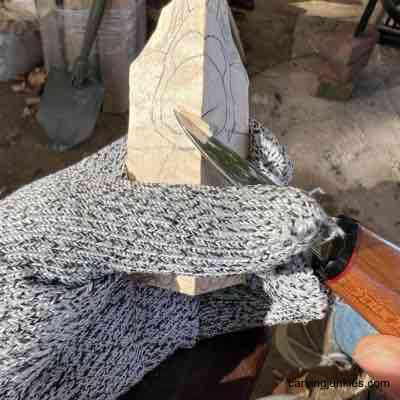 4. Separating the beak
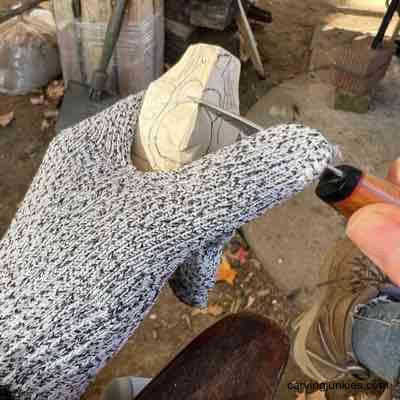 5. Separating the circle
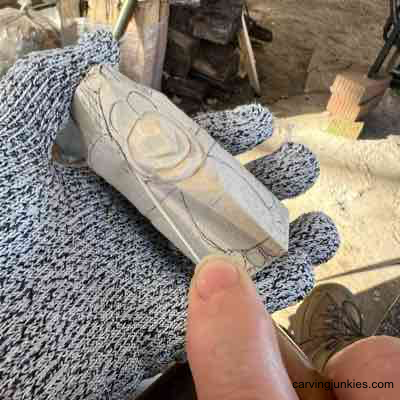 6. Separating the outer face
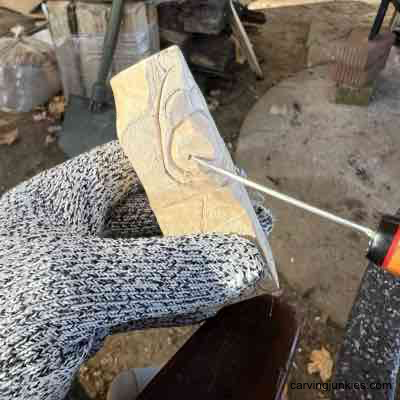 7. Making pyramid cut
Add some details
Shave back the wood on the top of the head (photo 8). Sketch the very top of the turkey head (photo 9), which you will carve later.
Separate the eyes (photo 10) and slightly round them.
Sketch the feathers on your turkey wood carving (photo 11).
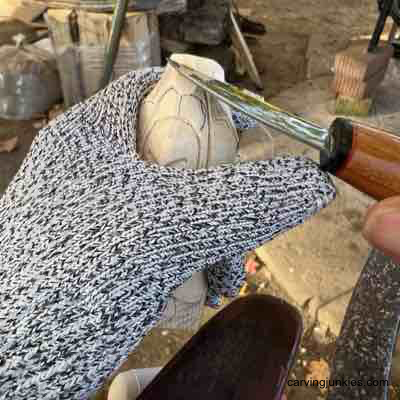 8. Shaping the head
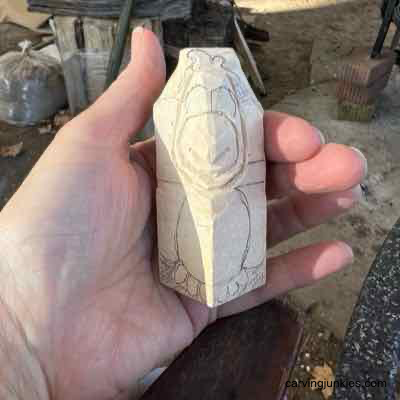 9. Head top is sketched
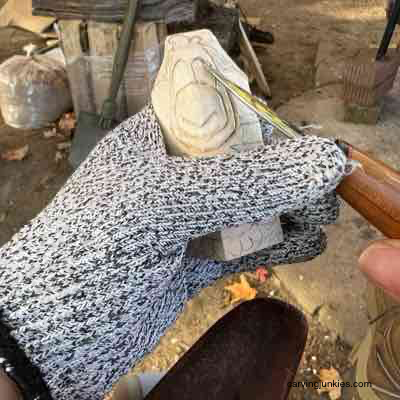 10. Separating the eyes
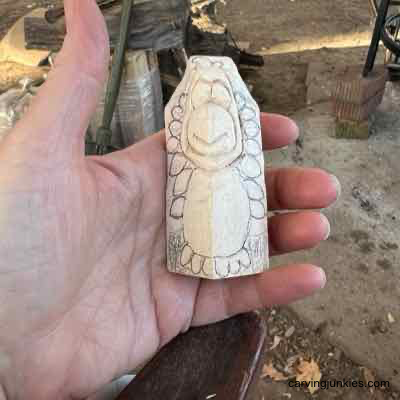 11. Feathers are sketched
Shape your turkey wood carving
Round the body of the turkey (photo 12).
Separate the body from the feathers (photo 13). This will give you greater access to shape the body further.
Use pyramid cuts to separate the feathers from the body (photo 14). Tip: You may want to switch to a smaller detail knife here.
Use pyramid cuts or V-cuts to separate the wood between the feathers. Tip: Rock your knife back and forth—and remove wood in layers—to avoid breaking your knife. Once the feathers are separated you can more easily remove wood around the feathers.
Remove wood to shape the back of the head (photo 15).
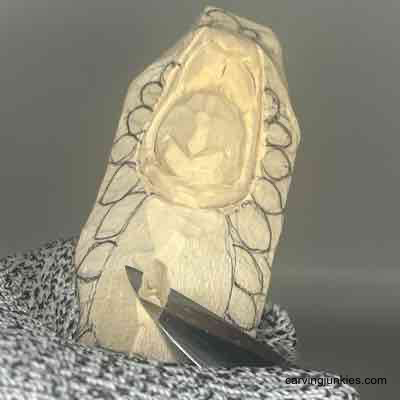 12. Shaping the body
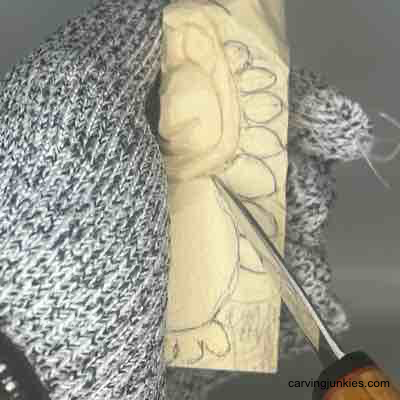 13. Separating the body
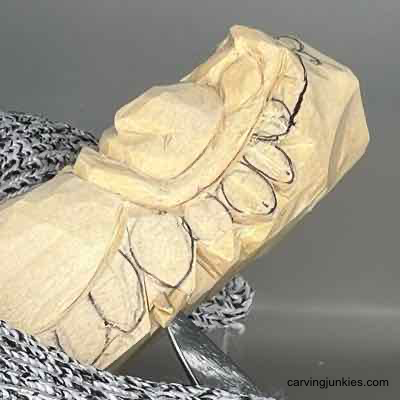 14. Making pyramid cut
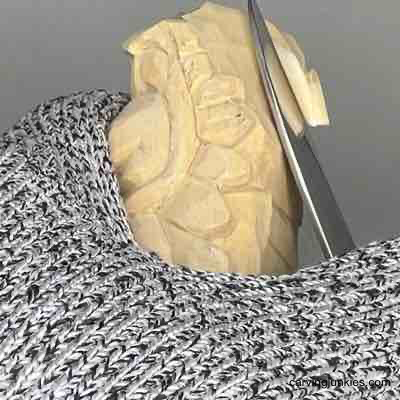 15. Shaping back of head
Sketch more details
Remove the rough end grain from the top of your wood block (completed in photo 16). Sketch the feathers on the back and mark wood to remove on the head (photo 16).
Carve off wood from the back of the head (photo 17).
Use a stop cut to separate the head from the body all around (photo 18).
Separate the feathers on the back (photo 19). This will give you greater access to shape the back (completed in photo 26).
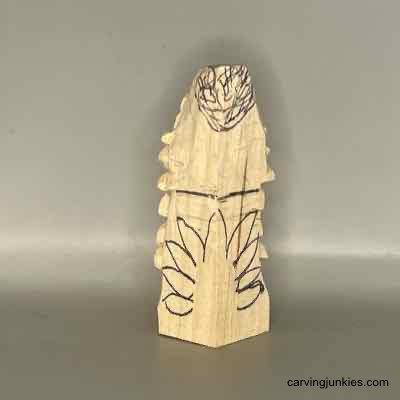 16. Feathers are sketched
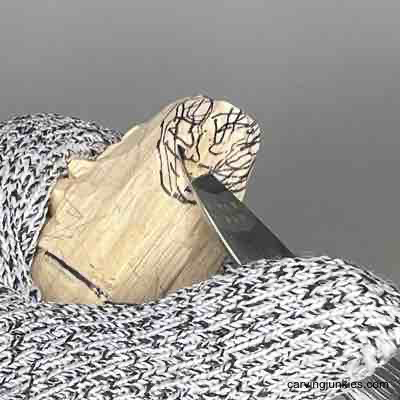 17. Carving the head
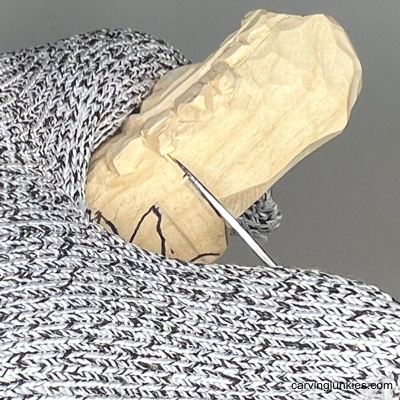 18. Separating the head
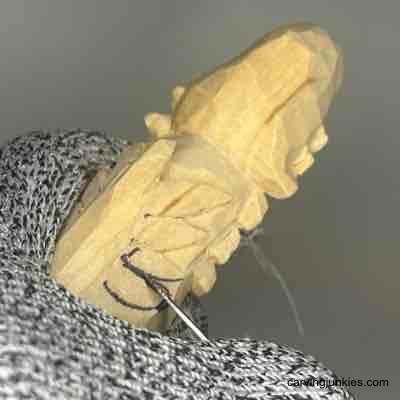 19. Separating back feathers
Carve more details
Use stop cuts to separate the top of the turkey’s feet (photo 20). Use pyramid cuts to remove wood between the feet (completed in photo 20).
Use a wide V-cut to separate the little knobs on the top of the head (photo 21). Be very careful not to break the tip of your knife. I switched back to a knife with a larger blade here.
Carve the details on each feather (photo 22). I used shallow V-cuts. Be careful not to cut too deeply and risk breaking, or crumbling, your wood.
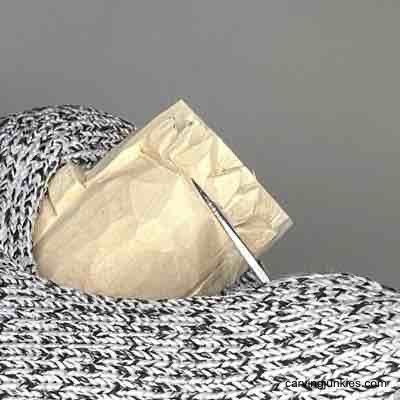 20. Separating the feet
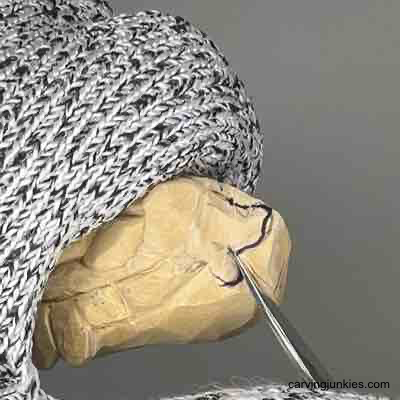 21. Making a V-cut
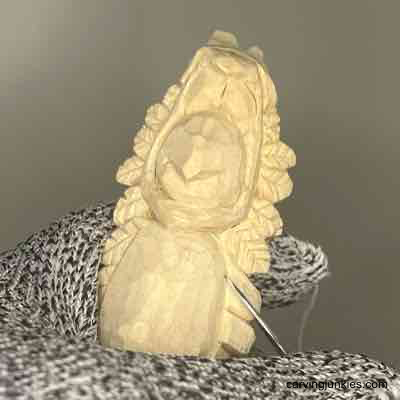 22. Carving details
Refine your turkey wood carving
Refine the overall shape of your turkey and clean up any cuts, if necessary (photos 23-26).
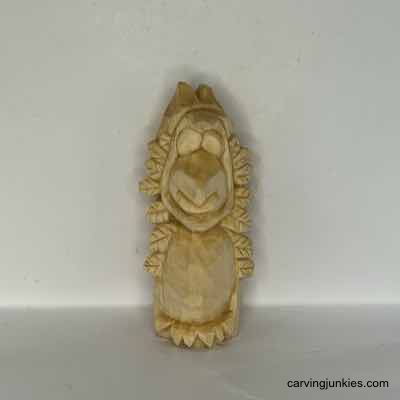 23. Front view of turkey
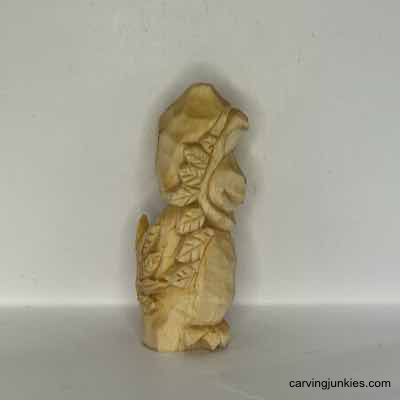 24. Right view of turkey
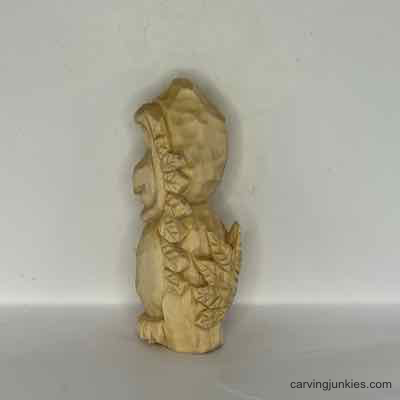 25. Left view of turkey
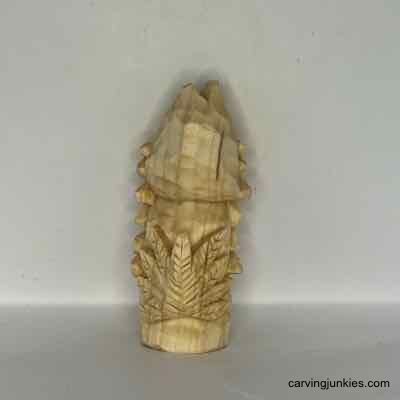 26. Back view of turkey
Color your turkey wood carving
If you want some great painting tips, read this page. Unless indicated, I diluted my acrylic paints with several drops of water to create a translucent wash. Use whatever paint brushes you want.
- Eye whites: FolkArt winter white wash.
- Beak/mouth: FolkArt yellow ochre wash.
- Outer circles of face and belly: Ceramcoat burnt umber wash.
- Feathers: Apple Barrel classic caramel wash.
- Feather highlights: Ceramcoat burnt umber (100% paint) applied with a toothpick tip.
- Red areas: CraftSmart bright red wash.
- Eye iris: Ceramcoat turquoise (100% paint) applied with the round end of a toothpick.
- Pupils: Ceramcoat black (100% paint) applied with the round end of a toothpick.
- Dots on pupils: FolkArt winter white (100% paint) applied with a toothpick tip.
- Finish (optional): Seal with two coats of Mod Podge Spray. Apply "turd polish," which is 3 parts Minwax Aged Oak Gel Stain and 1 part mineral spirits. Wipe off immediately with paper towels. Note: Properly dispose of the paper towels in your trash outside as they are combustible.
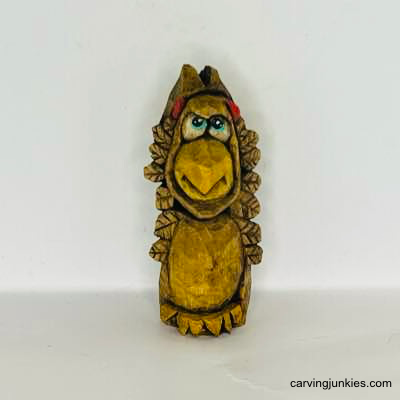 26. Front of painted turkey
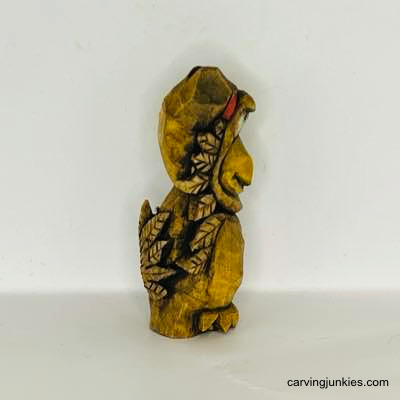 27. Right view of turkey
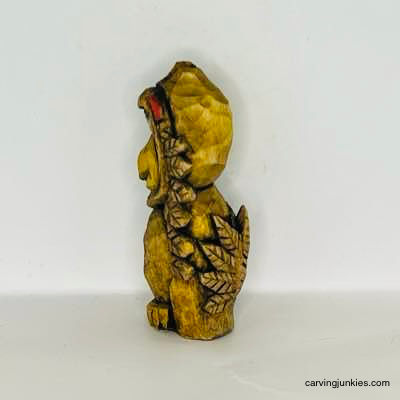 28. Left view of turkey
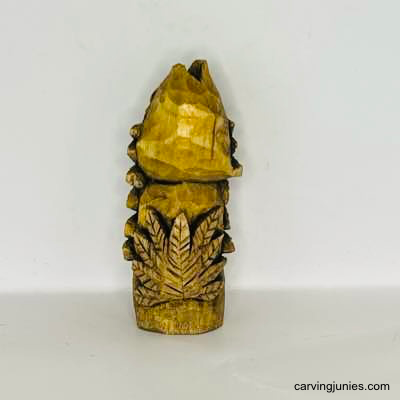 29. Back of turkey
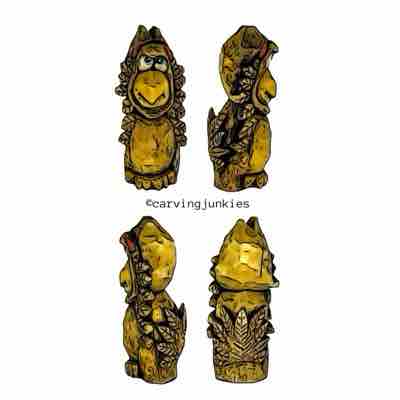
Turkey wood carving pattern
Photocopy this pattern to size to fit your wood block if you prefer using a bandsaw.
Turkey wood carving tutorial summary
- This little turkey wood carving caricature is brimming with big personality!
- Carve a bunch of these turkeys and use them as table setting decorations for your holiday dinner.
- You can always double or trip the size if you want to create a bigger turkey wood carving.
Get 50 Wood Carving & Painting Tips
FREE when you join our free Covered in Chips Club
Your information is 100% private and is never shared. Unsubscribe anytime. See our Privacy Policy .
Share page on:
Home | Privacy Policy | Terms of Use | Contact | Sitemap

