- Home
- How to hand carve wood
How to hand carve wood you will be proud of
We help you get results you will love.
It can be so much fun to learn how to hand carve wood. And getting great results is so rewarding.
We want to help you get there.
No matter what type of project you plan to start, here are some questions to consider to help you with your wood carving.
How to hand carve wood: Are you a beginner?
If you are completely new to this amazing and enjoyable hobby, we suggest you start with our essential beginners guide to wood carving.
It will give you a great overview and is filled with tips to help you get started.
Also check out our basic wood carving cuts page to help you learn how to hand carve wood.
It provides pictorials and a video for the common cuts that all wood carvers use.
How to hand carve wood? Practice your cuts!
When you are first learning how to hand carve wood, it’s a great idea to practice your cuts on scrap pieces of wood.
It takes time to get comfortable with knives. The more you practice the easier it will get.
With a little perseverance, you will become a true carving junkie in no time.
How to hand carve wood: What’s the best wood for wood carving?
It depends on what kind of carving you are doing and what is available to you.
Read our rundown on the many types of wood carvers use, what they are ideal for, and what we believe is the best wood for wood carving.
How to hand carve wood with the sharpest knives?
There is nothing more frustrating than carving with a knife that will not easily make clean cuts.
It’s also dangerous.
Our page on how to strop, will tell you how to get your knives as sharp as possible.
We will also cover the various compounds that can be used and how to choose the right one.
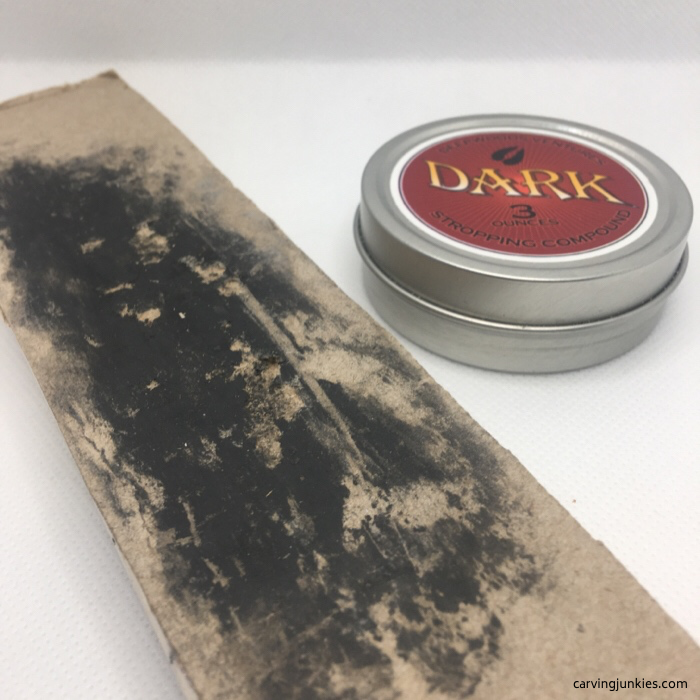 We show you how to make your own strop
How to hand carve wood: Are you protecting your lap, hands, and eyes?
Safety is a must, especially when you are first learning how to hand carve wood.
You should always wear carving gloves and protect the major arteries in your legs when you carve.
Our page on the best gloves for wood carving describes the gloves that we never carve without (with one simple hack).
Protecting your eyes is just as important as chips are known to fly!
Safety glasses are ideal for all and a must for children.
How to hand carve wood: Where will you work?
It is hard to be neat when you are wood carving.
If you do not have a dedicated workshop you will need to find a place where getting chips on the floor won’t be an issue.
Working outdoors is ideal but is not always practical in the dead of winter.
You can easily nail together 3 pieces of wood to create a mini wall (a square that is missing the side in front of you) that you can place on top of a desk or a table to catch most of your chips.
If you are using power tools, you may want to consider wearing a dust mask.
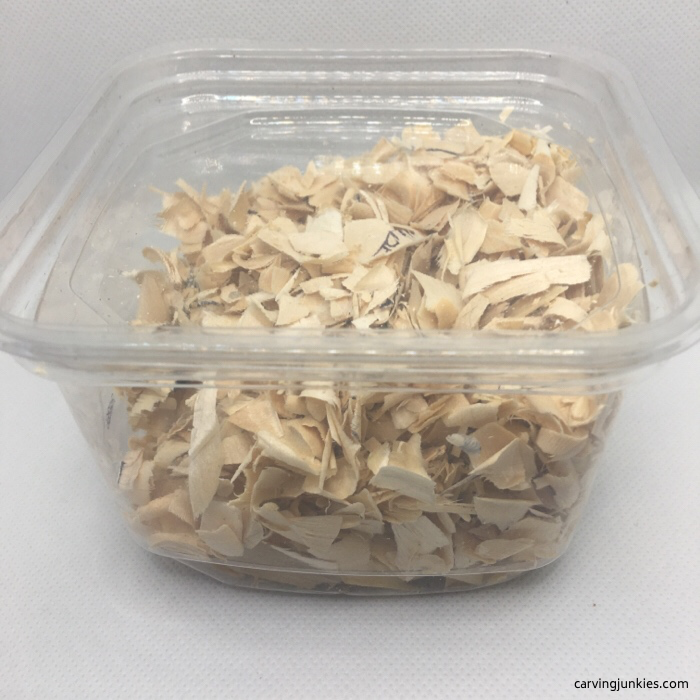 We save our chips to start fires on camping trips
How to hand carve wood: What knife is best?
If you are creating a roughout (removing large pieces of wood to get closer to the shape you desire) you will want to use a knife with a larger blade.
Some are actually called roughout knives. Using a detail knife for this purpose is a sure way to ruin your blade.
Roughout knives can, in theory, be used to carve details (noses, eyes, ears, lips). A really good carver can get results with practically any kind of knife.
But it may be much easier for you to use a detail knife, which is much smaller and easier to use.
If you are thinking about kolrosing, read our page about this ancient art form and whether you need to buy a special knife.
 Details knives are smaller than roughout knives
Consider trying several different types of knives until you settle on the ones that feel and work best for you.
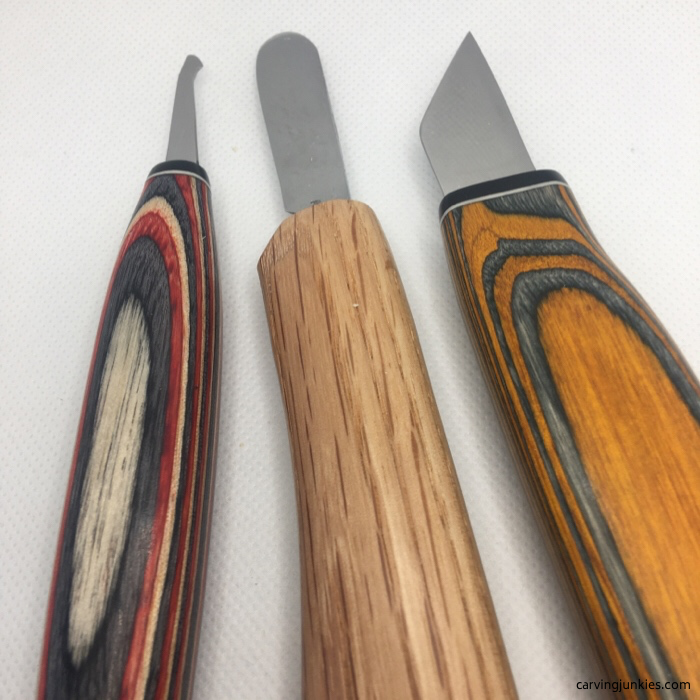 Specialty knives can help enhance your carving
How to hand carve wood: What lighting do you need?
Knives are sharp instruments and you want to be sure you can see what you’re doing.
We find that LED lights are great and relatively inexpensive.
It may help to clip the light behind you so it shines on your piece.
Some also come with a magnifying glass that can be very helpful when you are painting. You will be able to see all the spots that need work.
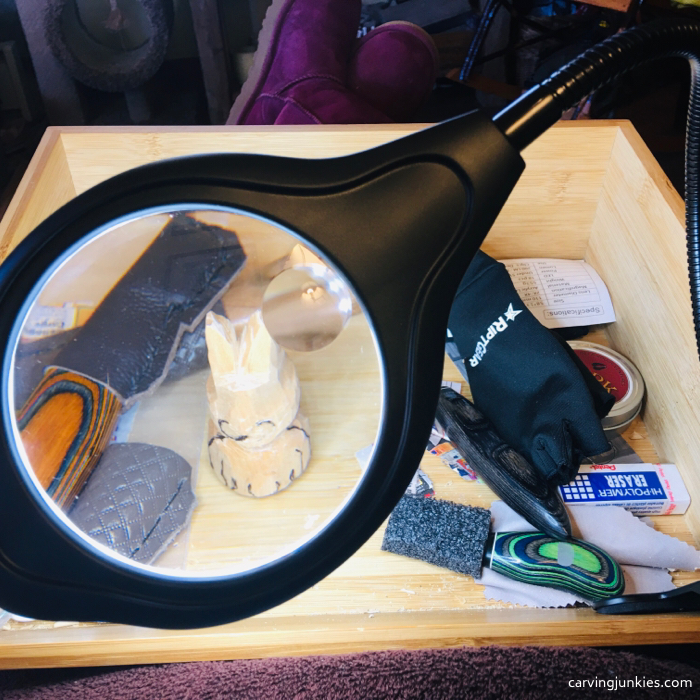 Magnifying light helps prevent eye strain
How to hand carve wood: What do you want to make?
Wood carving is a general term that includes all kinds of different things to carve.
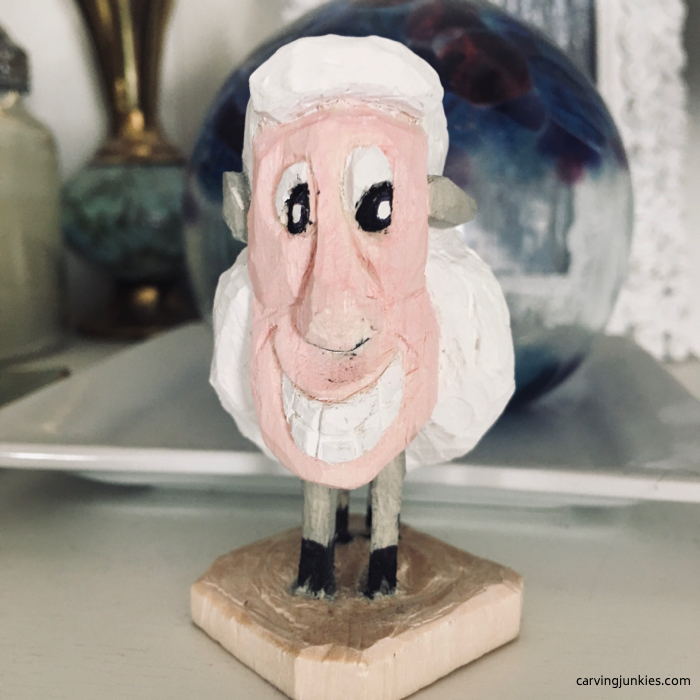
Do you want to make a funny character (caricature), animal, or a realistic carving? Are you looking to create a picture on a piece of flat wood?
Or are you looking to use a piece of raw wood from a tree to make a spoon or perhaps a wood spirit?
You may want to try different types of projects to see which ones ignite your passion the most as you learn how to hand carve wood.
If you want to try your hand at flat plane carving, check out our flat plane wood carving tutorial.
What books are best to learn how to hand carve wood?
We know how disappointing it is to spend hard-earned money on wood carving books that turn out to be less than stellar for learning how to hand carve wood.
Read our honest reviews of the most popular wood carving books so you know exactly what you’re getting before you buy.
How to hand carve wood: Do you need a band saw?
Many wood carvers create tutorials that require using a band saw to create a roughout.
We’ve created our tutorials differently, so you can learn how to hand carve wood without the need for a band saw. Of course, if you prefer using a band saw, you can easily use our patterns too.
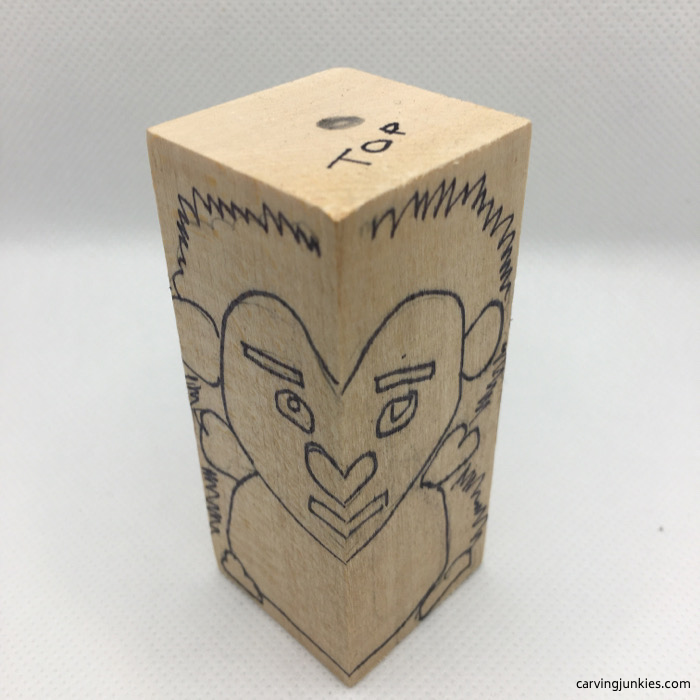
Simply photocopy a pattern to size and trace it onto the wood block you are using. Or you can glue it to the block.
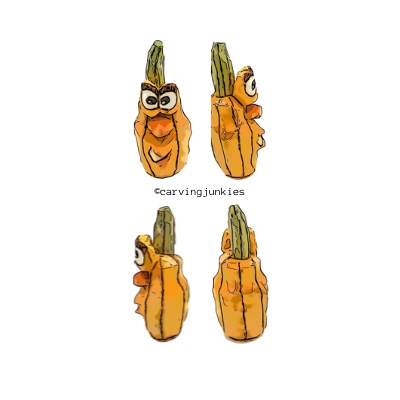
How to hand carve wood: Paint or stain your finished piece?
There are so many different ways to paint and finish your wood carving.
Or you can just let the natural wood shine through.
Check out our page on painting a wood carving to learn about different painting techniques and get helpful tips.
Painting will be an important part of your journey when you are learning how to hand carve wood.
How to hand carve wood summary
- Learning how to hand carve wood can be an exciting journey of discovery.
- Try different techniques and projects to determine what you love best.
- Also try different tools to see what works well for you.
- Share your projects with us here—we’d love to see them!
Get 50 Wood Carving & Painting Tips when you join our FREE Covered in Chips club.
Share this page
carvingjunkies.com never sells your personal information.
This site uses cookies for its operation and to enhance your experience. As an Amazon Associate and Focuser Carving affiliate we earn from qualifying purchases.
Home | About Us | Privacy Policy | Terms of Use | Contact | Sitemap
