- Home
- How to hand carve wood
- Wood carving cuts
7 wood carving cuts you should learn
Practice these wood carving cuts often to improve your skills.
Are there basic wood carving cuts? In a word: yes. This article will help you learn how to make the most common wood carvings cuts, including the:
Safety first with all wood carving cuts
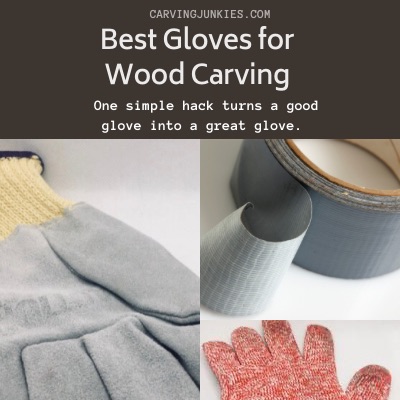
No matter what wood carving cuts you use, you should always wear carving gloves. We wear cut-resistant gloves that are reinforced with leather.
You also want to protect your groin and thighs in case your knife slips. We use a wooden vegetable bin that not only protects your lap, but catches most of your chips, too.
Tip: Always wear carving gloves to avoid getting “kissed” by a knife.
 Regular Kevlar and leather-lined Kevlar gloves
Basic wood carving cuts: thumb push cut
This cut is sometimes referred to as the controlled cut, pusha-away cut, or the levering cut.
Some wood carvers find this cut easy to do while others feel it takes more hand coordination than the pull cut.
How to make thumb push wood carving cuts
- Hold the wood in your non-carving hand.
- Wrap your fingers around the handle of the knife (we prefer placing the thumb on the handle vs the non-carving edge of the knife).
- Place the knife against the piece of wood that you want to cut.
- Place your non-carving hand thumb against the non-carving edge of your knife (some carvers like to place it over the carving thumb) and use it to help push the knife through the wood.
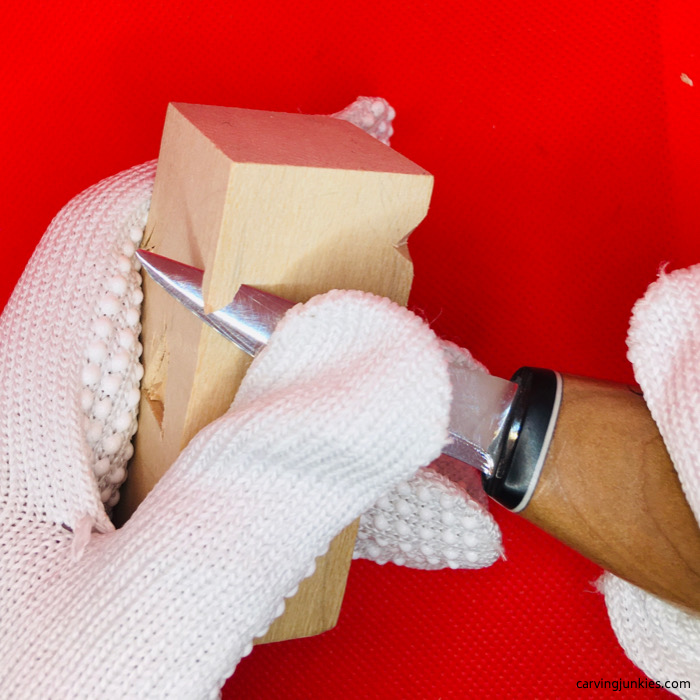 Making a push cut
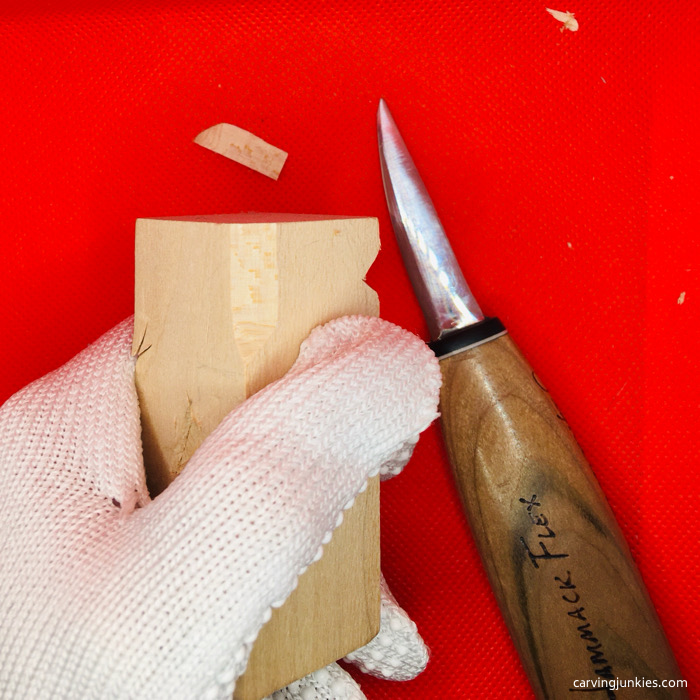 Push cut completed
Since you are using your thumb to help guide the knife, this cut may be particularly useful when you are doing precise cuts and details on a project.
Be careful not to push the knife in too deeply, or you’ll end up splitting the wood.
Basic wood carving cuts: pull cut
The pull cut is helpful for removing wood or for shaping wood. You are pulling the knife toward you so make sure that your thumb is not directly in the path of the knife!
It is sometimes referred to as a paring cut, cut back, pull draw, or pull stroke.
While carving gloves and/or thumb guards are always recommended, they are particularly important with wood carving cuts like this one.
If you use this cut a lot, you may also want to reinforce the thumb of your glove with duct tape. Some carvers prefer using vet tape and wrap the thumb several times.
Over time, you can simply replace the duct or vet tape, which is a lot cheaper than buying new gloves.
How to make pull wood carving cuts
- Hold the wood in your non-carving hand.
- Wrap your fingers around the handle of the knife.
- The thumb on your carving hand should be positioned below the wood and out of the path of the knife.
- Bring the knife down toward you to remove the wood.
- Take care to never force the knife through the wood.
- If you cannot pull your knife easily through the wood, stop and make another cut that is not as deep.
 Pull cut with protected thumb
Personally we prefer the push cut because you are always cutting away from your body parts versus toward them.
But there are times when you absolutely need to use the pull cut.
Our rule of thumb before making any of these wood carving cuts is to assess if there is any risk of slipping and making contact with flesh.
If there is any risk, we try to find a safer way to make the cut.
Basic wood carving cuts: stop cut
A stop cut is used to make one straight cut across the wood, and another cut right underneath that slopes in.
This cut is ideal when you are separating areas and removing wood, such as the hairline from a neck on a caricature or the bottom of a hat.
How to make stop wood carving cuts
- Place the length of the knife (not only the tip) on the wood.
- Firmly press down on the non-carving edge to create the stop cut (a straight line).
- The second step is to use a push cut below the stop cut to remove wood (you may hear a little popping noise).
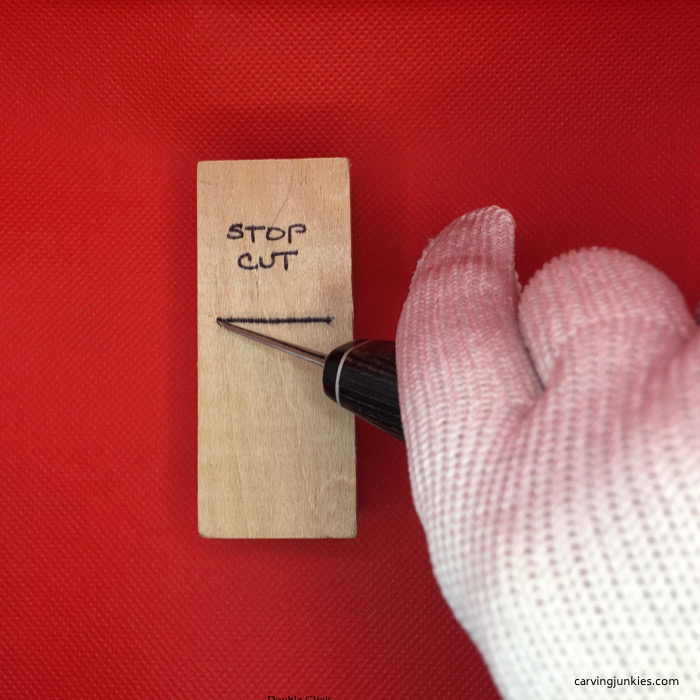 Line indicates where to make the stop cut
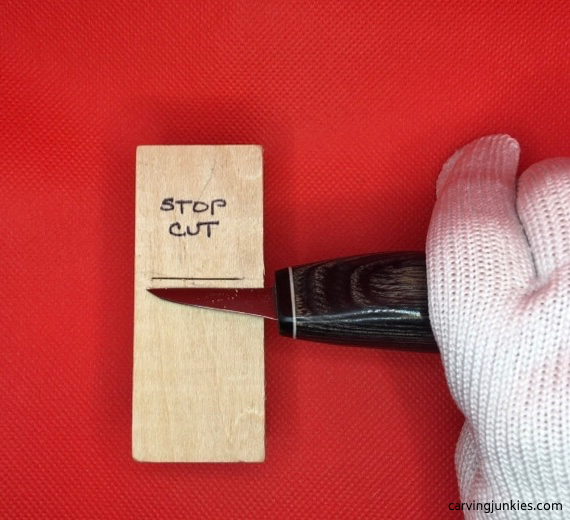 After making the cut
Tip: Some carvers like to rock the knife back and forth to make a deeper stop cut.
Once you make a stop cut, you can use your knife to cut several thin slices below it. Then take your knife and cut across the stop cut to remove all those slices in one clean pass.
This is a fast way to remove several layers of wood.
If your cut is not clean you will end up with little, hanging pieces of wood (called fuzzies).
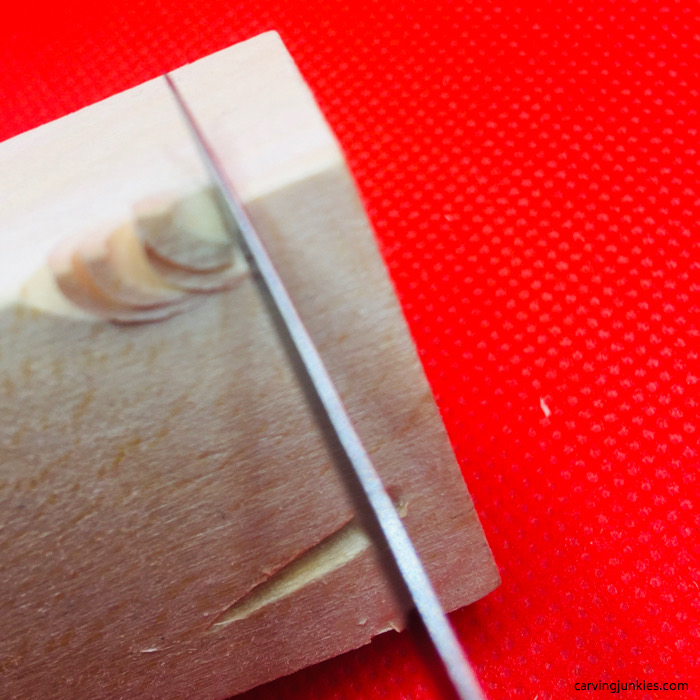 Cut layers below stop cut
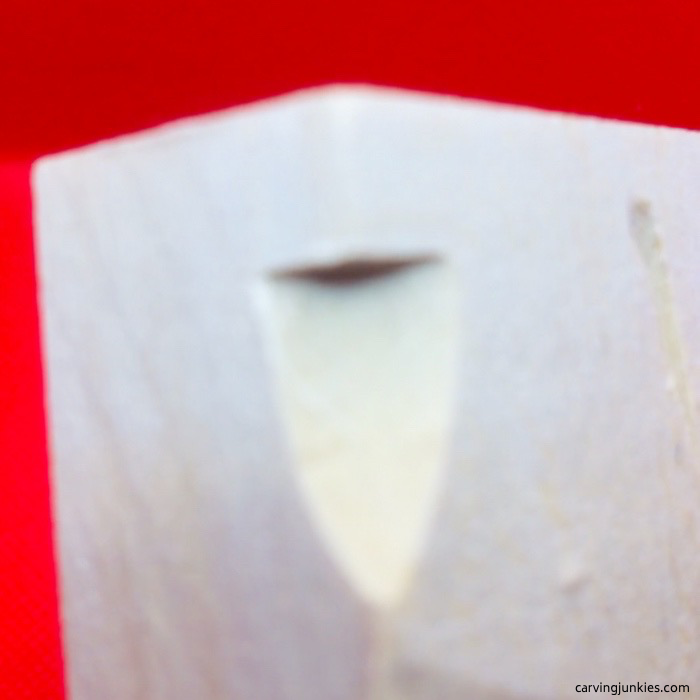 Wood layers are removed cleanly
Basic wood carving cuts: V-cut
If you need to make a deep cut, groove, or notch in a project, use a V-cut.
The V-cut is also a way to distinguish two areas on a piece, such as the head of an animal from its body. It can also be used to carve a mouth, an eye, or to add detail in clothing, hair, or fur.
A V-cut will not create a lot of shadow, which gives a wood carving depth and character.
How to make V wood carving cuts
- Draw a straight line in pencil across your wood block to guide you.
- Make your first cut from above the line at an angle (generally a 45-degree angle gives you a nice cut).
- Rotate the piece of wood and make another cut at the same angle to meet the end of your first cut.
- The wood should easily pop out.
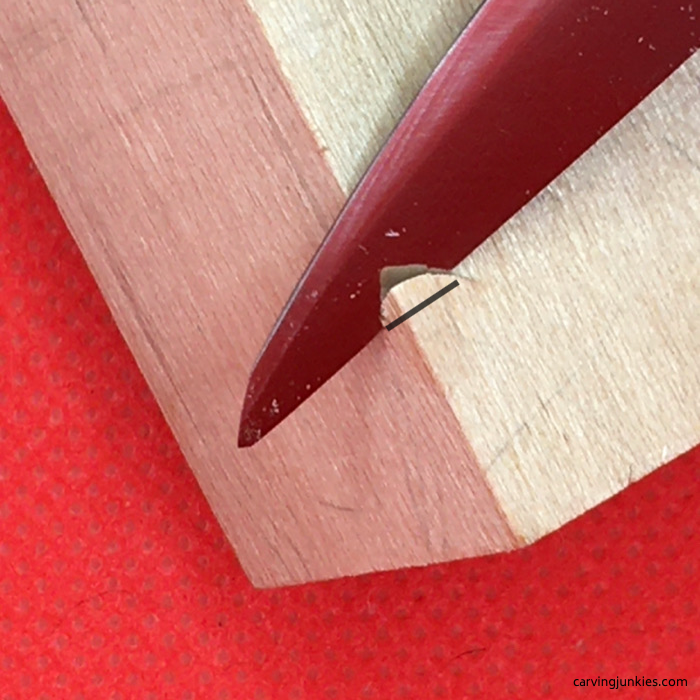 First half of a V-cut
 Second half of V-cut
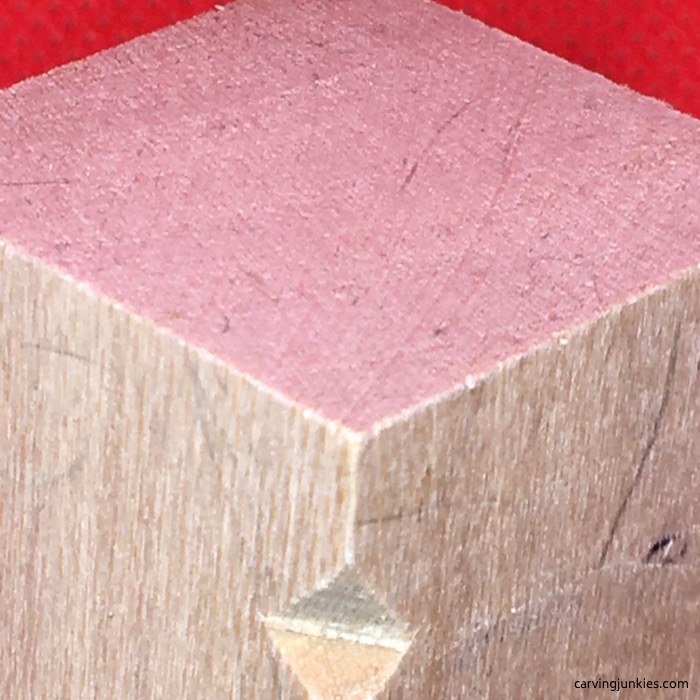 Completed V-cut
Basic wood carving cuts: triangle cut
The triangle cut is good for popping out a triangle-sized piece of wood around a nose of a caricature, or to remove a small piece of wood from the corner of an eye.
It is a cut that gives your piece shadow and depth.
It is sometimes referred to as a pyramid cut because the wood you remove should look like a tiny pyramid.
How to make triangle wood carving cuts
- Draw a triangle on the wood to guide you.
- Deeply stab the knife into the wood and cut at a slight angle inward along all 3 sides of the triangle.
- Avoid rocking your knife back and forth as you can easily break the tip of the knife.
- Some carvers like to hold their knife like a pencil with this cut.
- Before removing the wood, ensure there are no uncut spaces between each point of the triangle.
- You should then be able to easily pop out the wood in one piece with your knife.
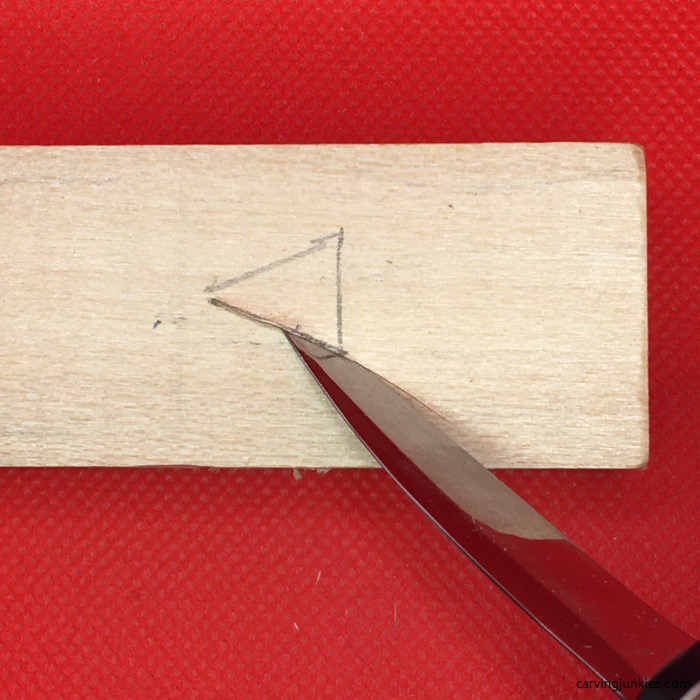 First triangle cut
 Second triangle cut
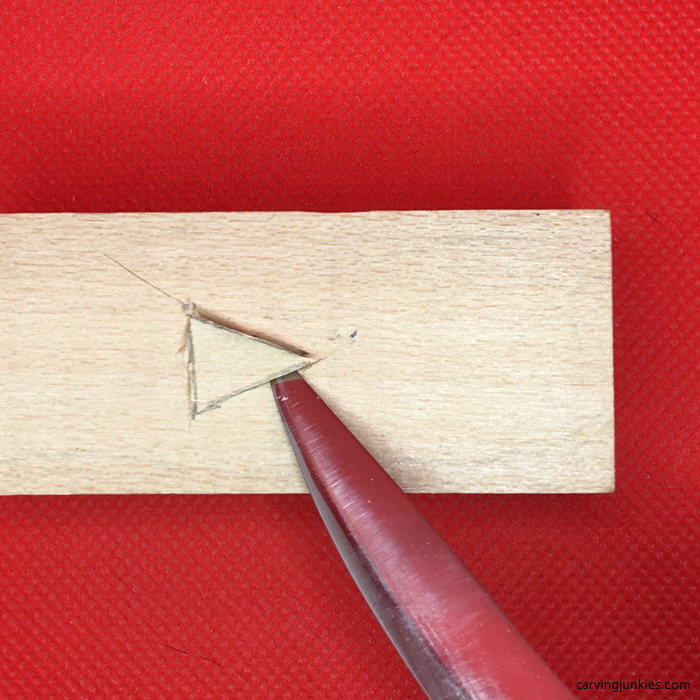 Third triangle cut
 Completed triangle cut
It may take a bit of practice to master this cut. The more you carve, the easier it will become.
If it isn’t perfect don’t sweat it. You can always use your knife to clean things up.
Basic wood carving cuts: line cut
A line cut is ideal for adding details to a carving. It is also good for separating wood between two areas, like arms or clothing on a caricature.
A line cut can be straight or curved (if you are carving an eye or an eyebrow).
How to make line wood carving cuts
- Place the knife deeply into the wood and cut the length of your line at a slight angle.
- Make a stop cut from the top of the line you just created.
- Make another stop cut at the bottom of the line.
- Rotate the wood 180 degrees and make your second cut at a slight angle (running parallel to your first line).
- The wood should pop out easily (if it does not you may need to cut second lines a little deeper).
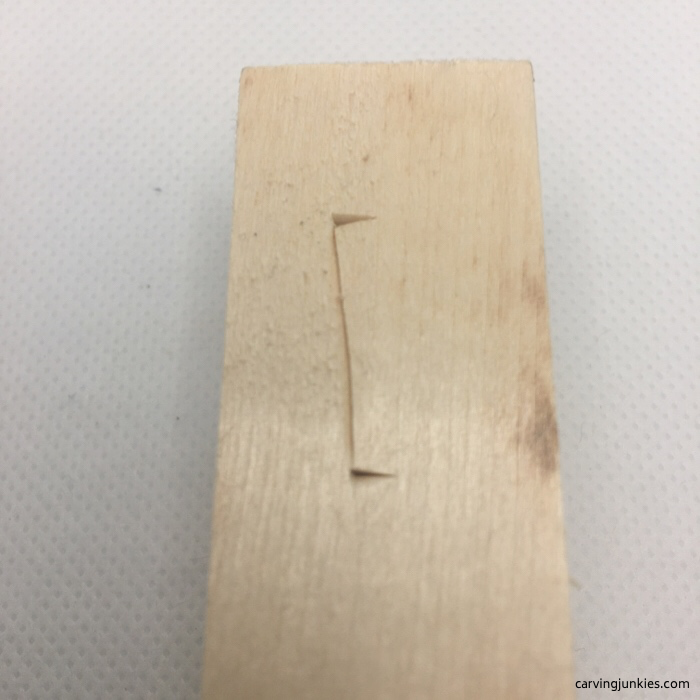 First line cut and stop cuts
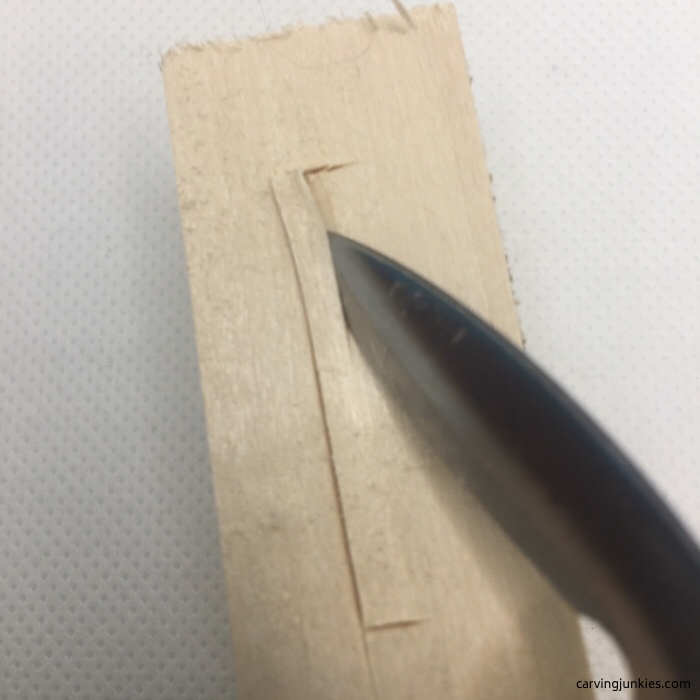 Midway into the line cut
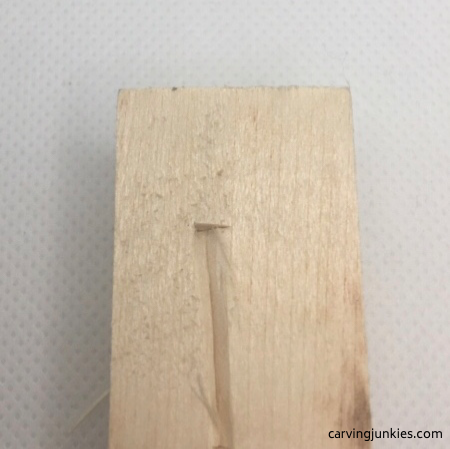 Completed line cut
Basic wood carving cuts: sweep cut
The sweep cut is ideal for making a curve in wood, like when you are carving a hat or the back of the neck of an animal or a caricature.
We use a basic thumb push cut with a flexible roughout knife that allows us to get a nice, controlled curve.
As you make the cut, you will rotate your wrist and push the knife with your thumb to create the sweep.
The trick with a sweep cut is to avoid breaking or chipping your knife (very easy to do).
It is also easier to do a sweep cut on the edge of a piece of wood because you won’t be fighting the grain.
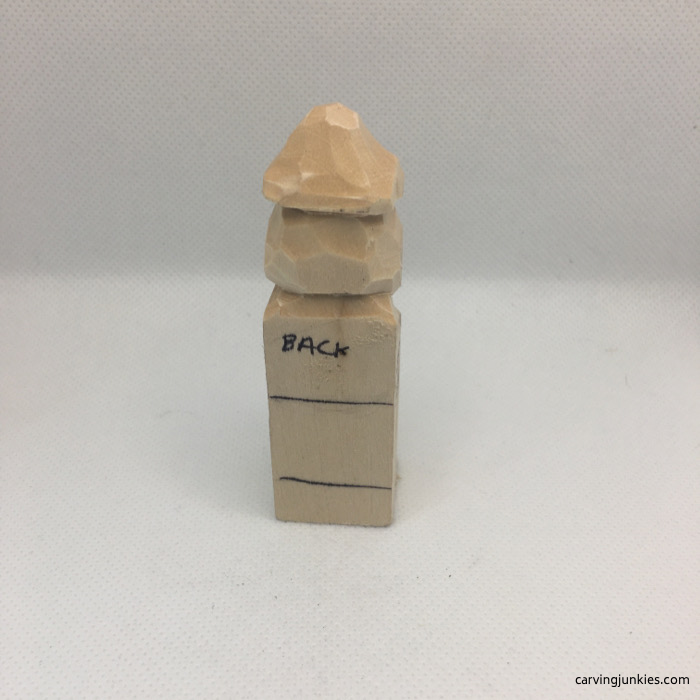 Sweep cuts curve wood upward (like this hat)
How to make sweep wood carving cuts
- Hold the piece of wood in your non-carving hand.
- Insert your knife (not too deeply) and turn your wrist toward you as you make the cut, which allows you to curve the knife upward as you remove the wood (it may help to push with your thumb on the edge of the knife).
- You may have to make several passes to get a deep curve.
- Go slow and take care to protect your knife blade.
 We broke the tip of this knife (right) with a sweep cut
Still not understanding these wood carving cuts?
Here is a great video that walks you through some of the wood carving cuts you will often use.
Practice your wood carving cuts
It takes time to get comfortable with a knife and to make the cleanest cuts possible. Practice each cut on a scrap piece of wood until it feels comfortable and you achieve the results you want.
Everyone is different. You may discover a more comfortable way to hold your knife or make a cut.
Some carvers would say “if it doesn’t hurt your hands, it’s all good.”
Keep carving
The best way to improve your carving is to keep carving. It takes a while for your mind and body to learn to work together.
You also need to get comfortable with what you can—and cannot—do with wood.
Try to be patient and keep practicing. Good carvers are always learning new things and improving their skills.
Basic wood carving cuts summary
- There are many different kinds of cuts that carvers use depending upon the project at hand, or the precision that is required.
- Learning and practicing basic wood carving cuts is an excellent way to improve your skills.
- Enjoy the process!
Get 50 Wood Carving & Painting Tips
FREE when you join our free Covered in Chips Club
Your information is 100% private and is never shared. Unsubscribe anytime. See our Privacy Policy .
Share page on:
Home | Privacy Policy | Terms of Use | Contact | Sitemap
