- Home
- Wood carving caricatures
- Wood caricature carving
Wood caricature carving tutorial
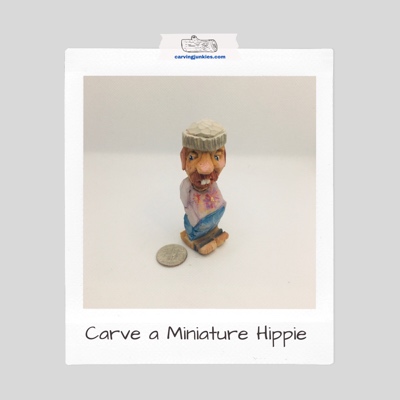
Carving our “Yippie Hippie” is easy with just a knife.
This wood caricature carving tutorial will teach you how to create a turned head, a technique that caricaturist Jack Price uses. The head turns toward the left so you can carve the nose off the corner.
We used a small piece of wood for this wood caricature carving tutorial. You will be amazed at how much detail you can pack into such a tiny carving. If you want to use a larger block of wood, you can easily adapt this tutorial.
What you will need for this wood caricature carving tutorial
- Basswood block, size here is 1 x 1 x 3 inches (2.54 x 2.54 x 7.62 cm).
- Carving knife of choice.
- 1 60-degree angle V-gouge (if you don’t have one a knife will work).
- Paints of choice (we use acrylic and water ratios are provided at bottom).
- Pant brushes of choice (we used round brushes).
- Carving gloves (stay safe!).
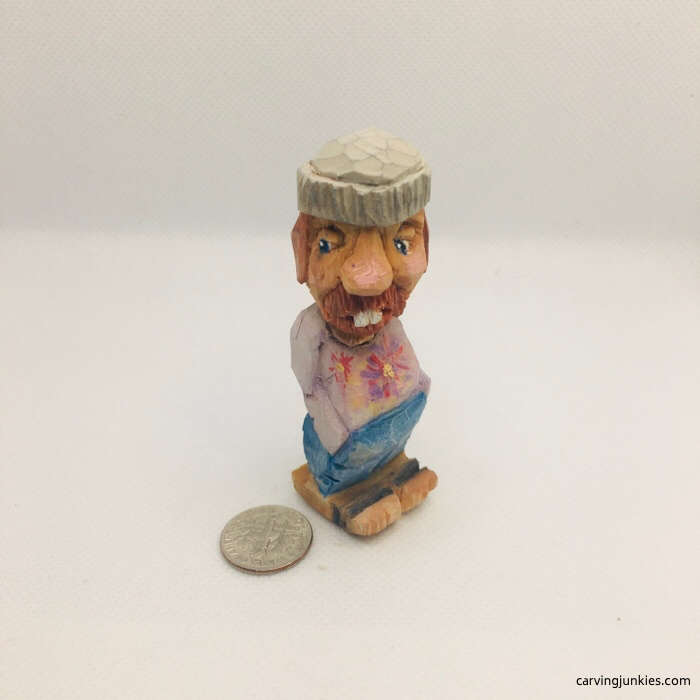 Carve this small guy if you want a challenge
1. Draw your guide lines for the wood caricature carving
These lines will be used to guide your wood caricature carving as you define the:
- Hat from the head (photos 1-3).
- Head from the body (photos 1-3).
- Feet (photos 1,2).
The shape will emerge more clearly as you get into this wood caricature carving tutorial.
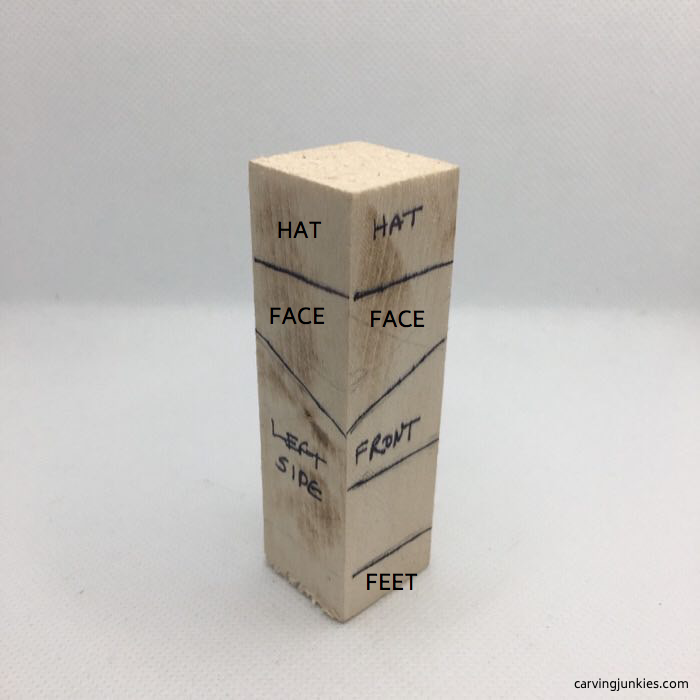 1. Left side and front guide lines are drawn
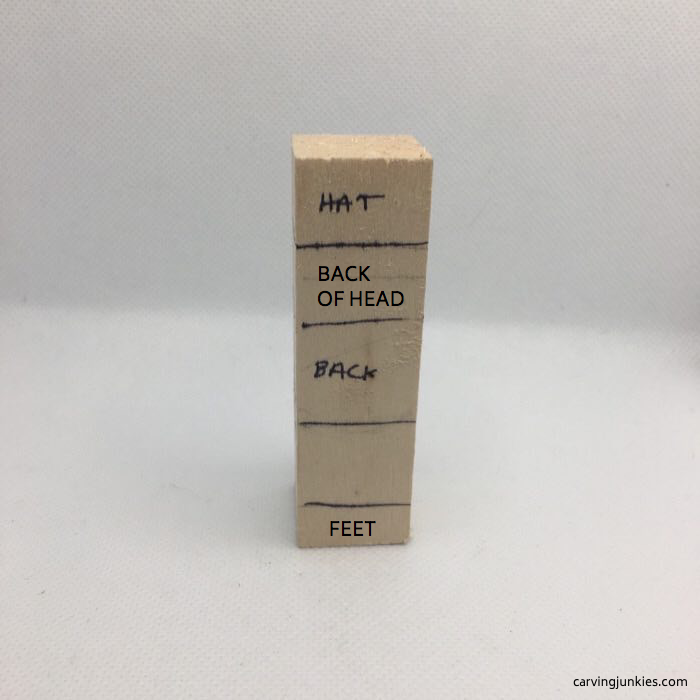 2. Back lines are drawn
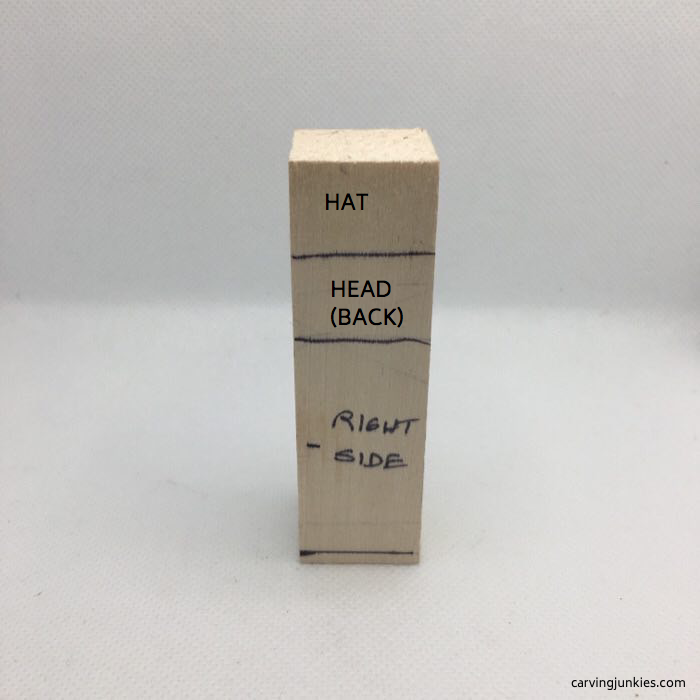 3. Right side view
2. Carve from the top down with this wood caricature carving
- Round the corners on the top of the block.
- Start to shape the hat using sweep cuts, which is a bit like sharpening a pencil (photos 4-7). You will finalize the hat later.
- Separate the bottom of the hat from the head using stop cuts and removing wood from underneath (photos 4-7).
- Make a small stop cut to mark the end of the chin (photos 4,5).
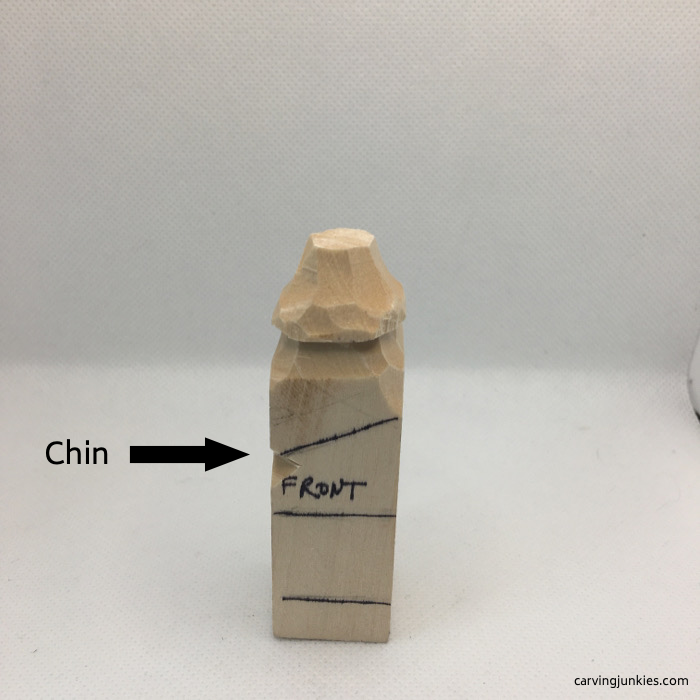 4. Hat is started, head is separated from the hat, and bottom of the chin is marked
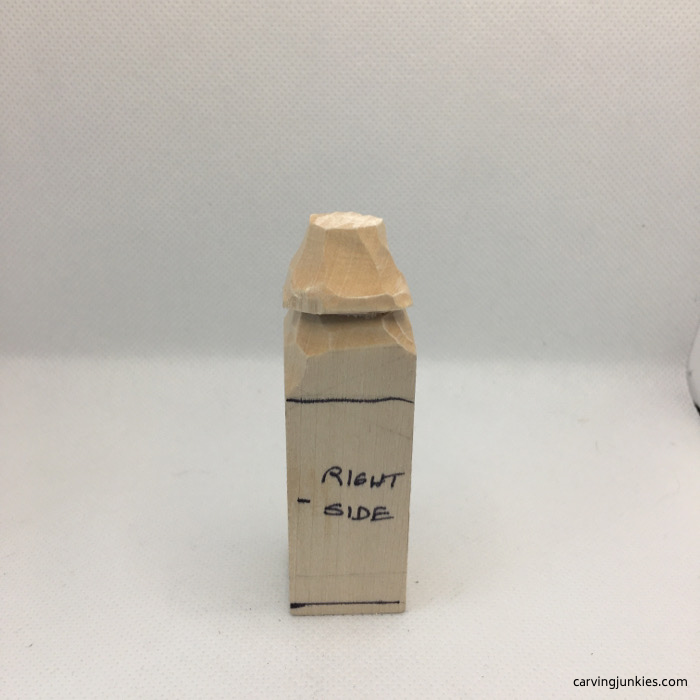 6. Right side
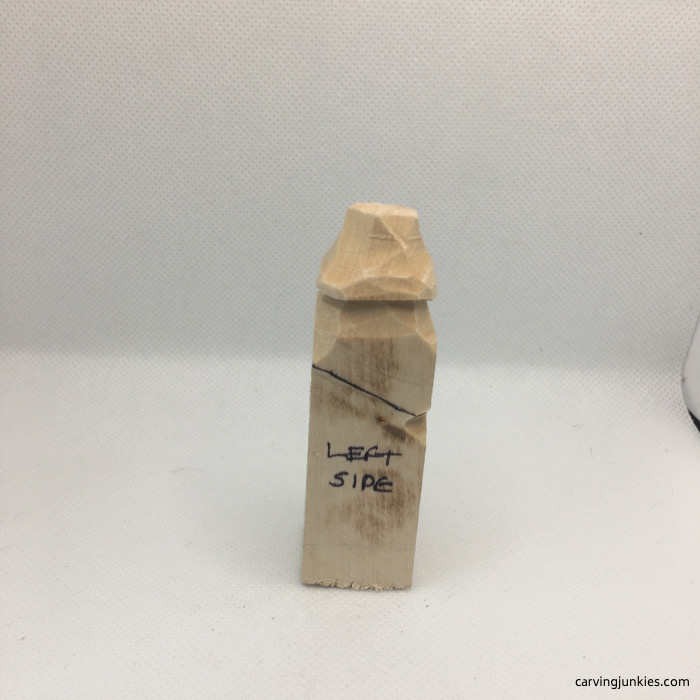 5. Left side of wood caricature carving with bottom of the chin marked
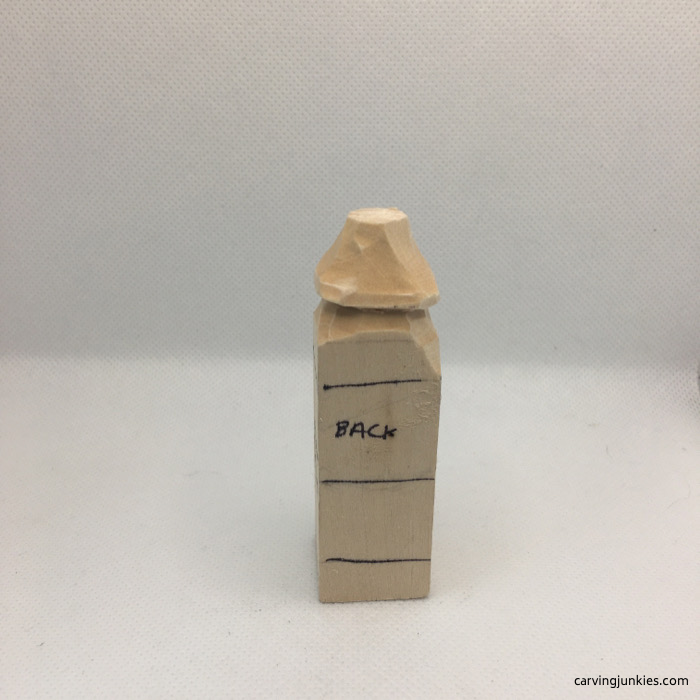 7. Back view
3. Separate the bottom of the head of the wood caricature carving
- Separate the bottom of the head from the top of the body all around (photos 8-11).
- Using sweep cuts (or push cuts) remove wood from the top of the head to create an angle where the nose will be carved (photos 8,9).
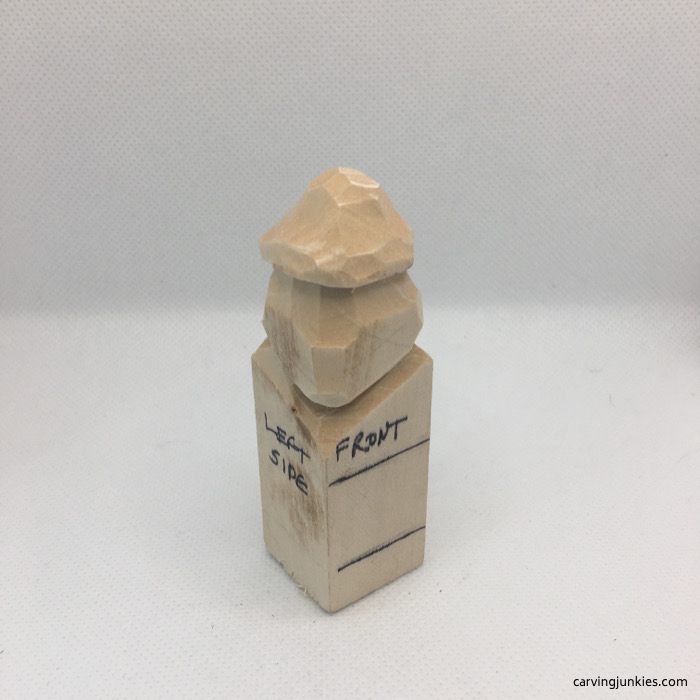 8. Head is separated from lower body
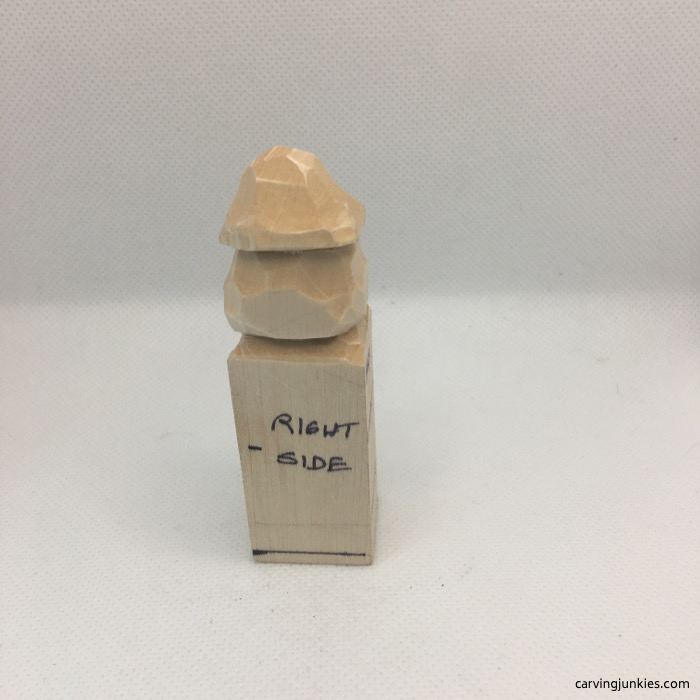 10. Right side view
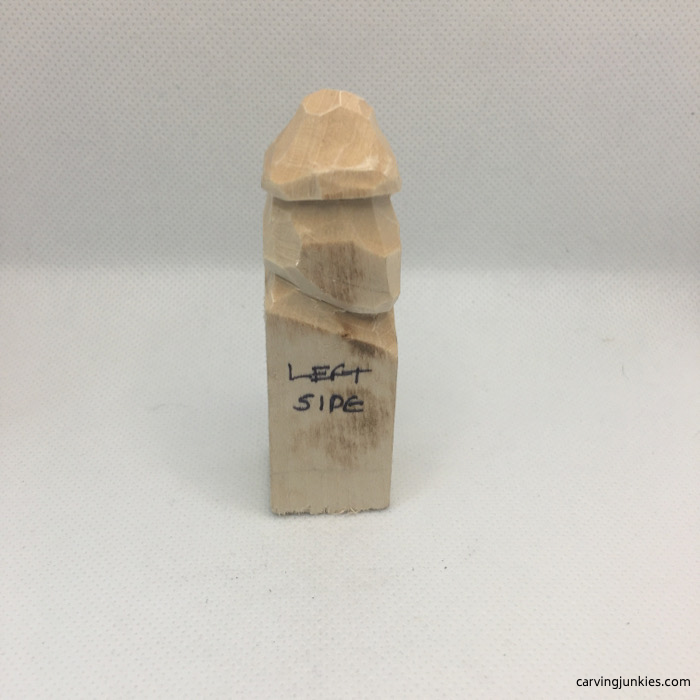 9. Left side view
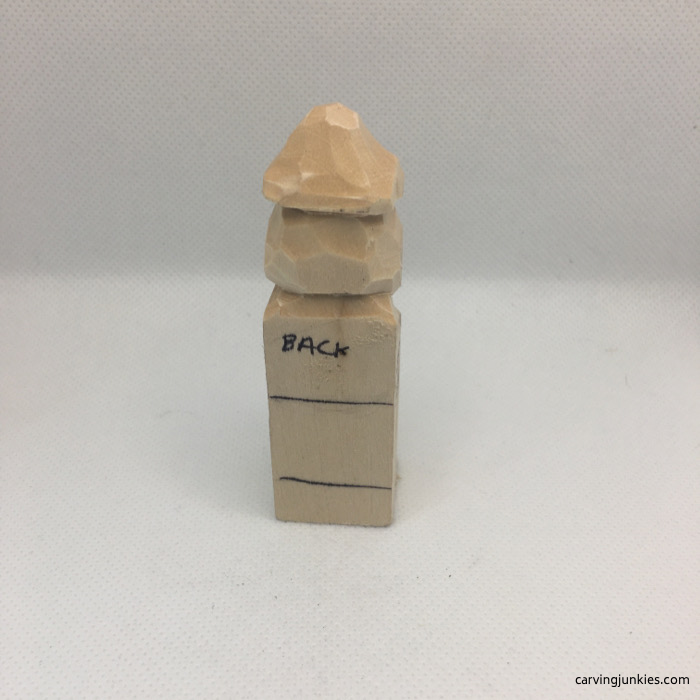 11. Back view
4. Define the legs/pants and feet of the wood caricature carving
- Using a stop cut, remove wood from the front to define the legs/pants (photo 12).
- On the back side, start your cut a little higher up than the front and remove wood to define the back of the legs/pants (photo 13).
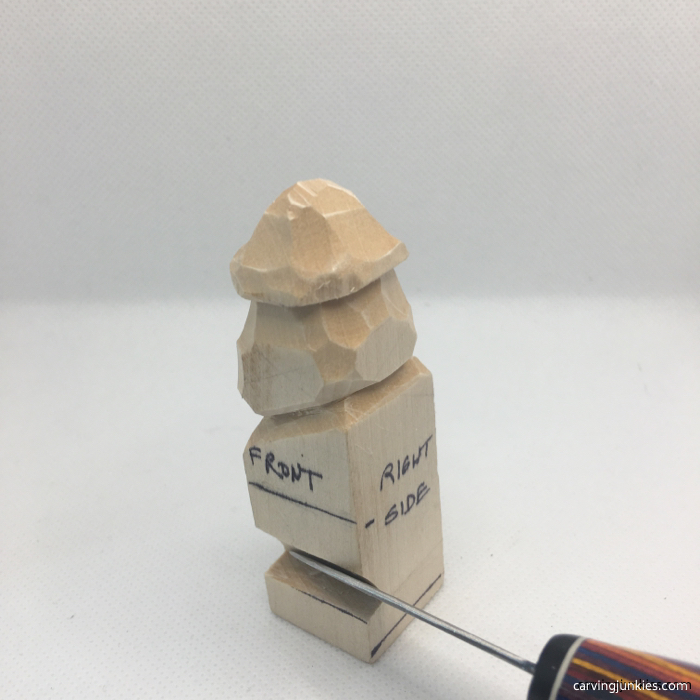 12. Legs defined in front
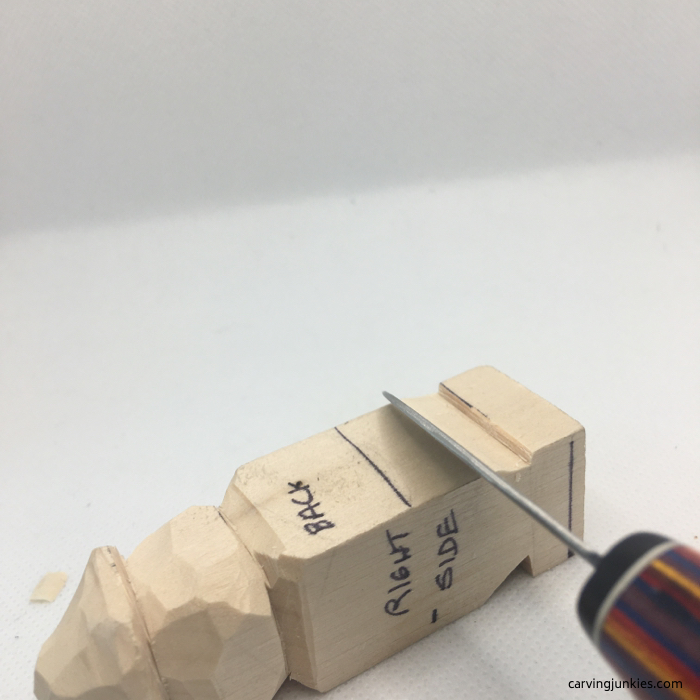 13. Legs defined from the back
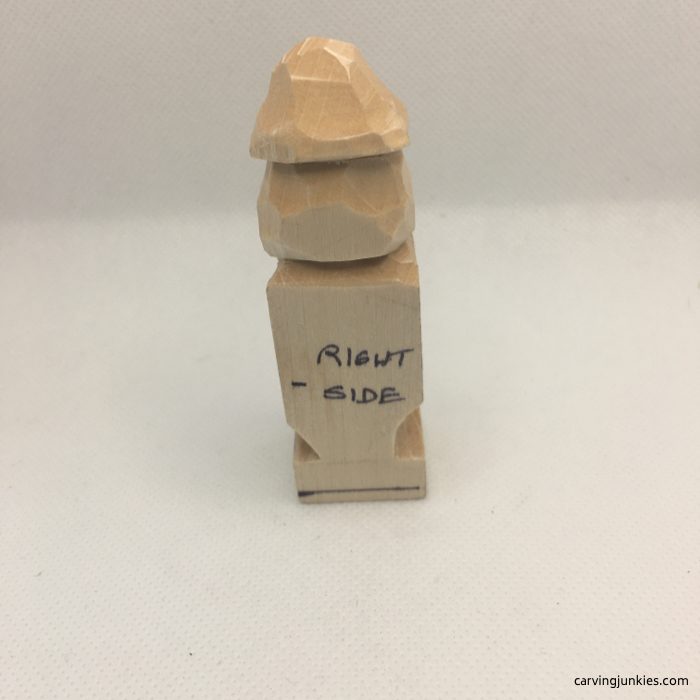 14. View from right side
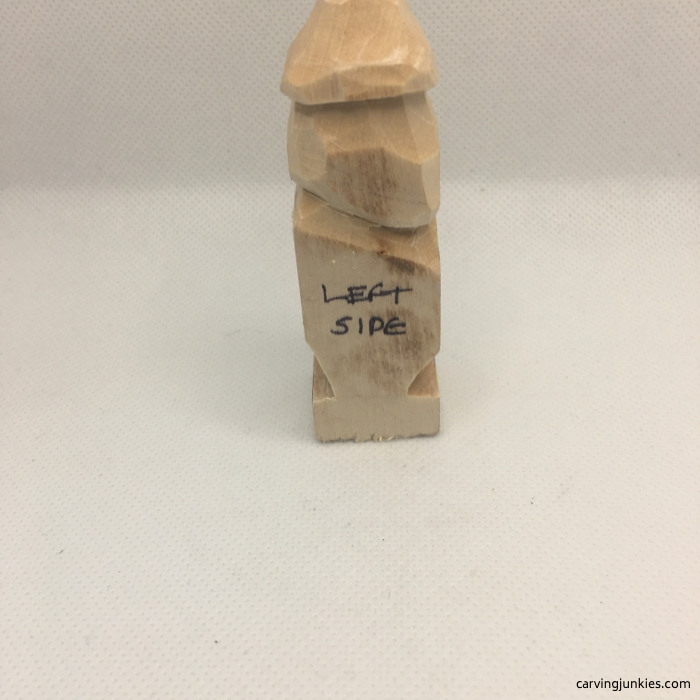 15. View from left side
5. Draw initial details for the wood caricature carving
- Draw an arm on each side and the bottom of the shirt (photos 16-19).
- Start to round the shoulders and the back (photo 19).
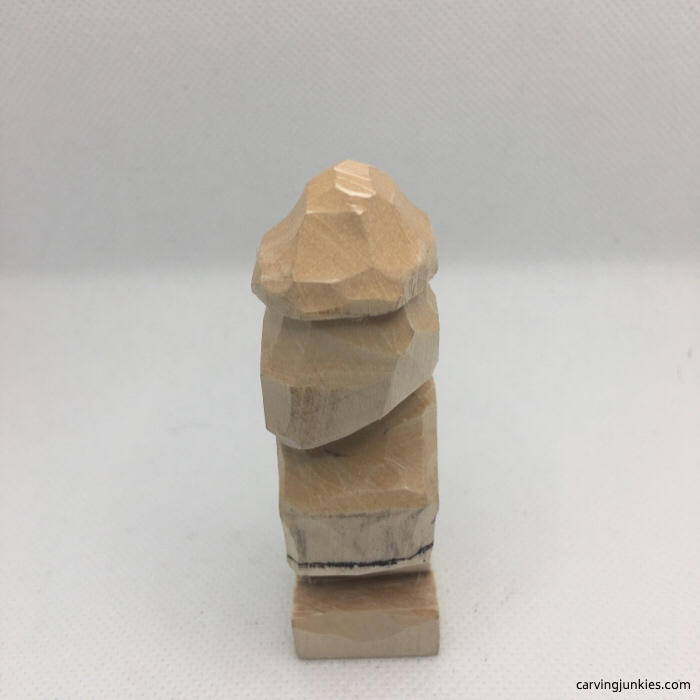 16. Front view with shirt line added
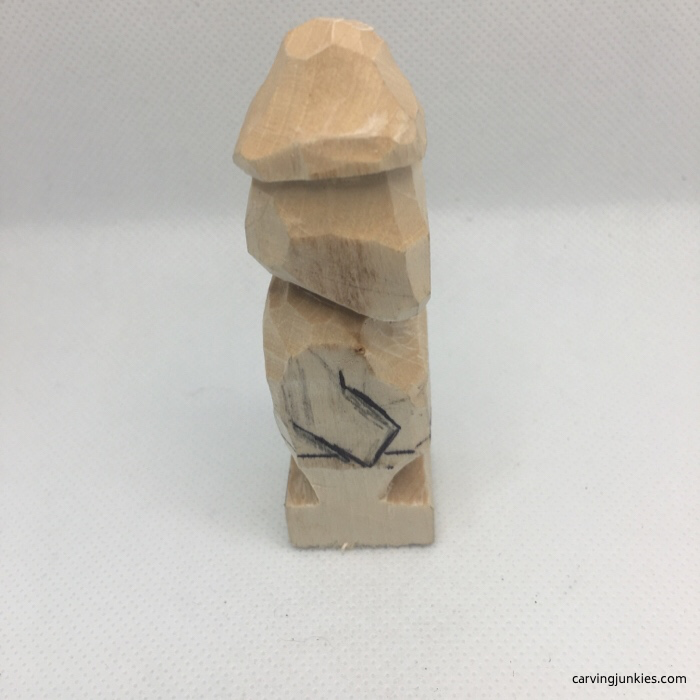 18. Right side view with arms drawn
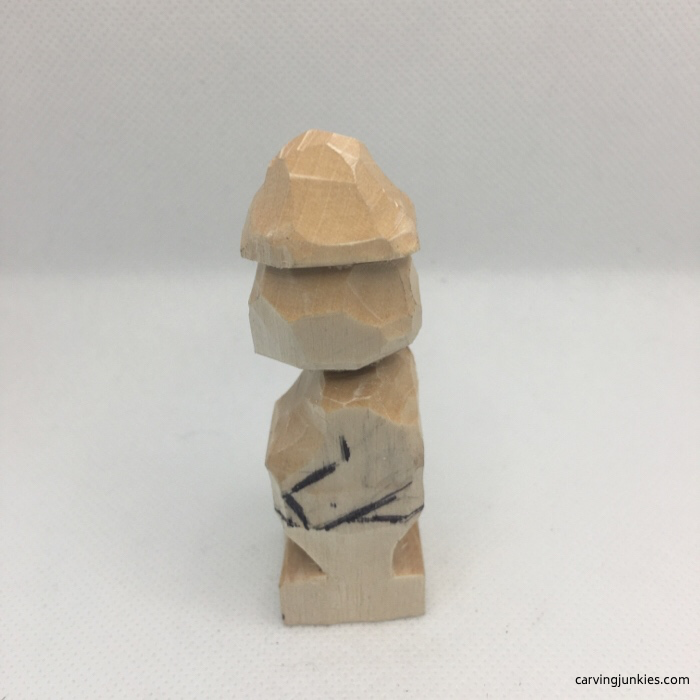 17. Left side view with arms drawn
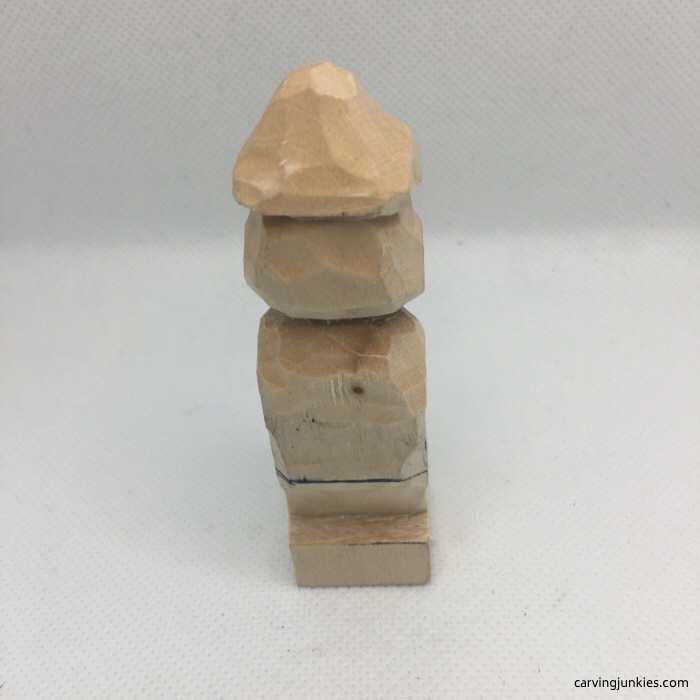 19. Back view
6. Define the arms of the wood caricature carving
- Use stop cuts to define the arms all around (photos 20-23).
- Add lines on the front and back where you will separate the legs (photos 20,23).
- Remove wood to narrow the neck (photos 21-23).
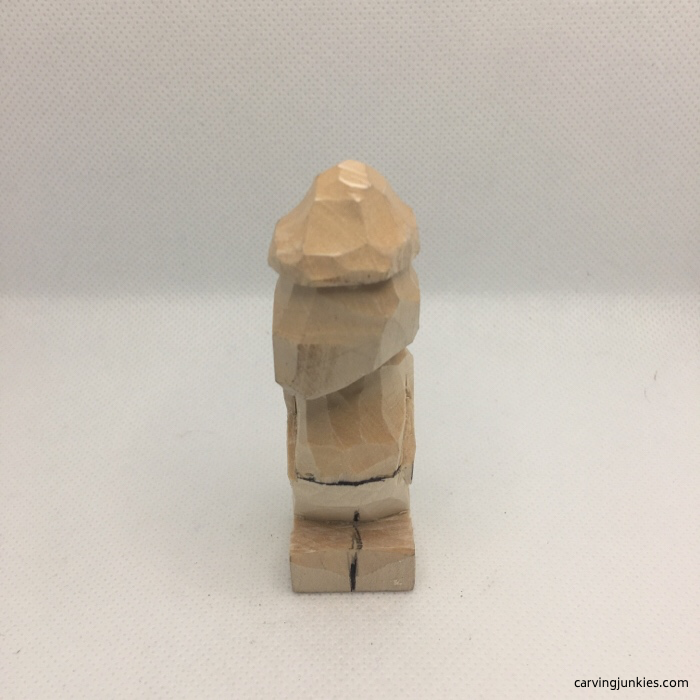 20. Arms cut in front
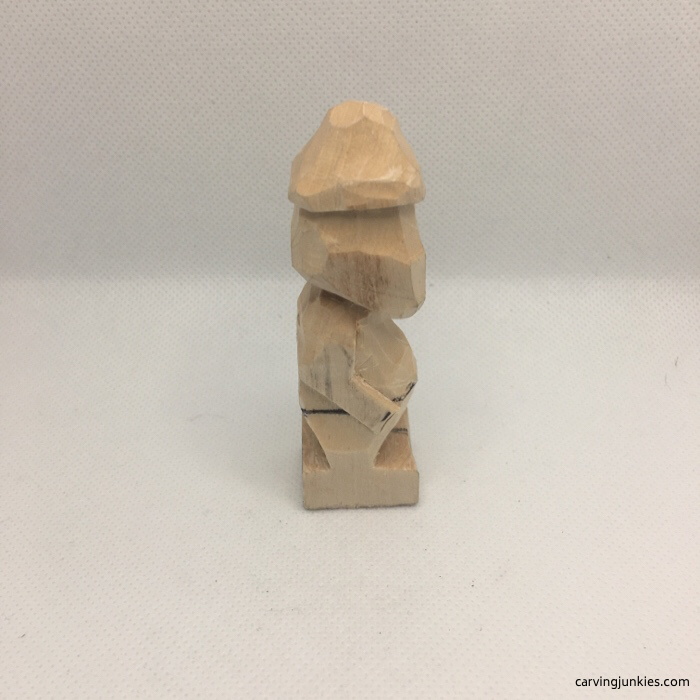 22. Arm cut (right side)
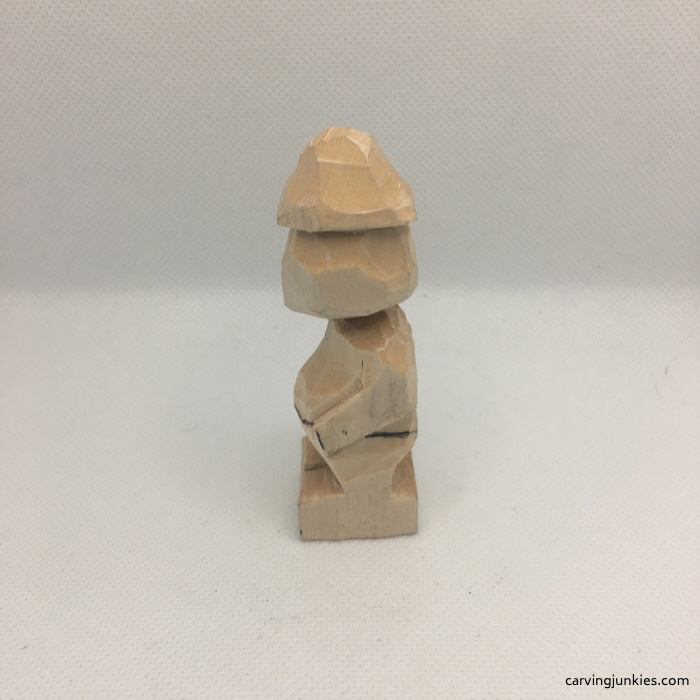 21. Arm cut (left side)
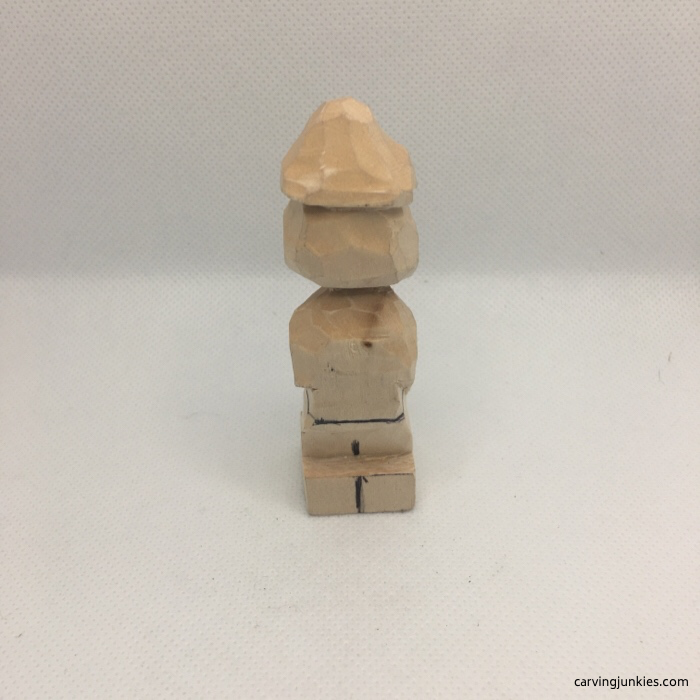 23. Arms cut (back view)
7. Carve additional details for the wood caricature carving
- Make a stop cut to define the bottom of the nose and remove wood from underneath it (photos 24, 27). Also remove wood from each side of the nose.
- Start to round the chin and the belly (photos 24, 27).
- Separate the feet and narrow the legs (photo 26). You will separate the legs further later.
- Using stop cuts, separate the shirt all around (photos 24-27).
- Using line cuts, further define the shoulders and arms on the back (photo 26).
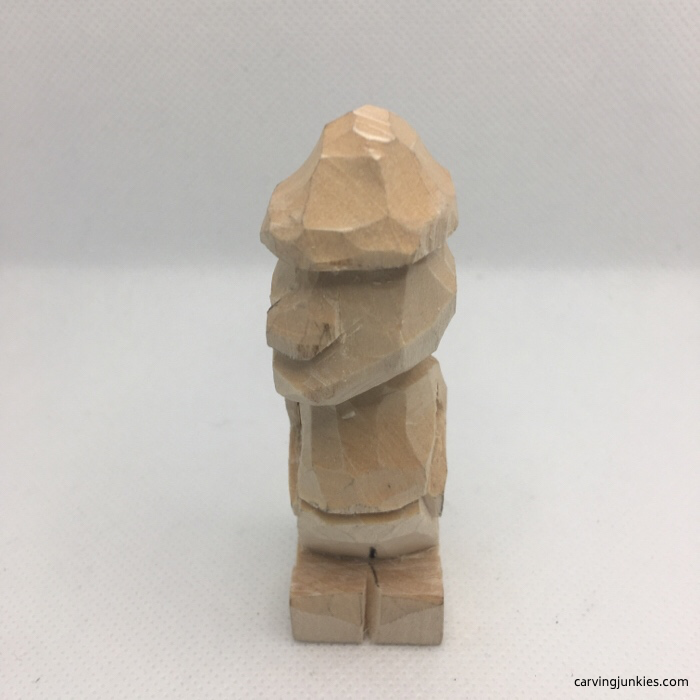 24. Nose is started and shirt and feet are separated
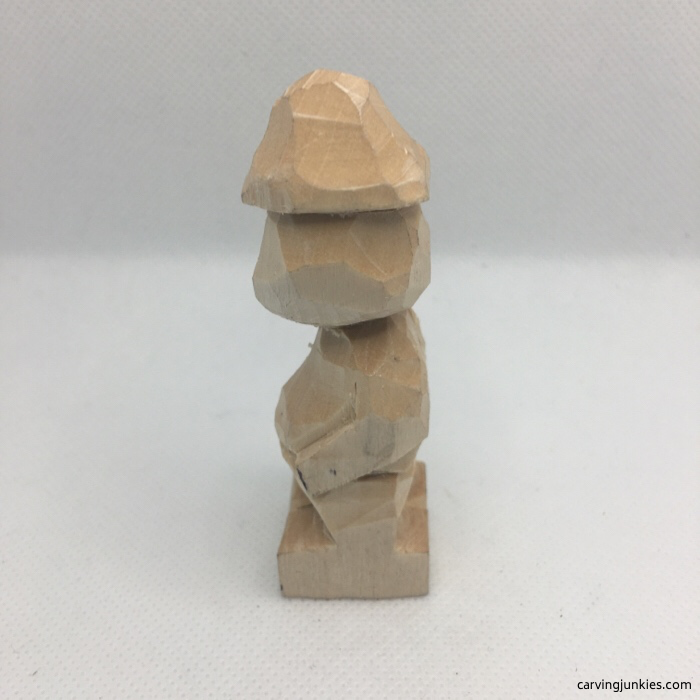 25. View from left side
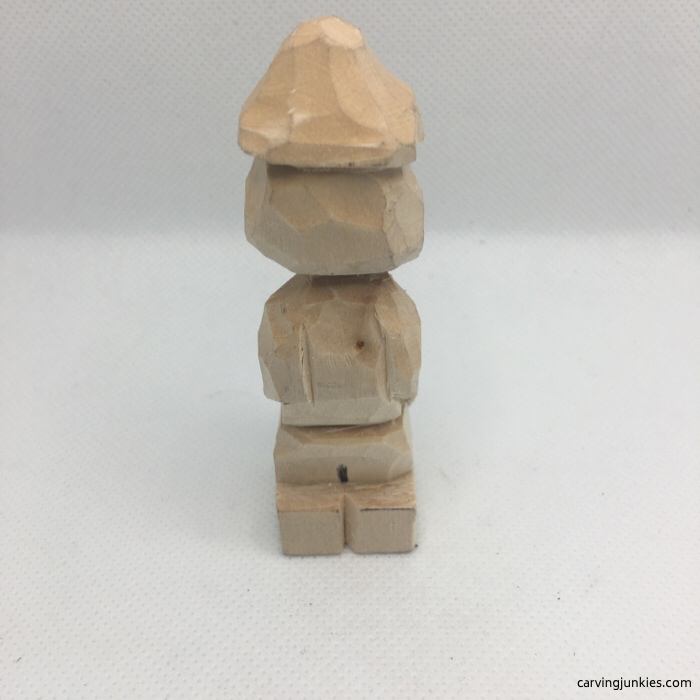 26. Feet are separated in the back
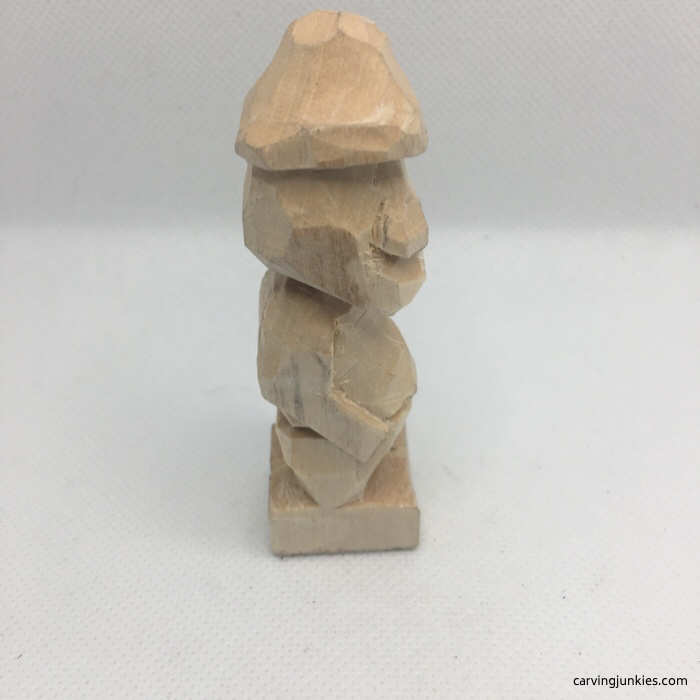 27. View from right side
8. Shape the hat for the wood caricature carving
- Round the hat down into a beanie.
- Notch the band of the hat. We used a 60-degree V-tool (3/18 of an inch). You can also use V-cuts with with a knife (photos 28-31).
- Add smile lines around the nose and remove some wood to help create depth for the cheeks (photos 28, 29).
- Use V-cuts to create the top of his shirt so his neck will show through (photo 28).
- Add a peace sign if you want (we decided to go for a tie-die look with his shirt while painting).
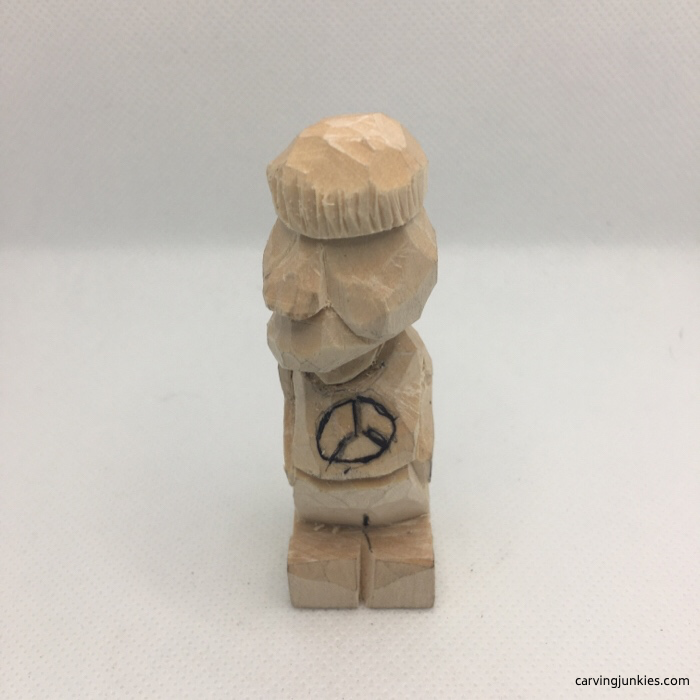 28.Defined beanie, smile lines, and T-shirt
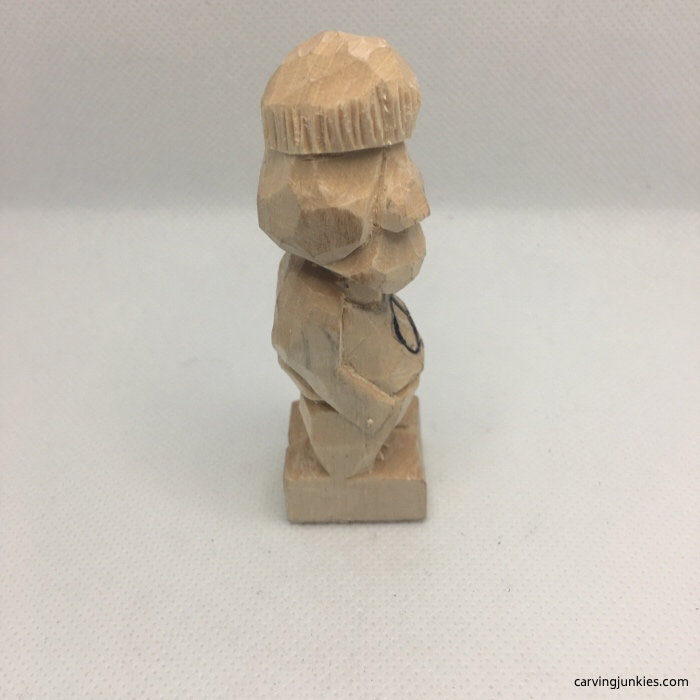 30. Right side view
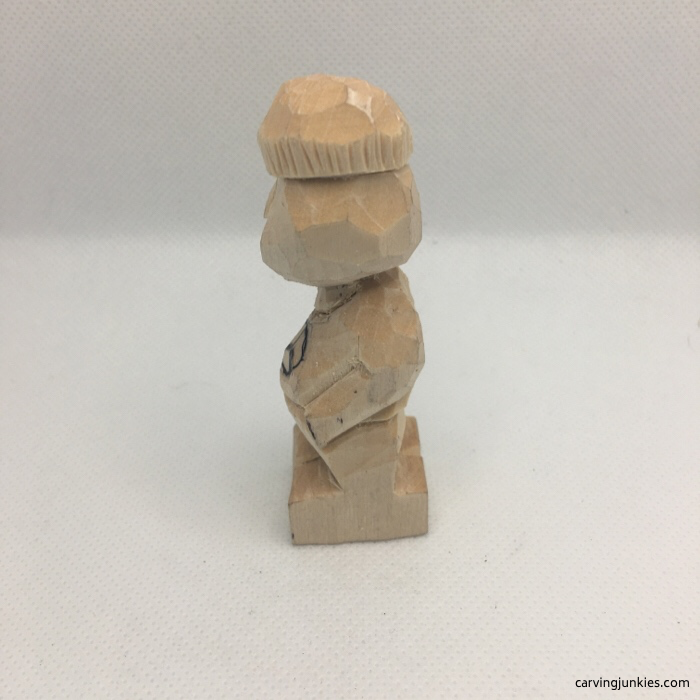 29. Left side vew.
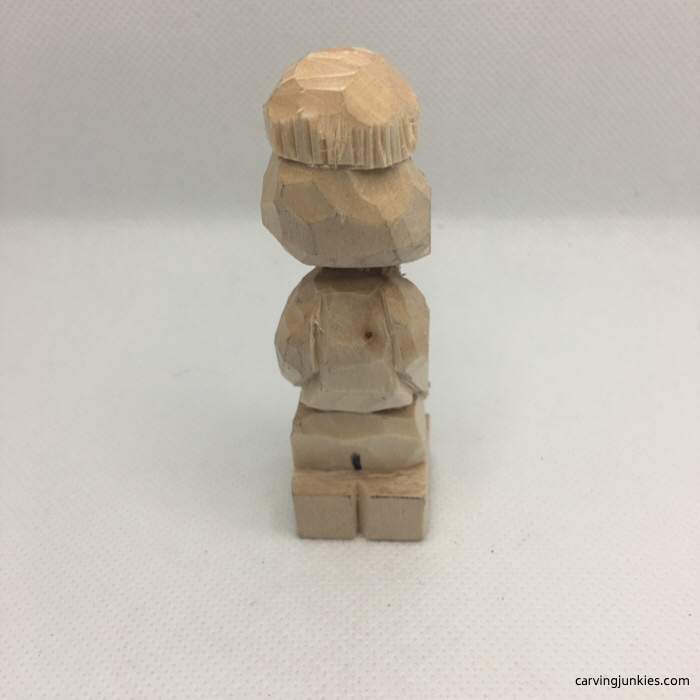 31. Back view
9. Work on the sandals, face, and pants/legs
- Remove wood on the feet to create a bulky sandal. Cut a line across each foot, creating a sandal strap (photos 32,33).
- Carefully make small V-cuts to define the toes (photo 32).
- Draw on the eyes, mouth, and two buck teeth (photo 32).
- The eyes are carved in two steps. First, define the outline (photo 34). Then make a cut a little less than halfway across the eye to create a droopy eyelid (photo 35).
- Carefully round the eyelids (photo 35).
- Make a tiny triangle cut in each corner of the eye to add shadow (photo 35).
- Shape and narrow the pants (photo 32).
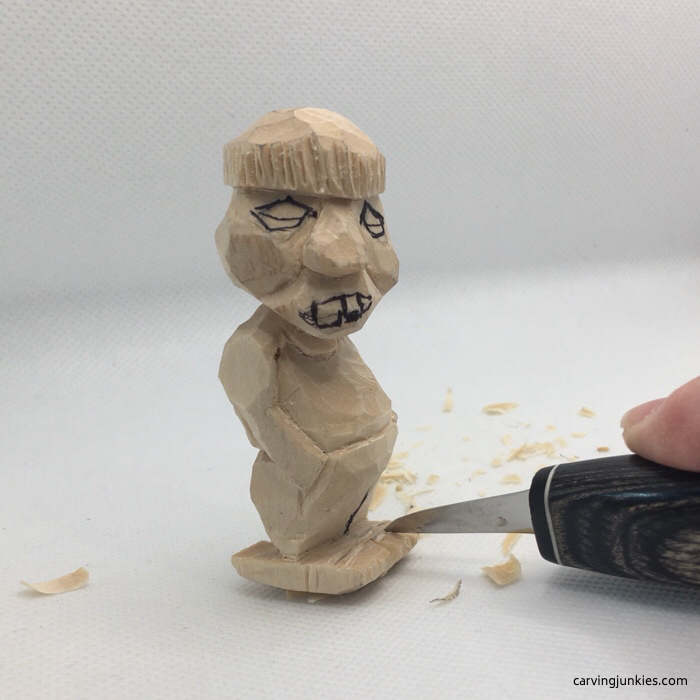 32. Feet are taking shape and toes will be cut. Eyes and mouth are drawn
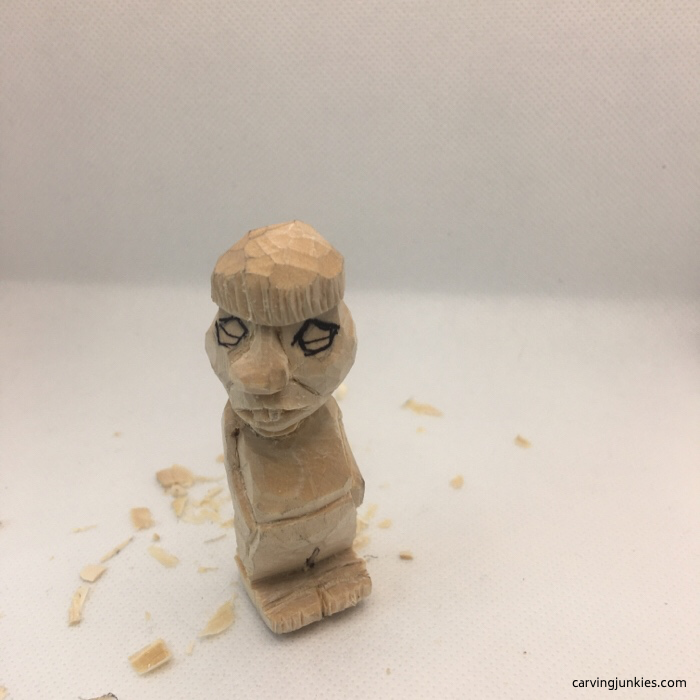 33. Toes, mouth, and teeth are carved
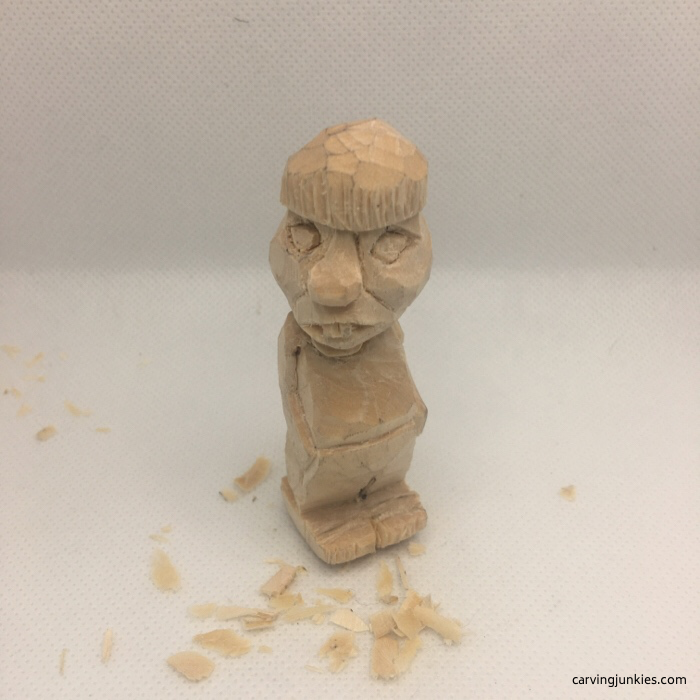 34. Outline of eyes completed
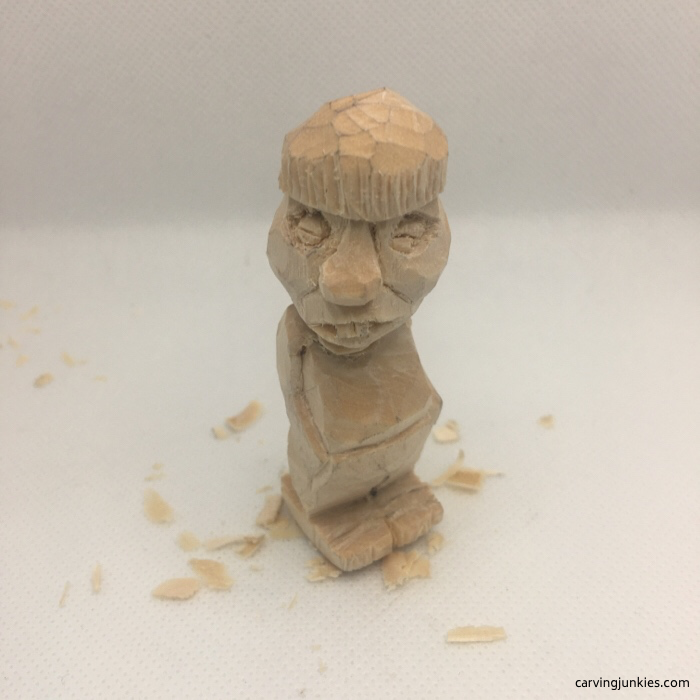 35. Droopy eyelids are added
10. Carve the mustache, beard, and hairline
- Carve the beard and mustache below the nose. We used a V-tool, but you can carefully use a detail knife. Some of your cuts should intersect (photos 36,38).
- Use line cuts (or V-cuts) to separate the sides of the face from the hair (photos 36,37,38) and around the back of the head (right above the neck).
- On the back, add another half circle to define shirt neckline (photo 39).
- Split the legs/pants (photos 38,39).
- Carve a curved line above where the legs are split to create the tush (photo 39) and remove a little wood below it.
- Add some wrinkles to the arms and pants (photos 41-43).
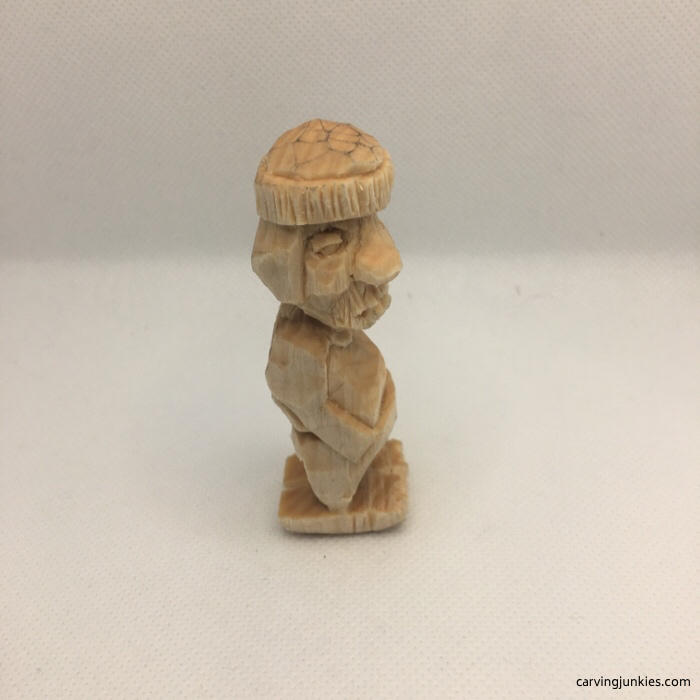 36.The beard, mustache, and hairline on the sides are carved
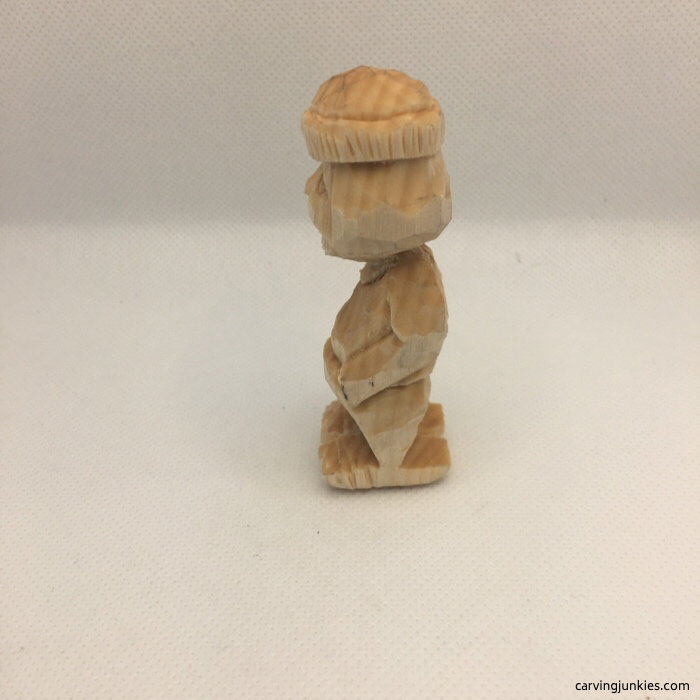 37. Left view
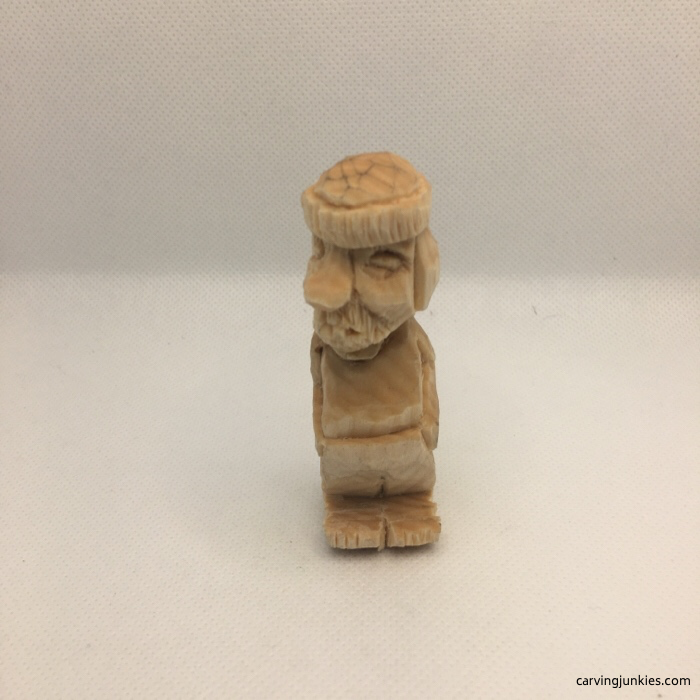 38. Front view
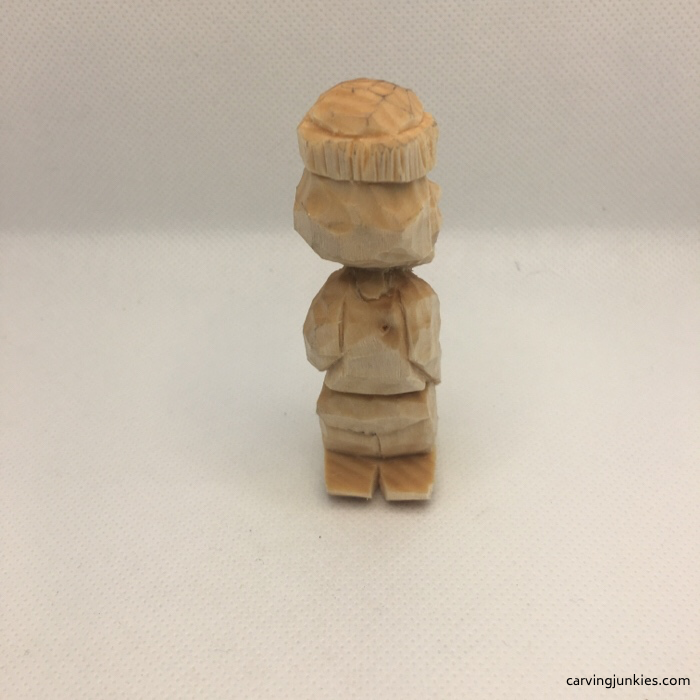 39. Back view
11. Paint the wood caricature carving
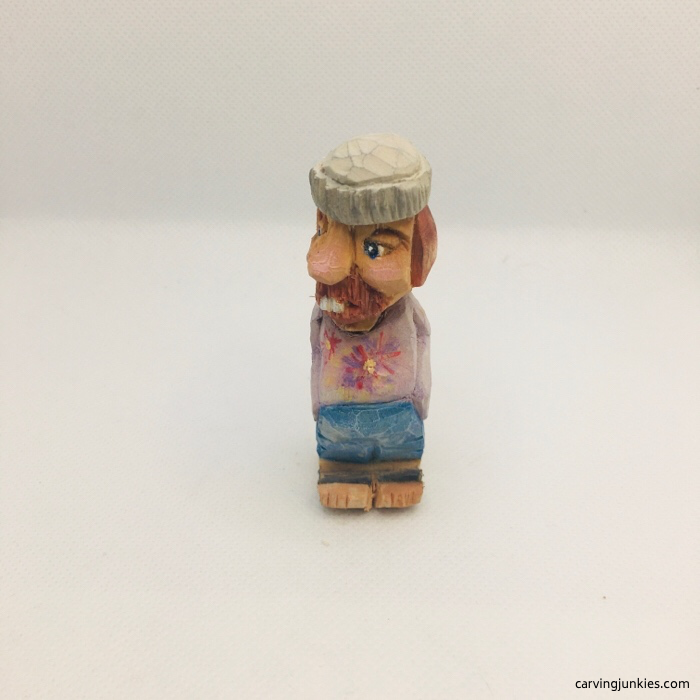 40. Front view of wood caricature carving
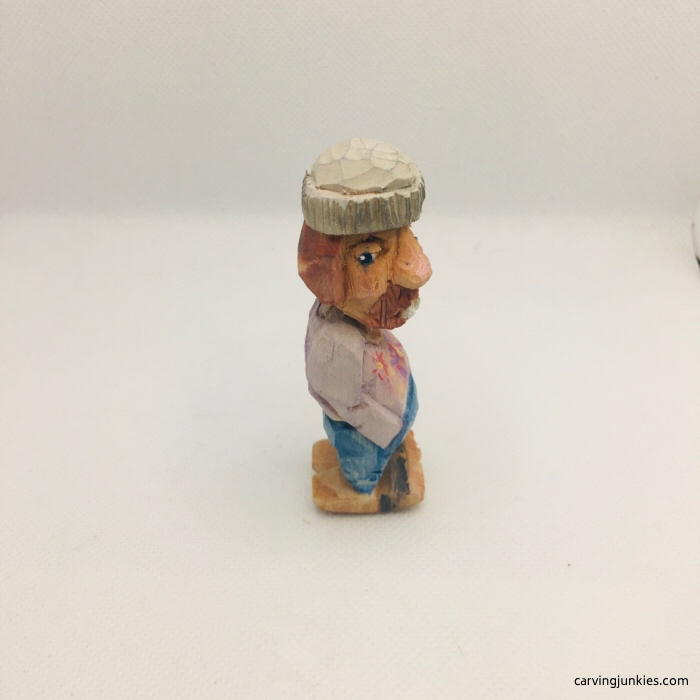 42. Right view of wood caricature carving
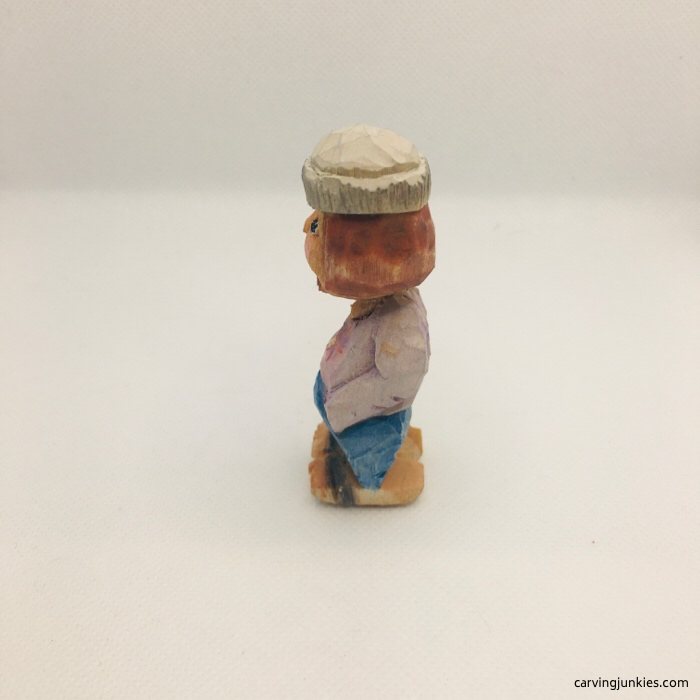 41. Left view of wood caricature carving
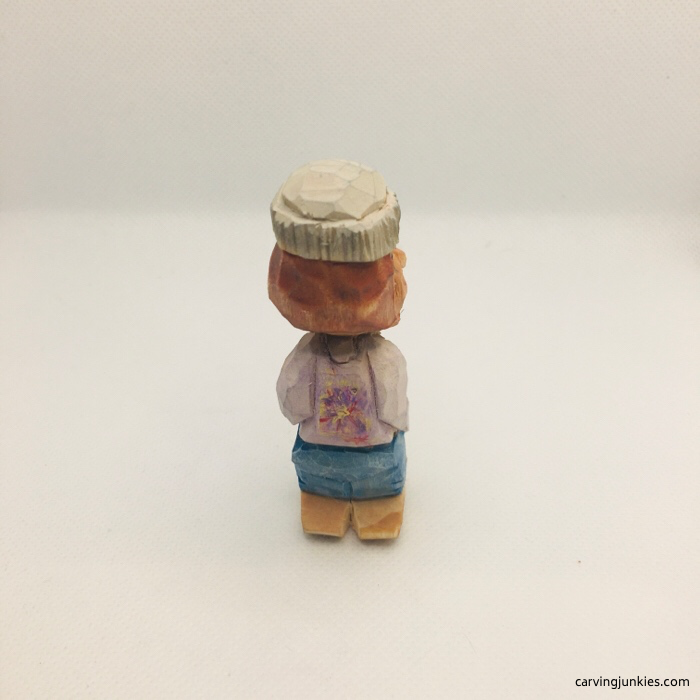 43. Back view of wood caricature carving
To get the same look as this wood caricature carving
All acrylic paints are from Craftsmart except where noted:
- Teeth and whites of eyes: 100% titanium white paint (Artist’s Loft).
- Shirt (first layer): 3 drops of titanium white paint (Artist’s Loft) and 5 drops of water.
- Beanie: 1 drop of dark gray paint mixed with 4 drops of white paint (Apple Barrel) and 10 drops of water.
- Beard: 1 drop of brown paint mixed with 1 drop of bright red paint and 20 drops of water.
- Blue jeans: 2 drops of bright blue paint and 15 drops water.
- Tie die design:
-1 drop of yellow paint mixed with 1 drop of white paint (Apple Barrel) and 10 drops water.
-Dry brushed accents: 100% cameo pink, 100% purple, and 100% yellow.
-Using toothpick: 100% bright red paint. - Shirt (second layer): 1 drop of purple paint mixed with 1 drop of white paint and 20 drops of water.
- Flesh: 1 drop of burnt sienna paint (Academy) mixed with 1 drop of sun kissed peach paint and 30 drops water.
- Eyes: 100% bright blue (iris); 100% black (pupil); and 100% titanium white (Artist’s Loft) for speck.
- Other dry bushed accents:
-Nose and cheeks: 100% cameo pink paint.
-Hat band: 100% dark gray paint.
-Hair: 100% black (then sand a bit).
After painting, dip the carving in boiled linseed oil and set in on paper towels for 10 minutes. Wipe with paper towels and finish with polyurethane spray. Immediately dispose of paper towels in garbage outside as they can spontaneously combust.
Wood caricature carving summary
- If you are ready for a carving challenge, create the miniature-sized version of this wood caricature carving (otherwise use a bigger block).
- This little guy offers fun little details that you can customize (tie-die or peace sign on the T-shirt).
- Carving this Yippie Hippie makes a great gift for baby boomers!
- See multiple tie-dye examples for inspiration here.
Get 50 Wood Carving & Painting Tips when you join our FREE Covered in Chips club.
Share this page
carvingjunkies.com never sells your personal information.
This site uses cookies for its operation and to enhance your experience. As an Amazon Associate and Focuser Carving affiliate we earn from qualifying purchases.
Home | About Us | Privacy Policy | Terms of Use | Contact | Sitemap
