- Home
- Carving wood animals
- Whittle a bear
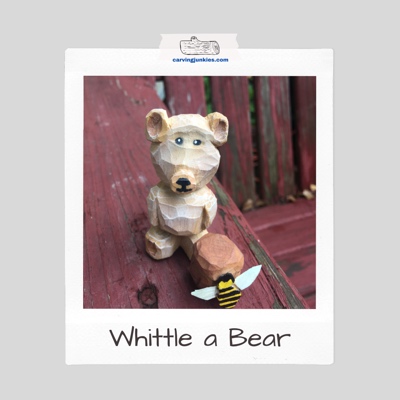
Whittle a bear tutorial
This little guy will make everyone grin.
LEVEL: SOME CHALLENGES
This tutorial will teach you how to whittle a bear, including making a honeypot and an adorable bumble bee.
You can position the separate honeypot and bee wherever you want. If you knock it over on its side (photo 1) it fits perfectly with the little whittled bear's guilty look on his face.
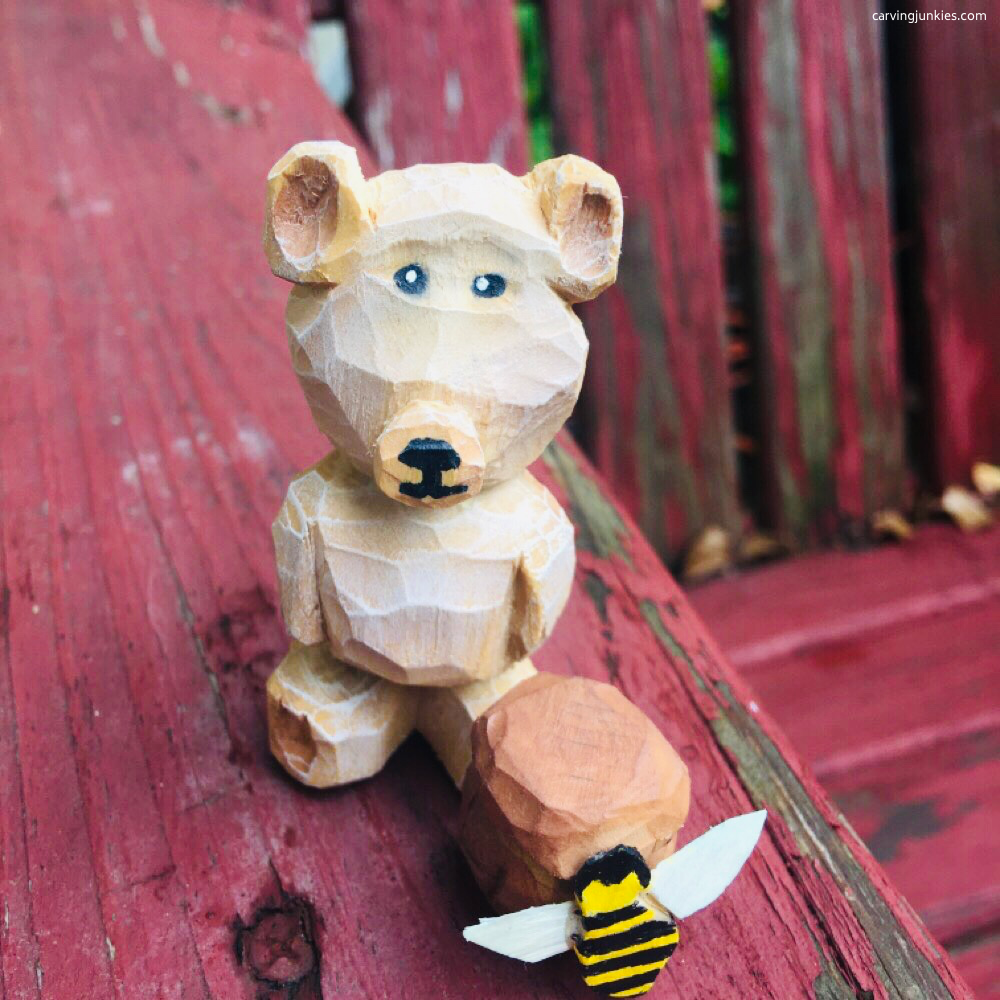 1. So adorable, isn’t he?
What you will need for this whittle a bear tutorial
- Basswood block (1 x 1 x 3 inches/2.54 x 2.54 x 7.62 cm) for the bear and small pieces of scrap wood for the honeypot and bee.
- Want a bigger bear? Adapt the pattern to fit a bigger block (for example, double inches or centimeters).
- TIP: As you carve, save big chips for the bee body and wings that you will create later (optional).
- Carving knife of choice.
- Acrylic paints of choice (see painting guide at the end).
- Paint brushes.
- Pencil (we use a black magic marker so you can see the lines).
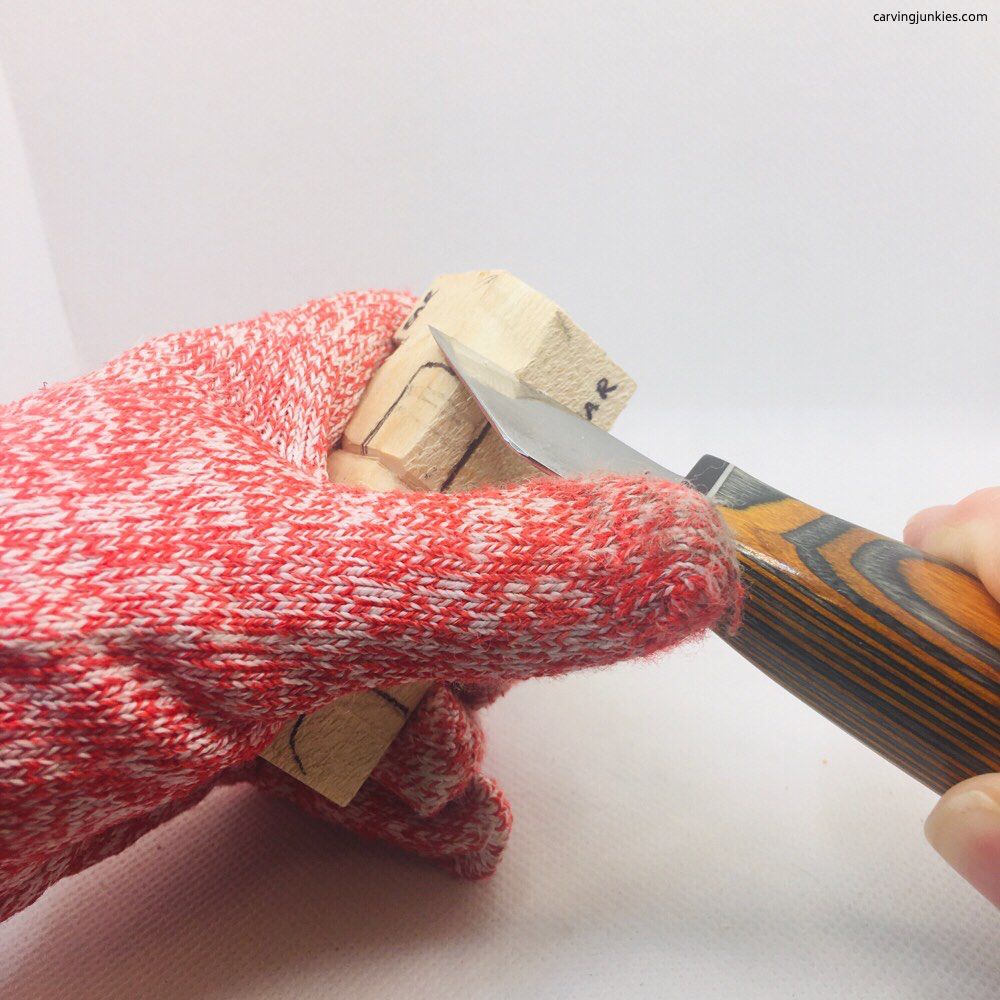
- Carving gloves (always for safety!).
How to whittle a bear tutorial at a glance
You will carve the front of the bear off the corner to give you some depth for his snout. Draw:
- A line 1.5 inches (3.81 cm) from the top all around to mark the bottom of the head (photos 2-5).
- A line 1/2 inch (1.27 cm) from the bottom all around to mark the top of legs (photos 2-5).
- Lines to reserve space where you will whittle the ears (photos 2-5).
- Lines where front arms will be cut and the belly will be (photo 2).
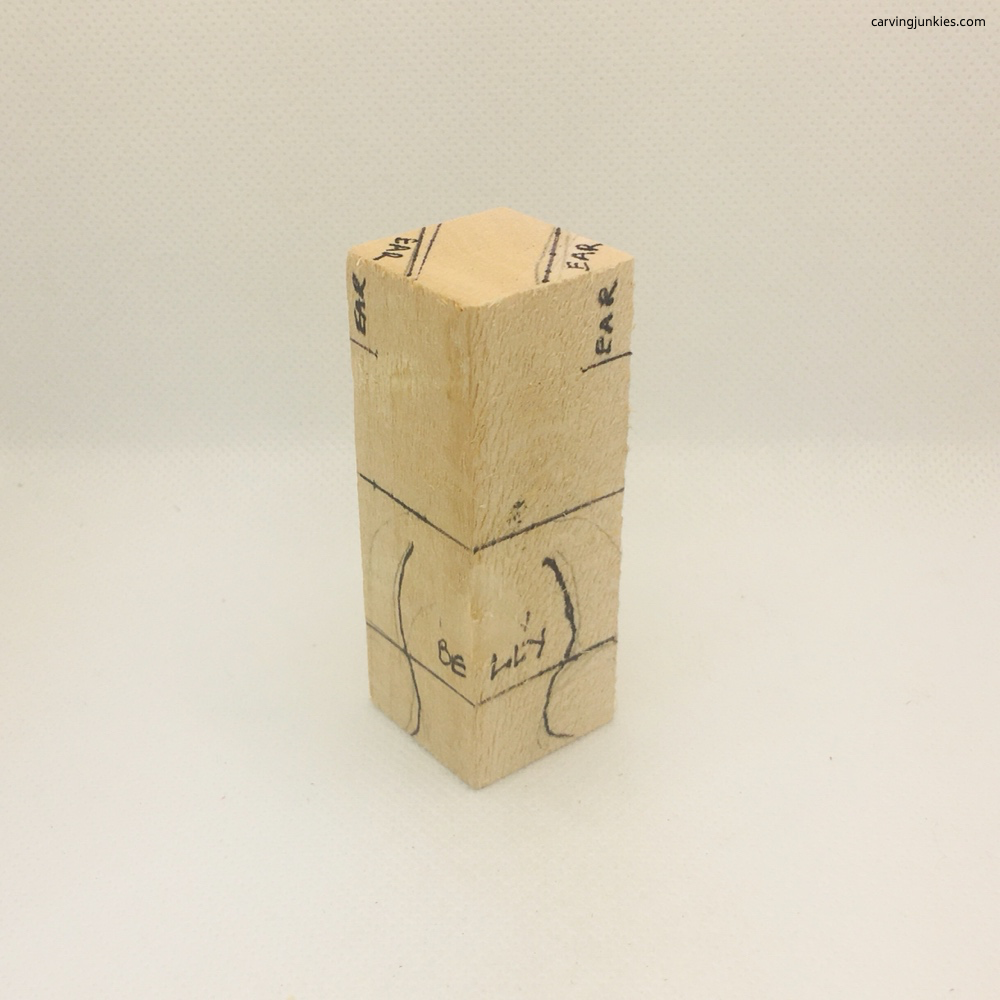 2. Front guidelines with ears reserved
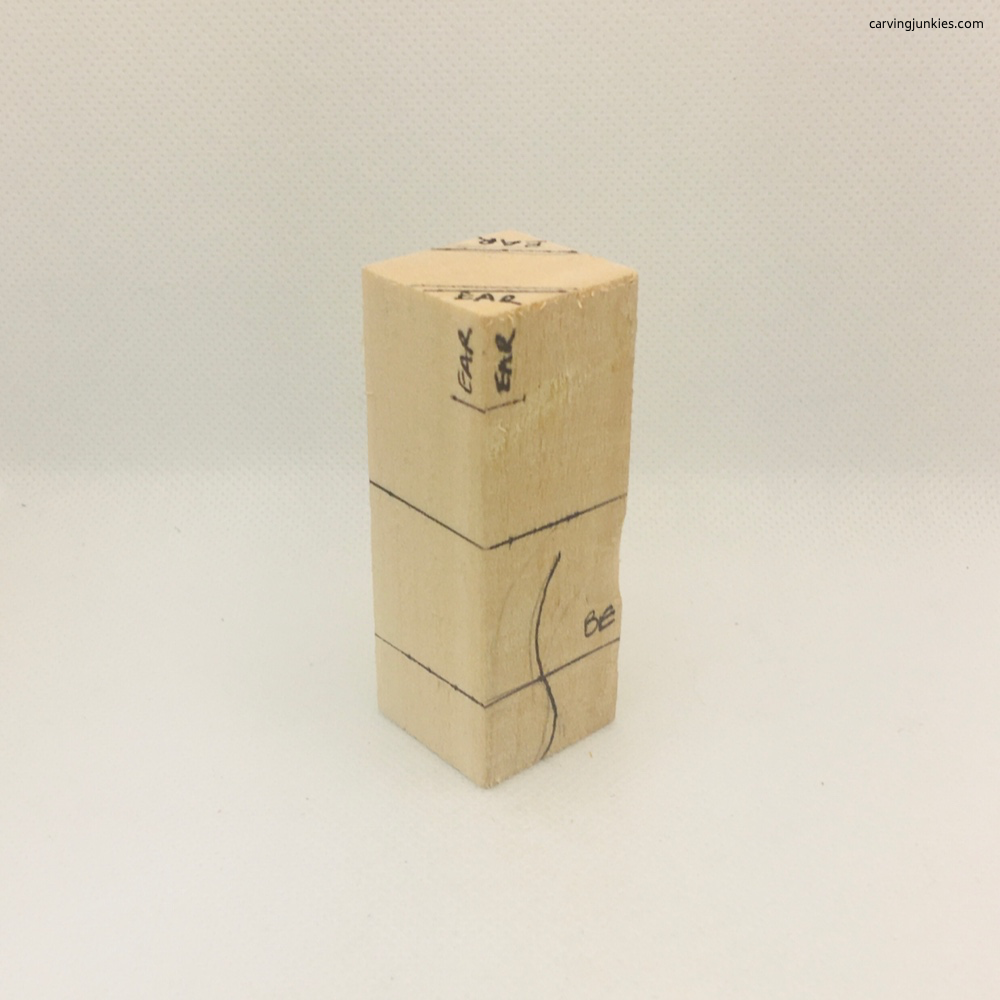 3. Right view
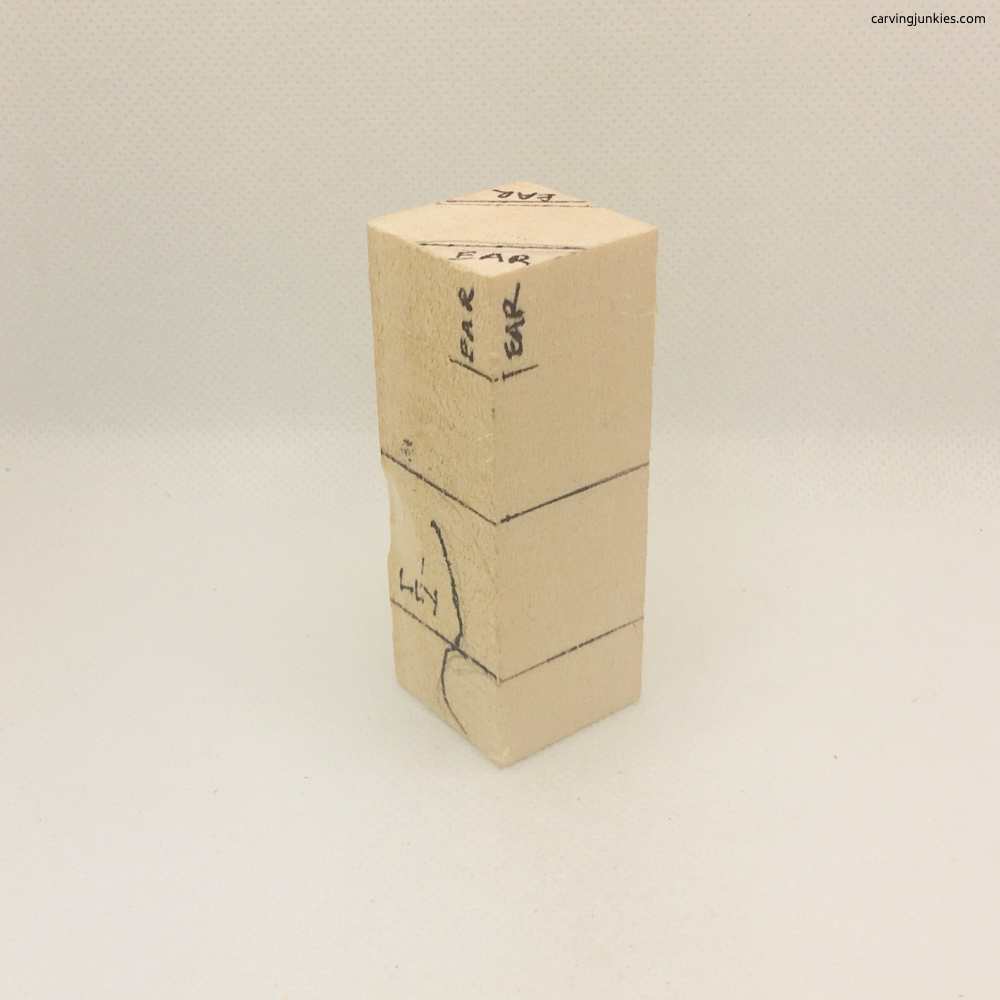 4. Left view
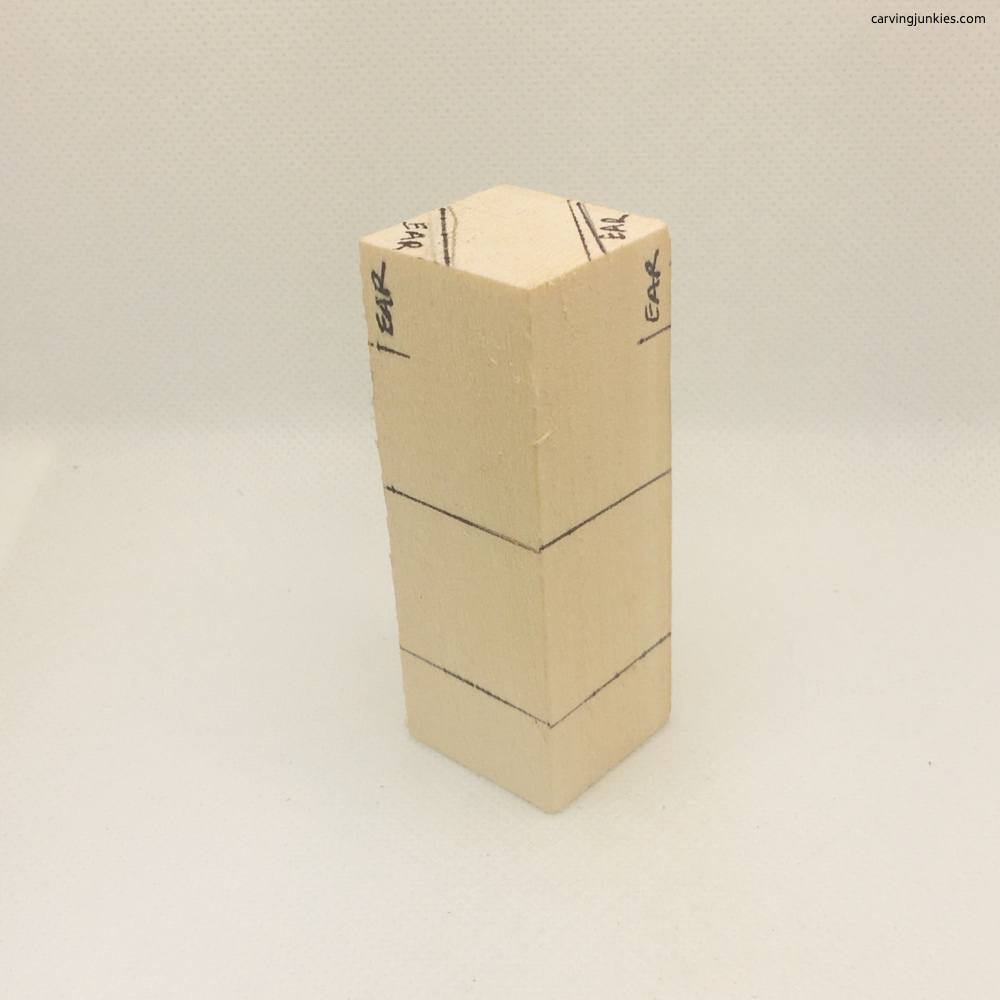 5. Back view
2. Define the head
Using your knife:
- Round all the corners.
- Make a stop cut under each ear and remove some wood from underneath (photos 6-9).
- Use a stop cut to separate the head from the body (photos 6-9), which you will shape later.
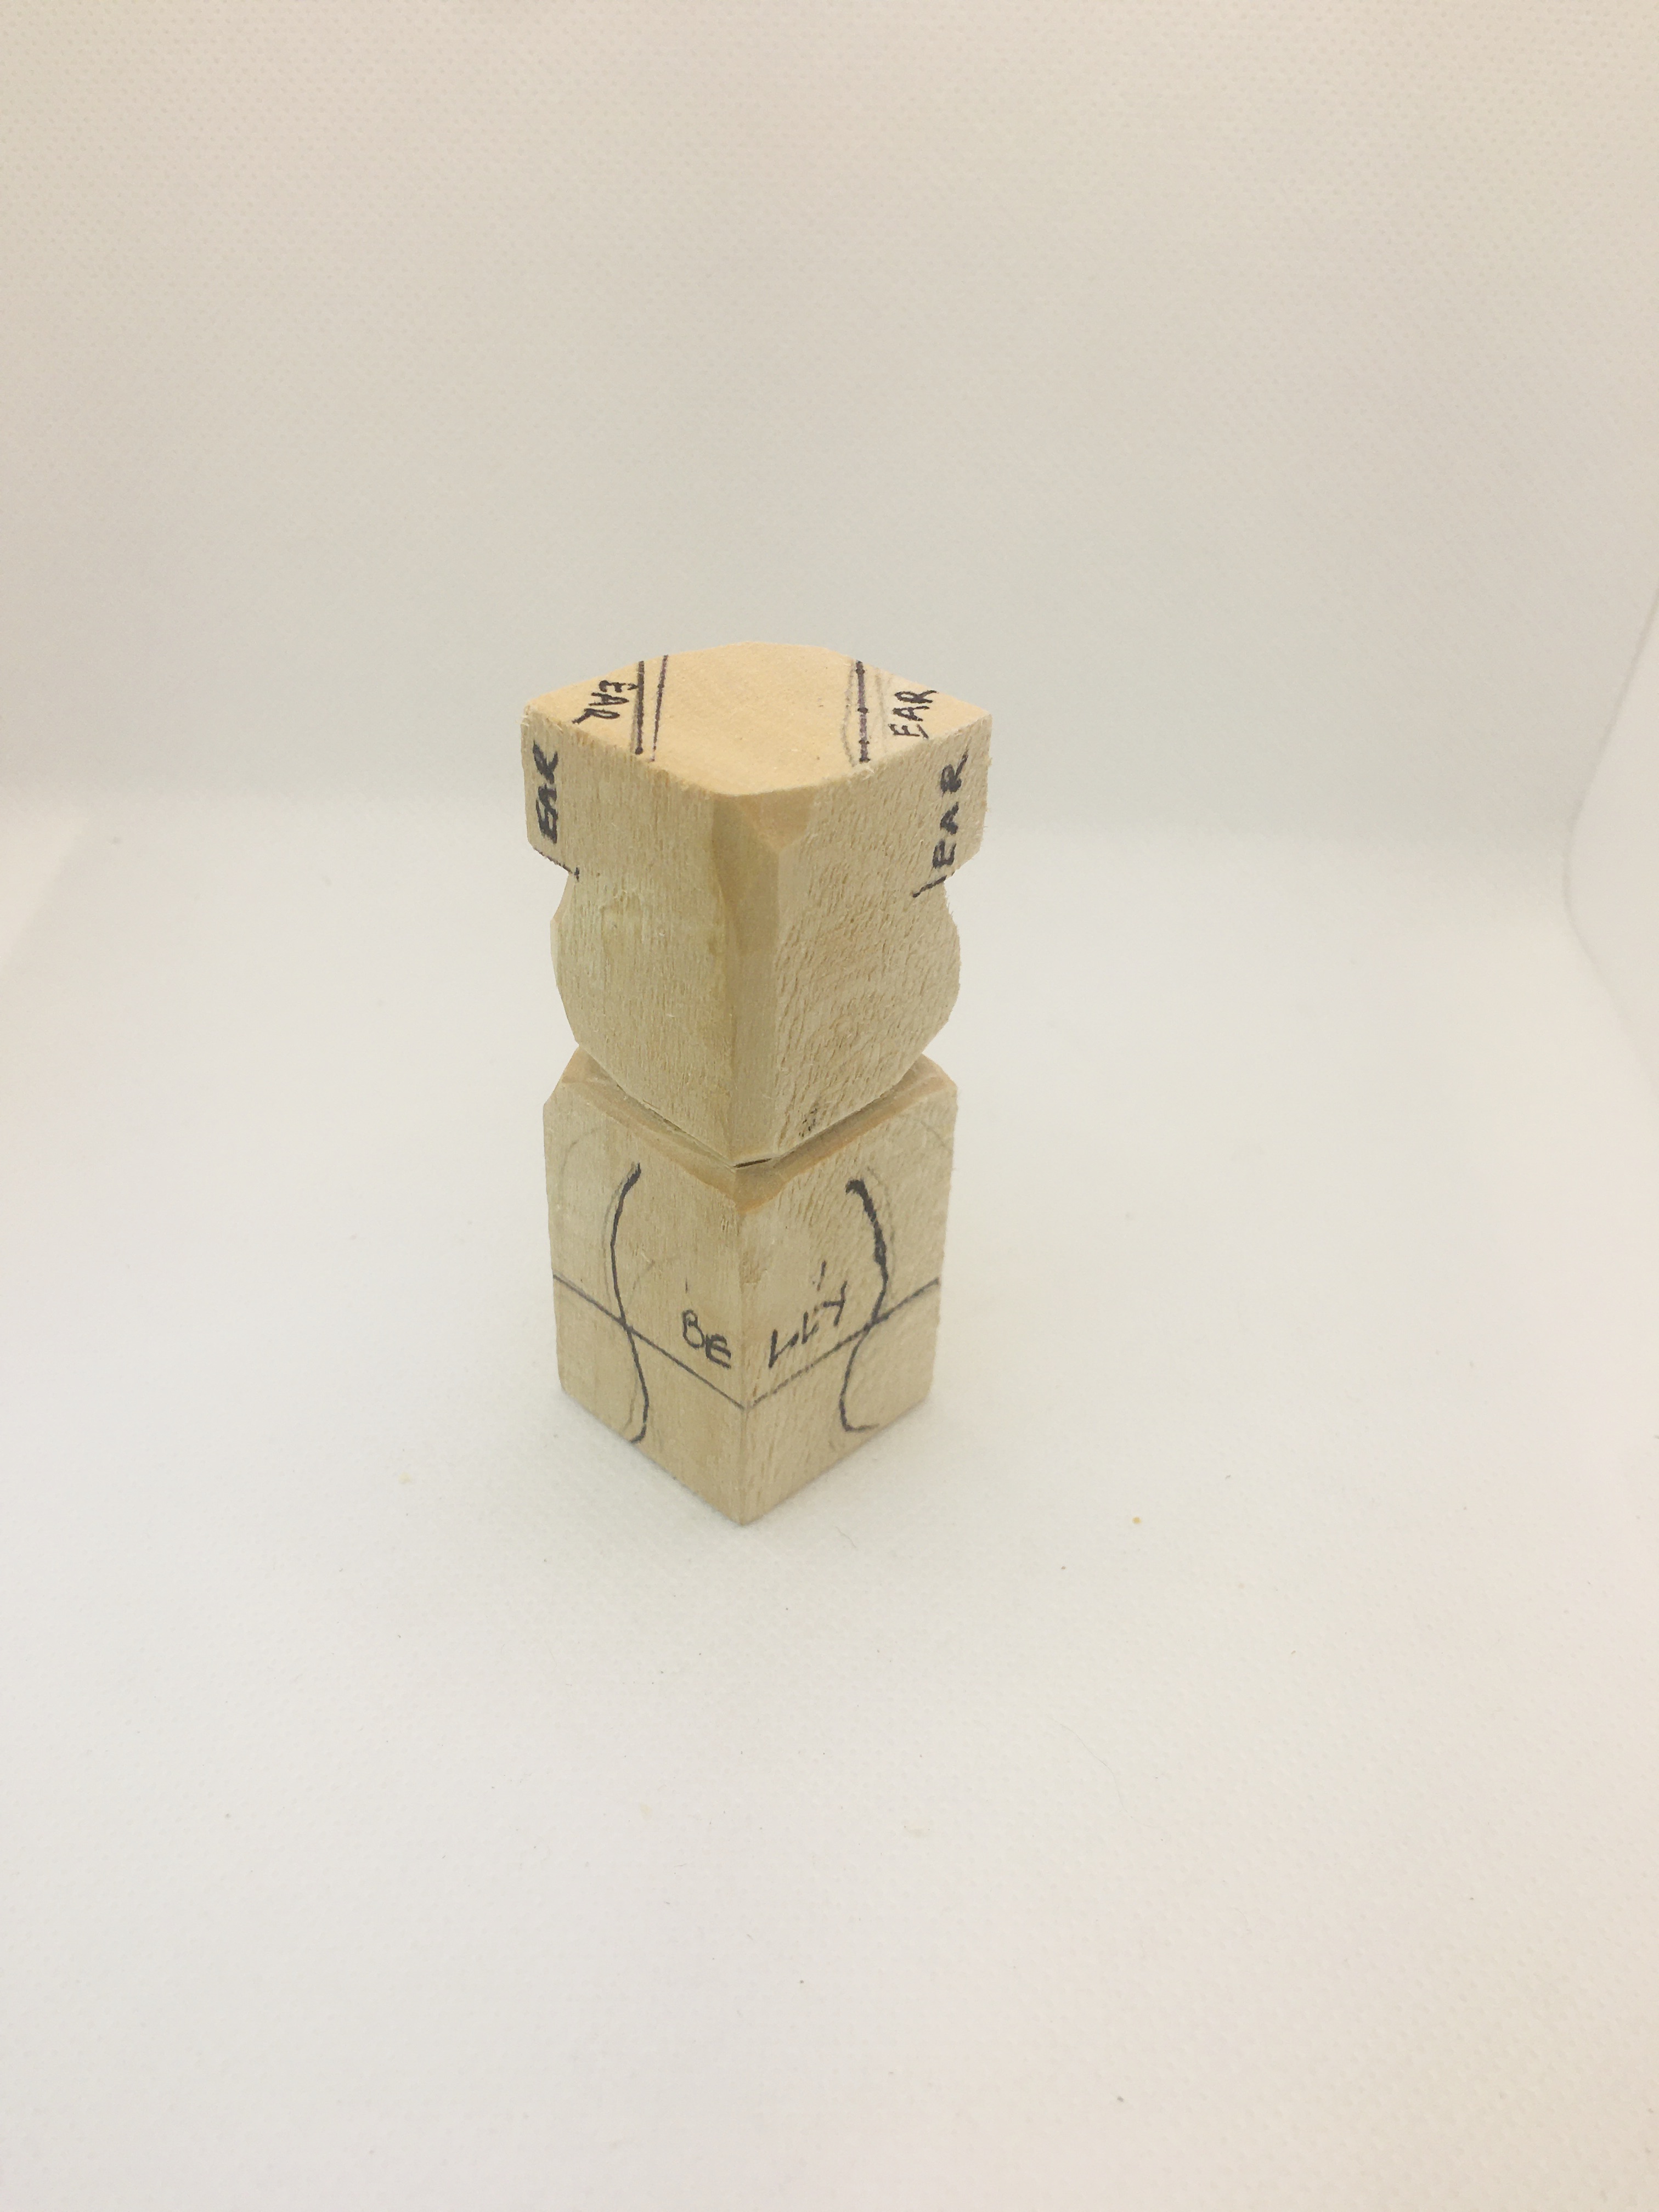 6. Bottom of ears are cut and head is separated
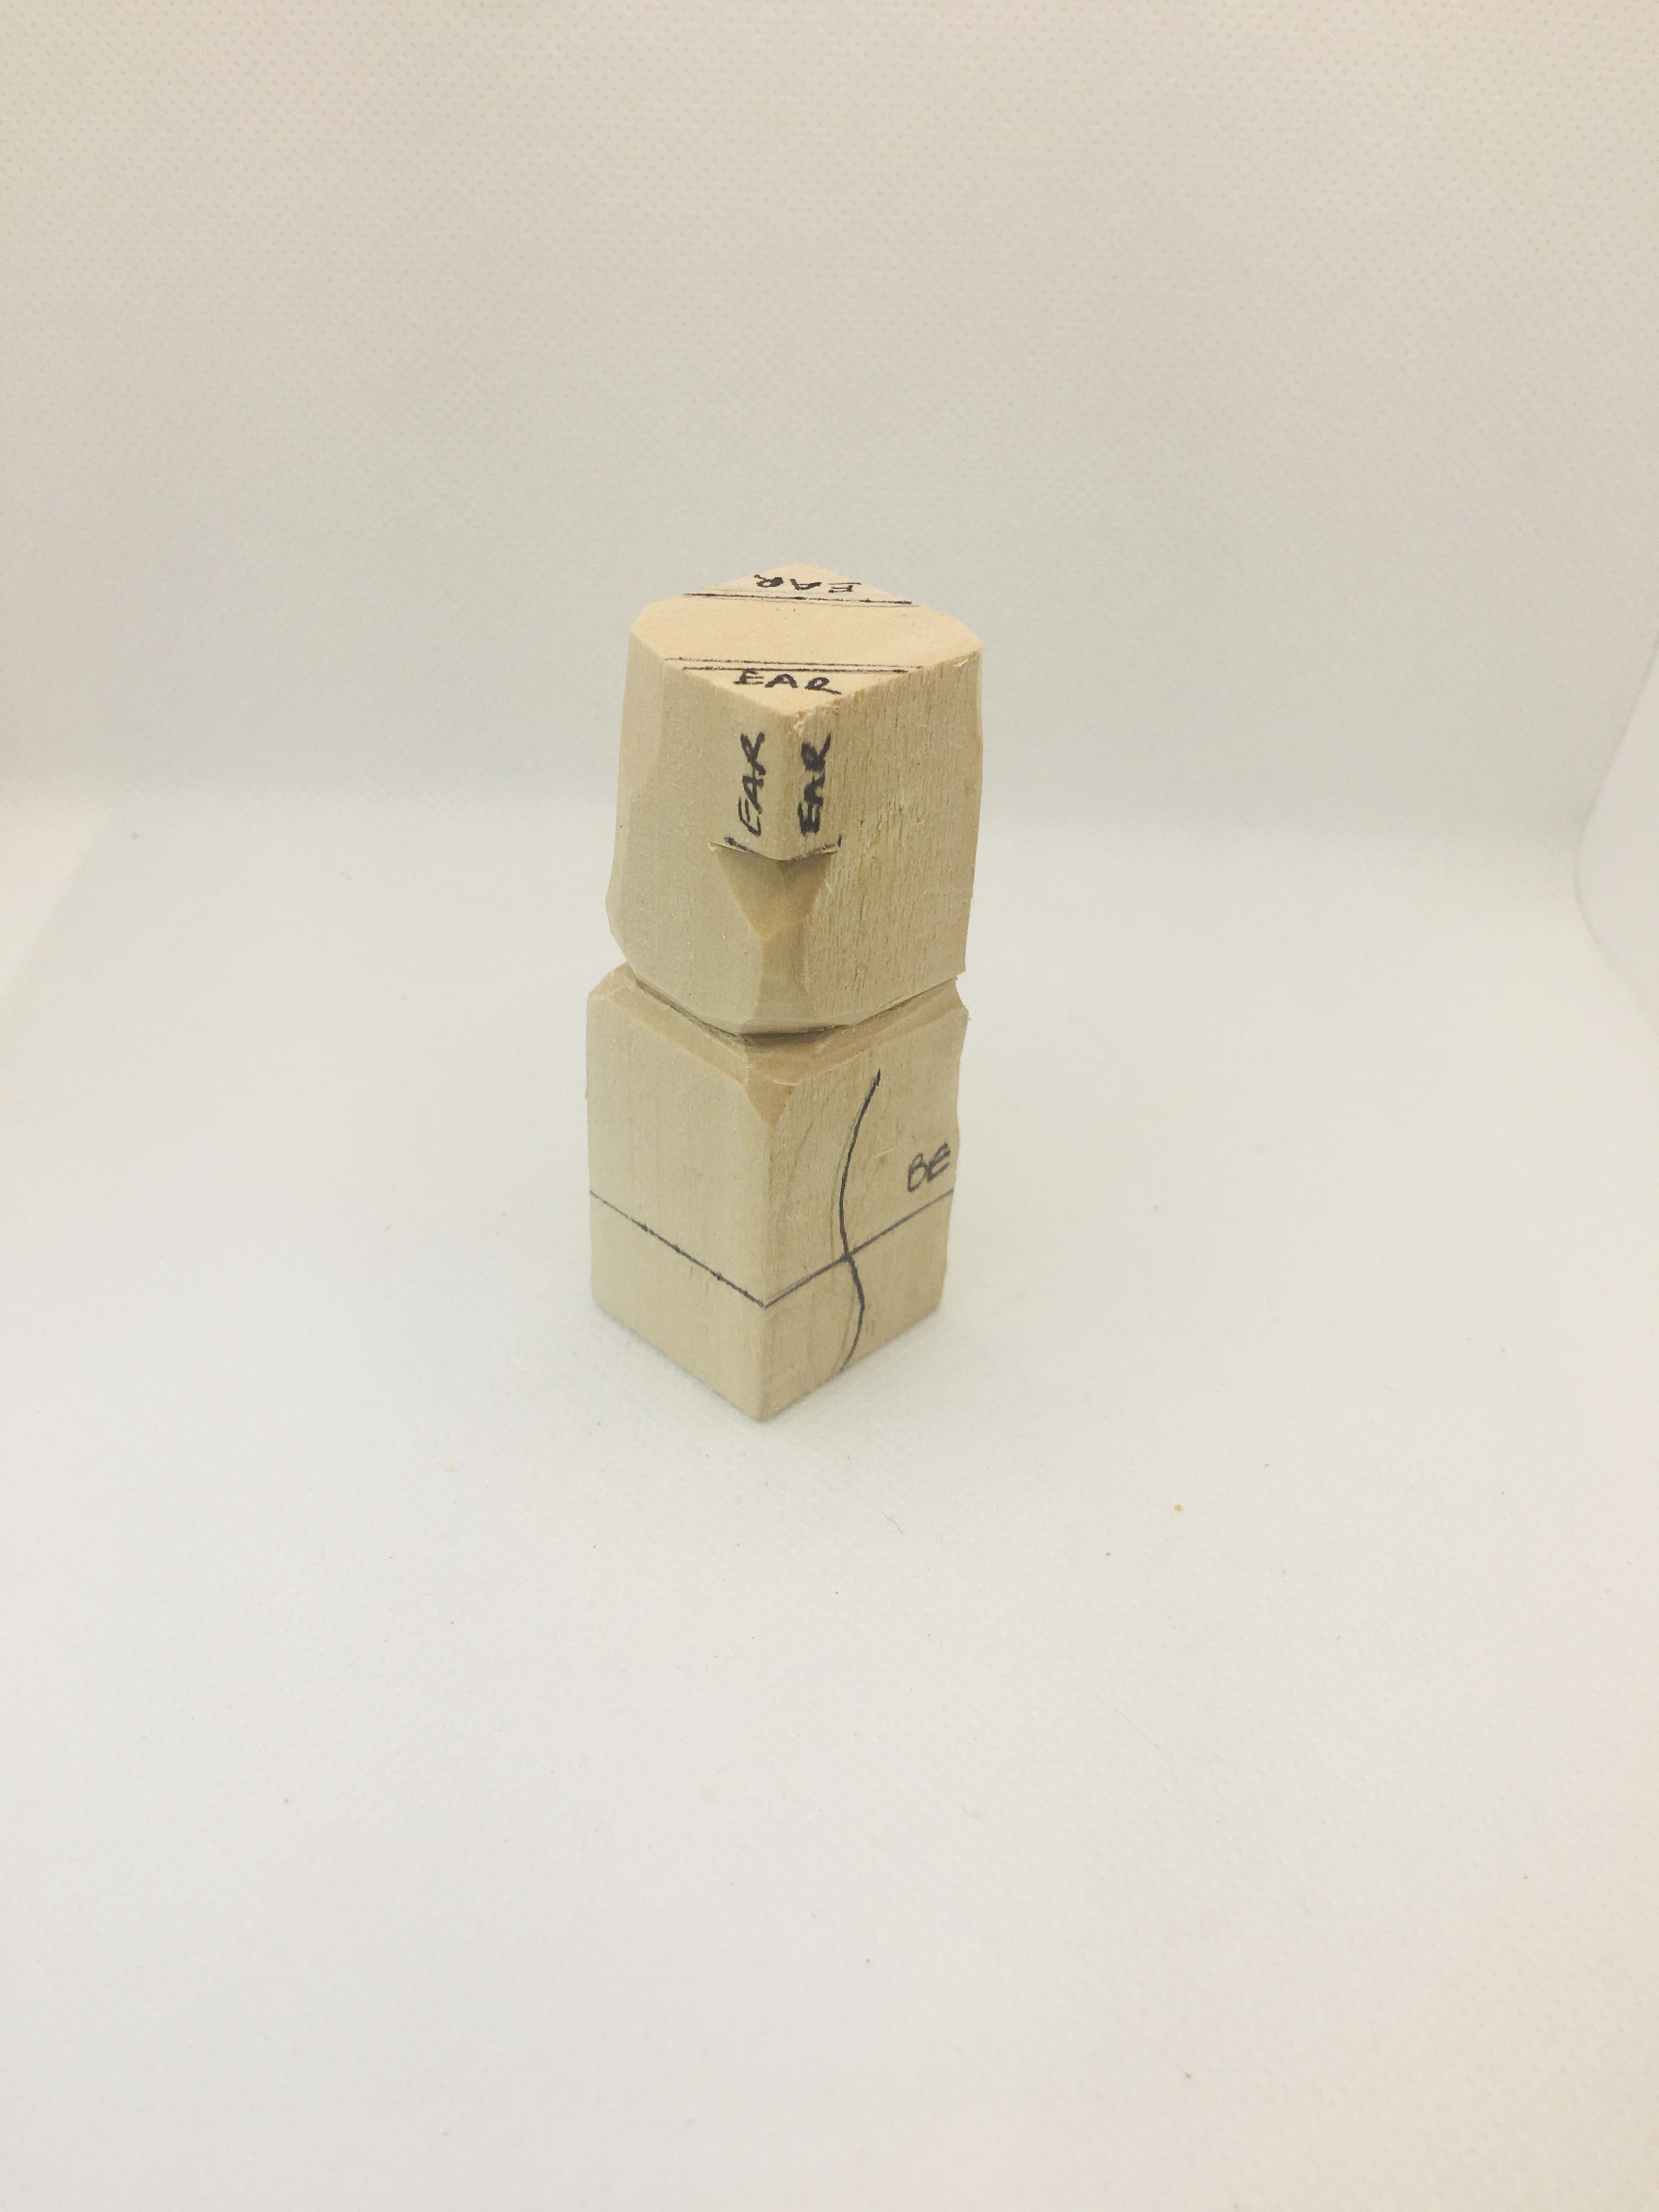 7. Right view
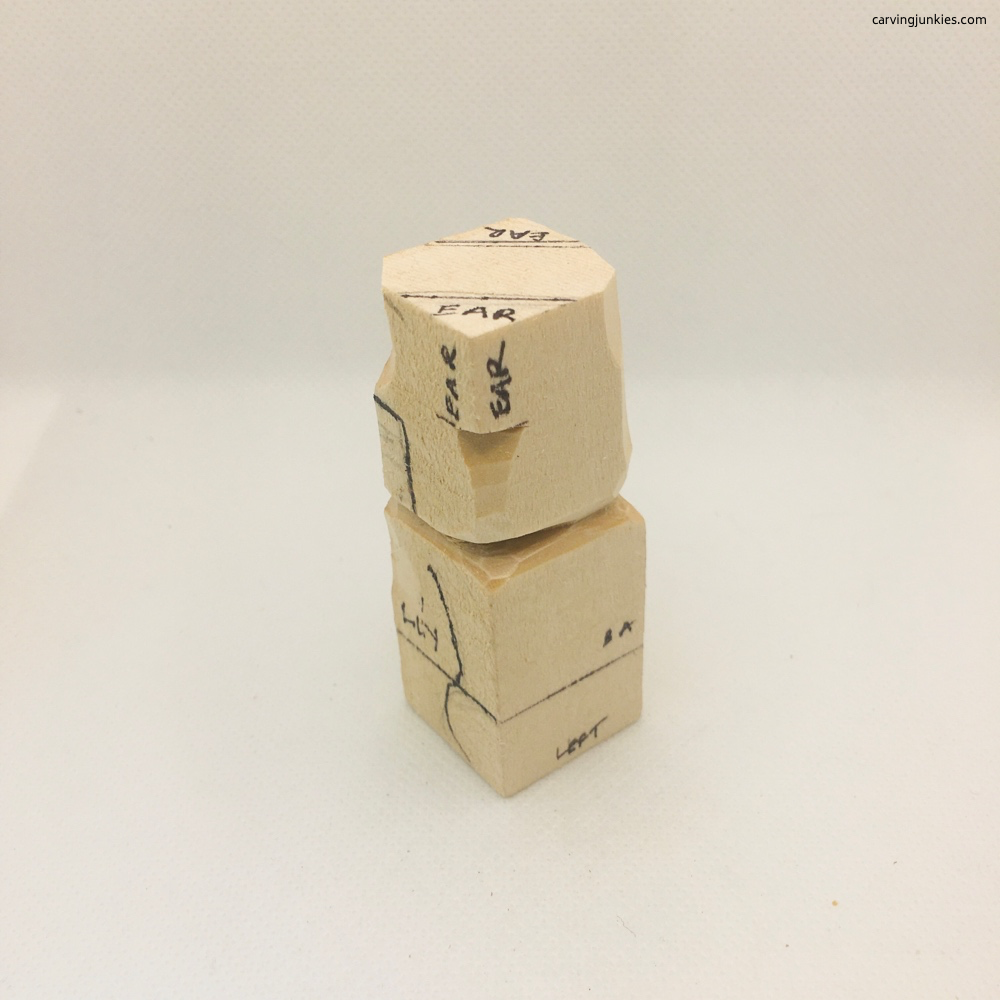 8. Left view
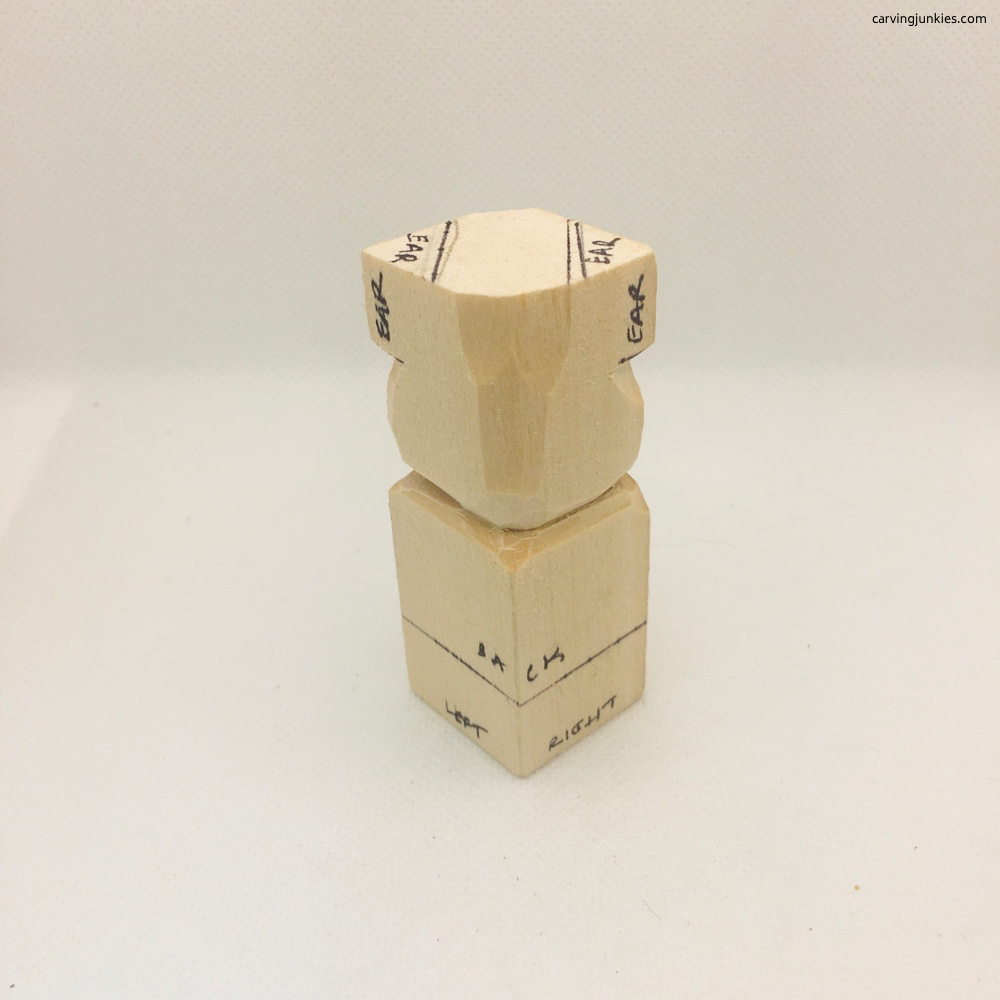 9. Back view
3. Draw a box for the snout
- On the front corner (photo 10) draw a box to mark the wood to reserve wood for the snout.
- Make the box bigger than your intended snout to ensure you reserve enough wood (photos 10-13).
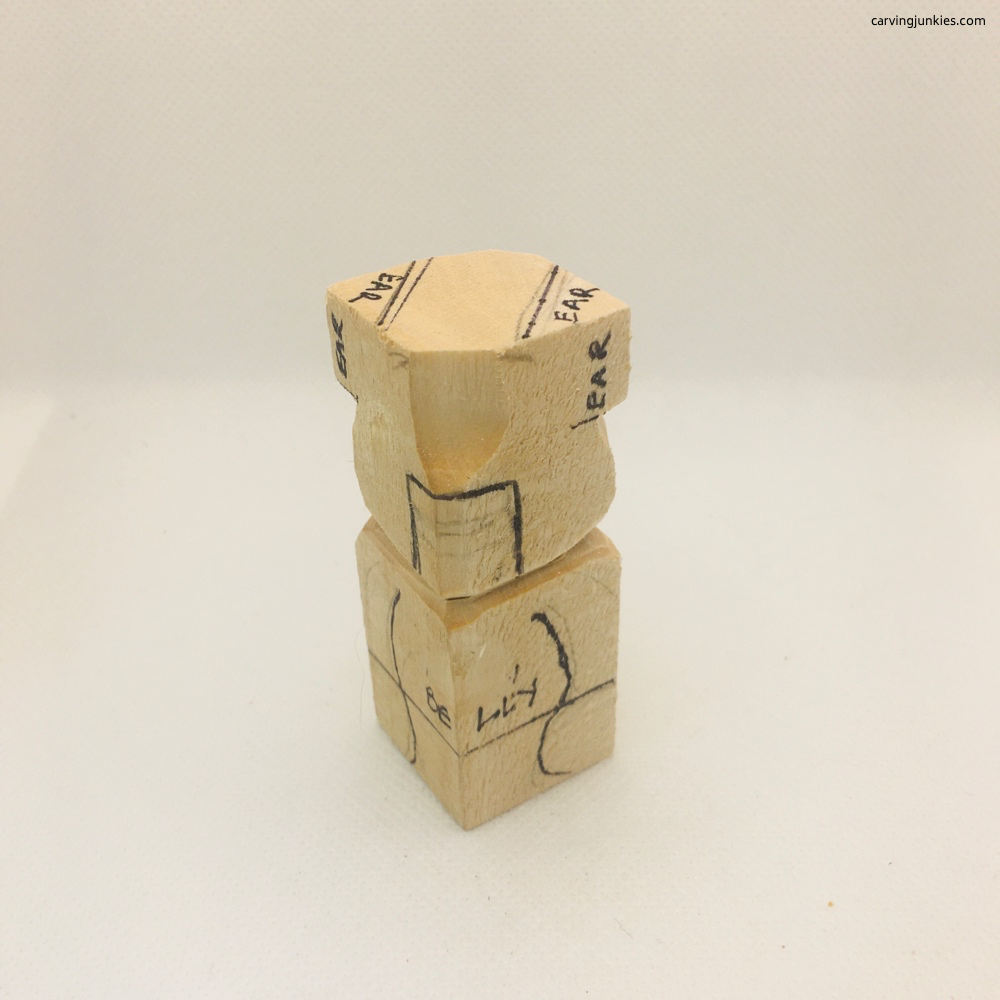 10. Box is drawn (front view)
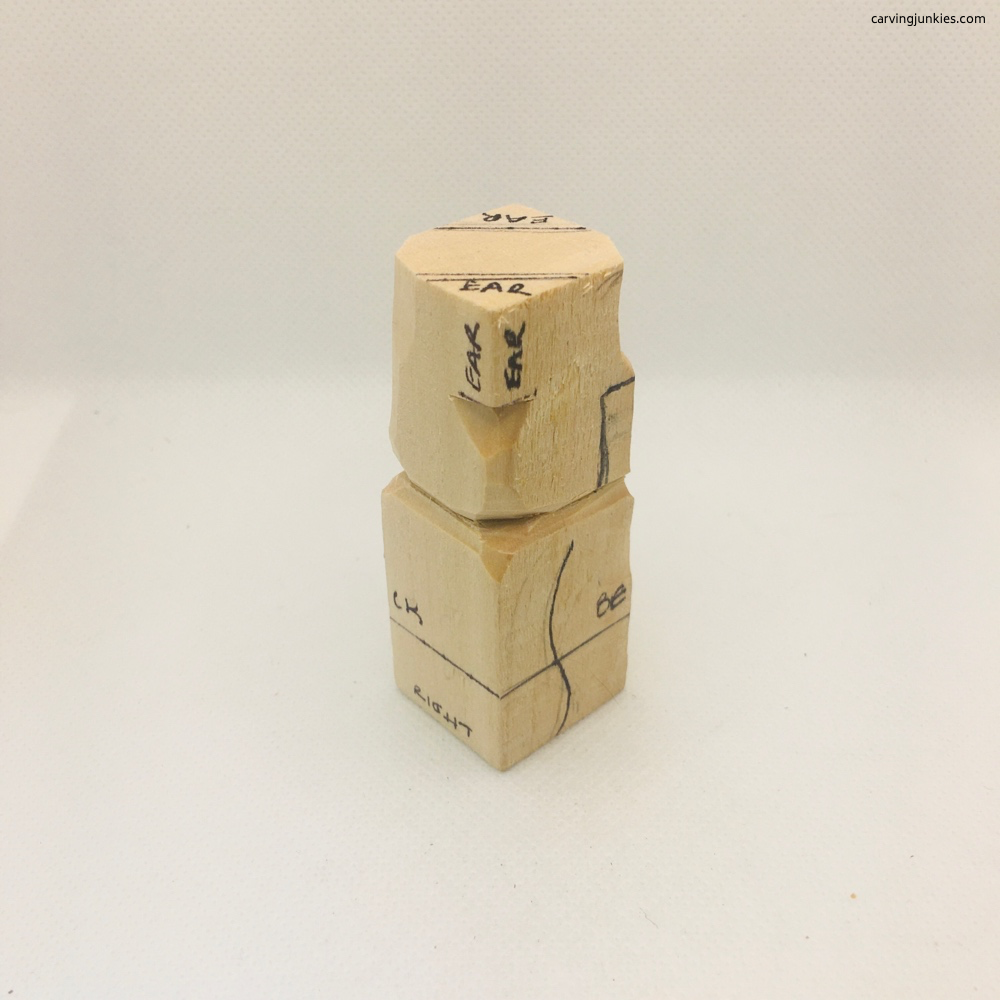 11. Right view
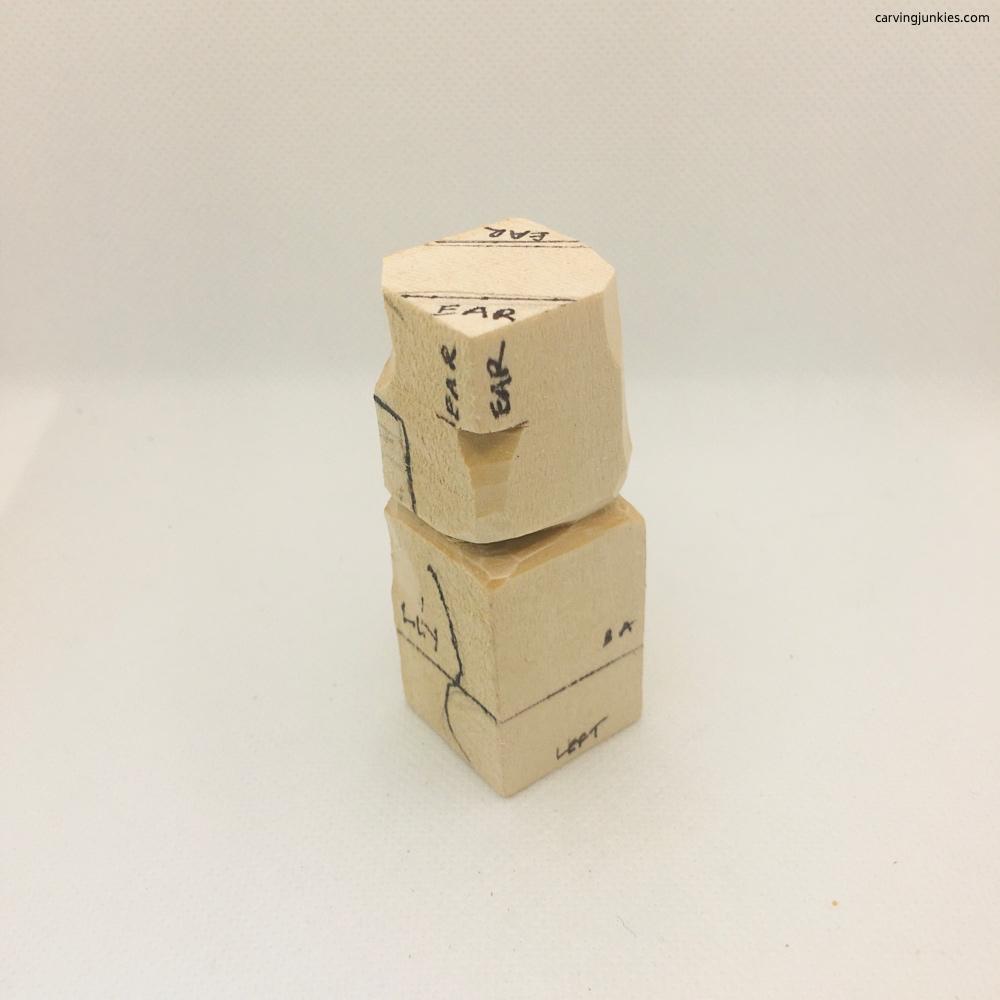 12. Left view
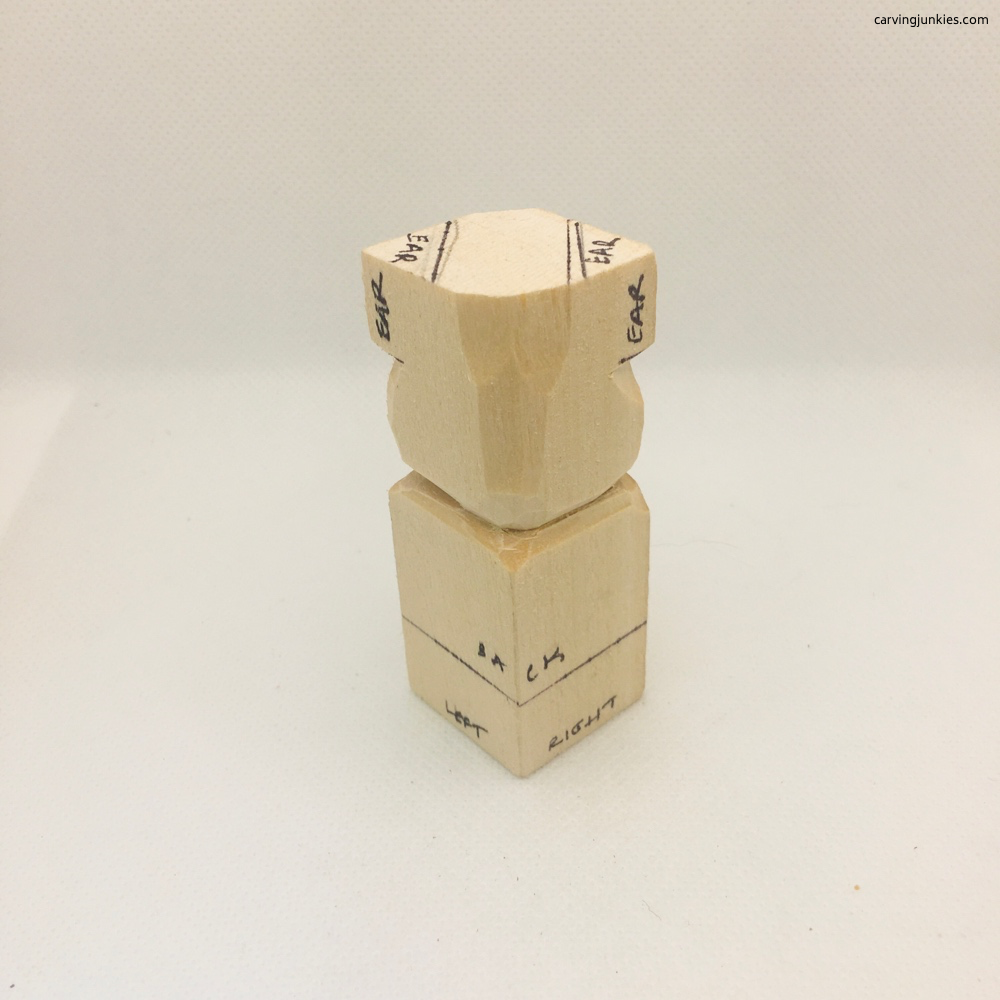 13. Back view (no change)
4. Start the snout
- Use a sweep cut to shave off wood from the top of the snout upward (photos 14,15).
- Shave a little wood off from the sides of the snout (turn the piece so you are not carving against the grain or the wood will split, photos 16-17).
Whittle a bear tip: Rotate your wrist as you shave the wood off and use a super sharp knife.
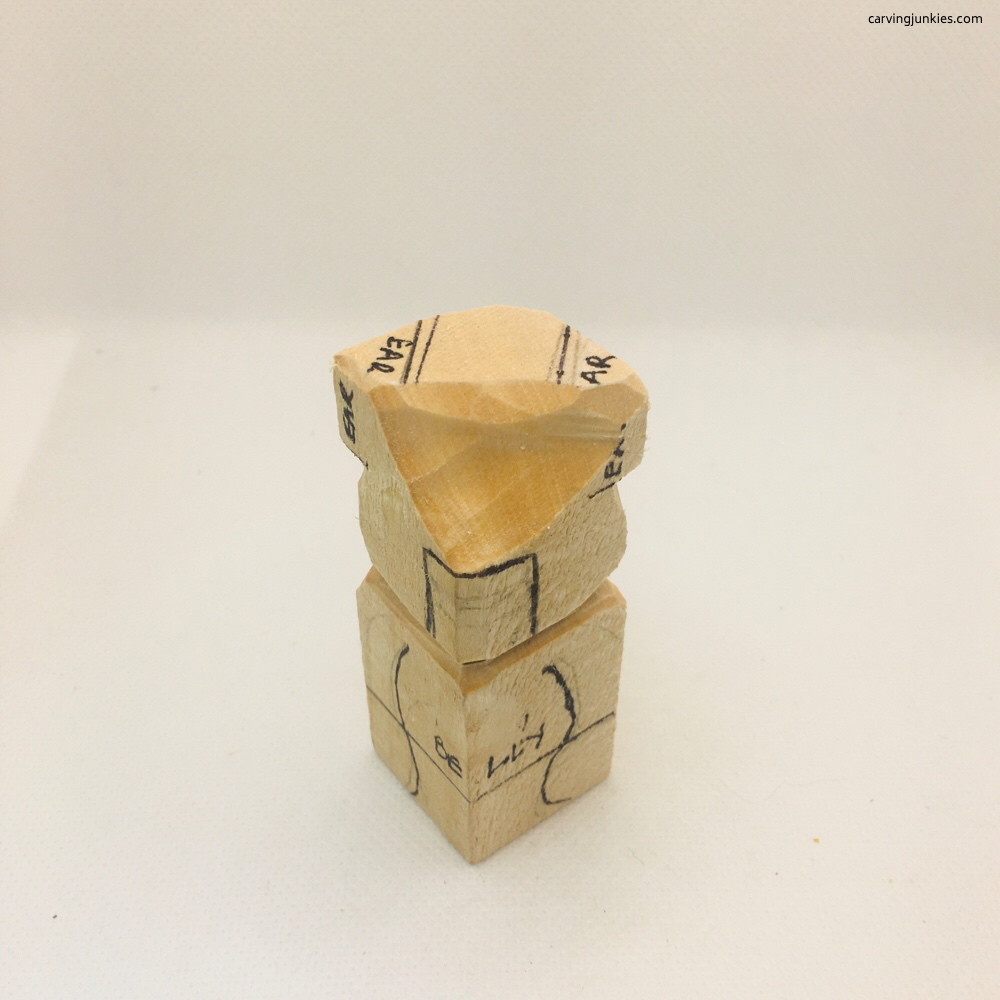 15. Wood is shaved off (front view)
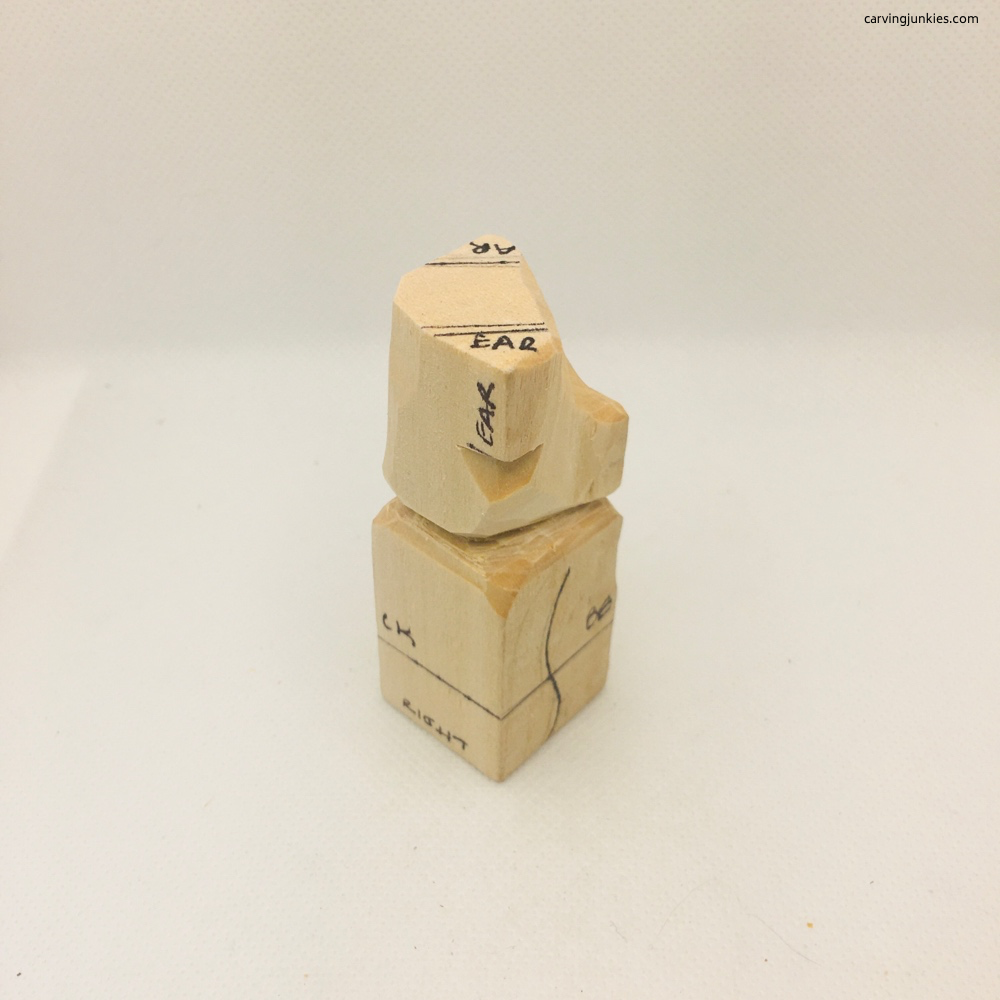 16. Snout is taking shape (right view)
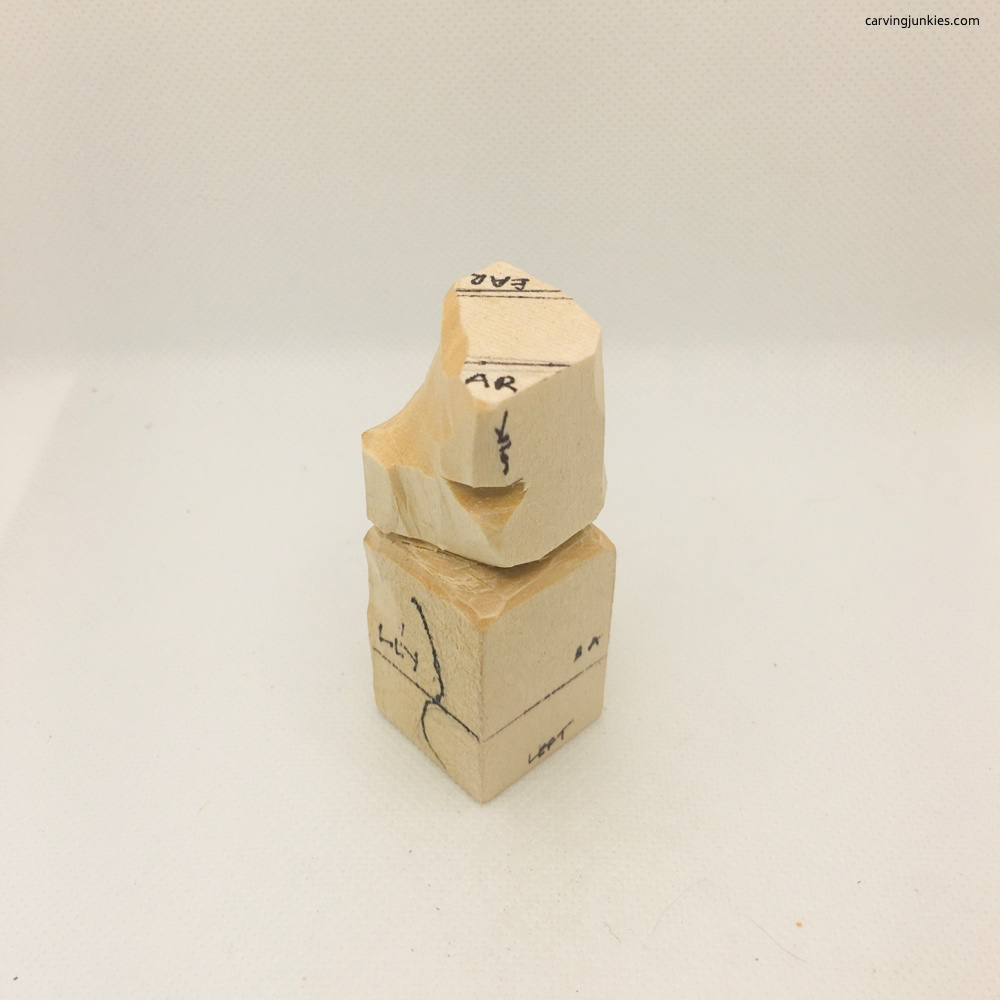 17. Left view
5. Round the corners of the snout
- You will now make a series of 2 cuts in each corner to start to round the snout (photo 18).
- First, make a slight cut under one corner of the snout (photo 19) but don't cut in too far.
- Then, cut into your first cut to easily remove the wood (photos 20, 21).
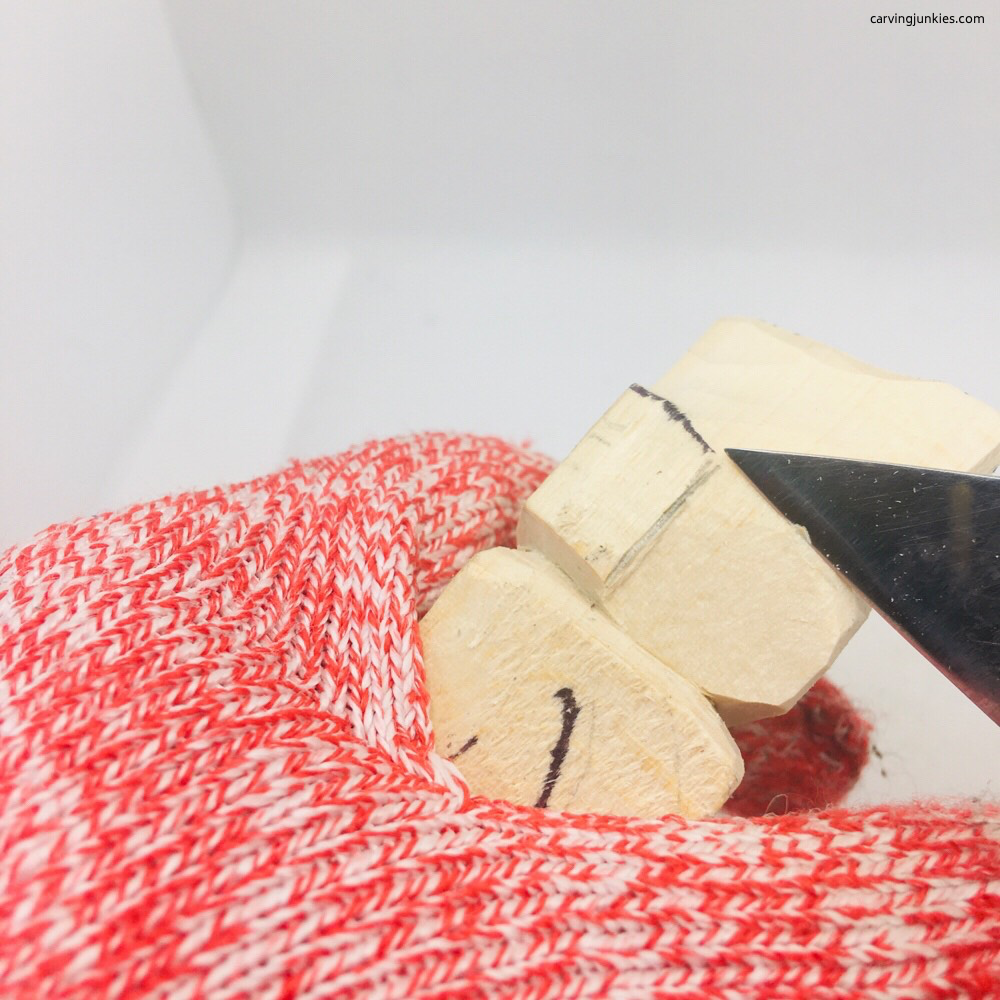 18. Getting ready to cut the corners down
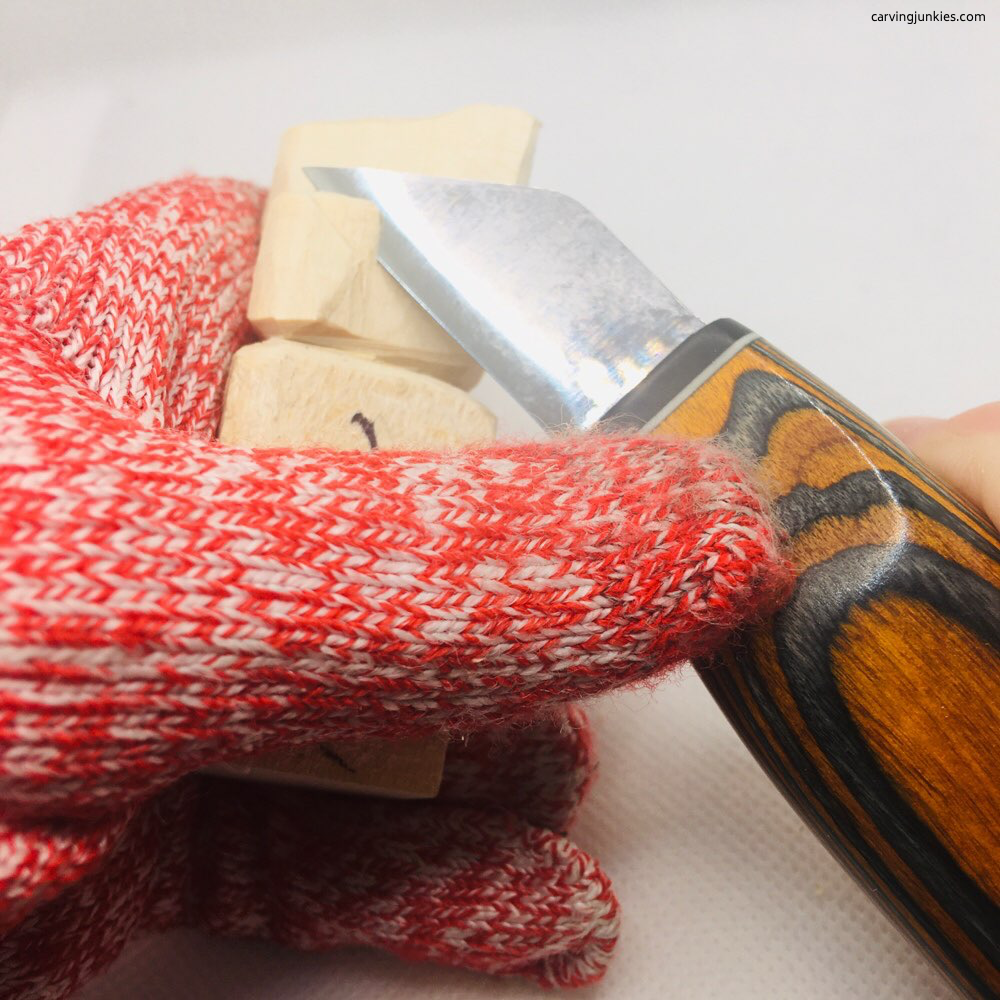 19. Making the first cut
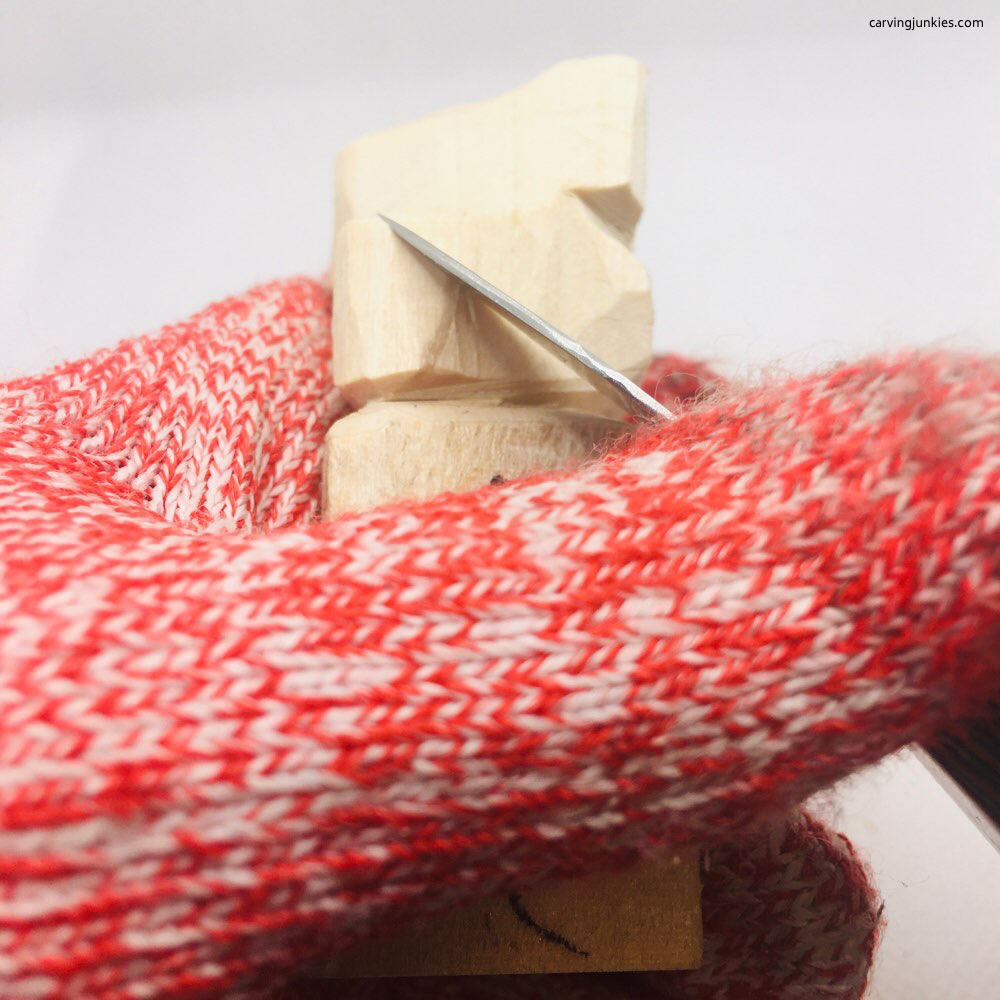 20. Making the second cut
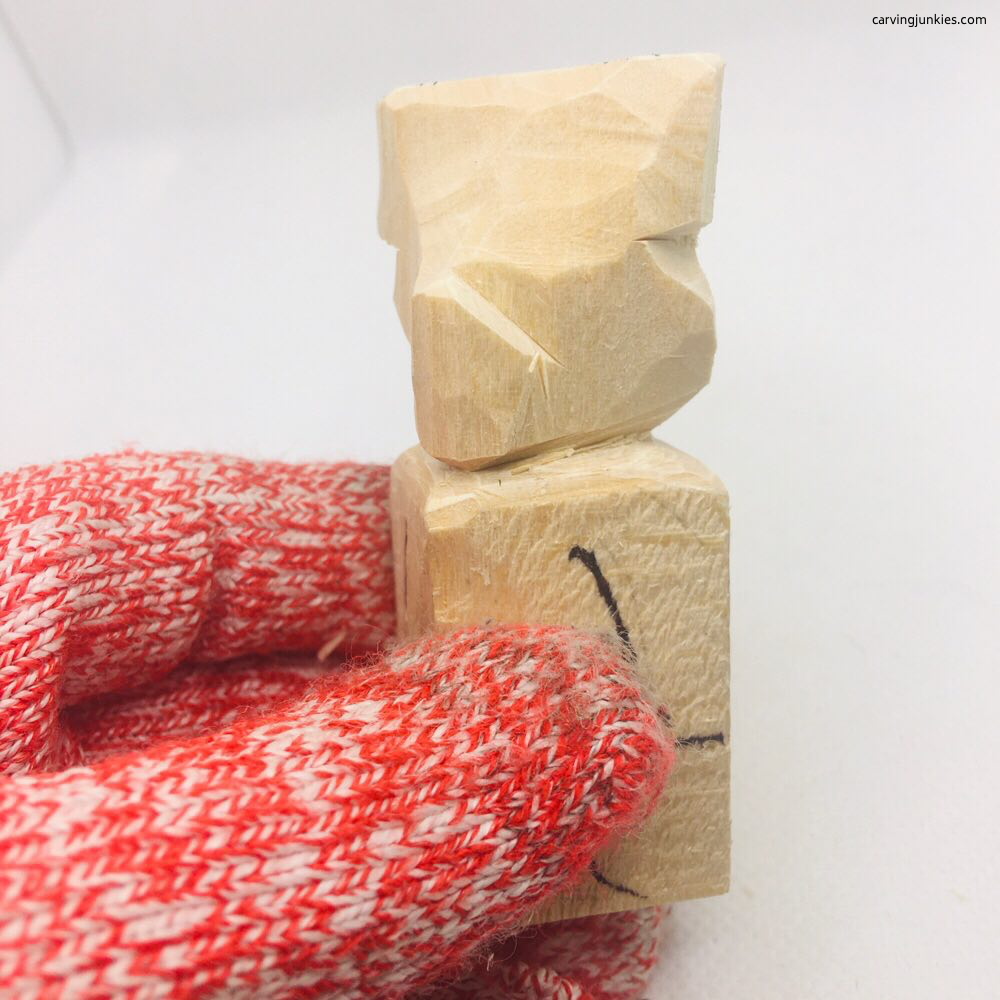 21. Completed cut
6. Continue to round the snout
- Continue removing wood to shape and round the snout (photos 22-25).
- Use a sweep cut to set up the eye sockets (photo 22).
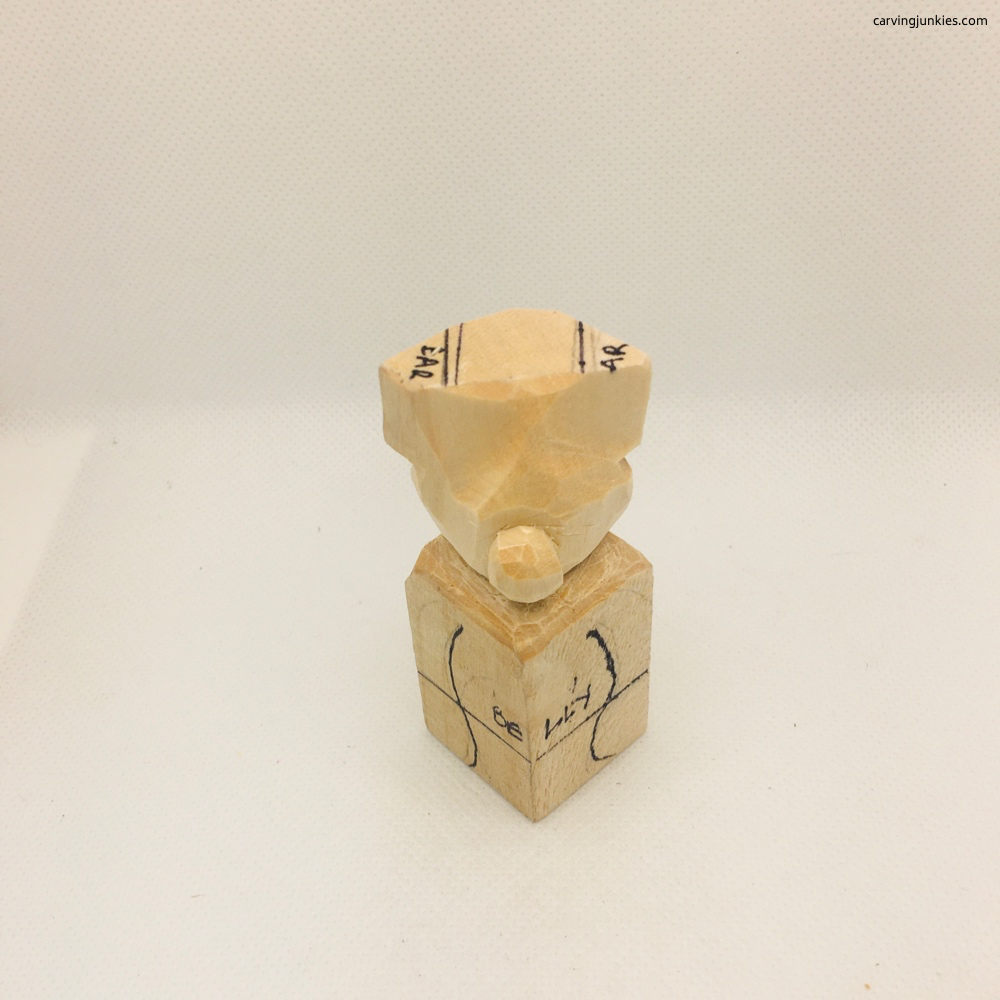 22. Nose is rounded
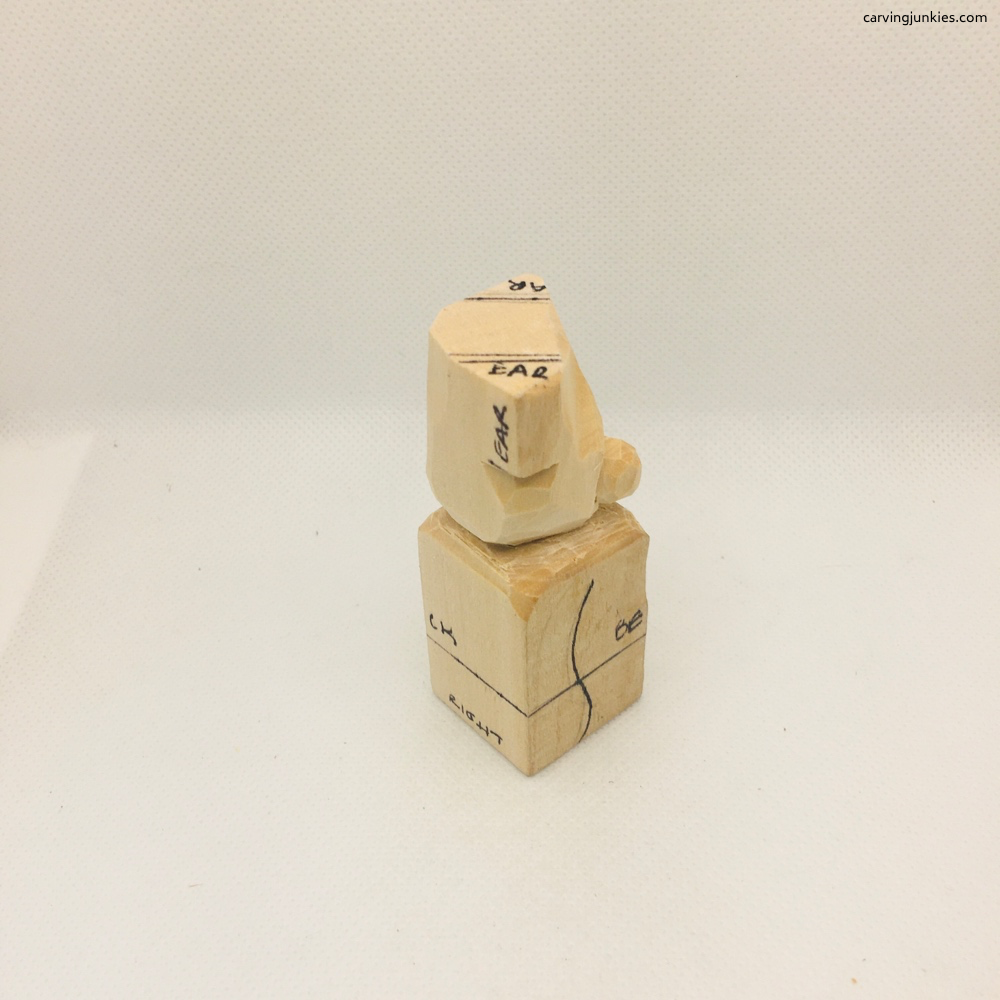 23. Right view
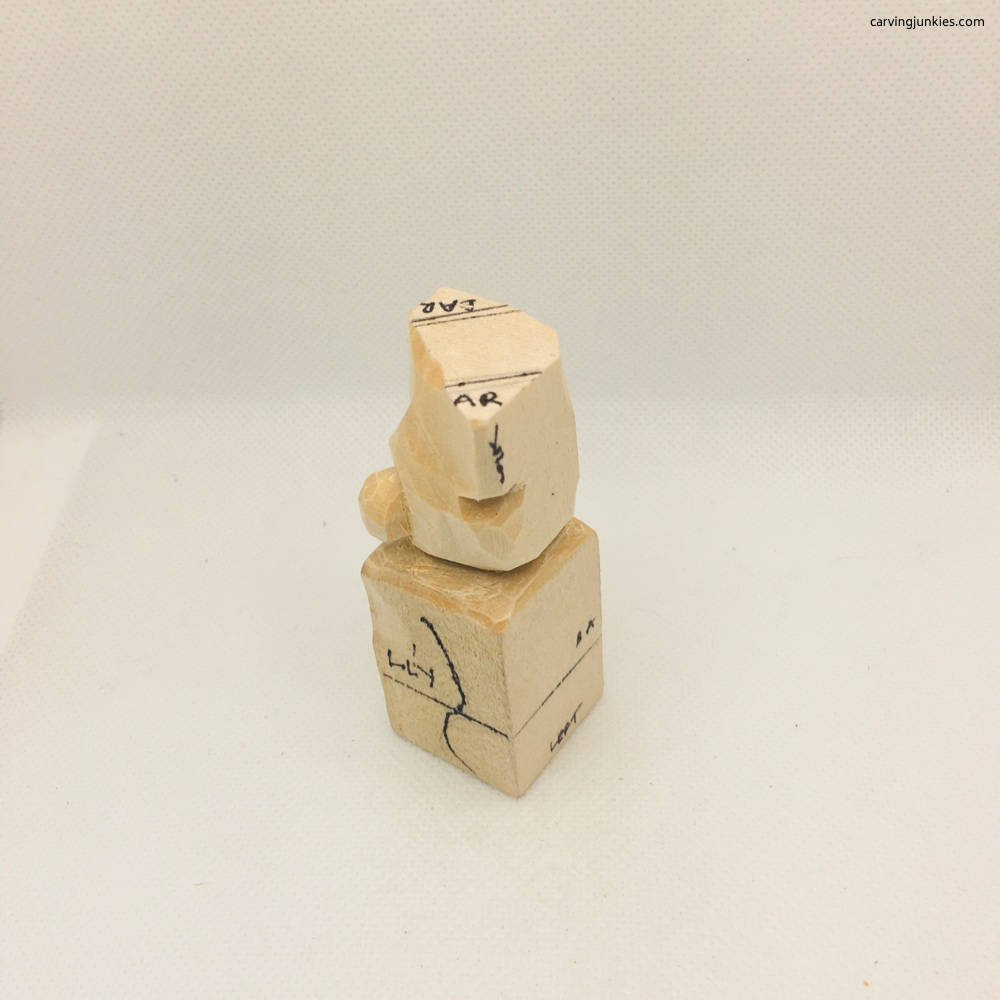 24. Left view
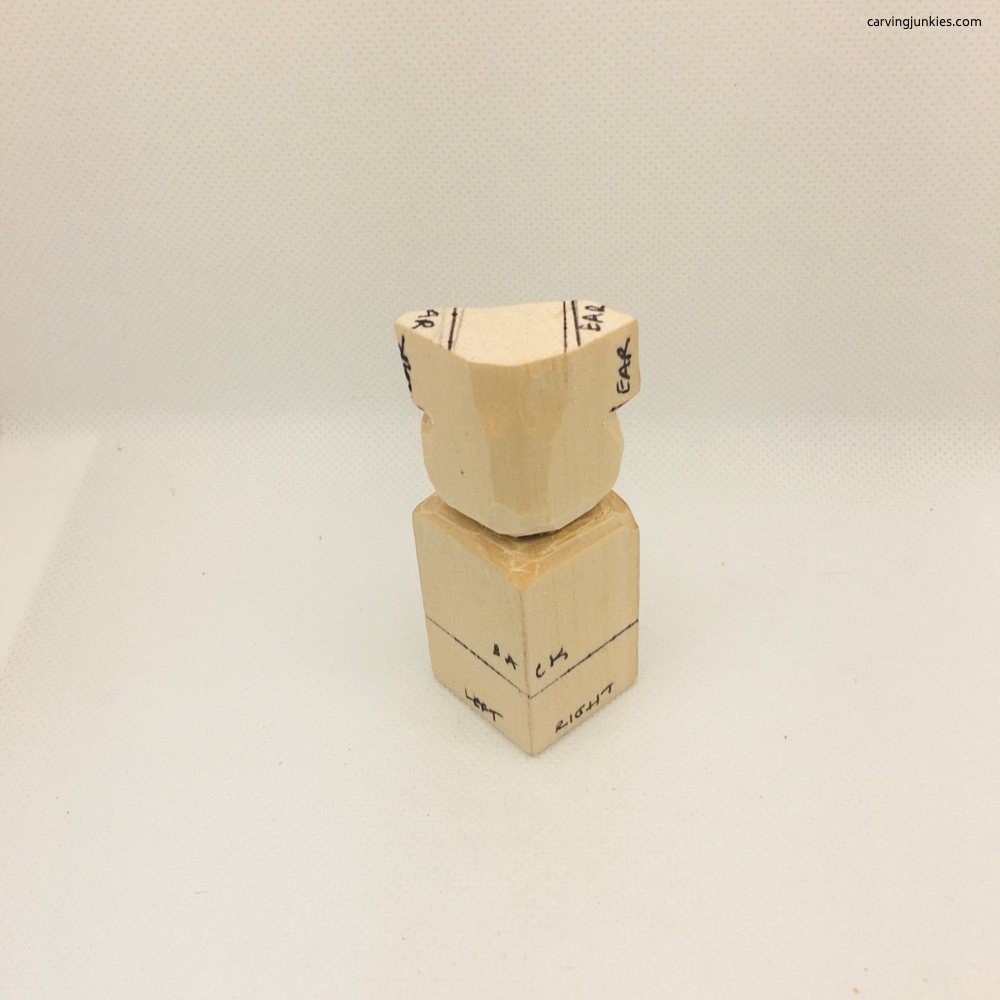 25. Back view (unchanged)
7. Shape the lower body
- Round the corners on the lower body.
- Narrow the neck (photo 26).
- Draw where the arms will go on the front (photos 27, 28).
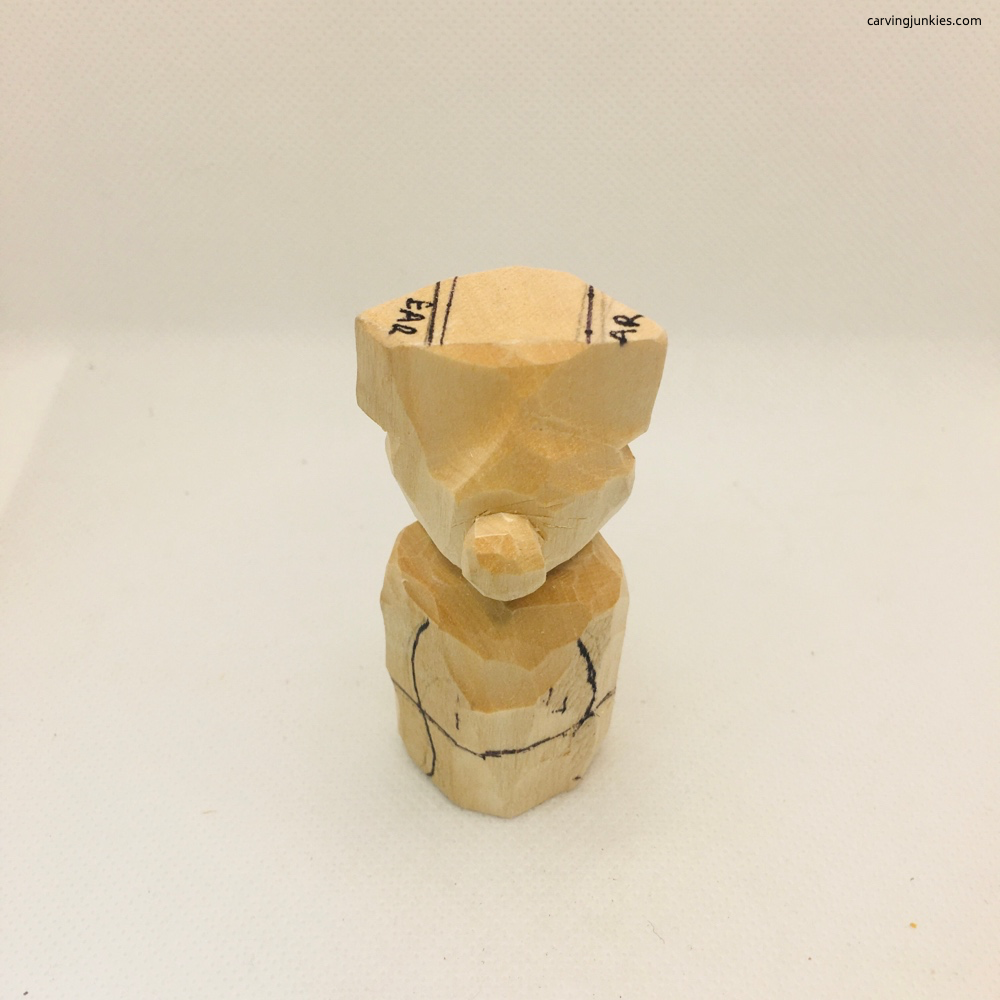 26. Neck is narrowed and arms are drawn
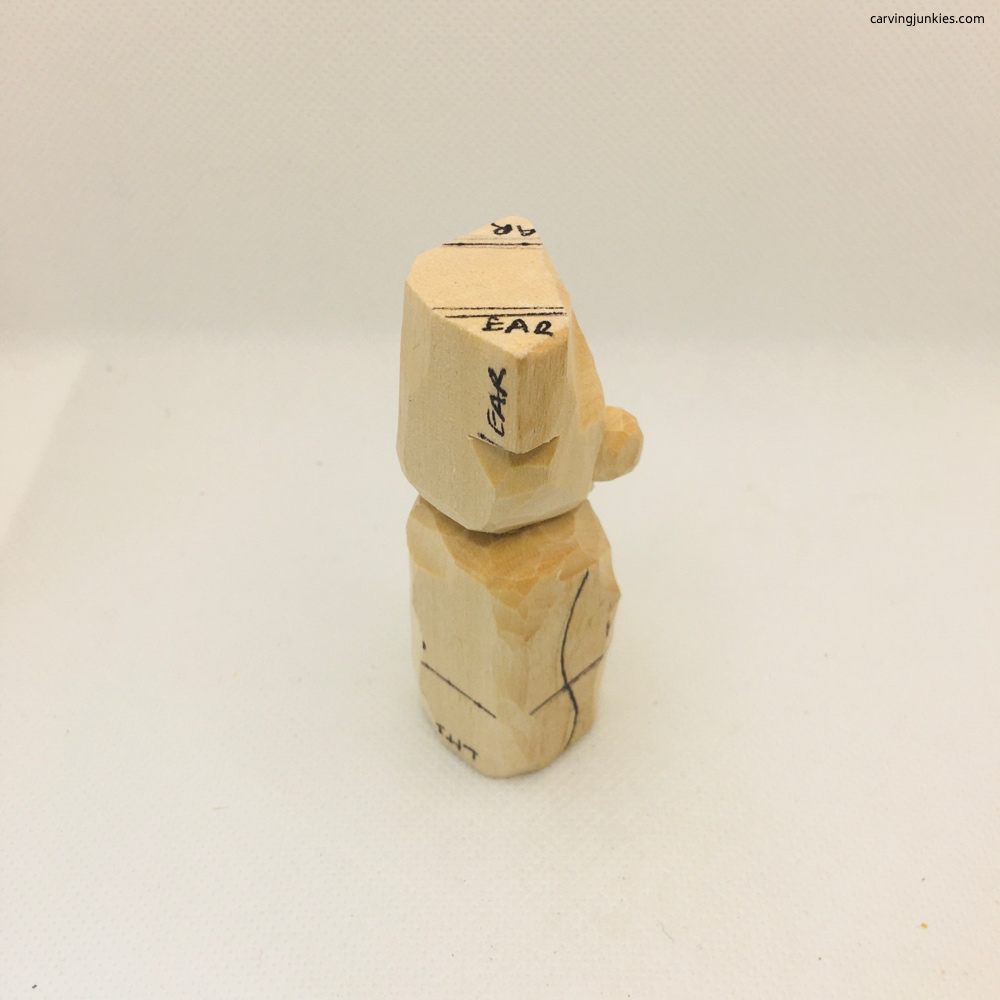 27. Right view
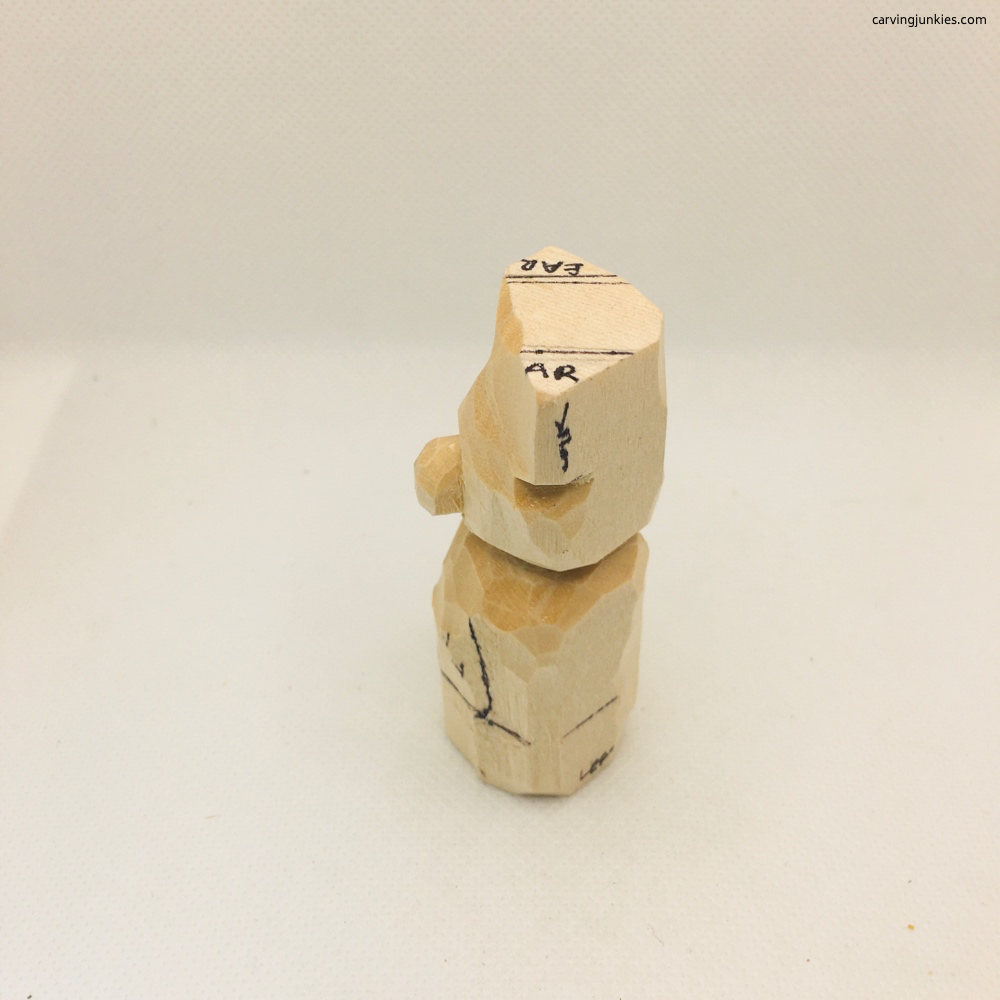 28. Left view
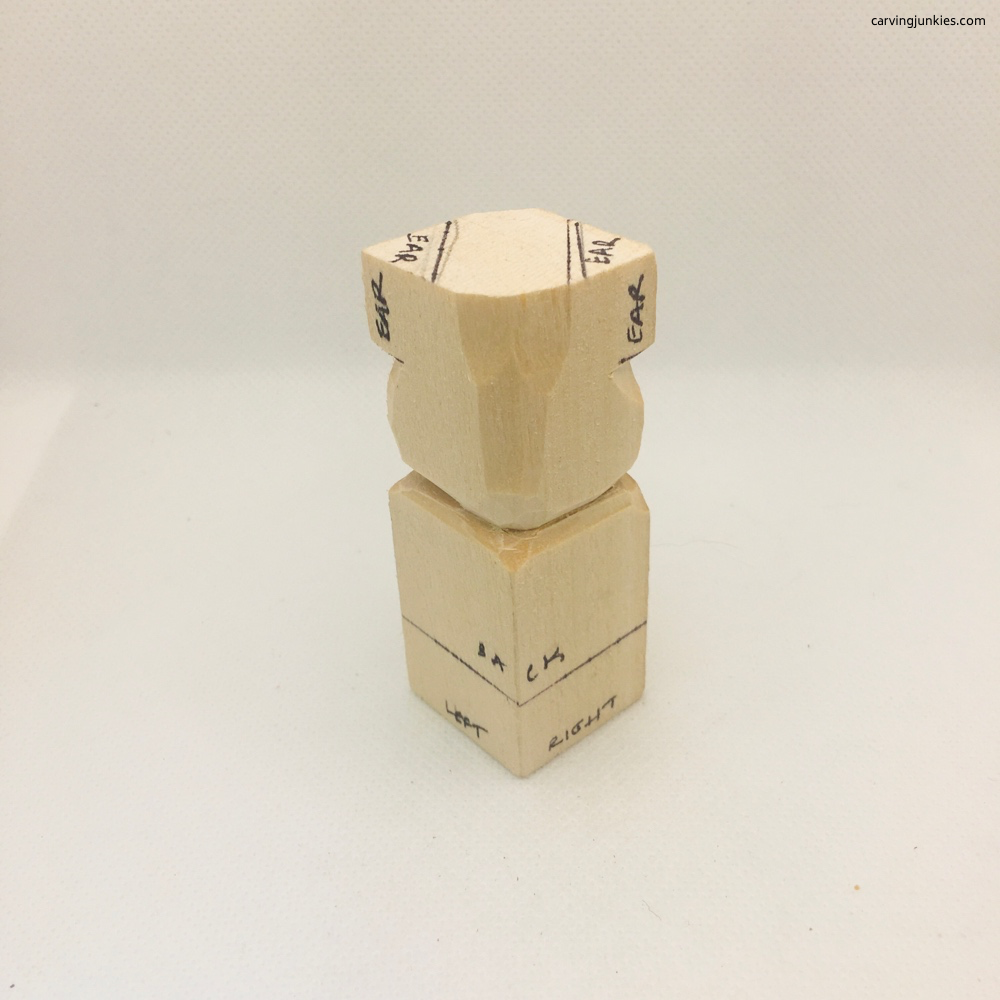 29. Back view
8. Separate the legs
- Use stop cuts to separate the legs from the lower body in the front, removing wood from underneath (photo 30).
- Make small V-cuts to indicate where you will split the legs (photo 30).
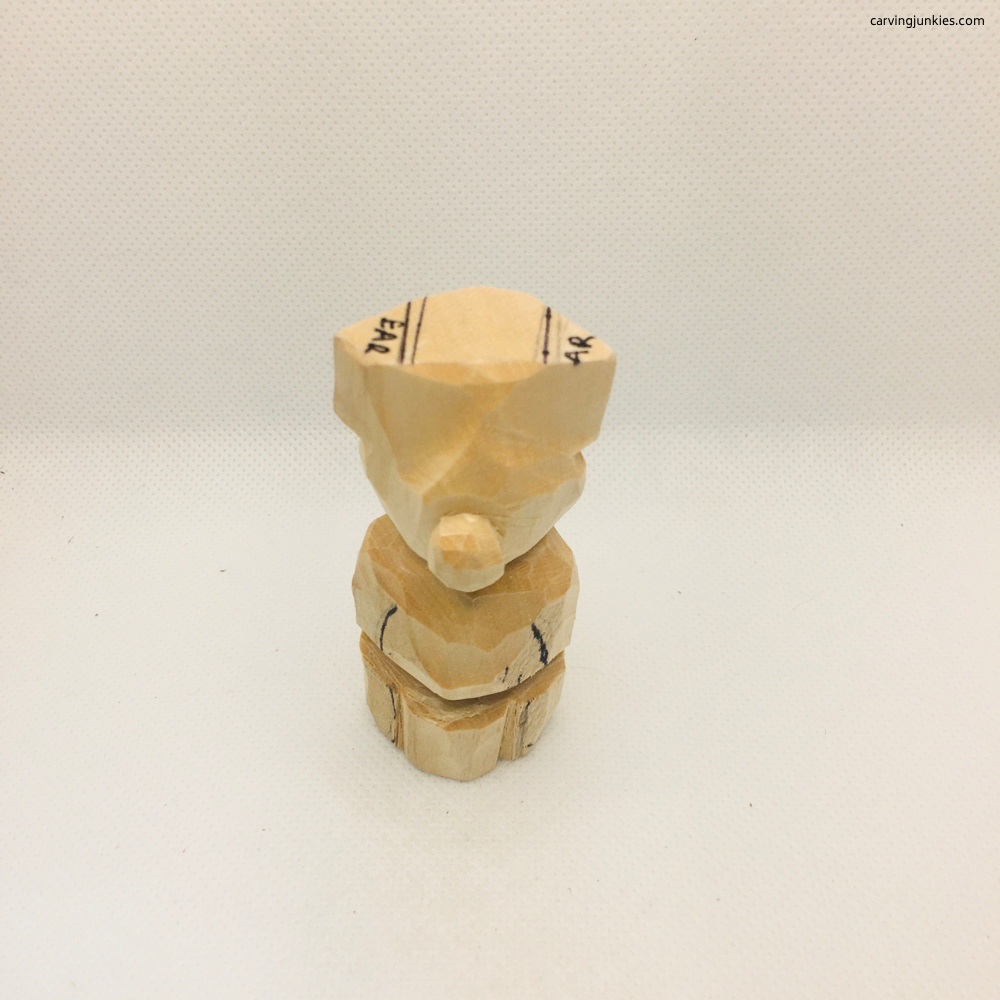 30. Lower body is separated from the legs
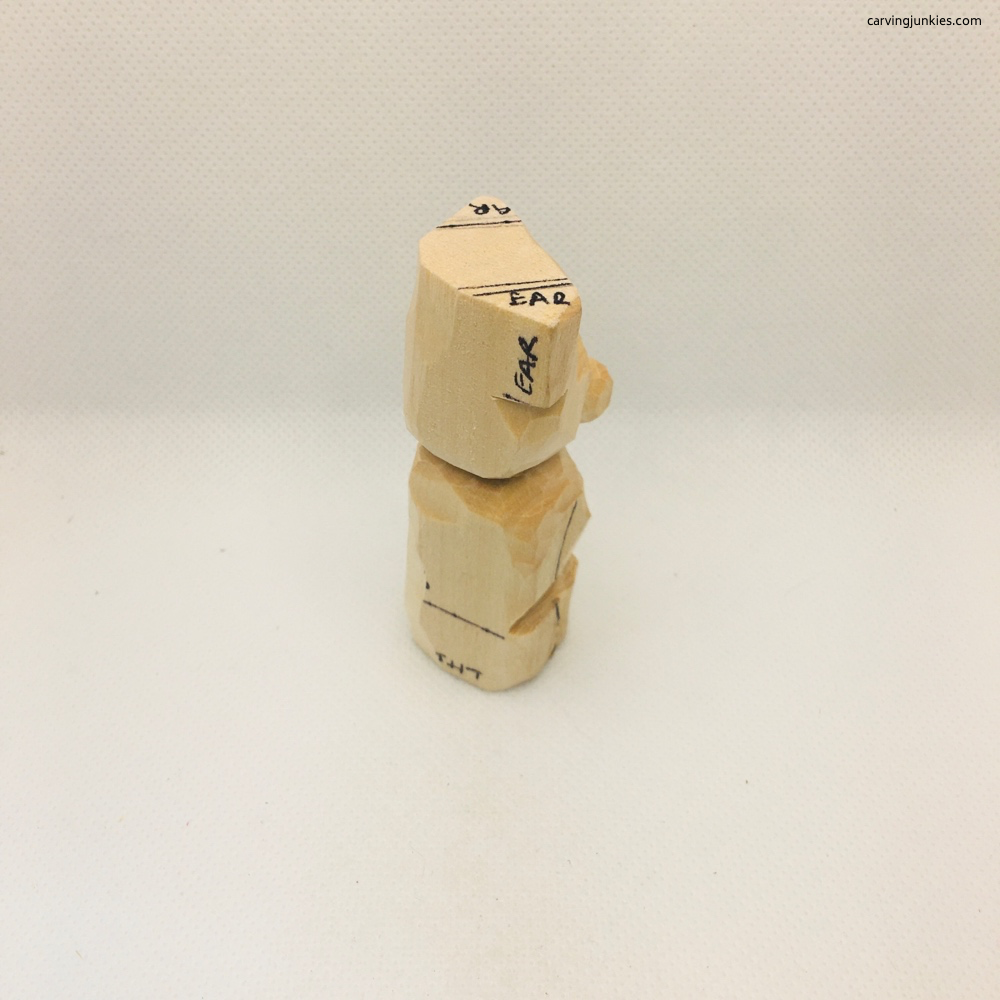 31. Right view
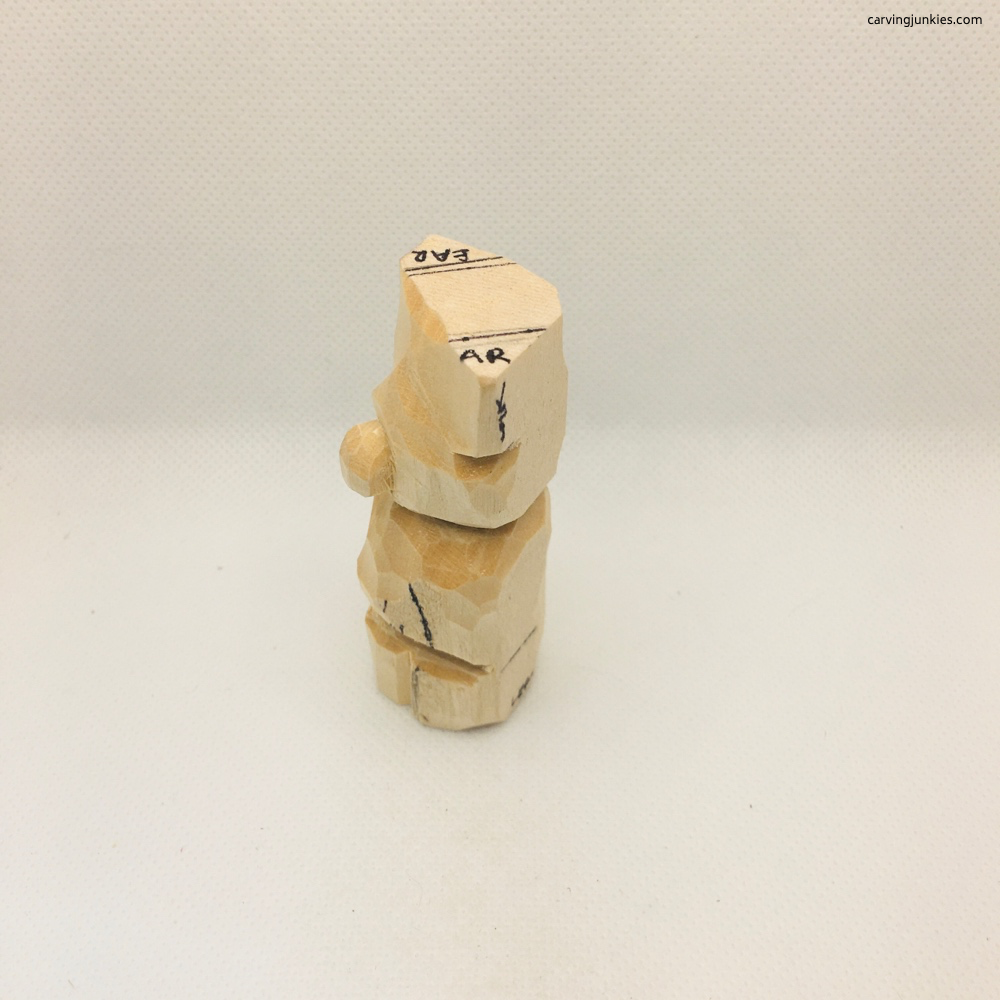 32. Left view
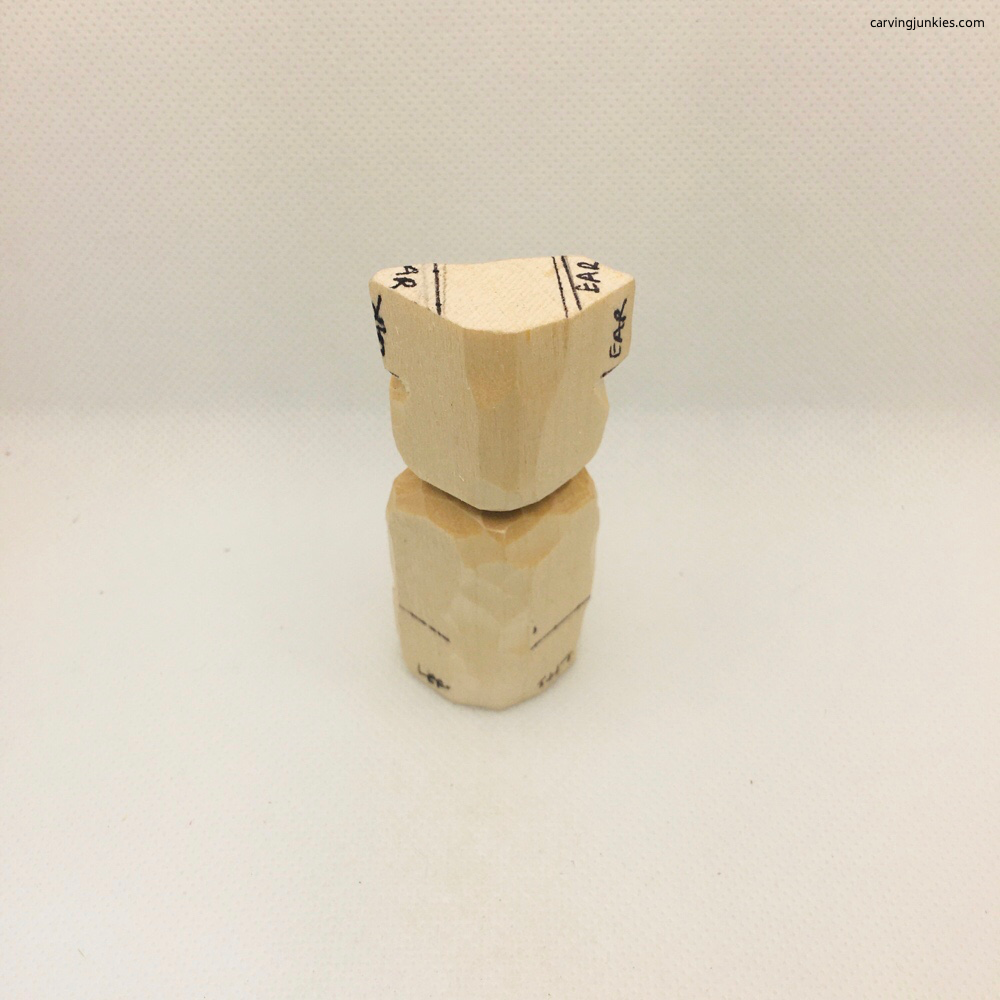 33. Back view (legs will be split later)
9. Split the legs (about halfway)
- Use a V-cut to split the legs (photo 34). You may have to make more than 1 V-cut so try to keep your cuts clean and be sure your bear can stand without wobbling.
- Once the legs are split you can round the underbelly (photo 34).
Whittle a bear tip: if your carving is wobbly you can glue the honeypot to the bear for stability.
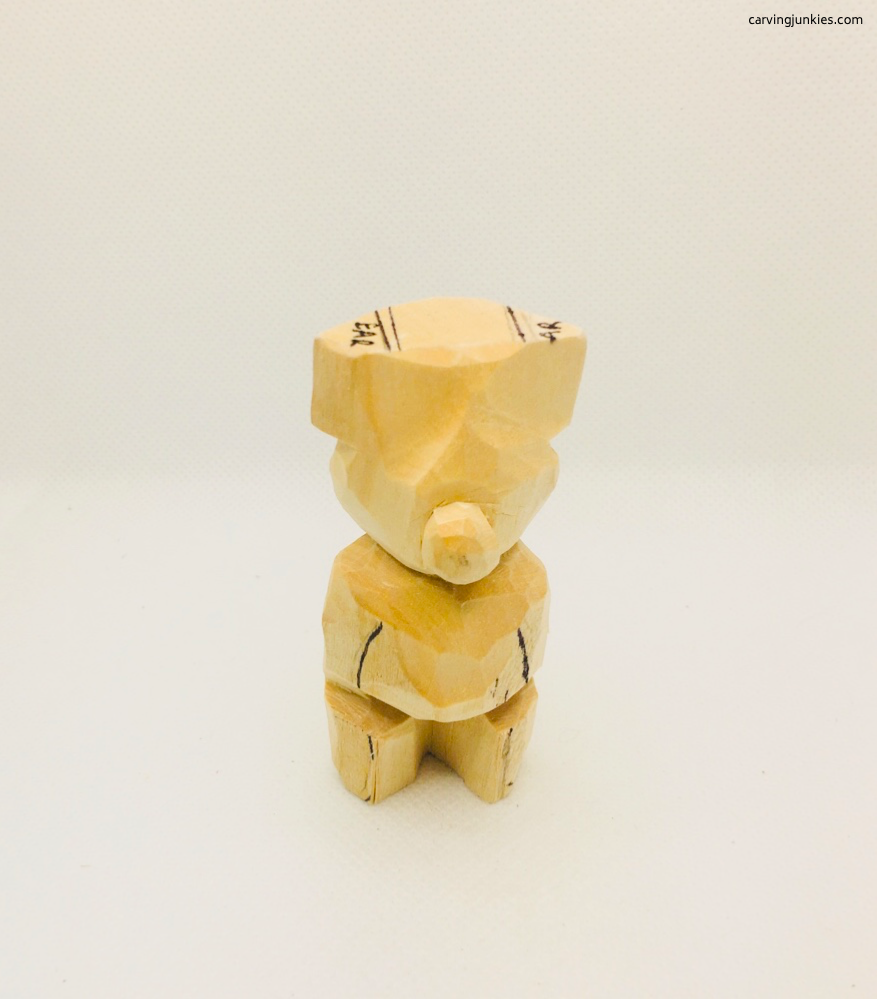 34. The legs are split (about halfway)
10. Shape the ears
- Sketch on the ears (photo 35).
- Carefully round the outer corners of the ears (photos 36-39). Do not thin them until after you complete the next step (to avoid breaking them).
- The top of the head (end grain) can be difficult to whittle. Very carefully make a small V-cut in the left inner corner of the ear. Continue to use a V-cut to separate the left ear. Repeat on the other corner for the right ear. Then you can more easily remove the wood between the ears and thin them down (photos 36-39).
- Use a magic marker to mark where you will paint the eyes (photo 36).
- Shape and round the entire bear to your liking (photos 36-39).
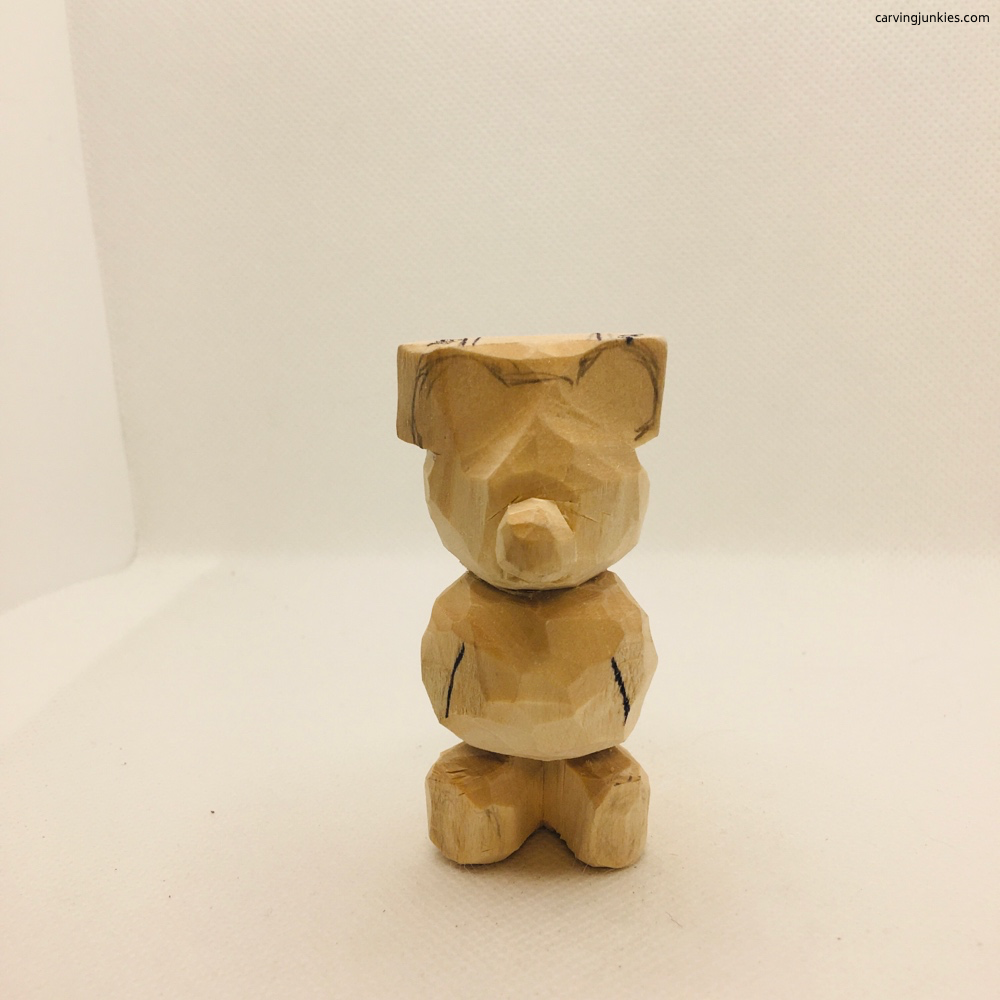 35. The ears are drawn
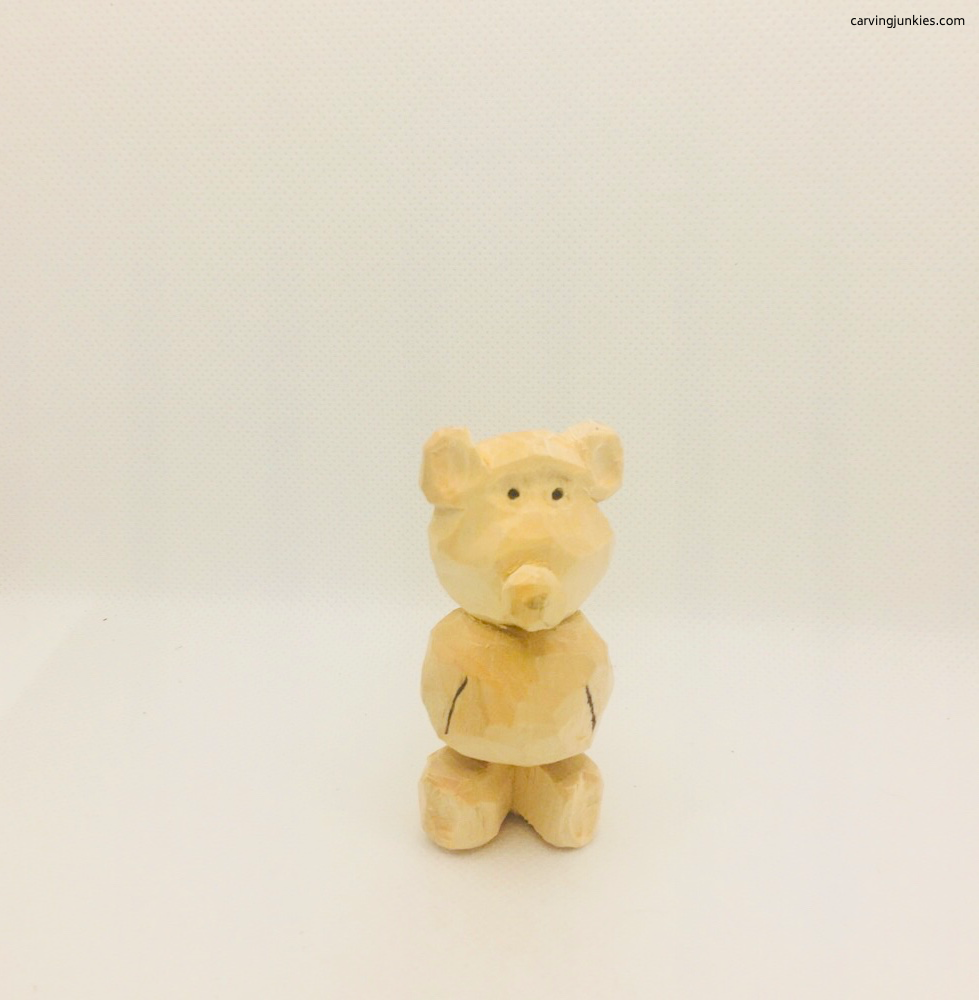 36. Ears are separated and rounded
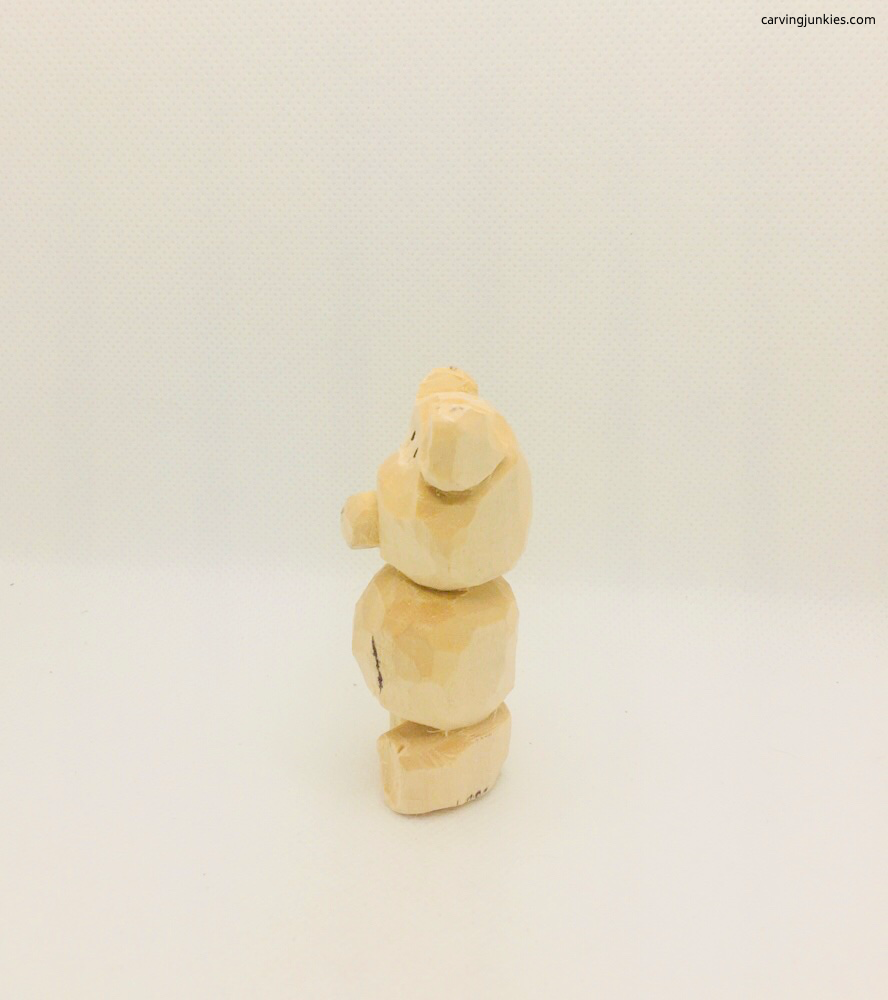 38. Left view
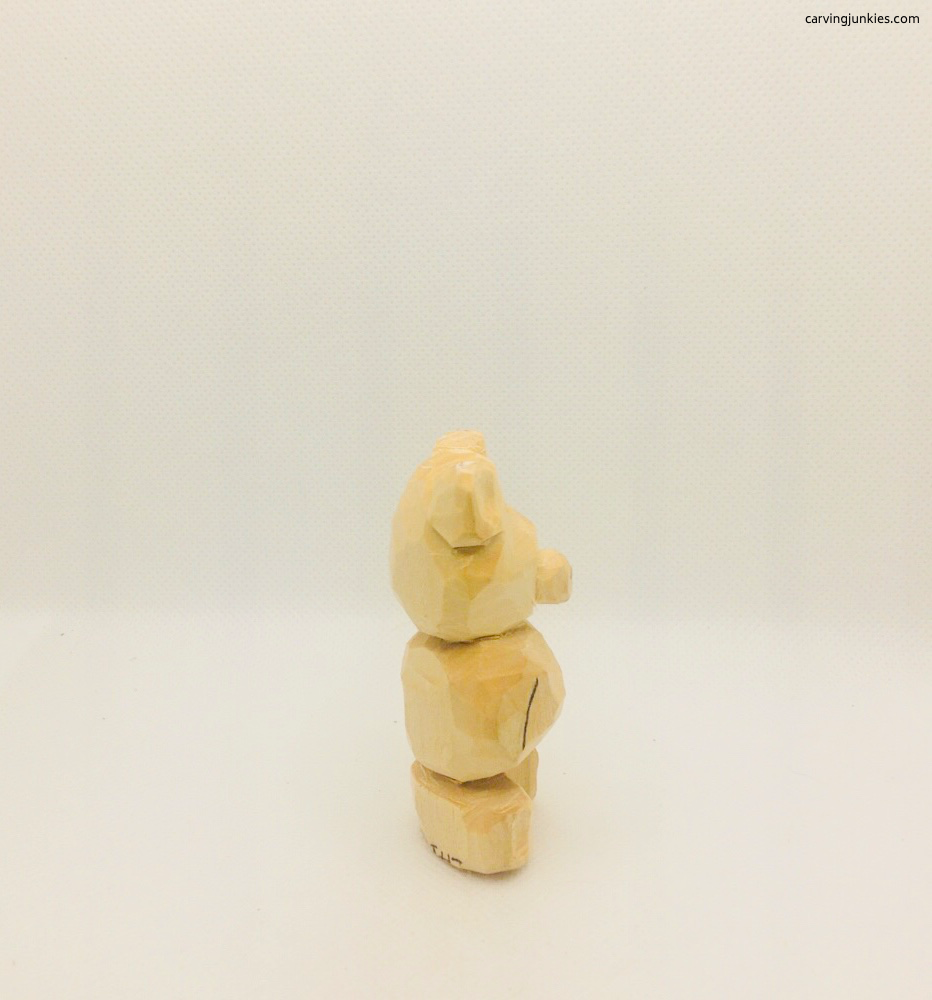 37. Right view
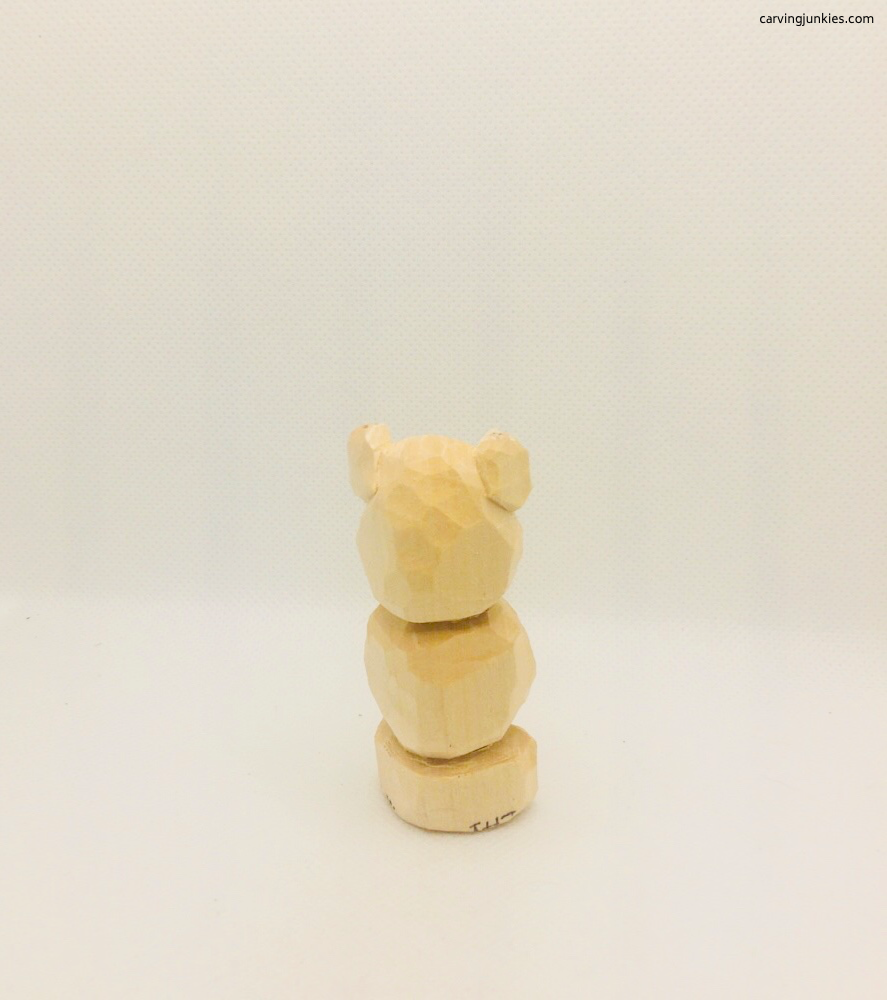 39. Back view
11. Add the details
- We use a U gouge (photo 40) to remove wood from the inner ears and foot pads (start from the top and go halfway, then turn and cut in from the other direction).
- Use your knife to shave some wood off below the cheeks (photo 41).
Whittle a bear tip: Don't have a U gouge? Make a cut down the middle with a detail knife and carefully remove wood from each side.
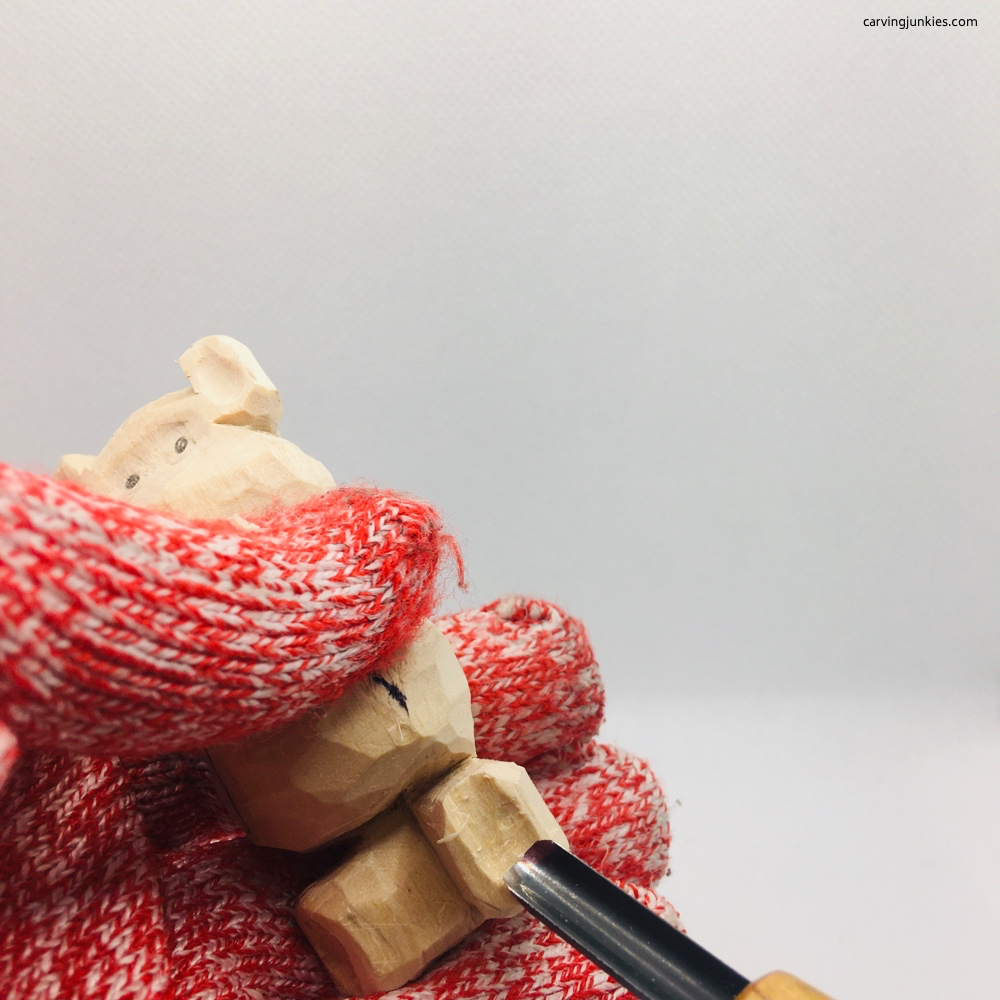 40. Removing wood to create the pad of the foot
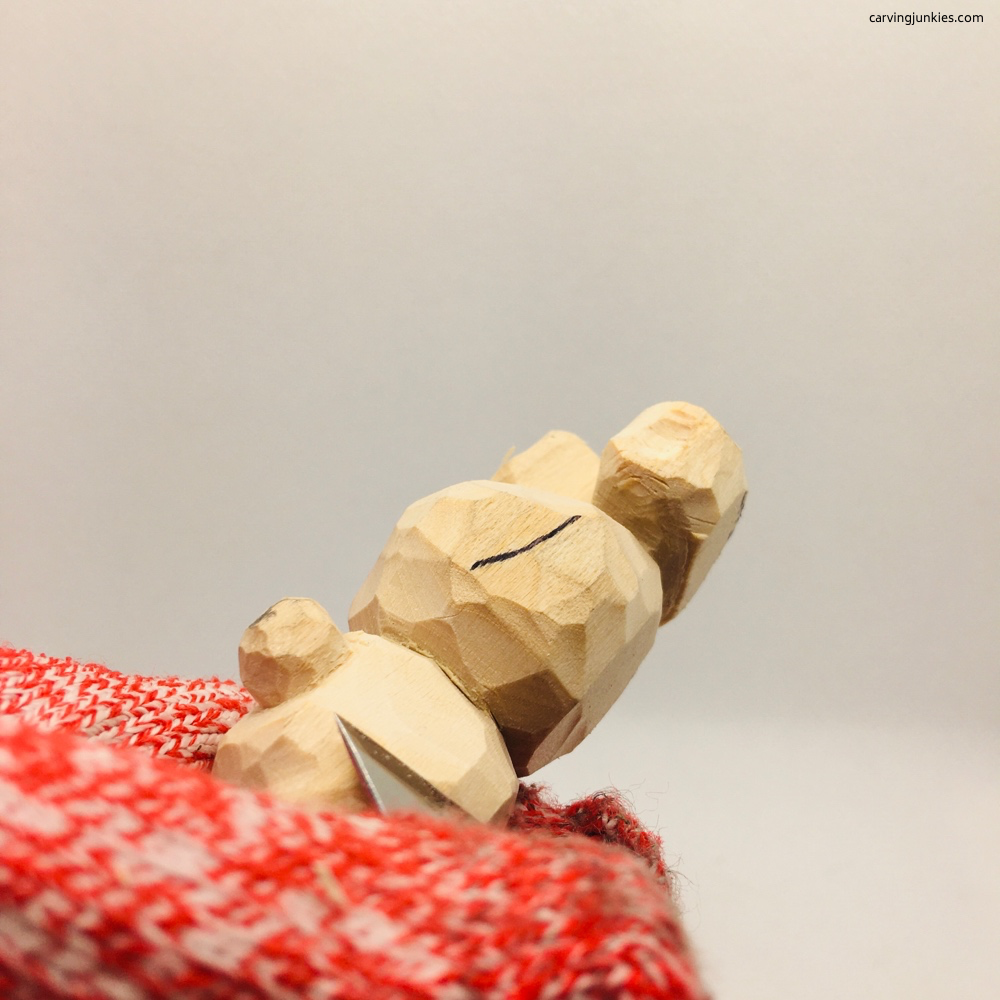 41. Shaping the cheeks
12. Finish whittling the bear
- Use a V-cut to define the arms on the front (photo 42).
- Draw and cut lines for the arms on each side (photos 43, 44).
- Use a V-cut to slightly split the back legs (photo 45).
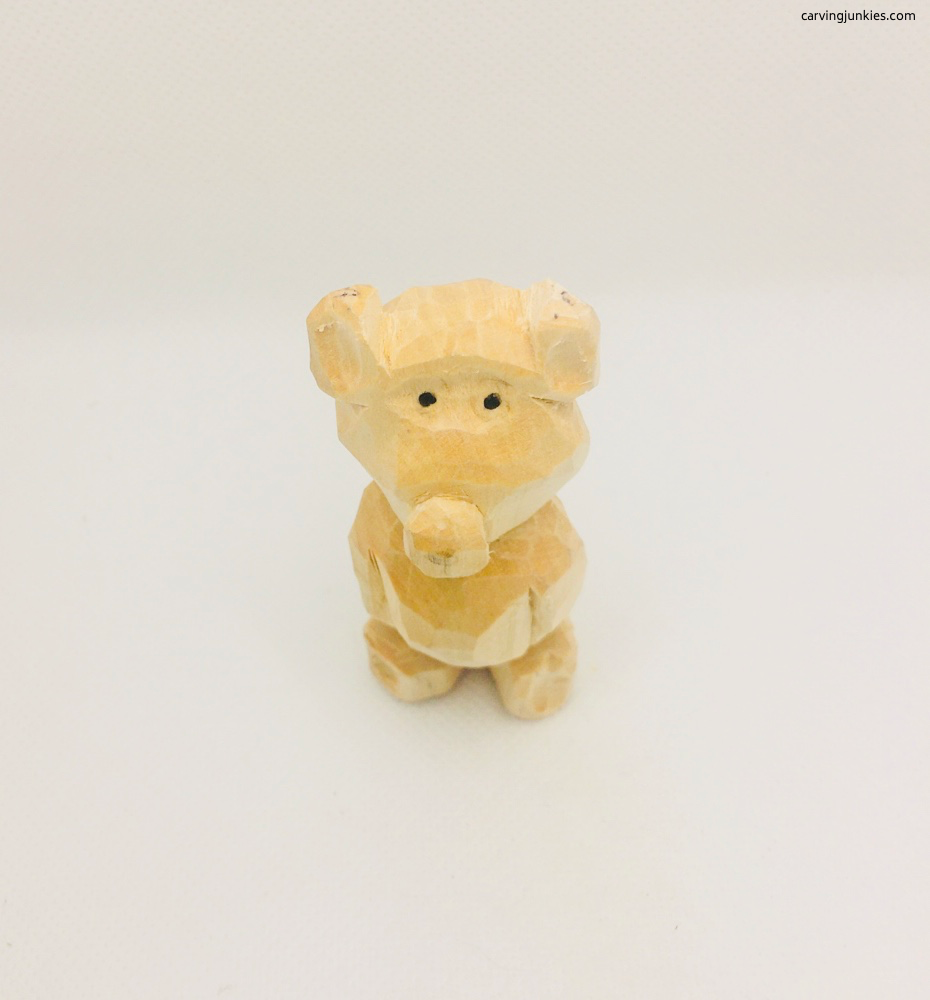 42. The arms are defined
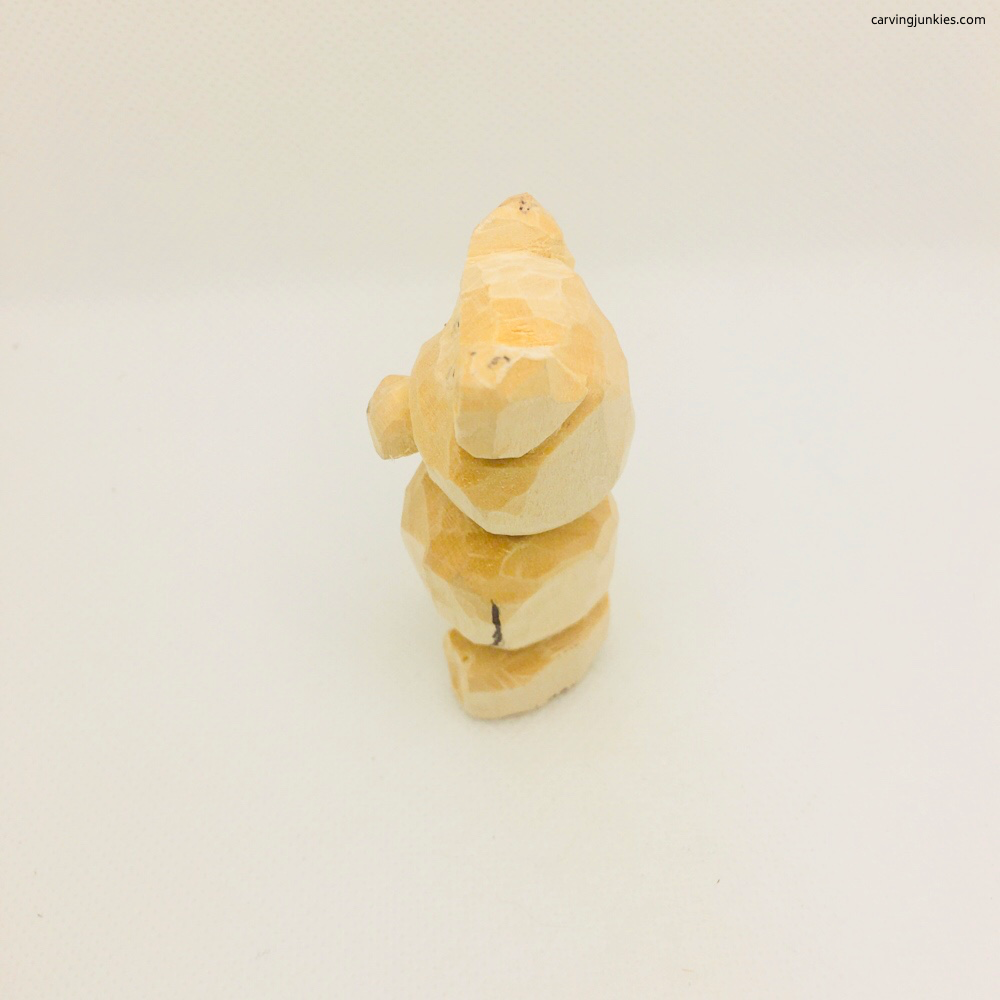 44. Left view
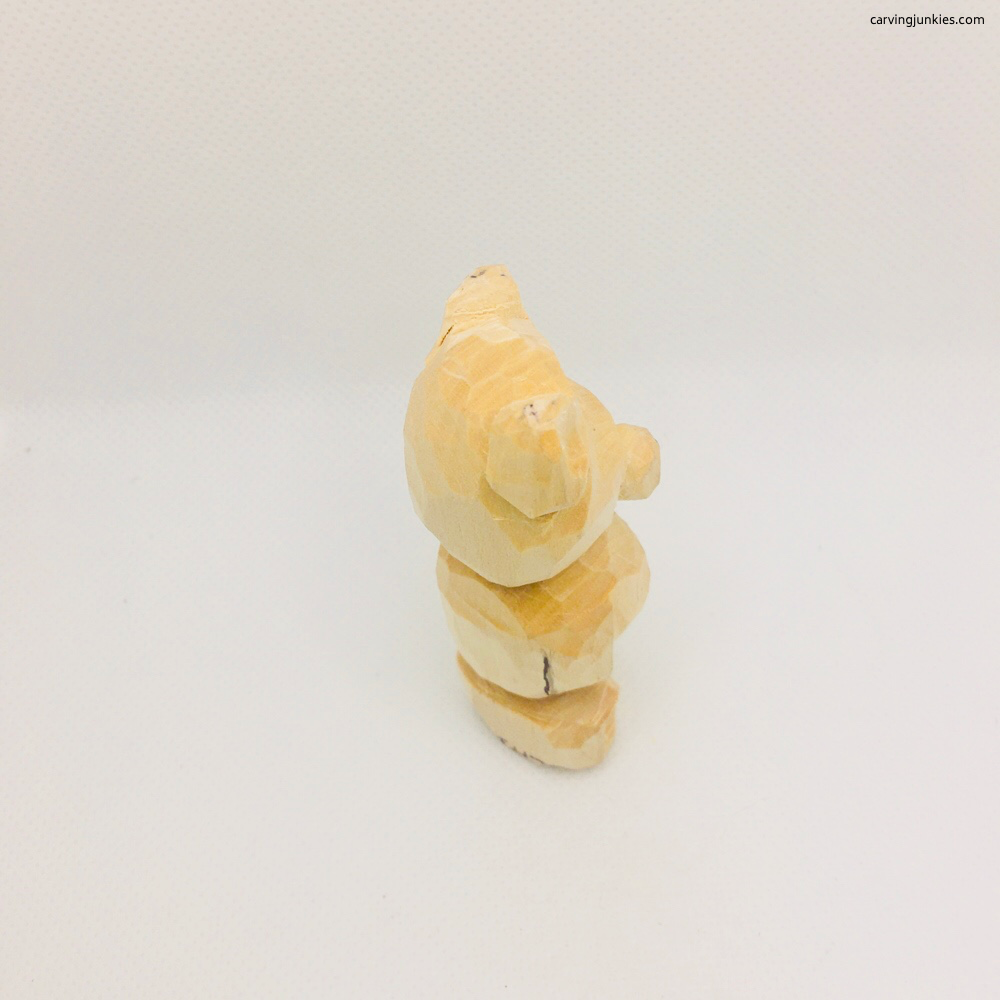 43. Draw and cut outer arm (right view)
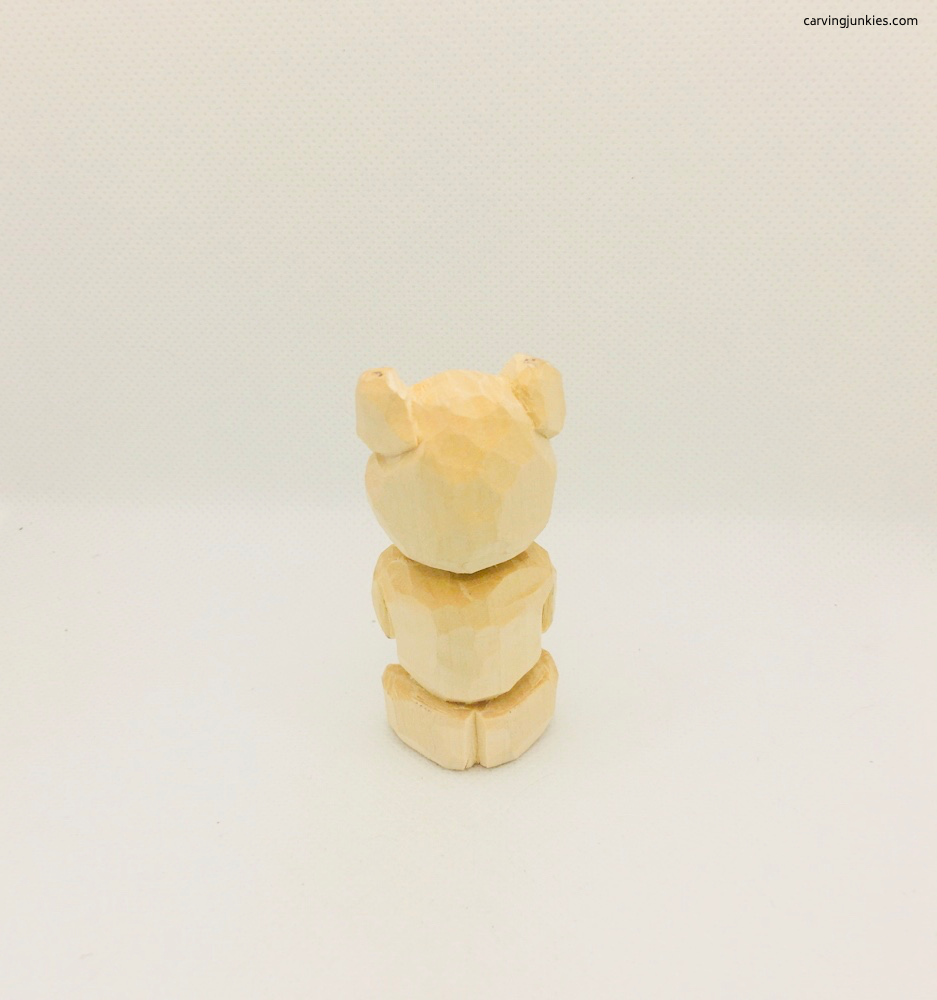 45. Back legs are slightly split
13. Whittle a bear tutorial accessories (optional)
- Use a small piece of scrap wood to whittle the honeypot. Add an H, if you want (photos 46, 47).
- Carve the body of the bee from scrap wood. Keep slicing wood off the bottom to make it as flat as possible (photo 48).
- Glue the pieces of the bee together using wood glue (photo 49).
Whittle a bear tip: you can shape the body and wings using a small sharp pair of scissors.
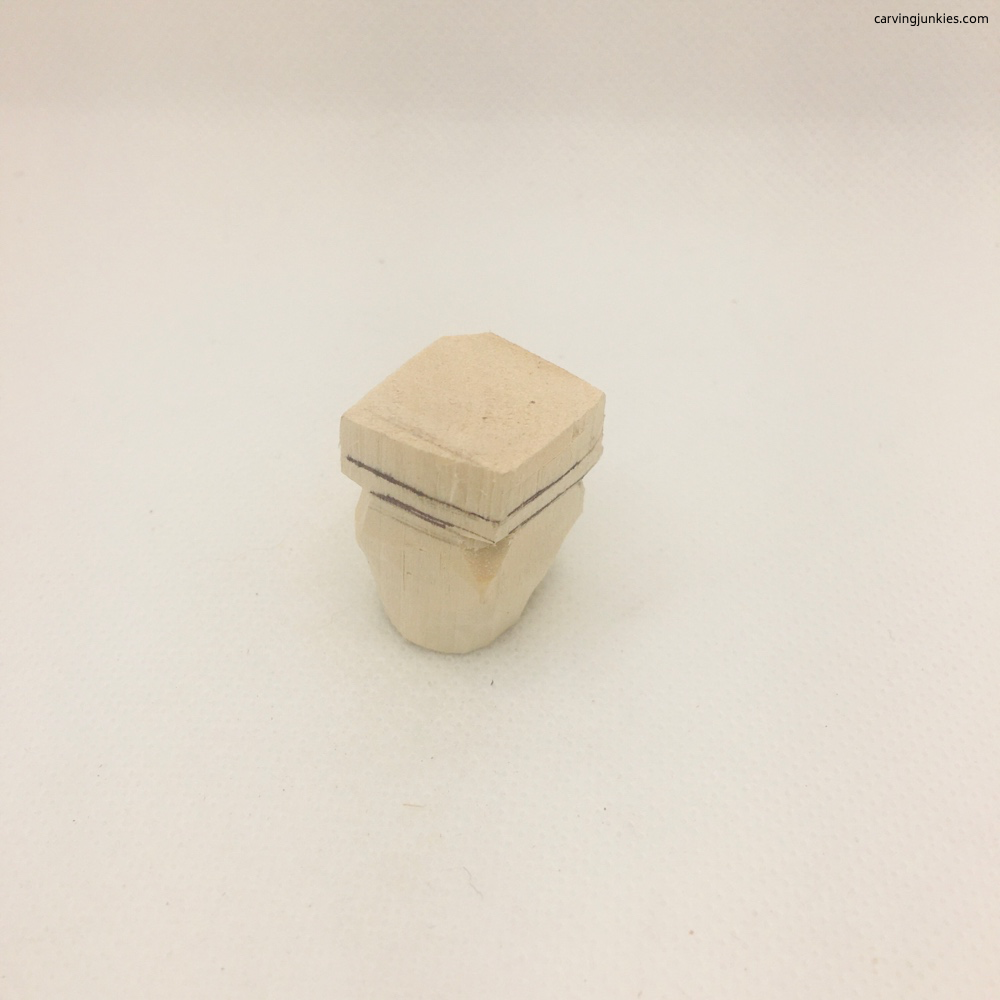 46. Shape the honeypot from scrap wood
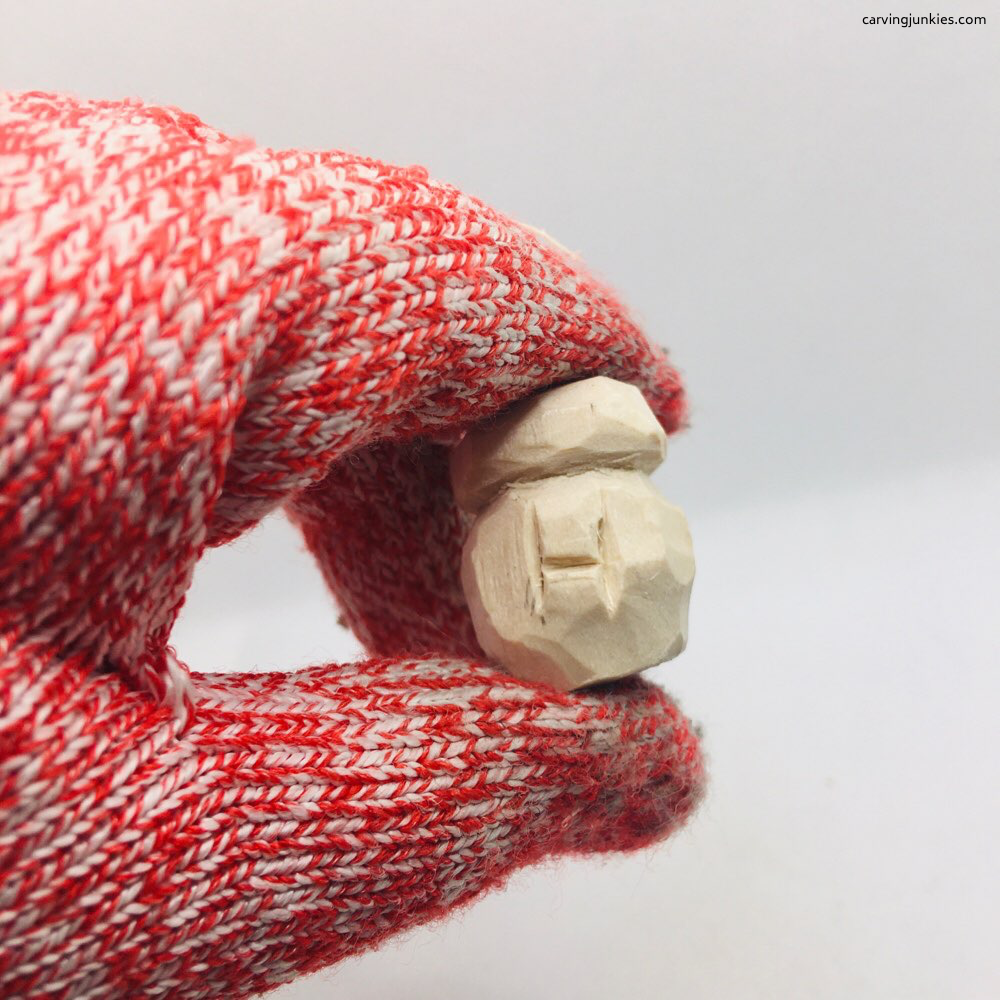 47. The H is added using line cuts
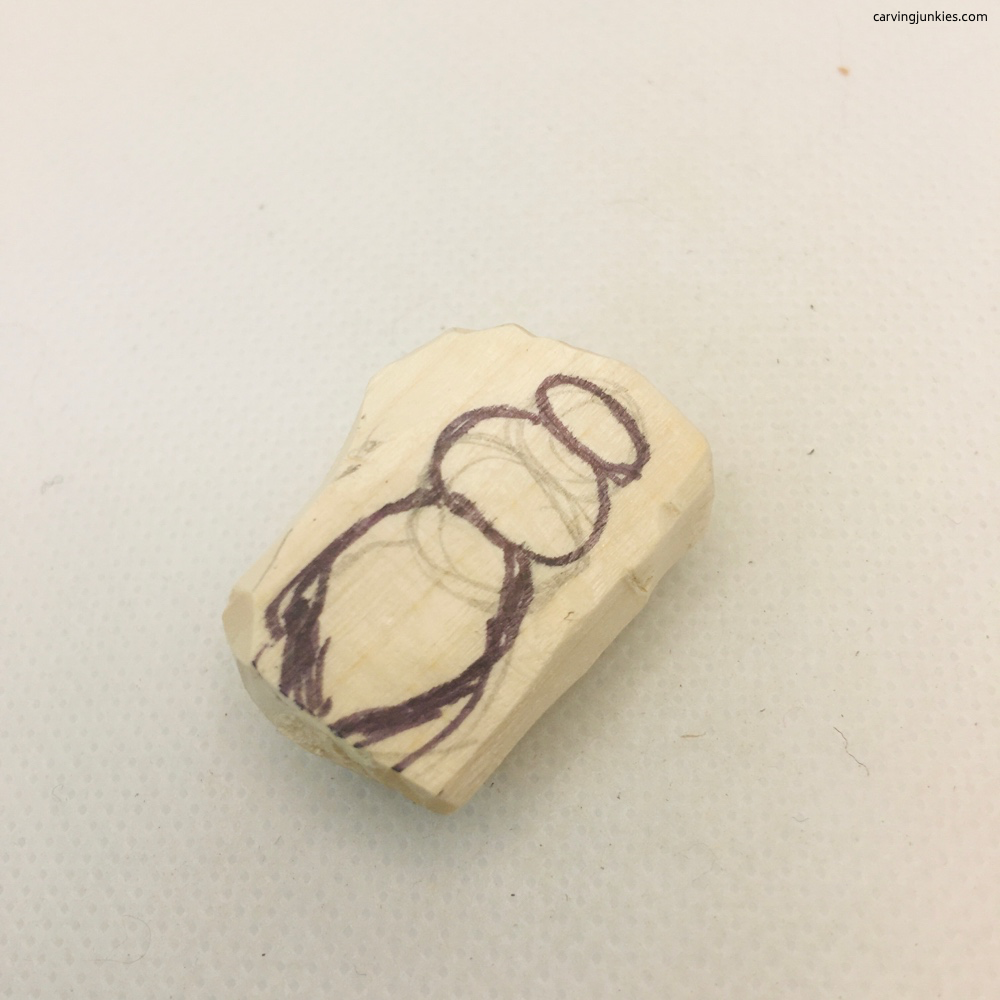 48. The bee body is drawn on scrap wood
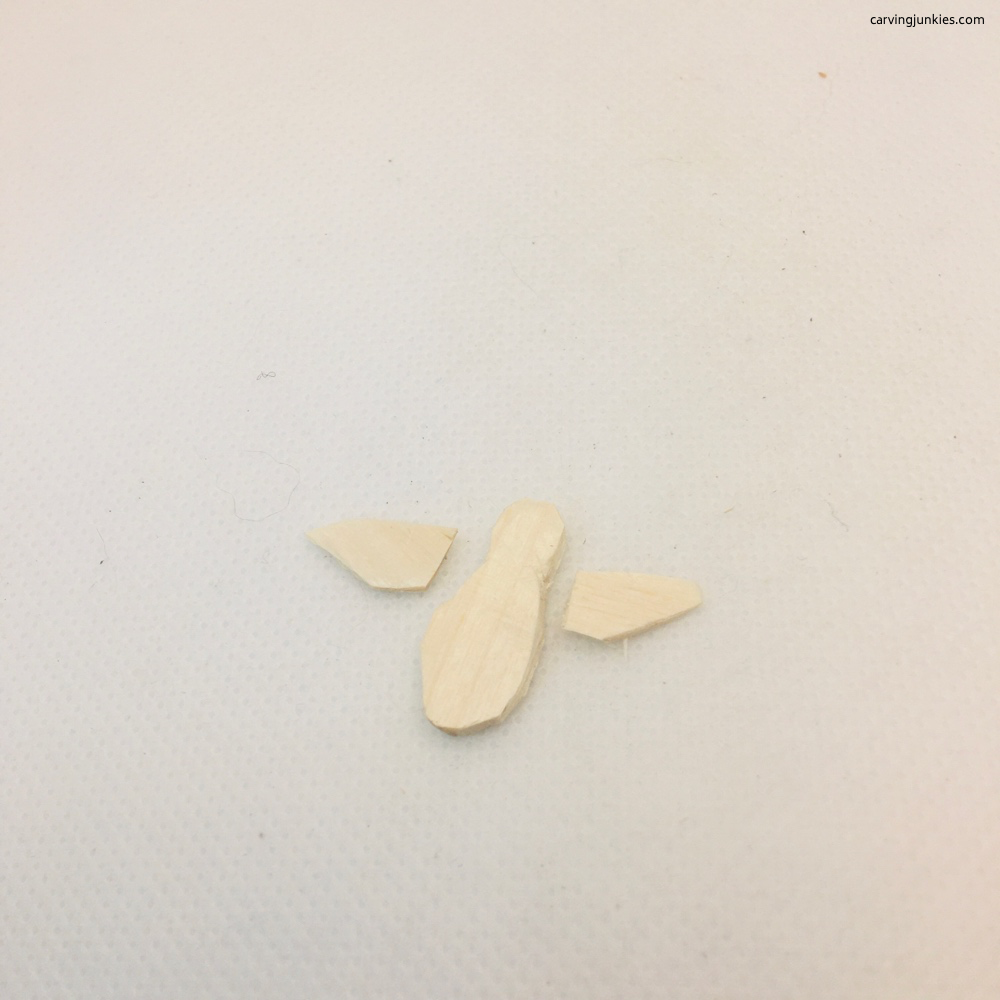 49. The pieces of the bee are glued together
14. Whittle a bear painting guide
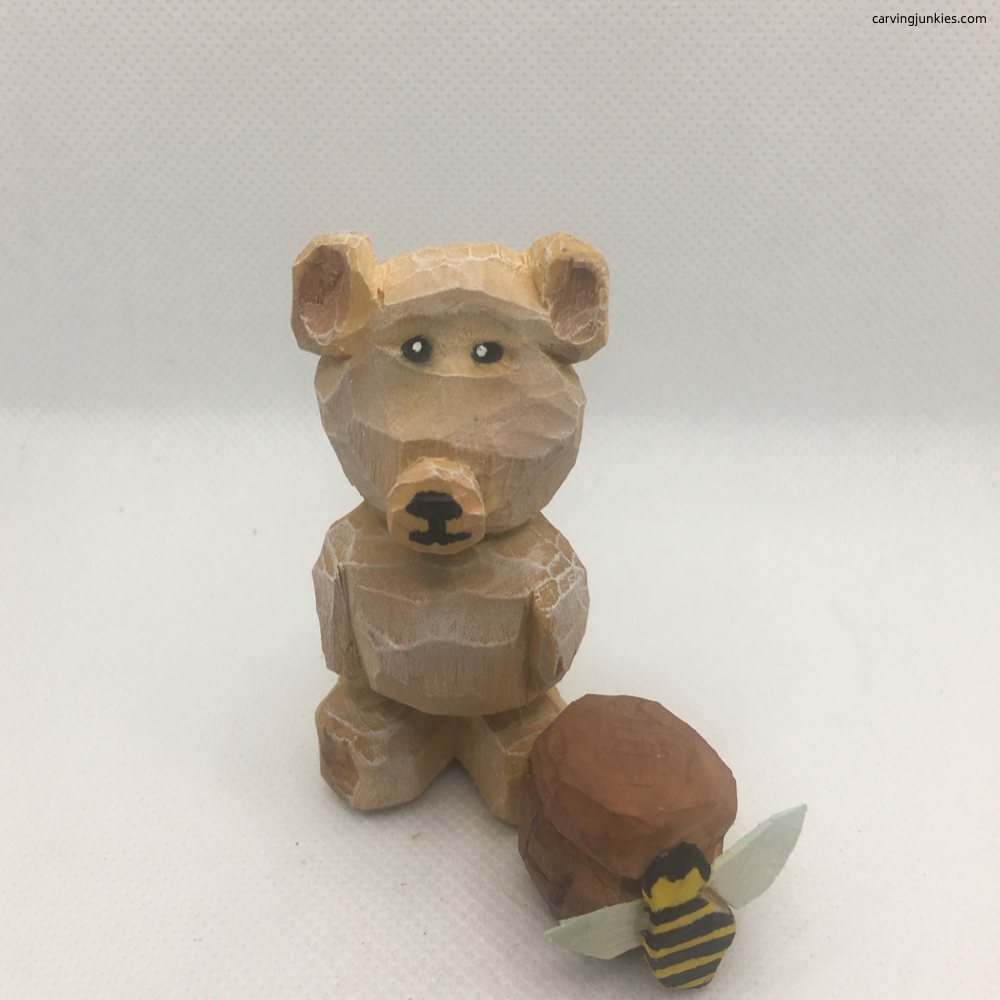
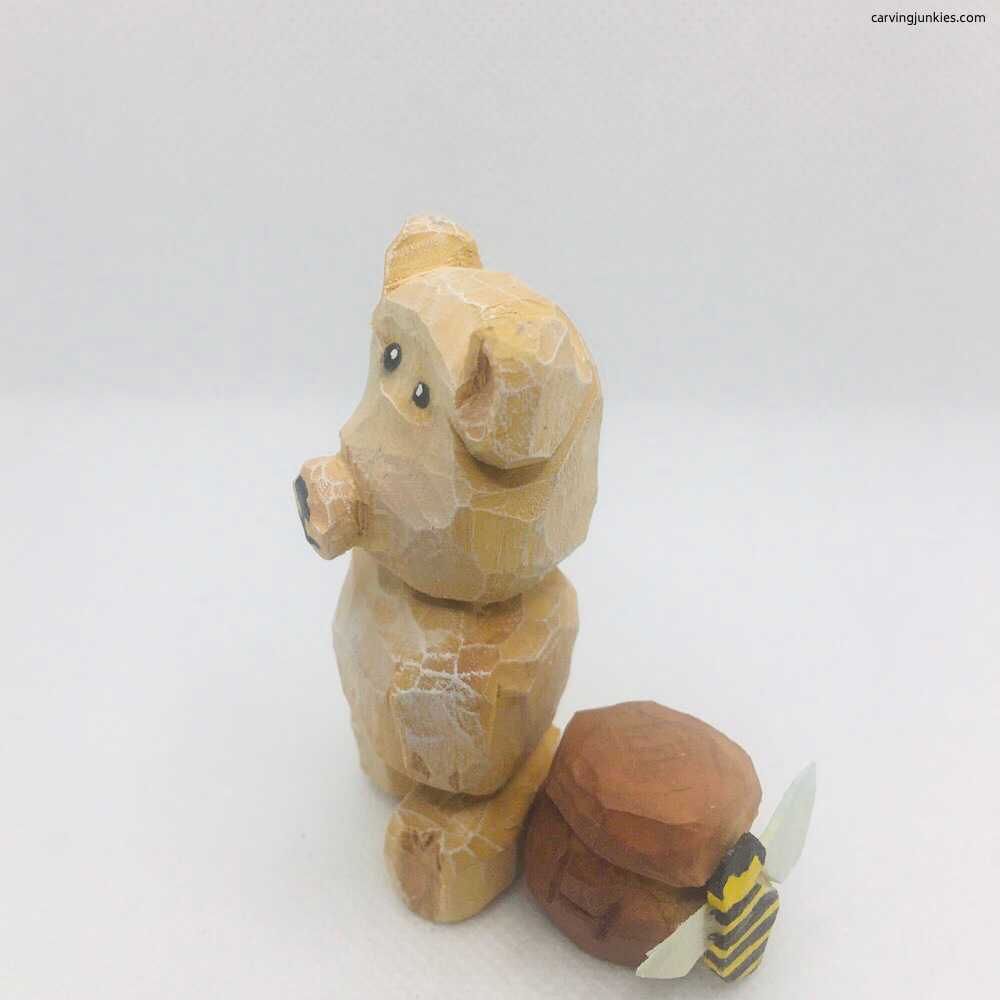
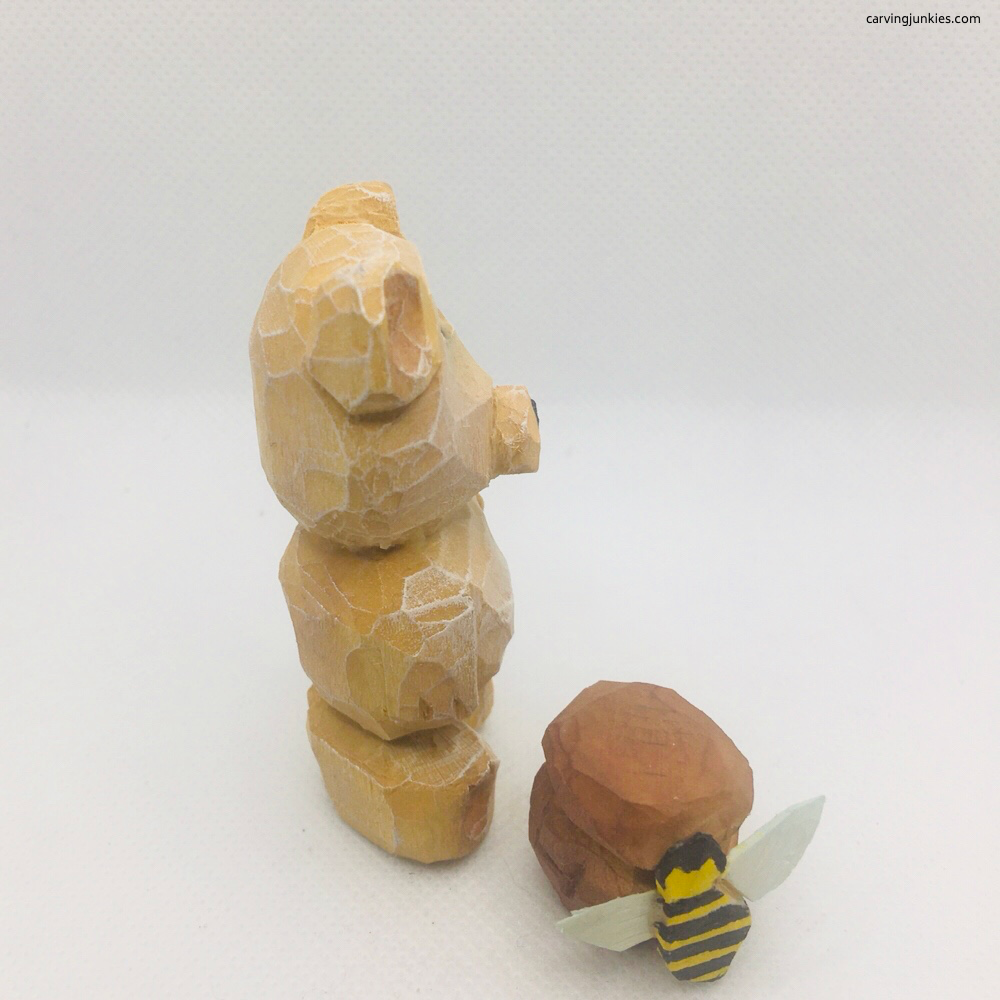
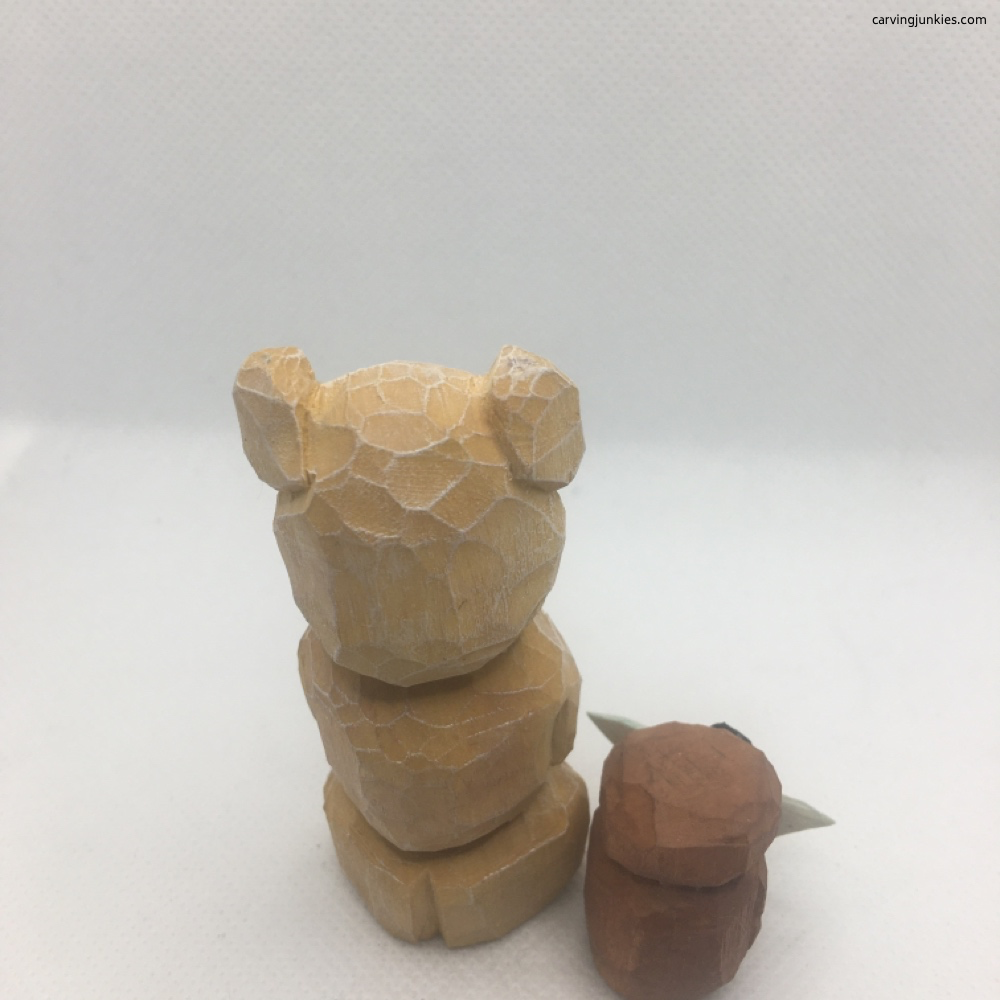
All acrylic paints are CraftSmart except where noted (let paint dry completely before starting a new color). Before painting, wash the bear and accessories with a little dish soap and warm water. We like to paint while wet to avoid color bleeding.
- Entire bear body: Mix 3 drops golden brown with 5 drops bright yellow, 2 drops white, and 30 drops of water.
- Bee stripes: 100% yellow and 100% black (applied with a paper clip).
- Wings (2 coats): 1 drop of white mixed with 1 toothpick tip of turquoise and 10 drops of water.
- Honeypot: 3 drops of golden brown mixed with 5 drops bright yellow, 2 drops white, 3 drops brown, and 40 drops of water.
- Lightly dry brush honeypot color on bear body, inner ears, and paw pads to create shadows.
- Dry brush honeypot with 100% brown to create slight shadow.
- Face and belly: 1 drop Apple Barrel cameo pink mixed with 45 drops of water.
- Cheeks: dry brush mixture of 1 drop cameo pink and 1 drop white.
- Eyes, nose, and mouth: 100% black applied with paper clip.
- Eye specks: 100% white applied with toothpick.
- Final: dry brush 100% white on bear body to accentuate wood facets.
- Finish with Howard's Feed-N-Wax and polish with a soft shoe brush (dispose of paper towels as instructed).
Whittle a bear tip: Use a paper clip or toothpick to paint small details like eyes or lines.
Whittle a bear tutorial summary
- You can whittle a bear like this adorable caricature very easily.
- The honeypot and bee are optional, but they add an extra cuteness factor.
- If you want to whittle a bear that is larger, simply adapt the pattern to a bigger block of wood.
Get 50 Wood Carving & Painting Tips
FREE when you join our free Covered in Chips Club
Your information is 100% private and is never shared. Unsubscribe anytime. See our Privacy Policy .
Share page on:
Home | Privacy Policy | Terms of Use | Contact | Sitemap
