- Home
- Things to carve
- Troll wood carving
Terrific troll wood carving tutorial
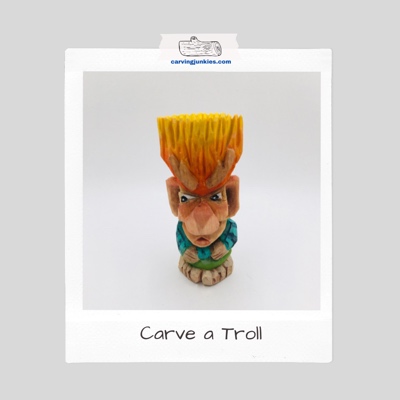
Carve our funny orange-haired troll.
Let the troll wood carving begin! Have you ever glimpsed a troll scurring in the woods? According to Scandinavian folklore, these little beings live in rocks, mountains, and caves. Unlike Nisses, trolls are rarely helpful to people.
Our troll wood carving design captures a delightfully mischievous-looking figure named Atticus (with big orange hair), who heralds from the Yashkin troll clan. Folklore has it that he is part deer, because of his antler-shaped eyebrows. He favors wearing plaid flannel and likes to hide behind trees. His little brother, Demetrius, often hides along with him.
We’ve included instructions for Atticus (the orange-haired toll). We’ve added a picture of purple-haired Demetrius Just to show how easily the design can be subtly changed. You can give each troll his own devilish personality.
What you need for this troll wood carving tutorial
You will need a block of basswood for this troll wood carving. Our is 1 x 1 x 3 inches (2.5 x 2.5 x 7.6 cm). You can always double or triple the pattern measurements if you want to use a bigger wood block.
You will also need your wood carving knives of choice. We use a roughout knife and a straight edge detail knife. It is optional to use a V-tool (we used a #47) for the hair. You can also use V-cuts with a knife (It may take you longer).
It is also optional to use a U-gouge to shape the inner ear (or you can try a flexible knife to shave wood off).
We suggest using acrylic paints and your paint brushes of choice (we provide a painting guide at the end). A pencil or a magic marker will help to sketch the design as you go.
A good carving glove is always non-negotiable. Trust us, bleeding is not fun!
Troll wood carving tutorial at a glance
Starting your troll wood carving
You will carve off the corner for this troll wood carving tutorial, which provides depth for the nose and extra space for the body.
First, round all four corners. Draw your guidelines for the big nose (photo 1). Your top guideline is 1.25 inches (or 3.1 cm) from the top of block. The bottom guideline is about an inch (2.5 cm) from the bottom of the block. The colored triangles mark wood to remove using pyramid cuts (photos 1-3).
Add boxes to reserve wood for the ears. Each box is about 1/2 inch or 1.2 cm in width and 1 inch or 2.5 cm tall. The ears extend from the front to the sides (photos 1-4).
Color sections on top where you will remove wood for the hair (photos 1-4). Lightly draw a line to mark where you will separate the head from the hair (photos 1-3).
Draw a line about 3/8 of an inch (0.9 cm) from the bottom all around to mark the top of the feet (photos 1-4). Optional: Add letters f, l, r, and b to mark the front, left side, right side, and back (photos 1-4).
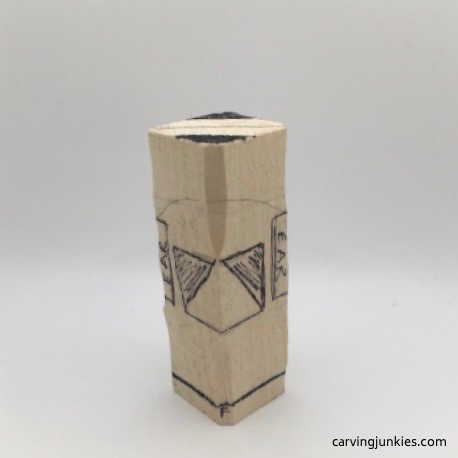 1. Front guidelines are drawn
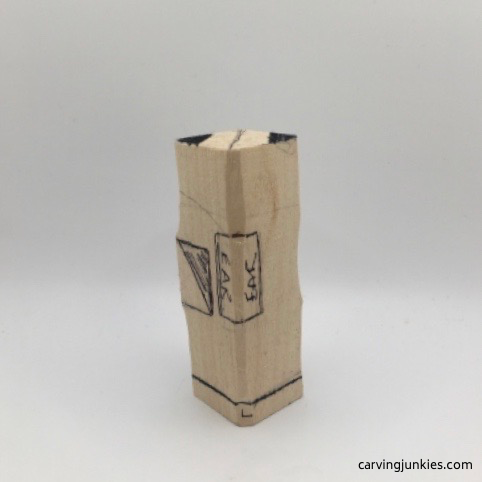 3. Left view of guidelines
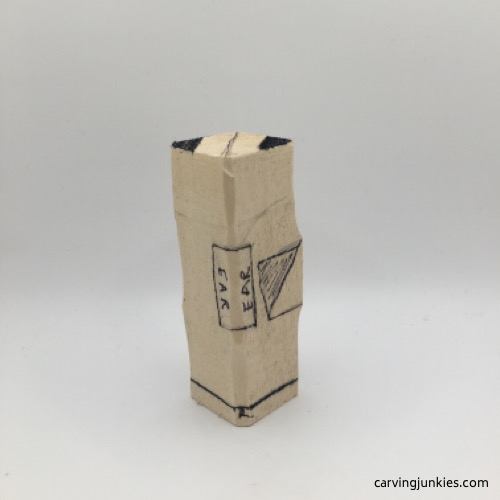 2. Right view of guidelines
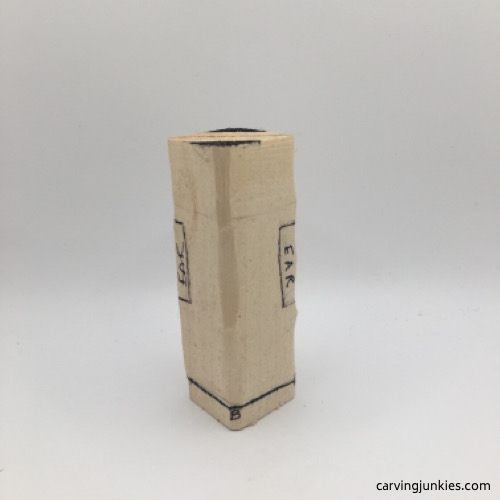 4. Back view of guidelines
Angle back the head and hair of the troll wood carving
Using your roughout knife (we use a Helvie Boxcutter), start to angle back the head and hair on the front of the troll wood carving, removing the wood that you marked on the top of the block (photos 5-7).
Repeat on the back side so you end up with a tall and narrow head of hair (photos 7,8).
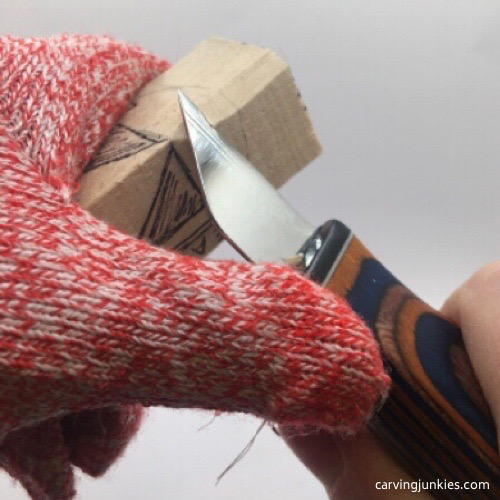 5. Cutting hair back
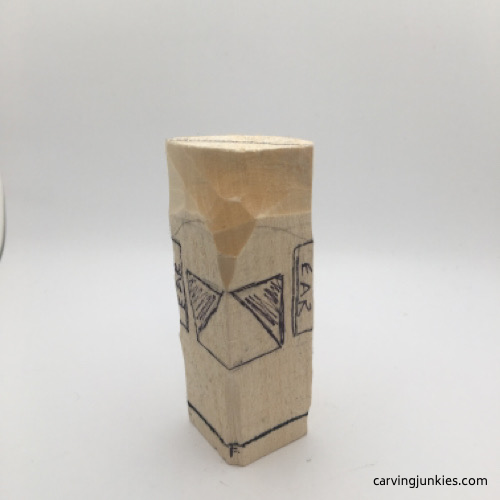 6. Front view of hair angled back
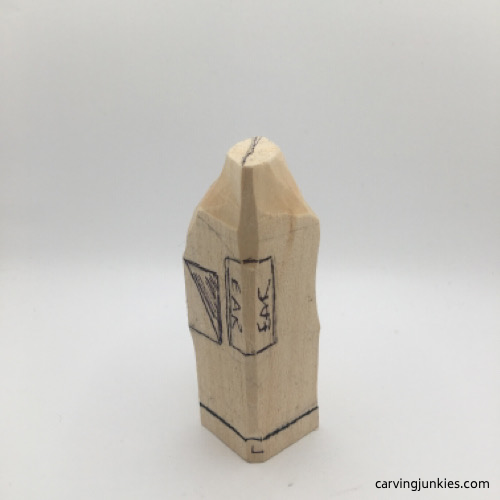 7. Left side view of narrowed hair
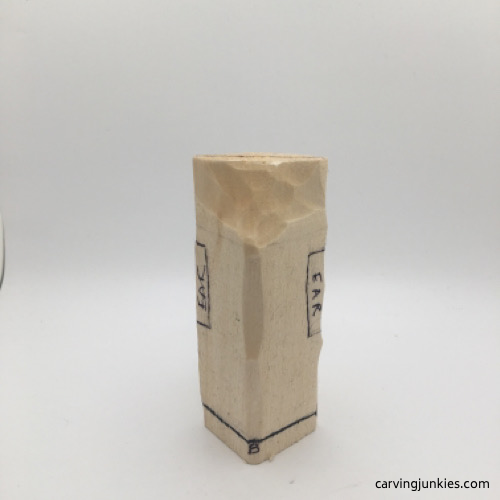 8. Back view
Carve the nose of the troll wood carving
Using a pyramid cut, remove the colored triangle on each side of the nose (photos 9,10) Tip: visit our how to carve a nose page to learn more about this easy technique for carving noses.
Separate the ears by making a stop cut along the guideline and removing wood from around it (photo 11).You can also flatten the ears, but keep them a little thick to avoid breaking them (photo 12).
Mark little triangles on the top of the ears where you will slice wood off to create a point (photo 13).
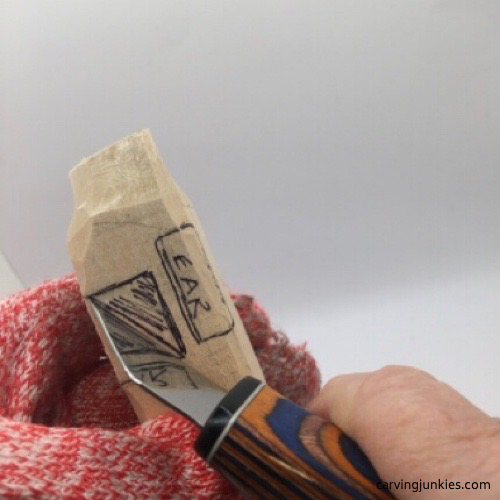 9. Starting a pyramid cut
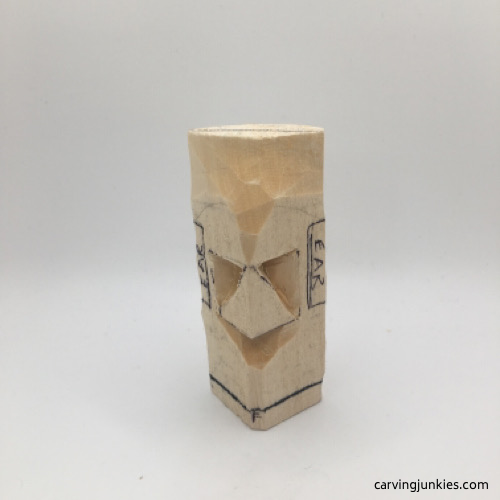 10. Both pyramid cuts are completed
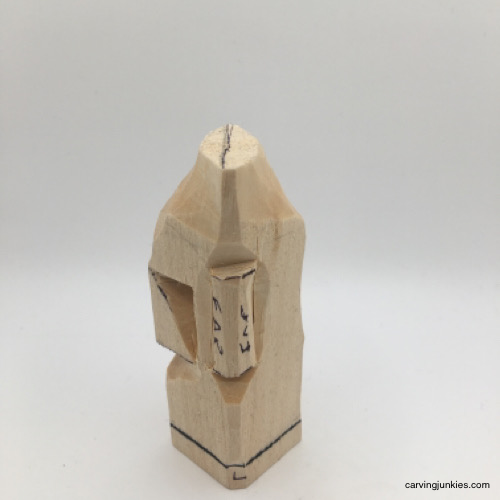 11. The ears are separated
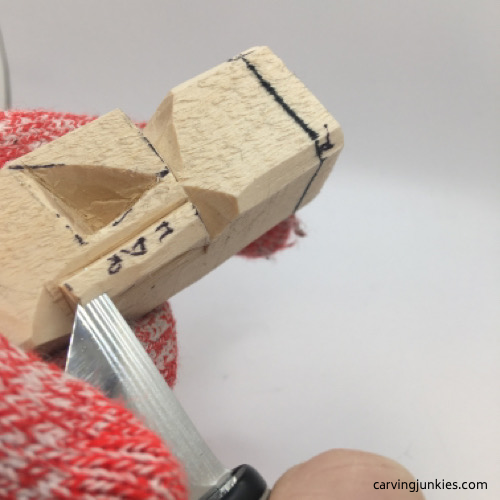 12. Slicing wood to narrow the ear
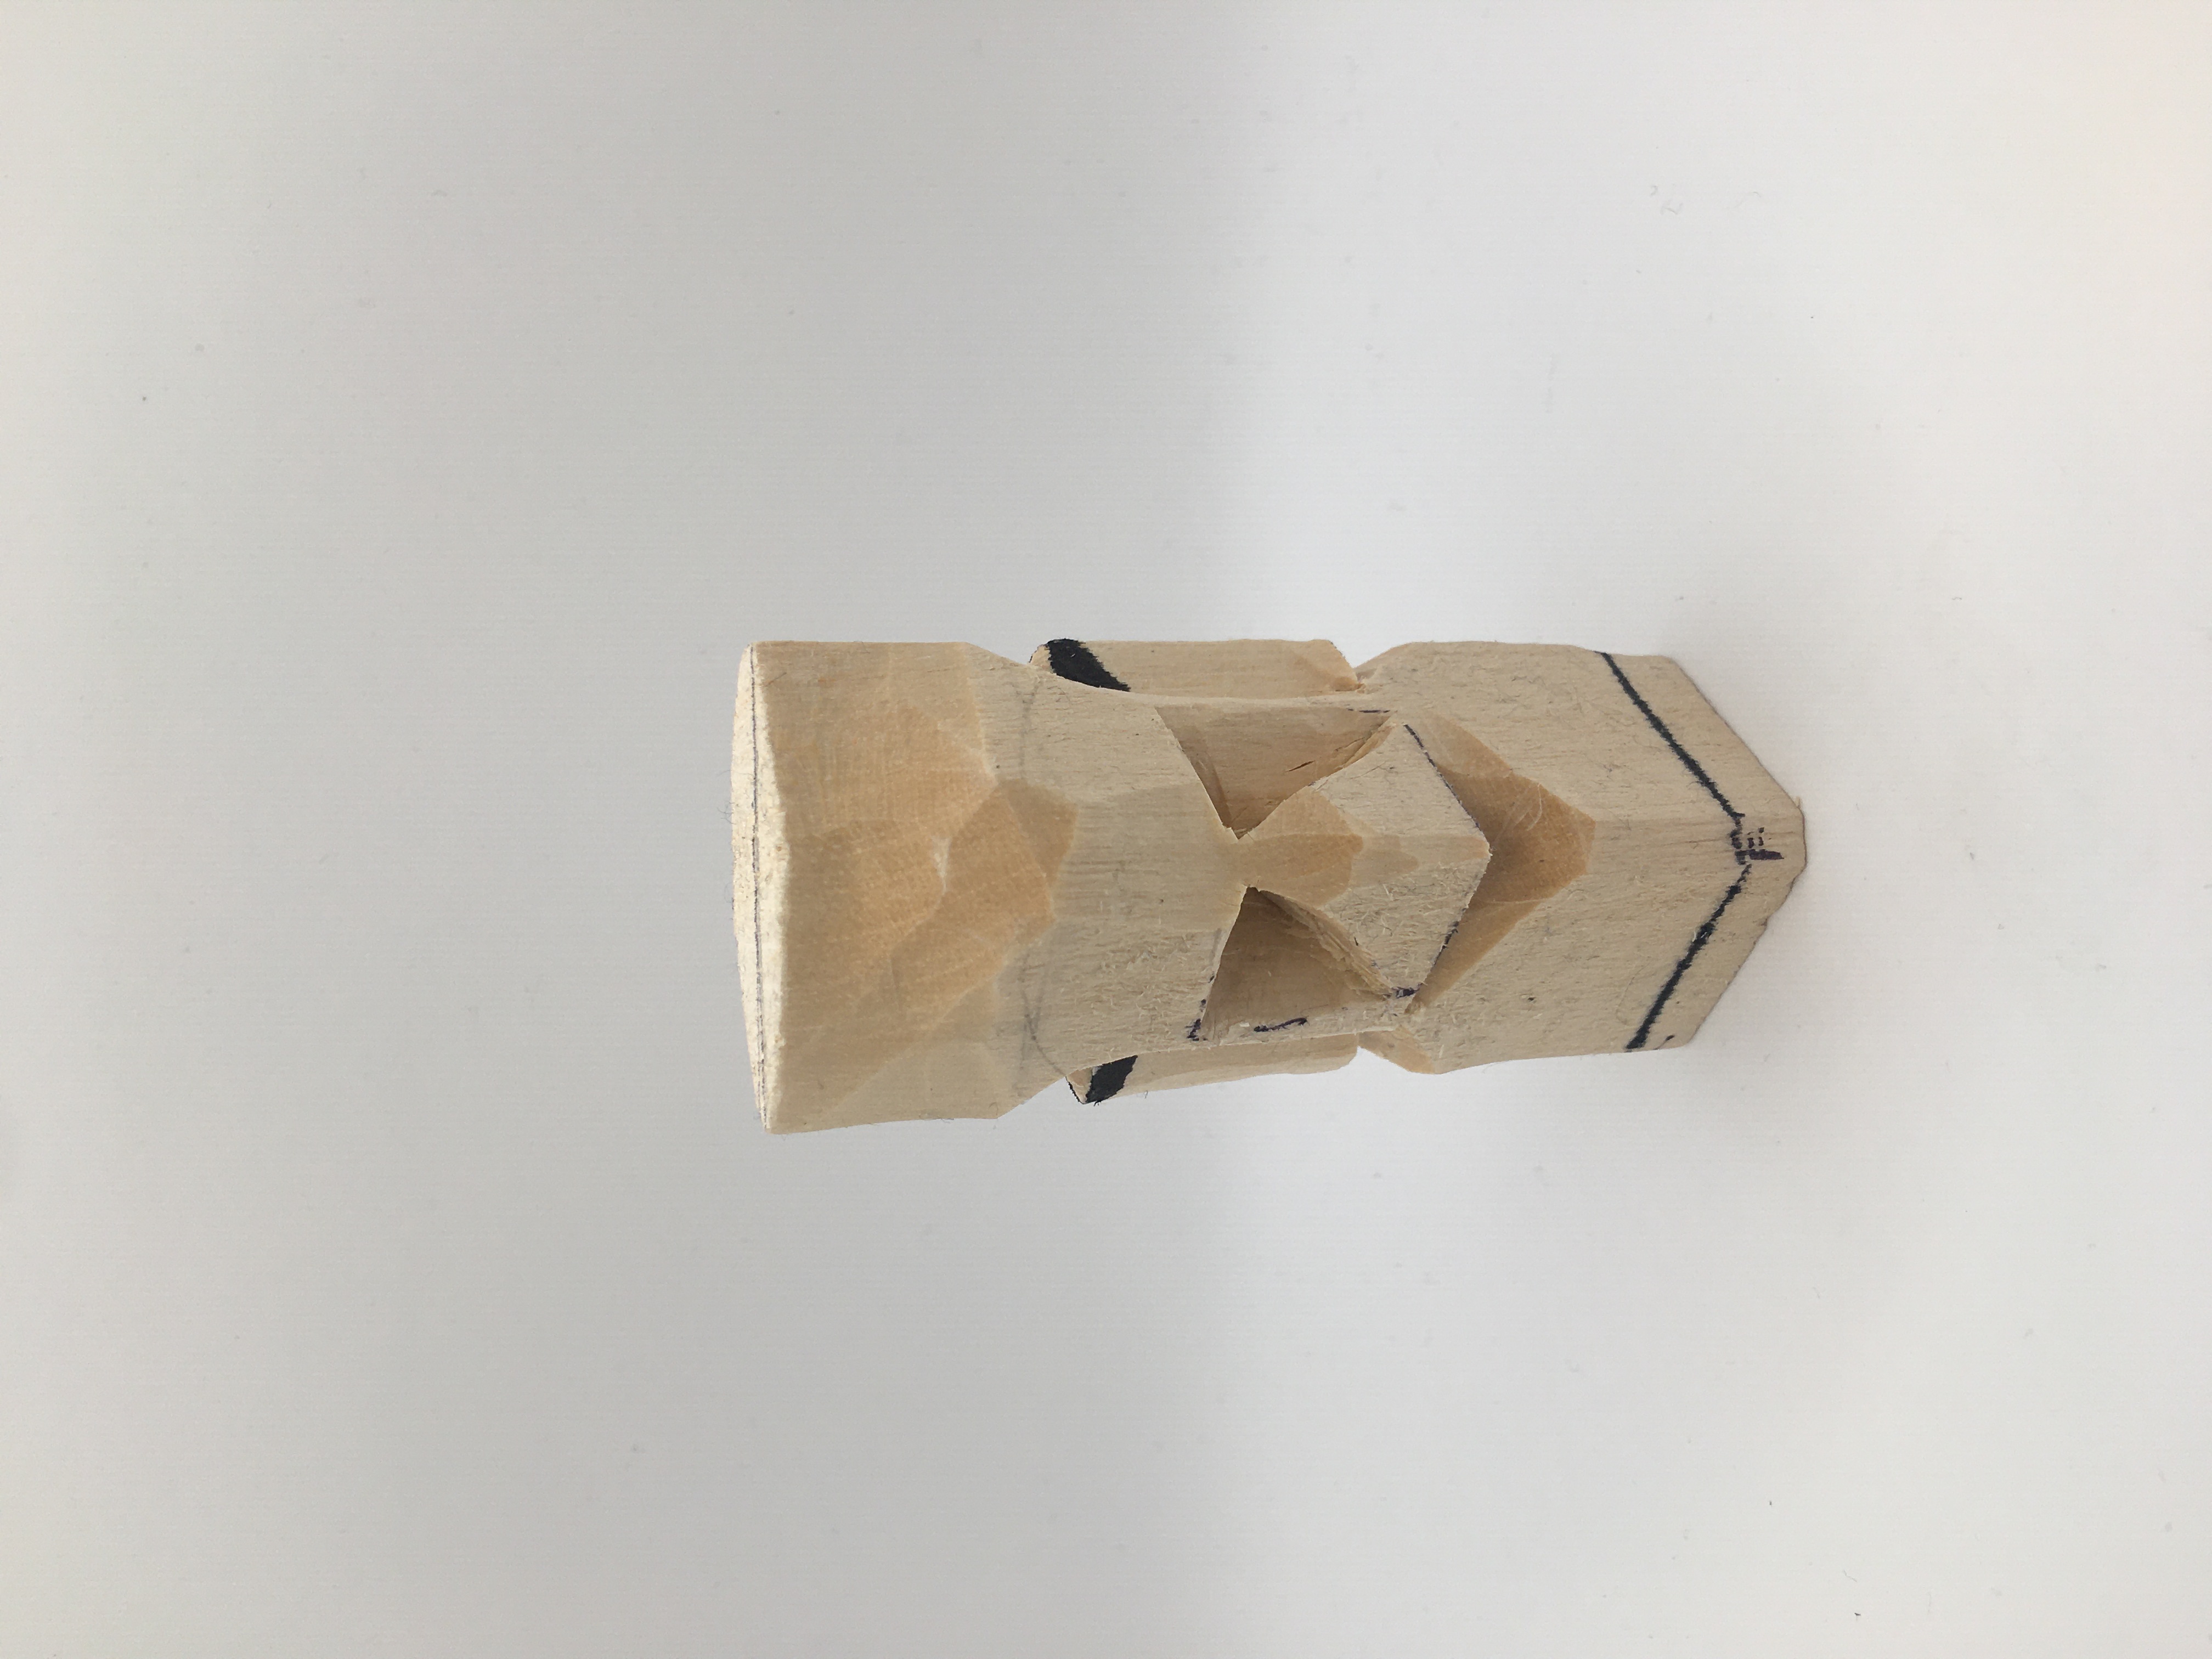 13. Mark wood to remove on top of ears
Shape the nose of the troll wood carving
Draw small triangles on the nose to mark where you will slice wood off the troll wood carving (photo 14). Draw a second set of triangles to mark where you will make small pyramid cuts to create shadow (photos 15,16).
Use your knife to cut off the end of the nose at a downward angle so it will be upturned (photos 17,19,20).
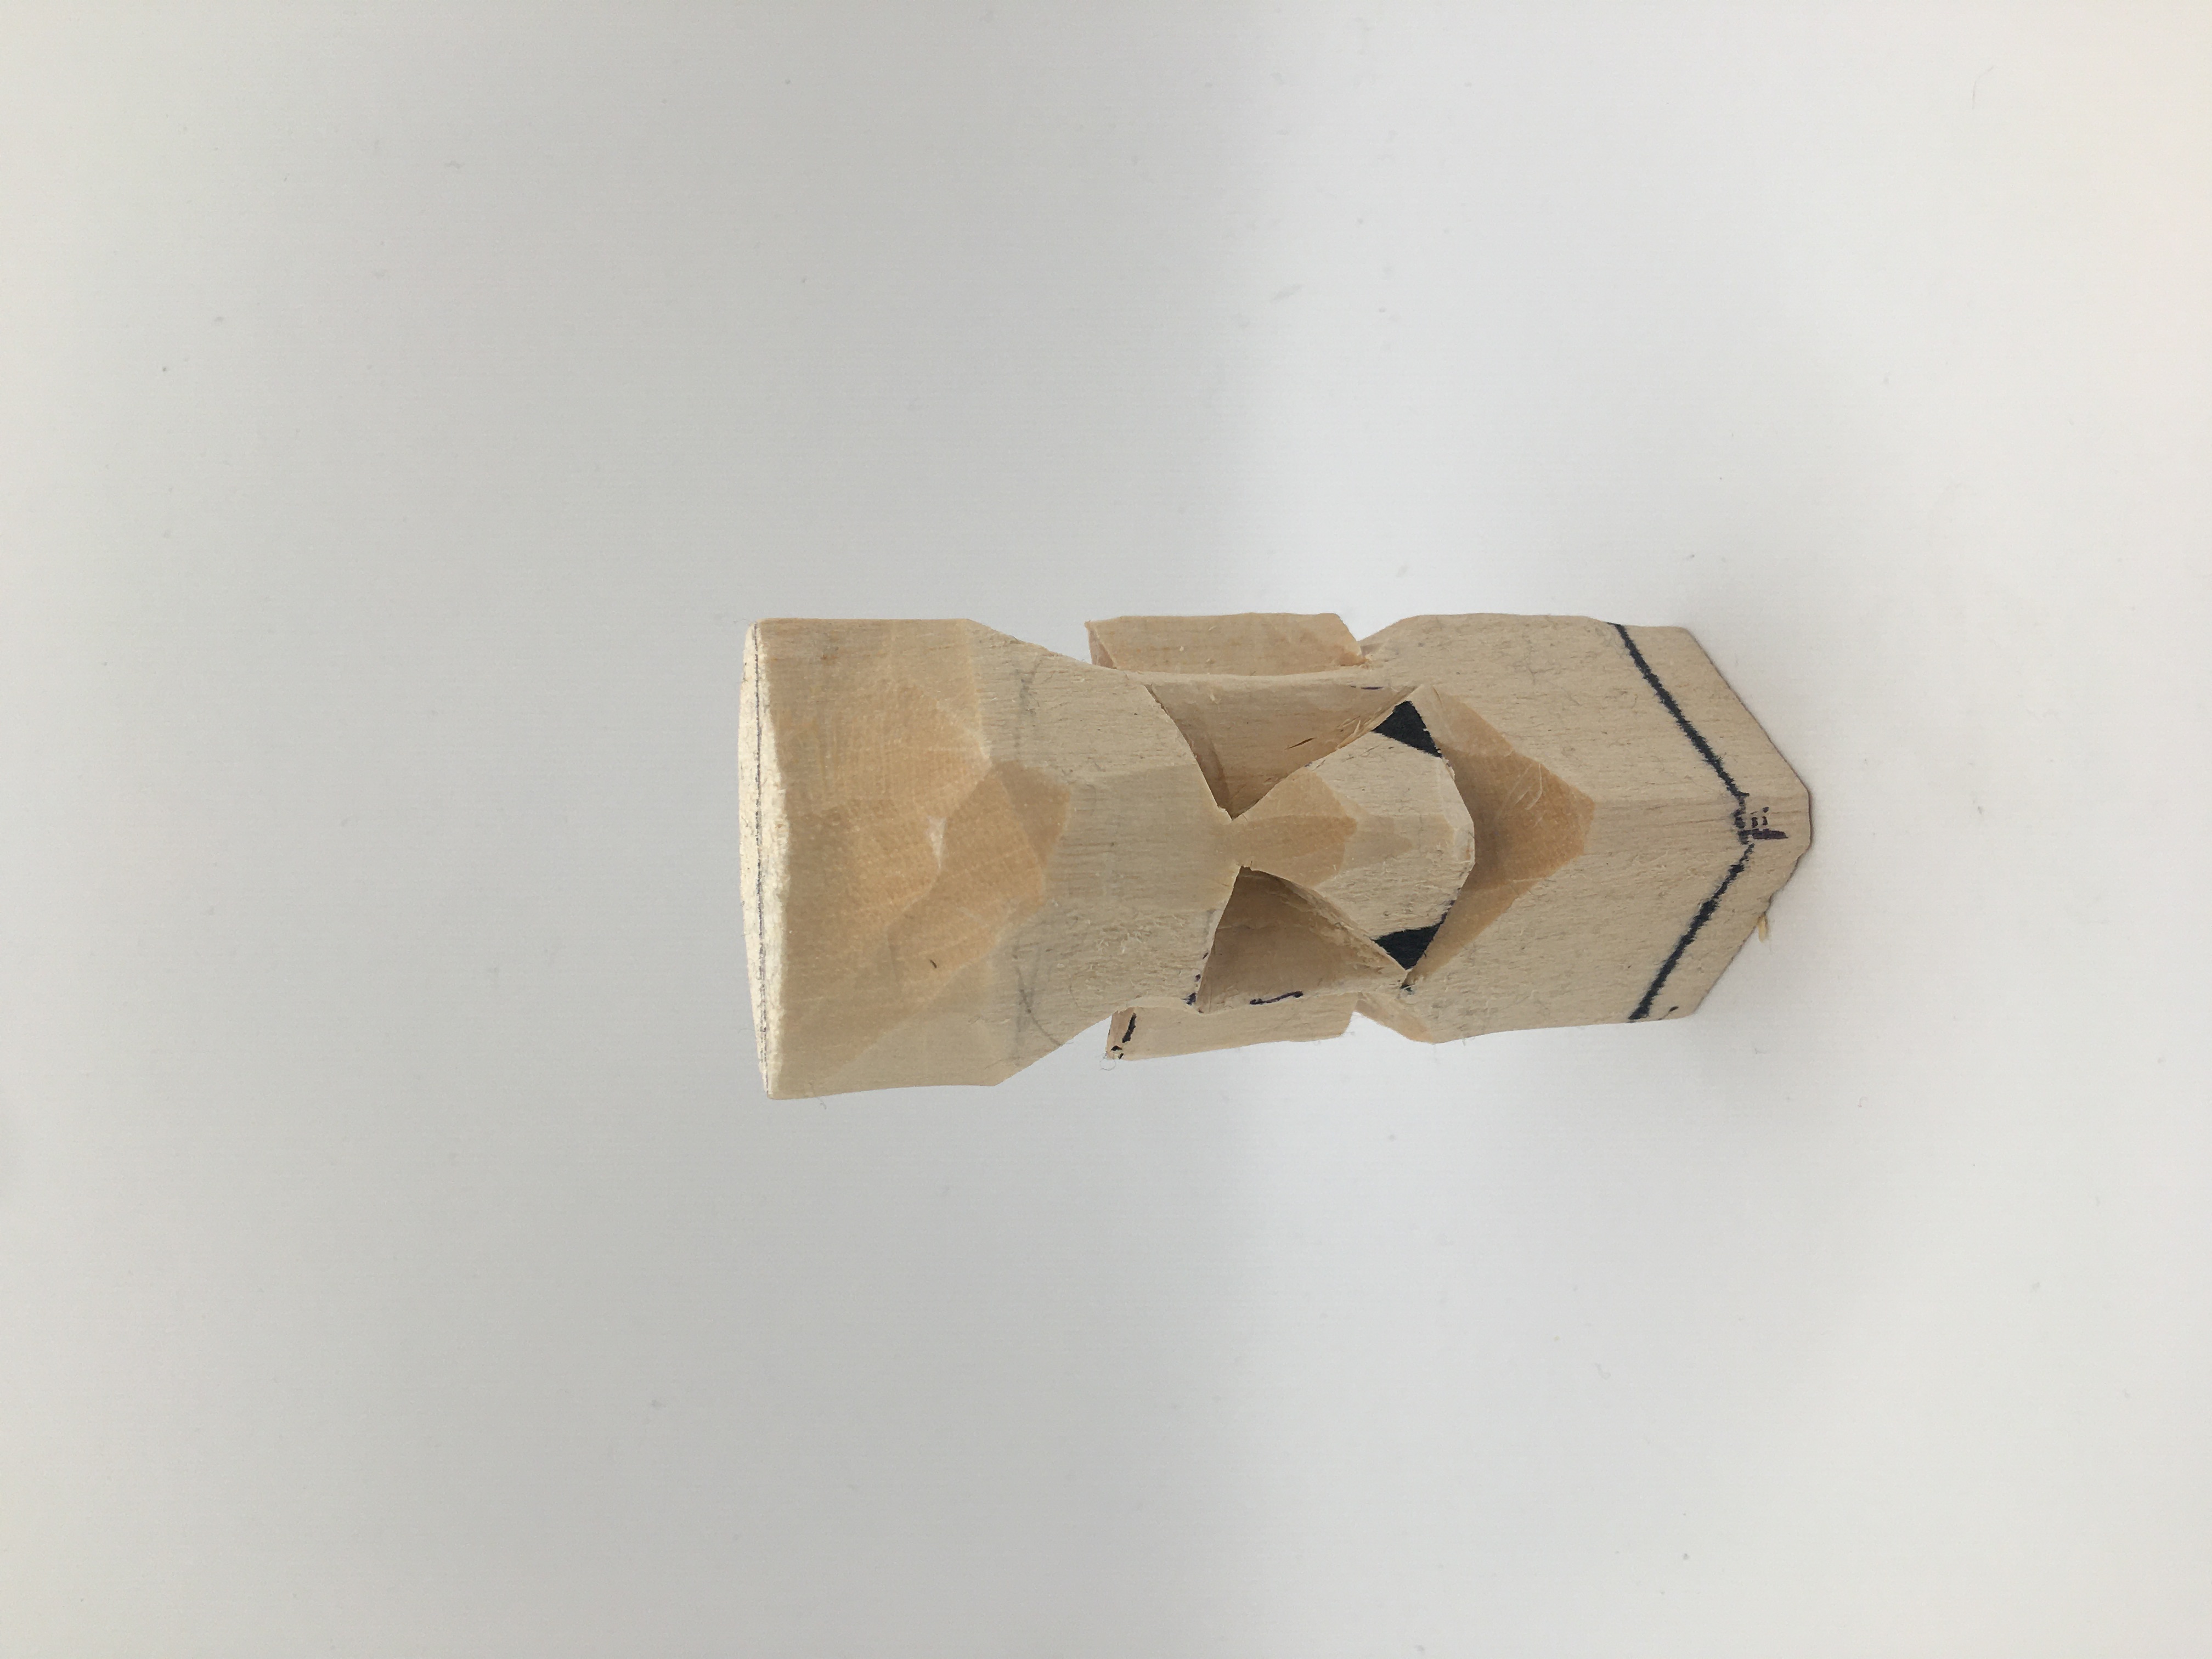 14. FIrst set of nose triangles to remove
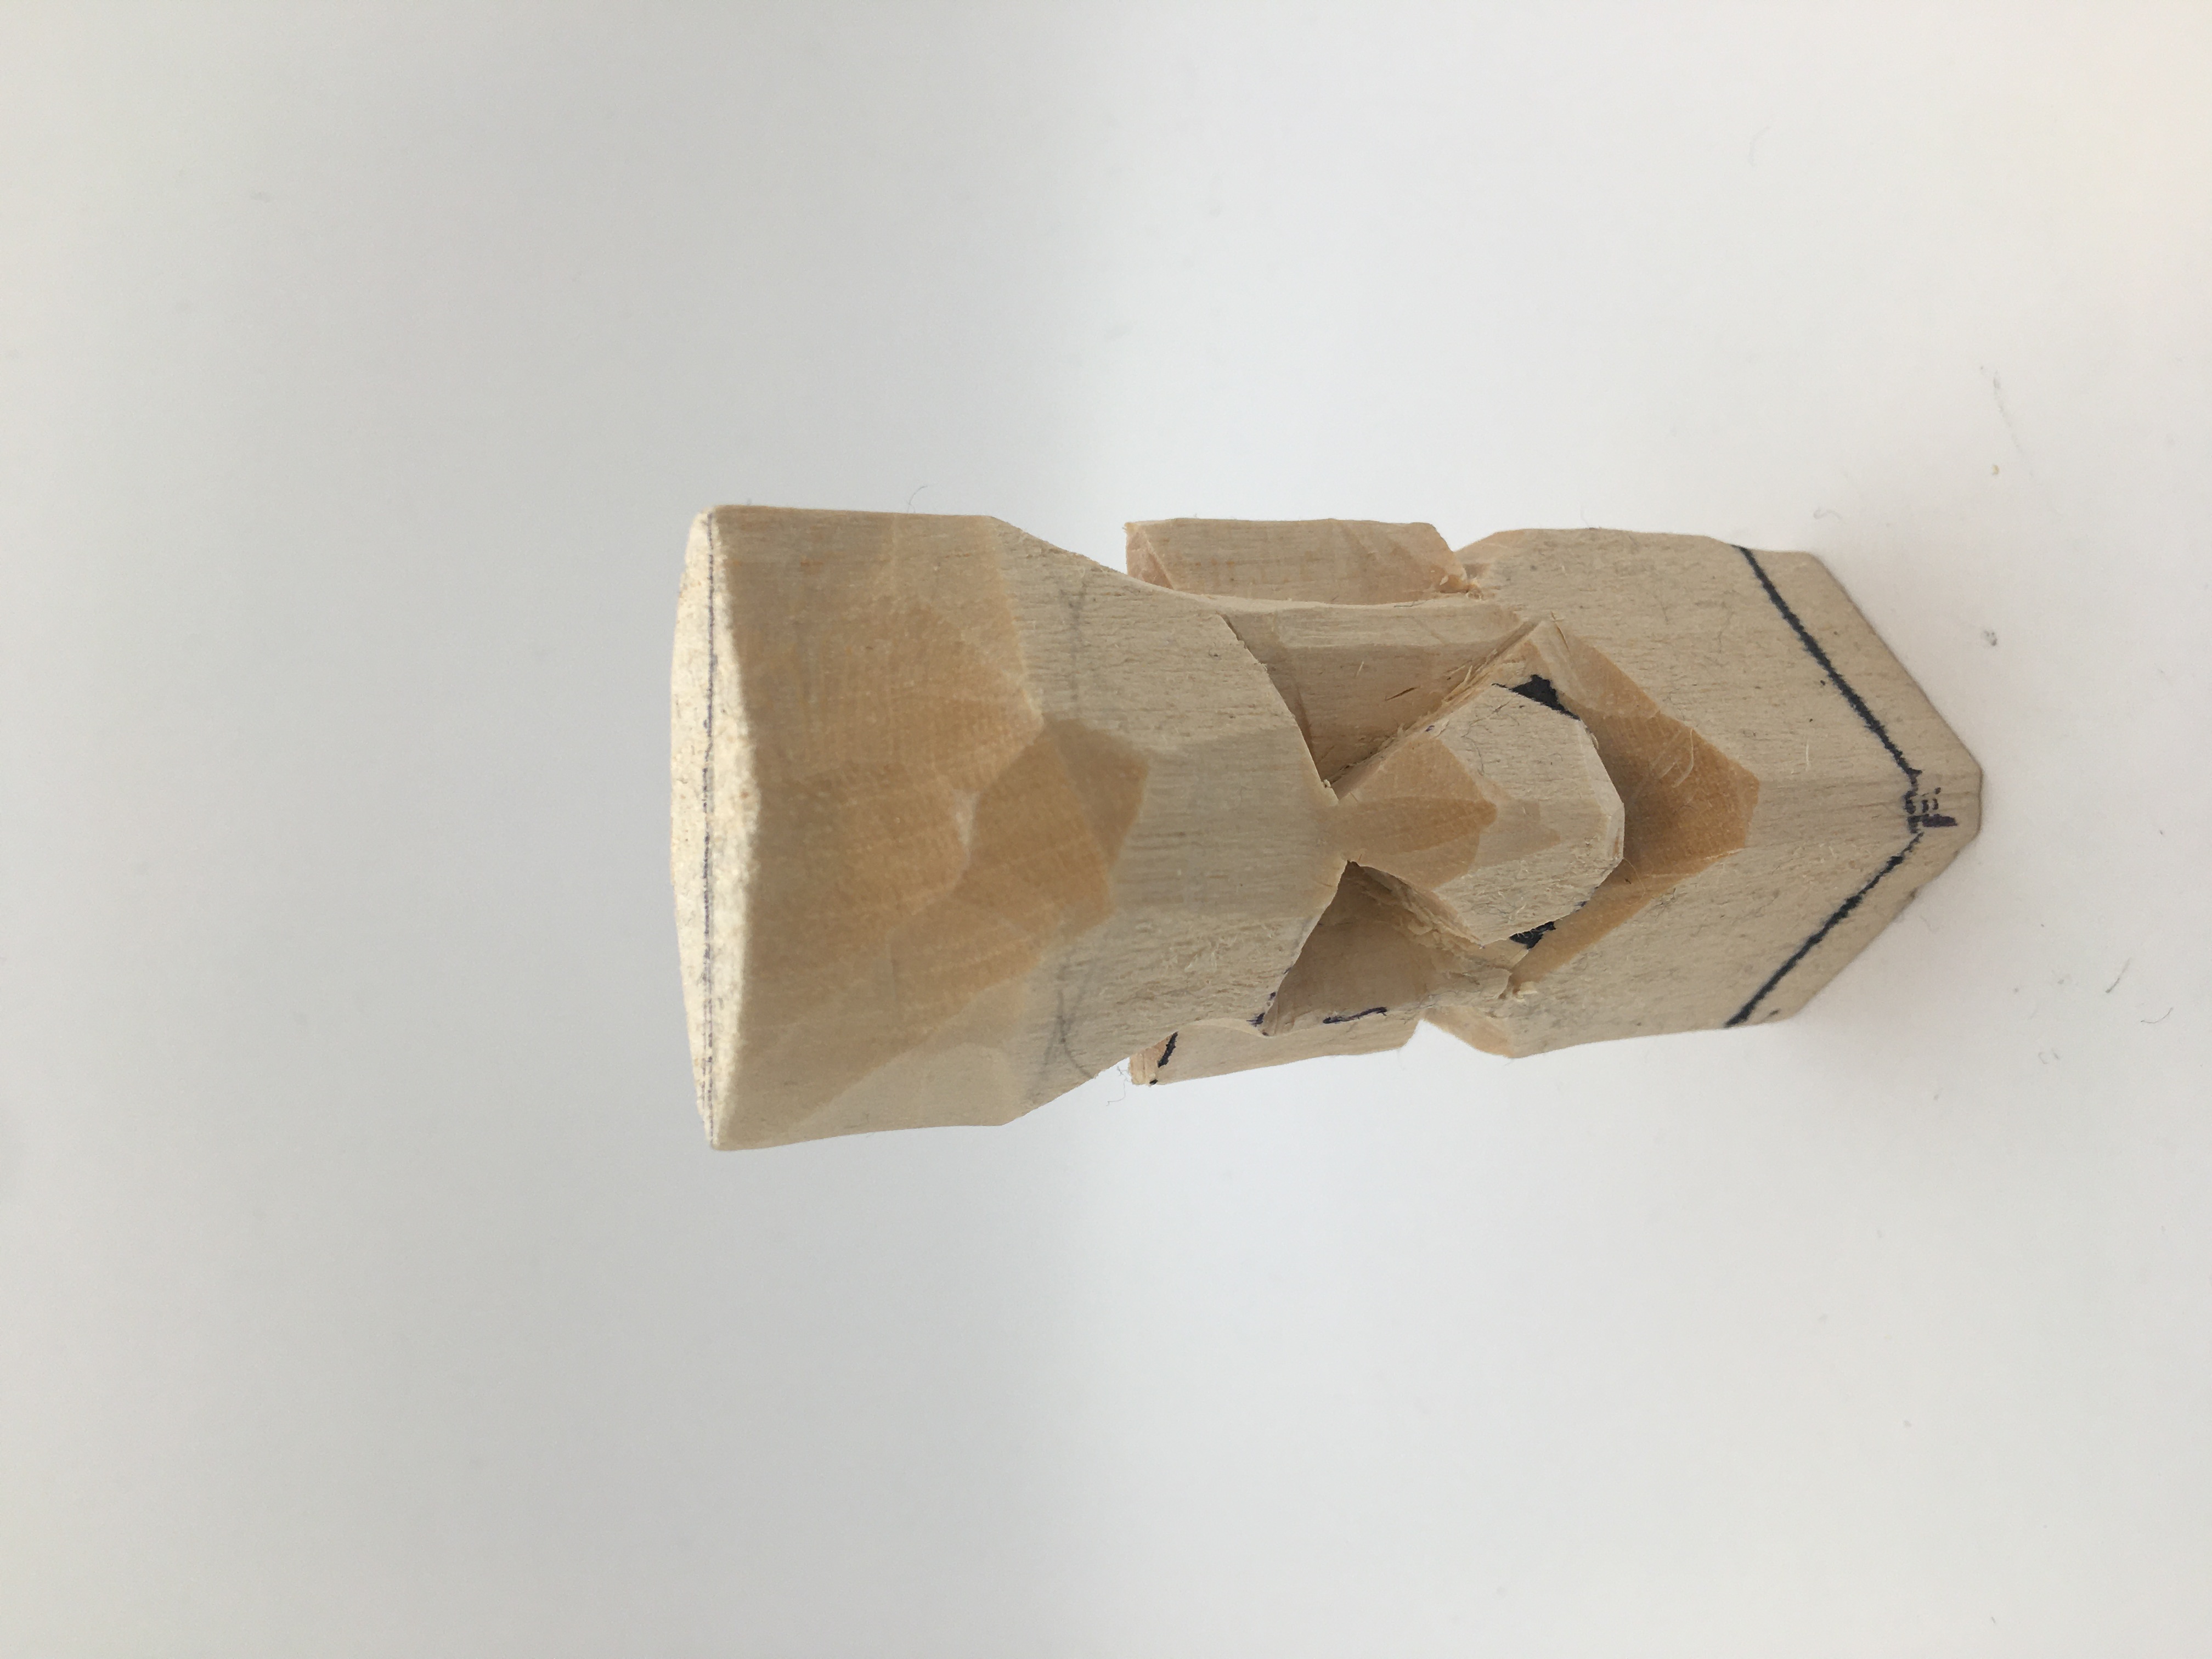 15. Second set of triangles to remove
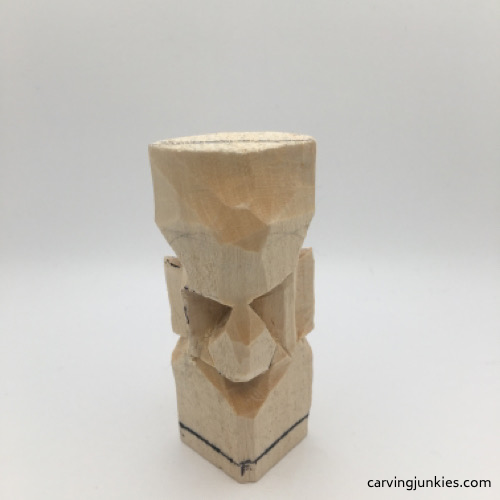 16. Nose cuts have been made
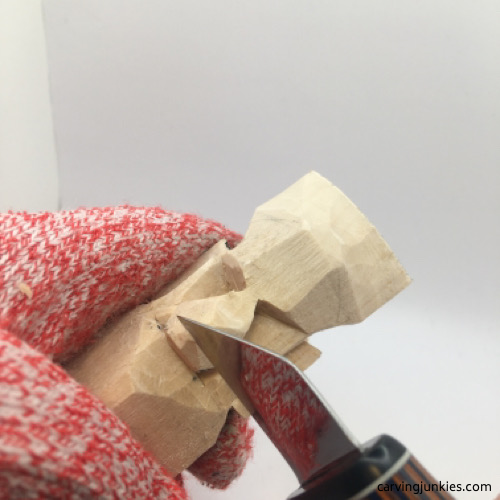 17. Creating an upturned nose
Add details to your troll wood carving
Use a series of stop cuts (or V-cuts) to separate the top of the feet from the body of the troll wood carving and draw on the toes (photos 18-20).
Mark the back of the troll wood carving where you will split the feet (photo 21).
Using a pencil (we use a magic marker so you can see the lines clearly), draw the mouth, chin, arms and hands, and toes (photos 18-20).
On the back, draw a line where the hair will end, where the arms will be cut, and a line where the feet will be separated (photo 21).
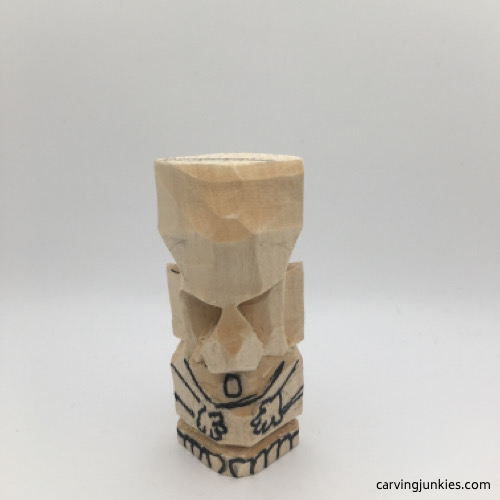 18. Details are drawn
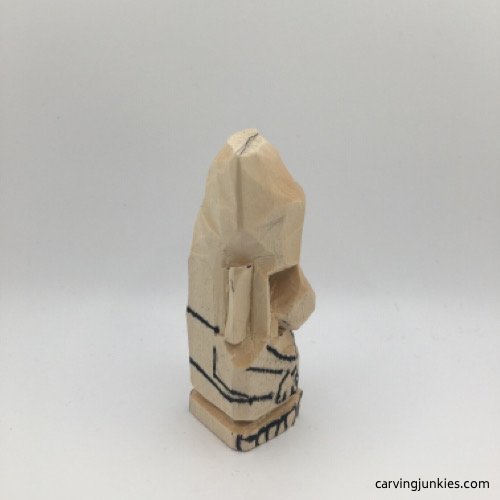 19. Right view of troll wood carving details
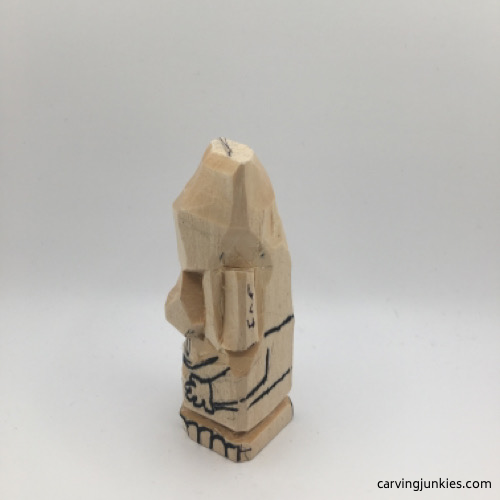 20. Left view of details
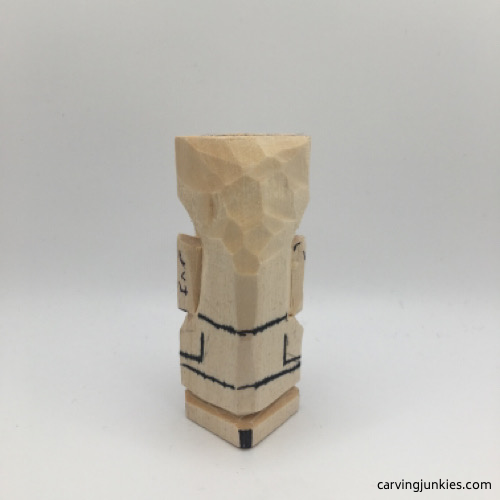 21. Hair, arm, pants, and feet split guidelines on back
Carve the details on the toll wood carving
Using your knife, separate the chin by making a series of stop cuts, removing wood from underneath (photo 22). Carefully make a deep cut at a downward angle across the bridge of the nose to separate it from the head of the troll wood carving (photo 23). Then carefully shave a little wood off to create the bulbous nose (photos 24-26).
Make stop cuts along the guidelines for the eyebrows and carefully remove wood from around them so they appear raised (photos 27,28).
Use your knife to carve the outline of the mouth (photo 27).
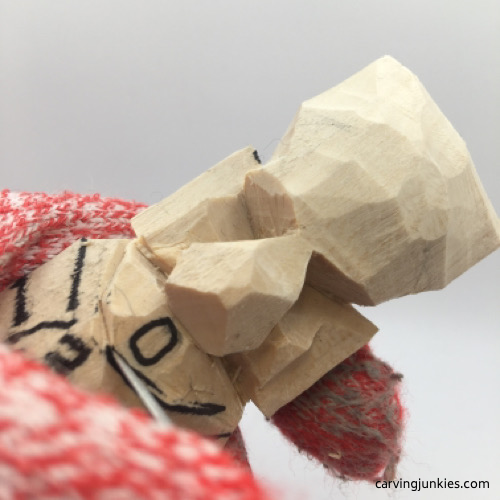 22. Separating the chin
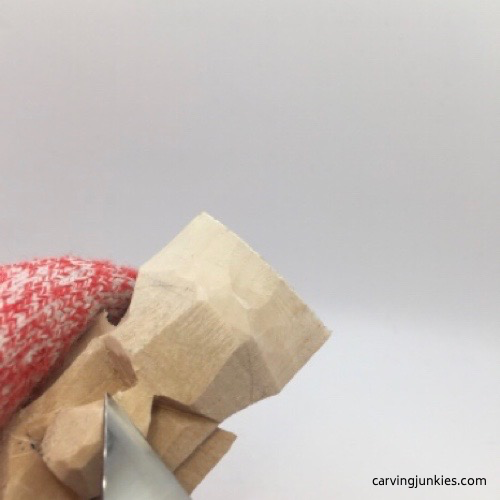 23. Cut at an angle to separate the nose
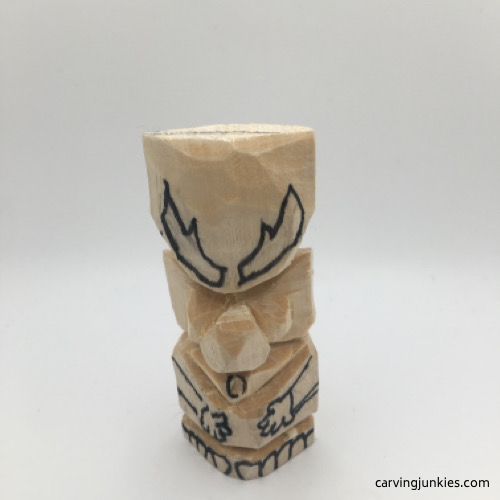 24. The nose is cut and shaped
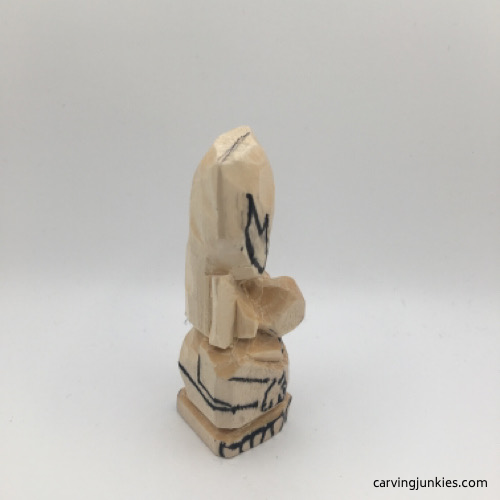 25. Right view of troll wood carving
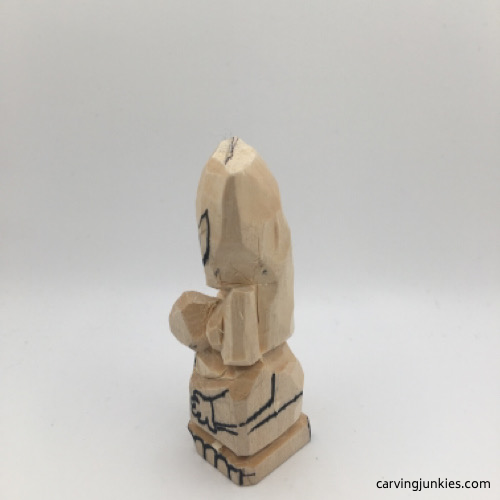 26. Left view
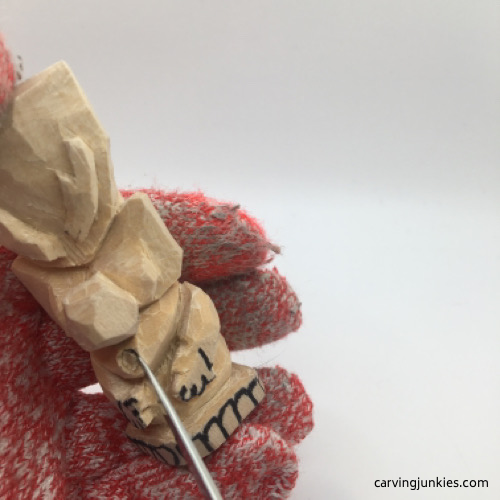 27. Outline the mouth
Separate the arms and toes on the troll wood carving
Use your knife to make a series of small stop cuts along the guidelines for the hands. Carefully remove wood from around the fingers. Use small V-cuts to define the fingers on the troll wood carving (photo 28).
Make a small pyramid cut on the top half of the mouth, which will create the bottom lip (photo 28).
Use small V-cuts to separate the toes and round them a bit (photo 28-30). Use a V-cut to split the feet in the back (photo 31).
Use stop cuts to define the shoulder blades (photo 31). Draw a short line on the front to separate the pants from the shirt (photo 28).
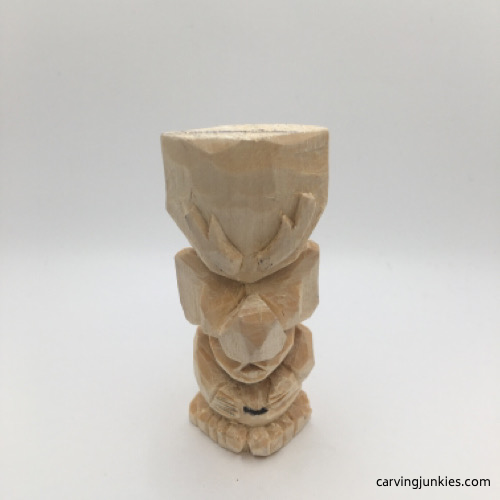 28. Details are carved
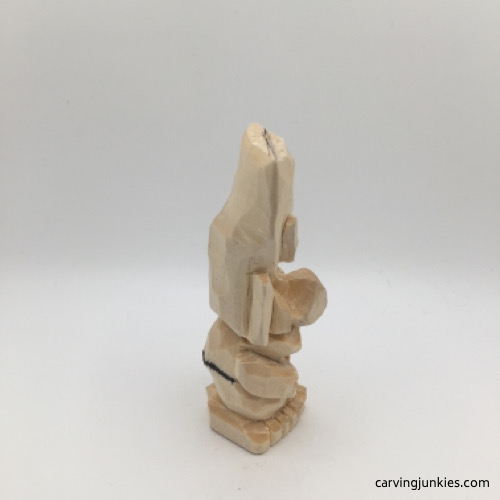 29. Right view of separated arm
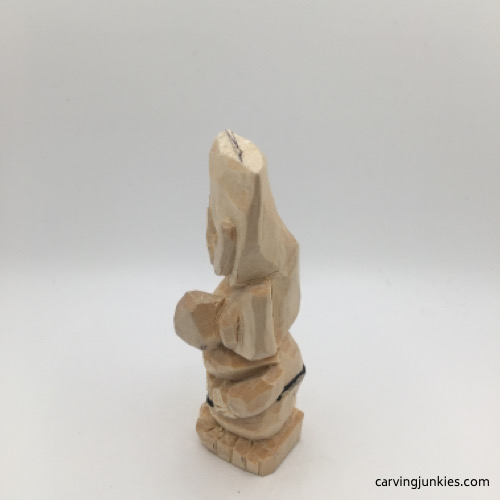 30. Left view of carved arm
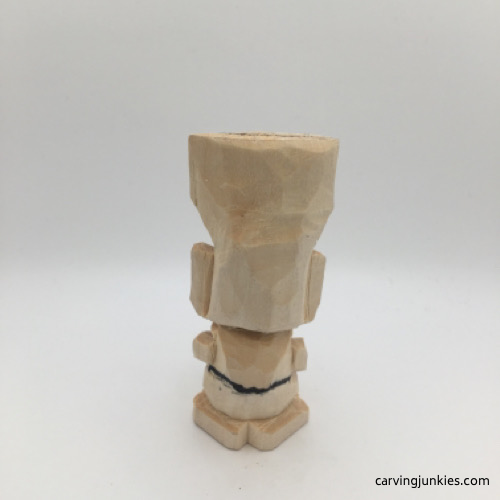 31. Back view
Carve more details on the troll wood carving
Use a V-tool (we use a #47) to add the hair on the front and back of the troll wood carving. Start about halfway up from the top and vary your cuts. Then turn the carving around and make your remaining cuts (photos 32,36-39). If you do not have a V-tool you can make V-cuts with your knife.
Carefully make small V-cuts across the top of the hairline to create a jagged edge (photo 33). Take your time and use a sturdy knife because the end grain can be tough. Once you make your cuts it will be easier to shave off the top of the end grain so the paint will adhere fully.
Use a U gouge to carefully carve the inner ear. Work from the outside in to remove wood (photo 34). If you do not have a U-gouge try shaving wood off with a flexible knife. Don’t go too deep or you risk making a hole in the ear.
Using stop cuts, make an outline of a triangle for each eye and remove a sliver of wood along each cut (photo 35). You will use paint to create the cartoon eyes.
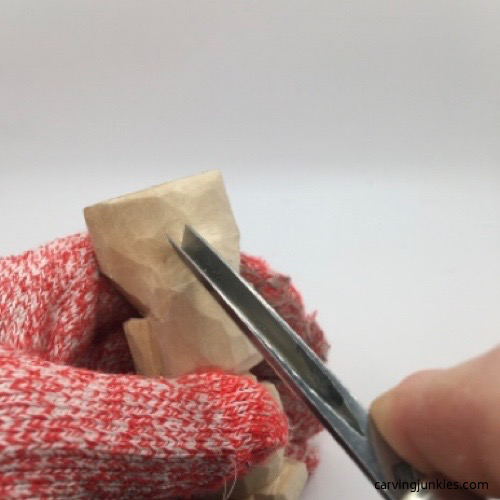 32. Starting the hair
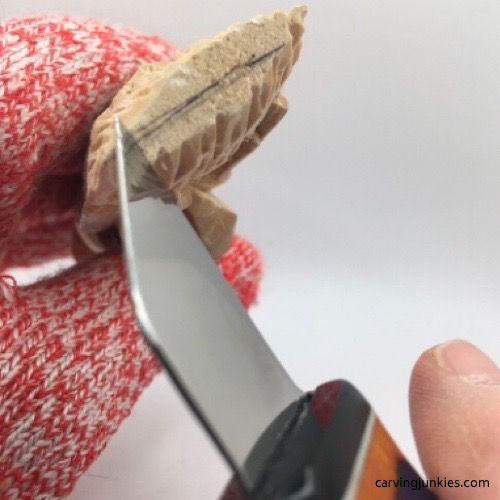 33. Using V-cuts to carve the end grain
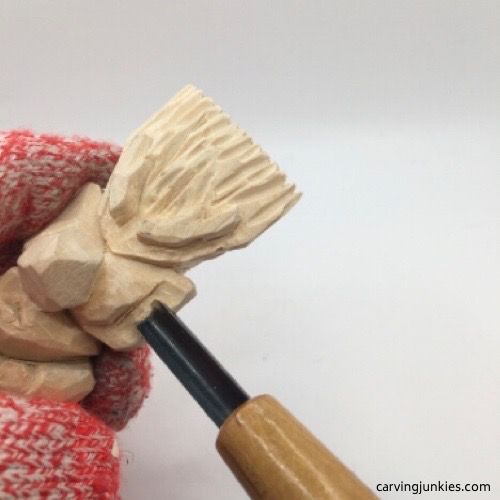 34. Shaping the inner ear
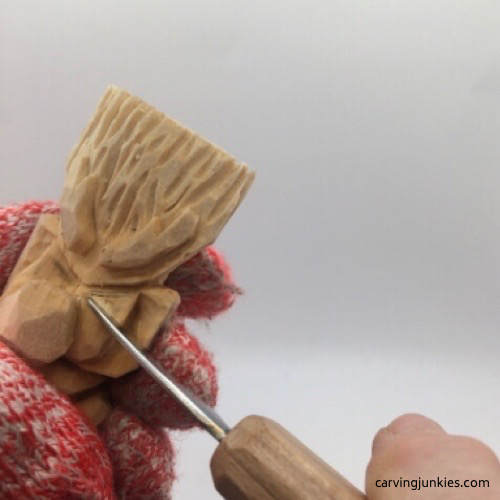 35. Cutting the triangle eyes
Refine your troll wood carving
Noodle the troll wood carving to achieve your final shape and to clean up any fuzzies prior to painting (photos 36-39). Tip: a metal file or sandpaper is helpful to clean up fuzzies around the nose.
Make the feet less boxy by carving off the sharp corners (photos 36-39).
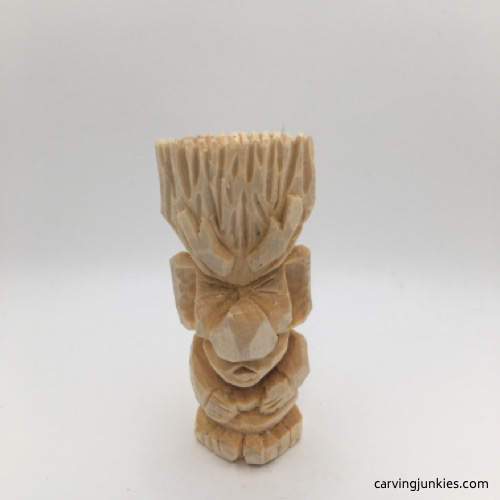 36. All the details are carved
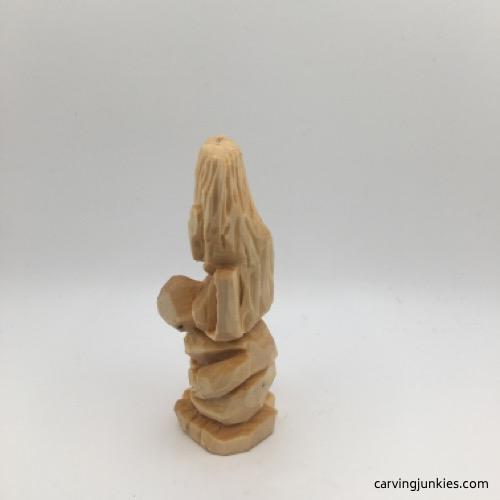 38. Left view
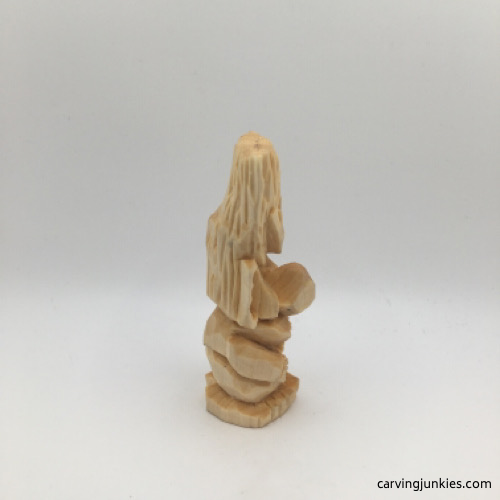 37. Right view of finished troll wood carving
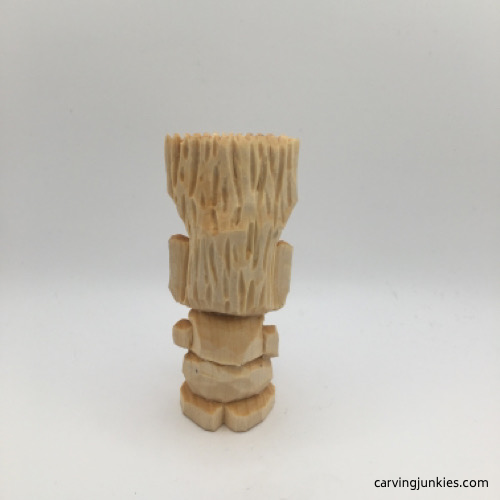 39. Back view
Time to paint your troll wood carving
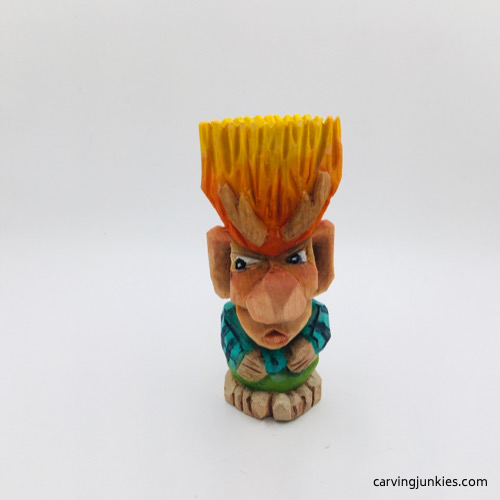
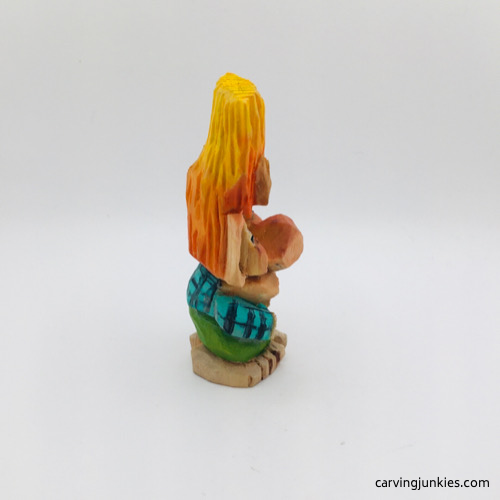
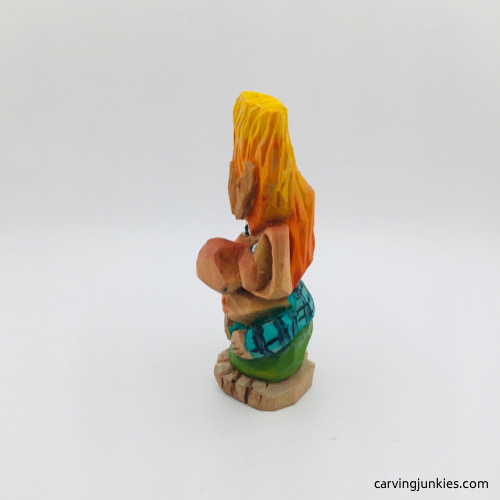
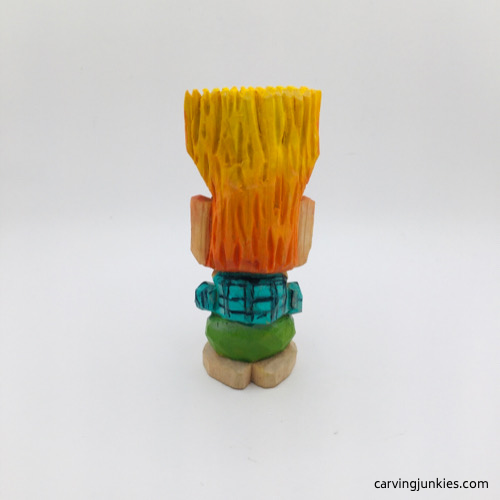
All paints are Delta Creative Ceramcoat except where noted. We place a drop of paint in a plastic paint well (photo 40) and dip the brush in water to create a wash. To get this look, we first brushed on boiled linseed oil* and painted wet after 10 minutes with:
- Eye whites: 100% Artist’s Loft titanium white mixed with 3 drops of water.
- Hair: Blended colors from dark to light with a wet brush using tangerine, pumpkin, yellow, and bright yellow mixed with 1 drop of titanium white.
- Toes, hands, inner ears, and bottom of nose: 2 drops of CraftSmart rosy beige mixed with 1 drop of burnt umber and mixed with a wet brush.
- Face and chin: 1 drop of burnt sienna mixed with 12 drops of water.
- Lips, top of nose, cheeks, tops of ears and toes: 1 drop of heavily diluted bright red (using 12 drops of water)
- Eyebrows: CraftSmart brown with wet brush.
- Pants: leaf green with wet brush.
- Top: turquoise with wet brush and black magic marker for stripes.
- Crevices of clothing and top of hair: dry brush with FolkArt steel gray.
- Crevices of toes and fingers: dry brush with CraftSmart brown.
*As always, properly dispose of any towels used to wipe boiled linseed oil as they can spontaneously combust.
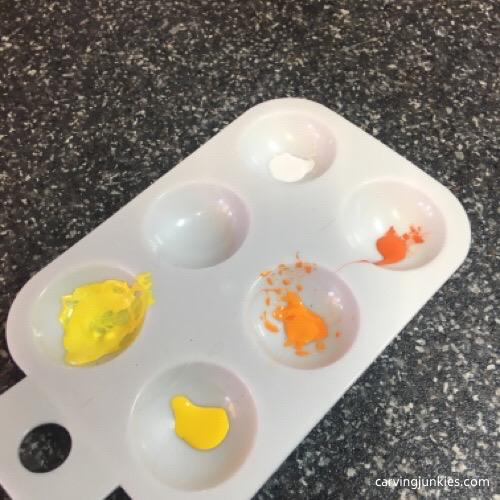 40. Setting up paints for blending and washes
Summary of our troll wood carving tutorial
- Trolls are mythical creatures that are mischievous and fun to carve.
- After using our tutorial, try creating another troll with subtle variations.
- Blending bright acrylic paints from dark to light create interest for the hair on your troll wood carving.
- Use your imagination to come up with different color variations, too.
Get 50 Wood Carving & Painting Tips when you join our FREE Covered in Chips club.
Share this page
carvingjunkies.com never sells your personal information.
This site uses cookies for its operation and to enhance your experience. As an Amazon Associate and Focuser Carving affiliate we earn from qualifying purchases.
Home | About Us | Privacy Policy | Terms of Use | Contact | Sitemap
