- Home
- Carving wood animals
- Sheep wood carving
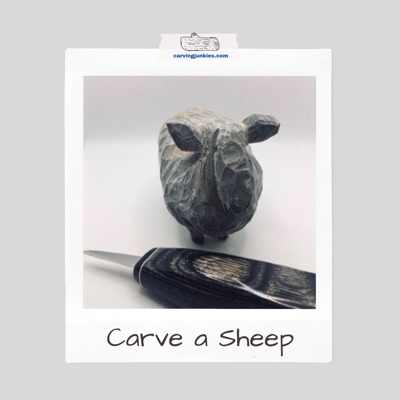
Primitive sheep wood carving tutorial
With just a knife, you can make this decorative piece.
If you are looking for a sheep wood carving tutorial that is easy to follow and fun to make, you’re in the right place.
This is one of our first tutorials, but we held onto it for a while. Midway into this carving, we saw a sheep carving pattern from James Miller that felt a little similar. He used a bandsaw and did flat plane carving. We created our carving differently... so we finally decided to release our tubby sheep wood carving.
What you will need for this sheep wood carving tutorial
- 2 x 4-inch (5.08 x 10.15 cm) basswood block.
- Knife of choice (we use a roughout and detail knife).
- Pencil (magic marker optional).
- Paints of choice (see painting guide at end).
- Paint brushes of choice.
- Carving glove (stay safe friends!).
Sheep wood carving tutorial at a glance
1. Draw your guidelines for the sheep wood carving
- You are going to work from the back of the sheep forward. When you draw your pattern, ensure you will be carving with the grain.
- Roughly sketch the sheep on the basswood block (photos 1-3), or use our free pattern (at the end) and trace it.
- On the top of the block, you will draw a box that extends on the sides to reserve wood for the ears (photos 1,2).
- On the back, draw a triangle to mark where you will separate the legs and remove the wood (photo 3).
- Don't stress if your drawing isn't perfect (ours certainly isn't). You will be able to shape the sheep as you carve.
- The front will emerge as you start to remove wood for the snout of this sheep wood carving.
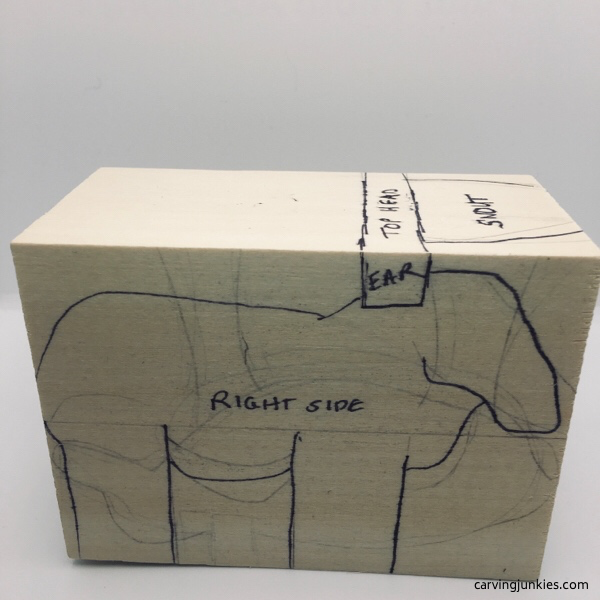 1. Pattern is drawn (right side)
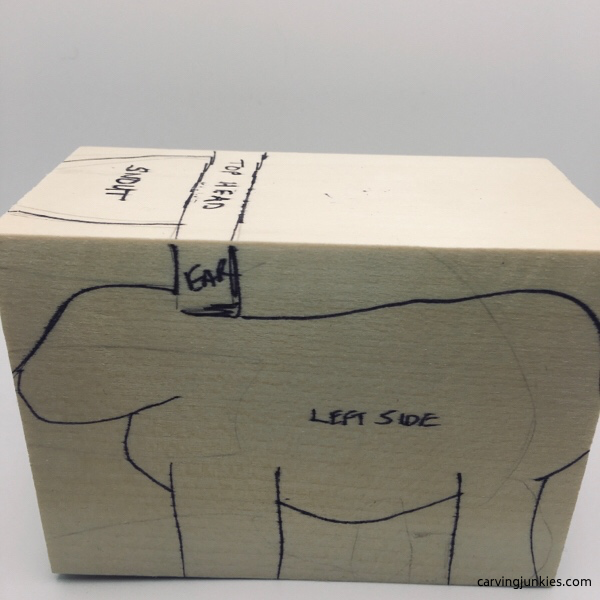 2. Left side
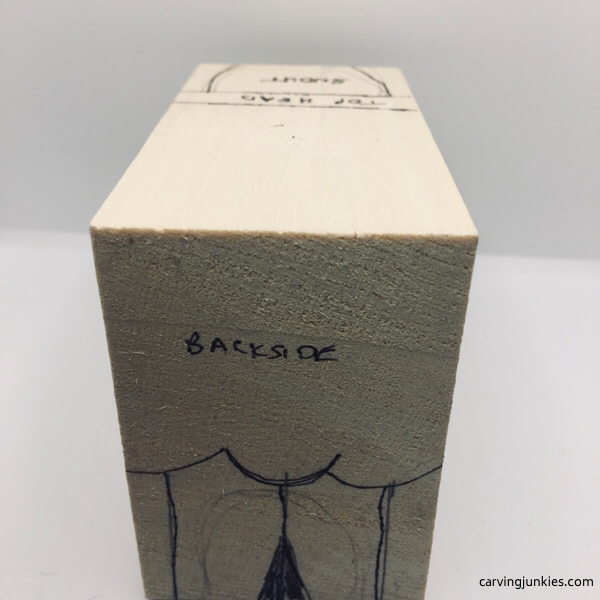 3. Back view
2. Round the back of the sheep wood carving
- Use a pencil (or magic marker) to color in a small box to indicate where the ears will be carved (photos 4,5).
- Use a knife to round off the back corner and to remove wood from the top (photos 4-6). We use push cuts with a roughout knife to remove wood from the back and stop cuts to remove wood from the back of the head.
- TIP: You may have to rock your knife back and forth to get a good cut, and it will be a bit of a work out to remove the wood. Go slow and be careful you don't snap your knife.
- Note: If you have a fishtail gouge (or other gouge of choice), feel free to use it to remove wood (we just used a knife).
- Start to split the back legs with a V-cut (you will split them further later).
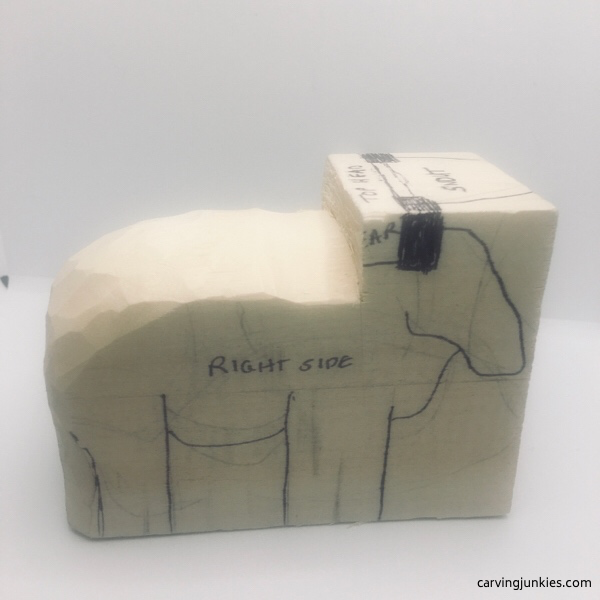 4. Back corner and top are rounded
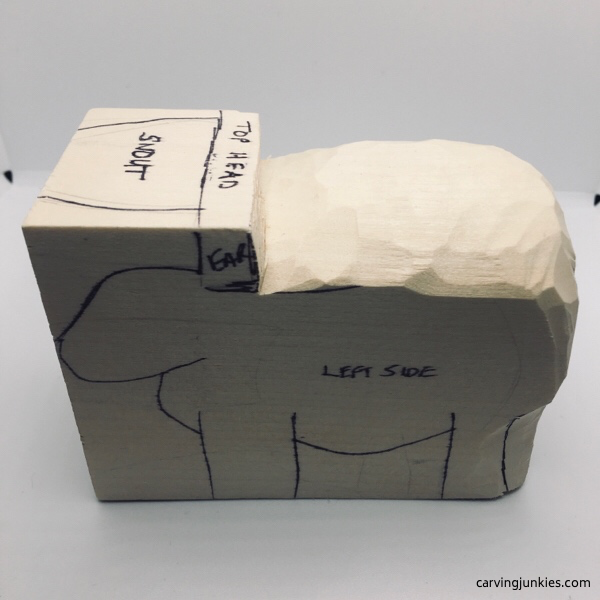 5. Left side
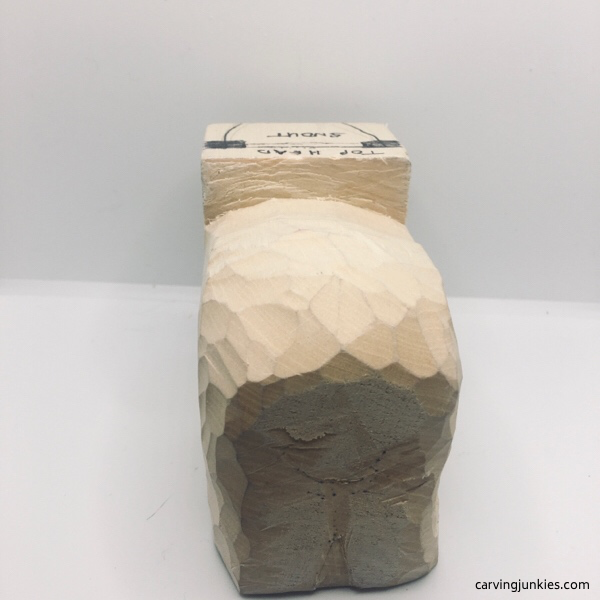 6. Back and top view of sheep wood carving
3. Remove wood to create the underbelly of the sheep wood carving
- This primitive sheep wood carving has a large belly.
- Use deep stop cuts along the inner leg guidelines and start to remove wood (photos 7,8).
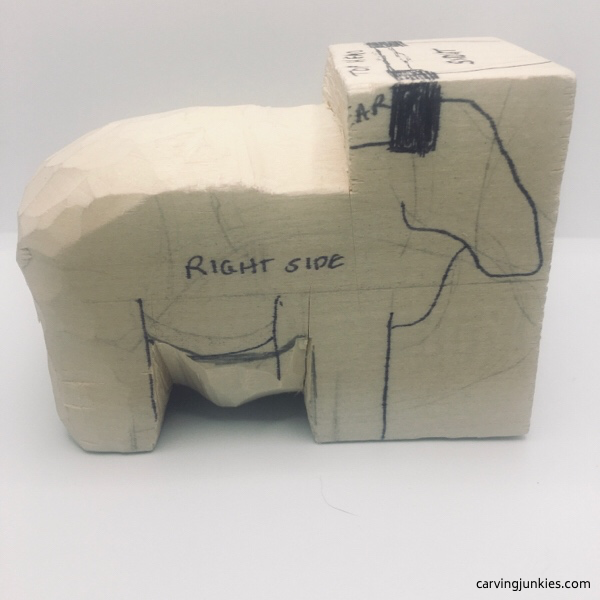 7. Starting to remove wood
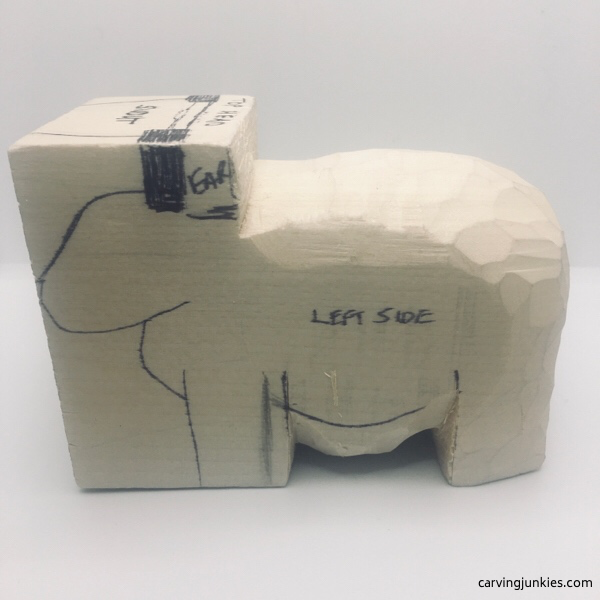 8. Left view
4. Continue shaping the belly and remove wood under the head
- Continue to remove wood to further shape the belly of the sheep wood carving.
- Use deep V-cuts to start to remove wood from under the head of the sheep wood carving.
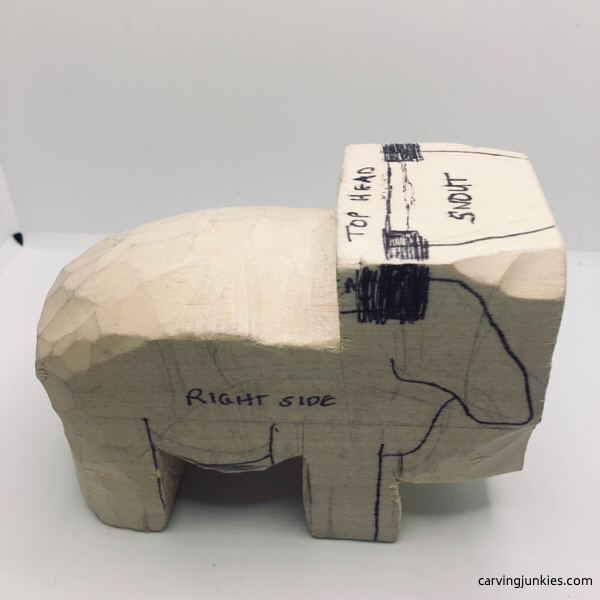 9. Belly is shaped, more wood is removed
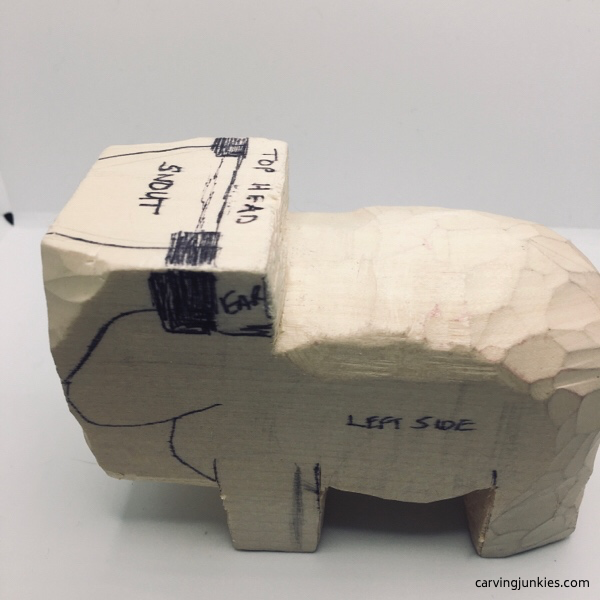 10. Left view
5. Remove remaining wood to start the head and snout of the sheep wood carving
- Using your knife, continue removing wood that is outside your guidelines (photos 11,12).
- Start to create a curve with your knife that runs from the back of the body up to the top of the head (photos 11,12). Be very careful here that you do not break your knife.
- Mark wood to remove on each side of the sheep's snout (photos 11,12).
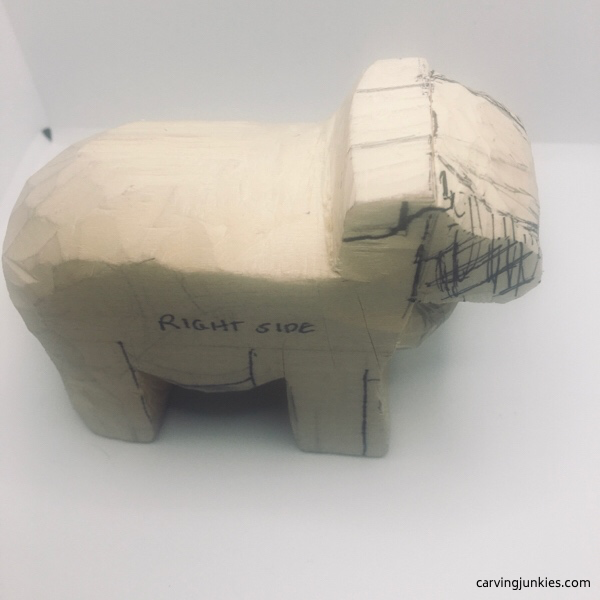 11. The snout is roughly shaped
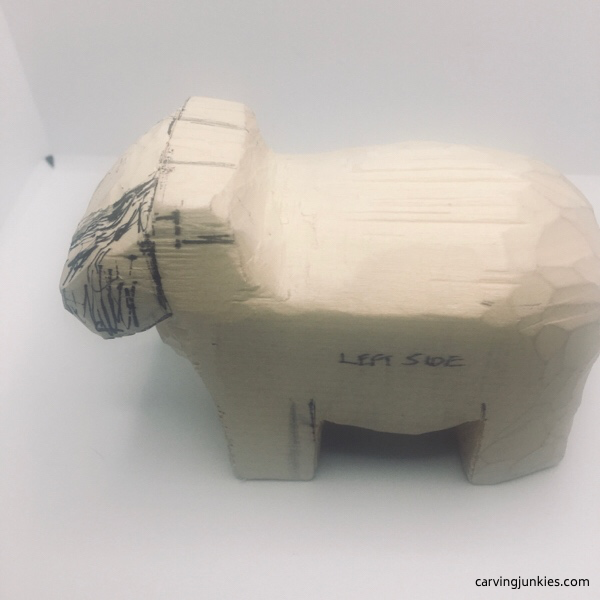 12. Left view
6. Shape the snout of the sheep wood carving
- Using your knife, remove the wood you marked on each side of the snout (photo 13). We use deep stop cuts along the snout guideline to get started (photos 13, 14).
- The snout will be a rough shape that you will refine later (photos 13, 14).
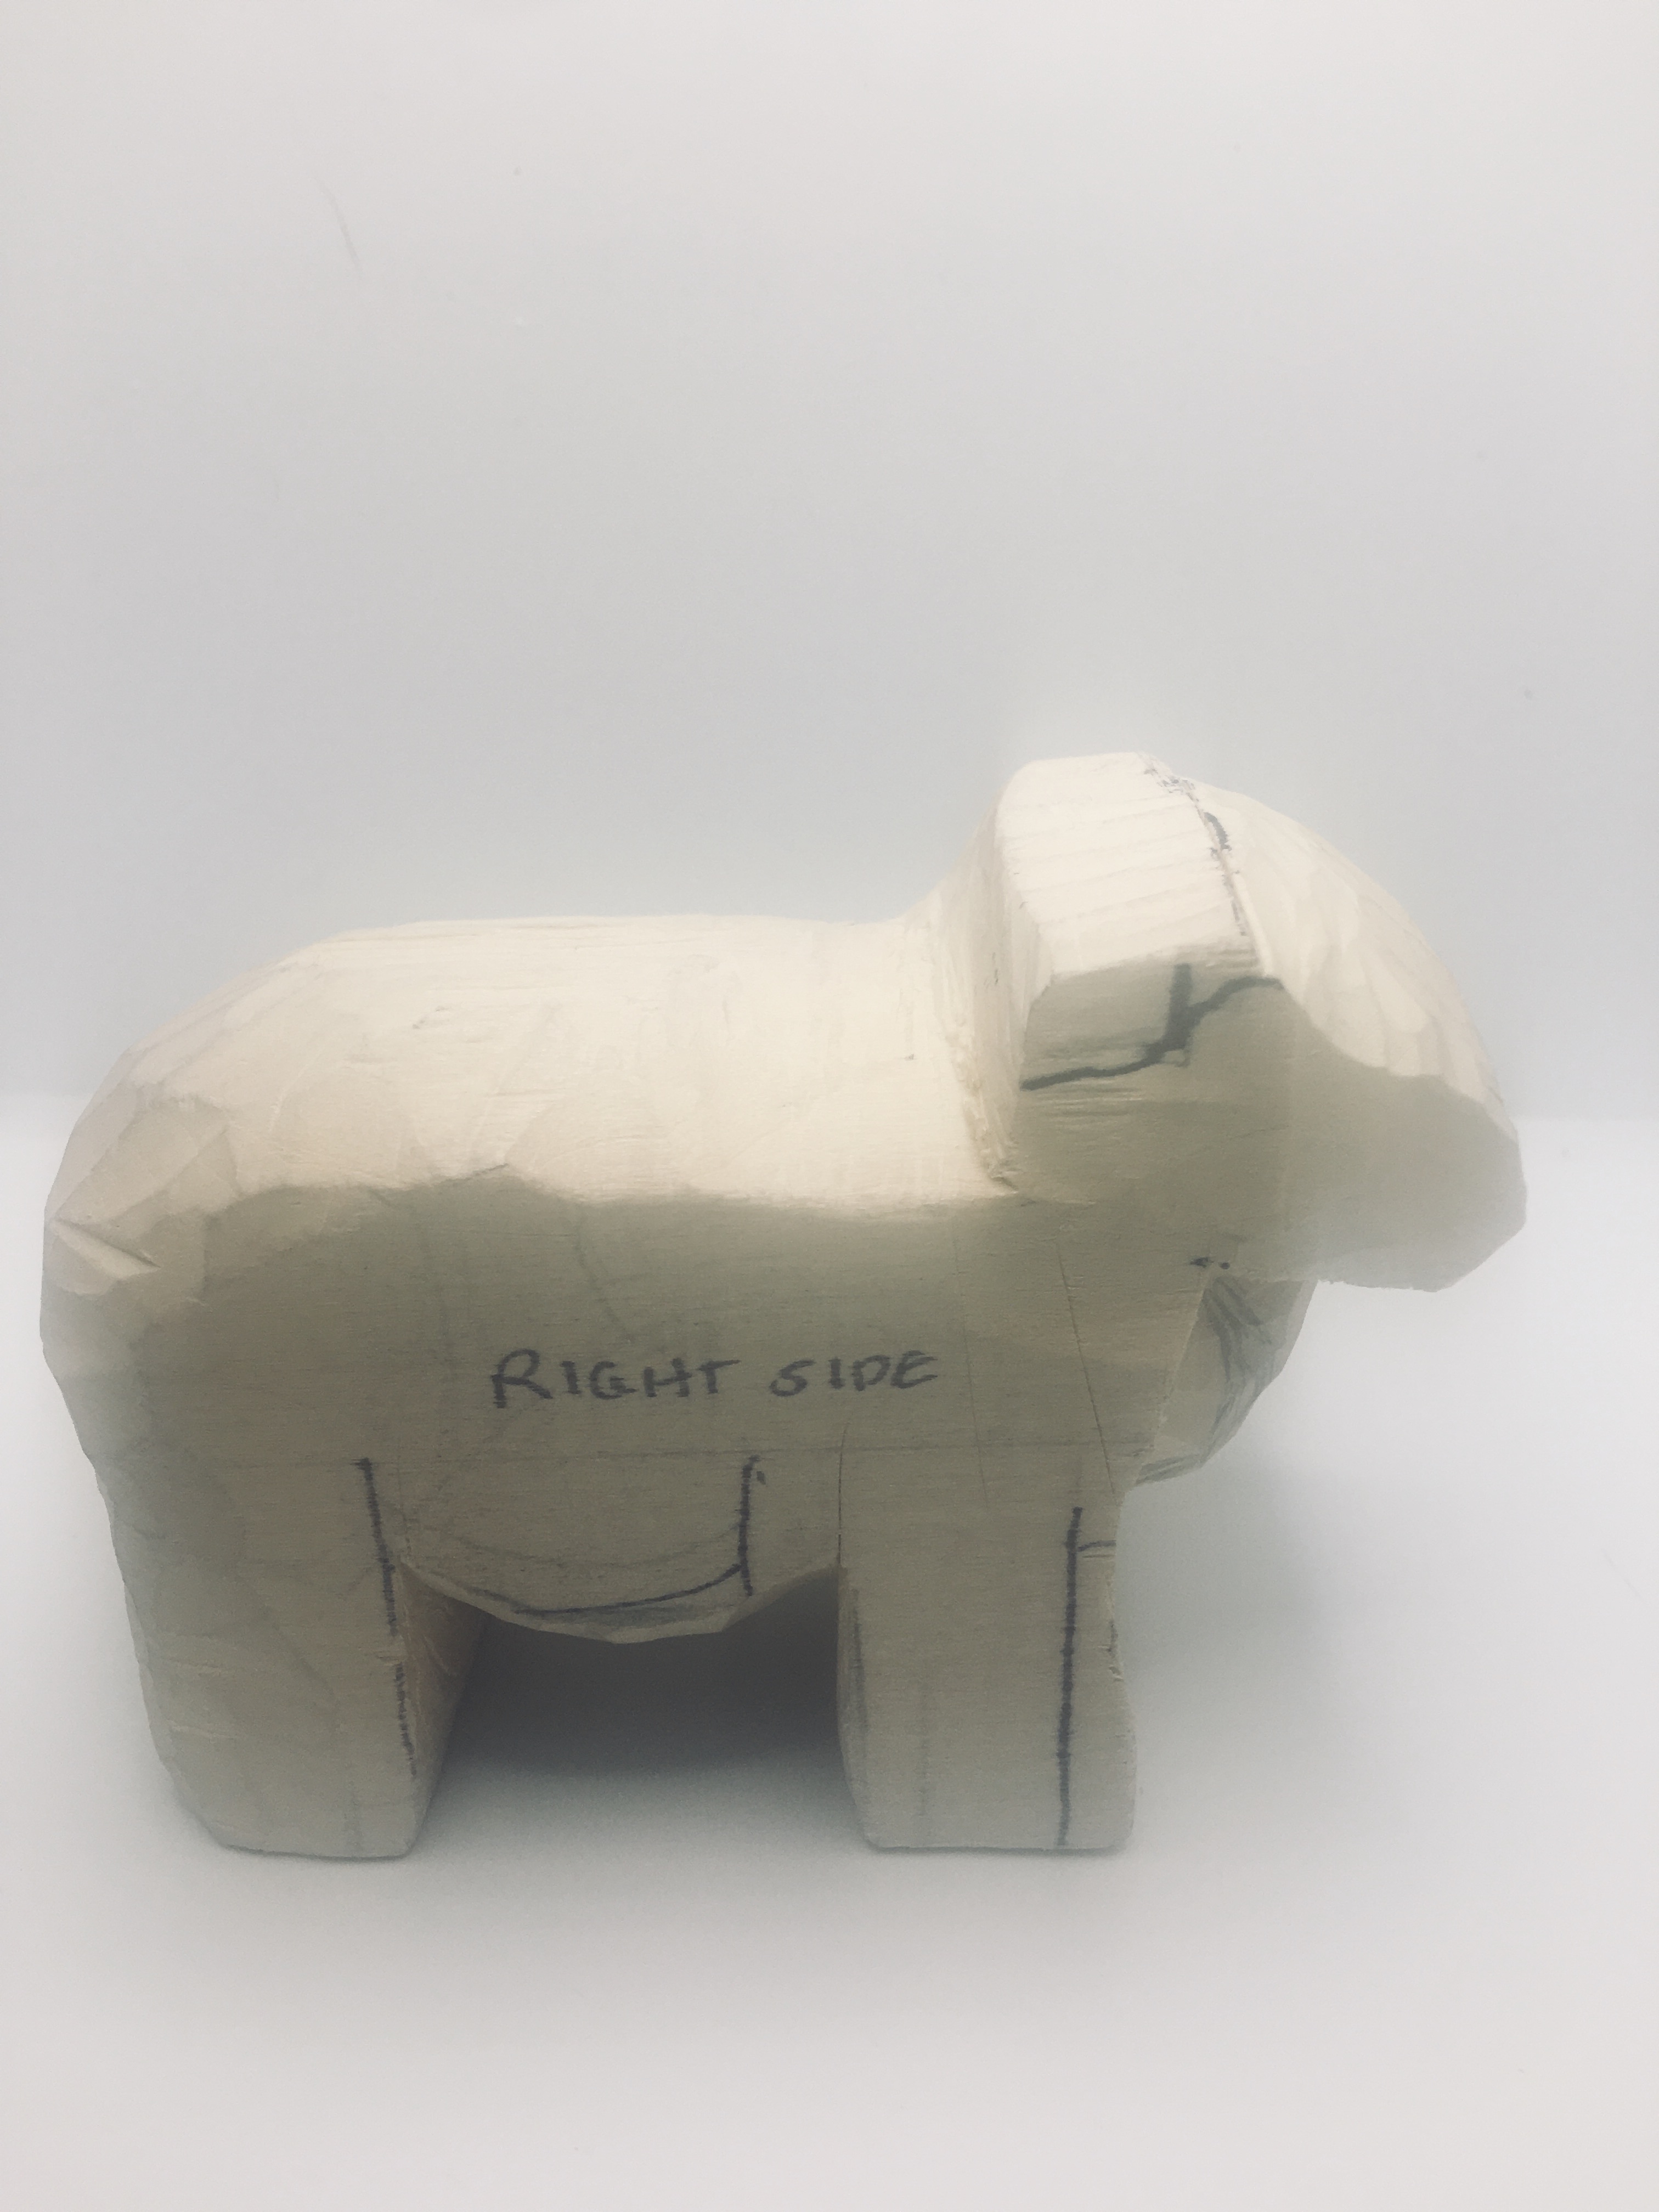 13. Rough shape of snout
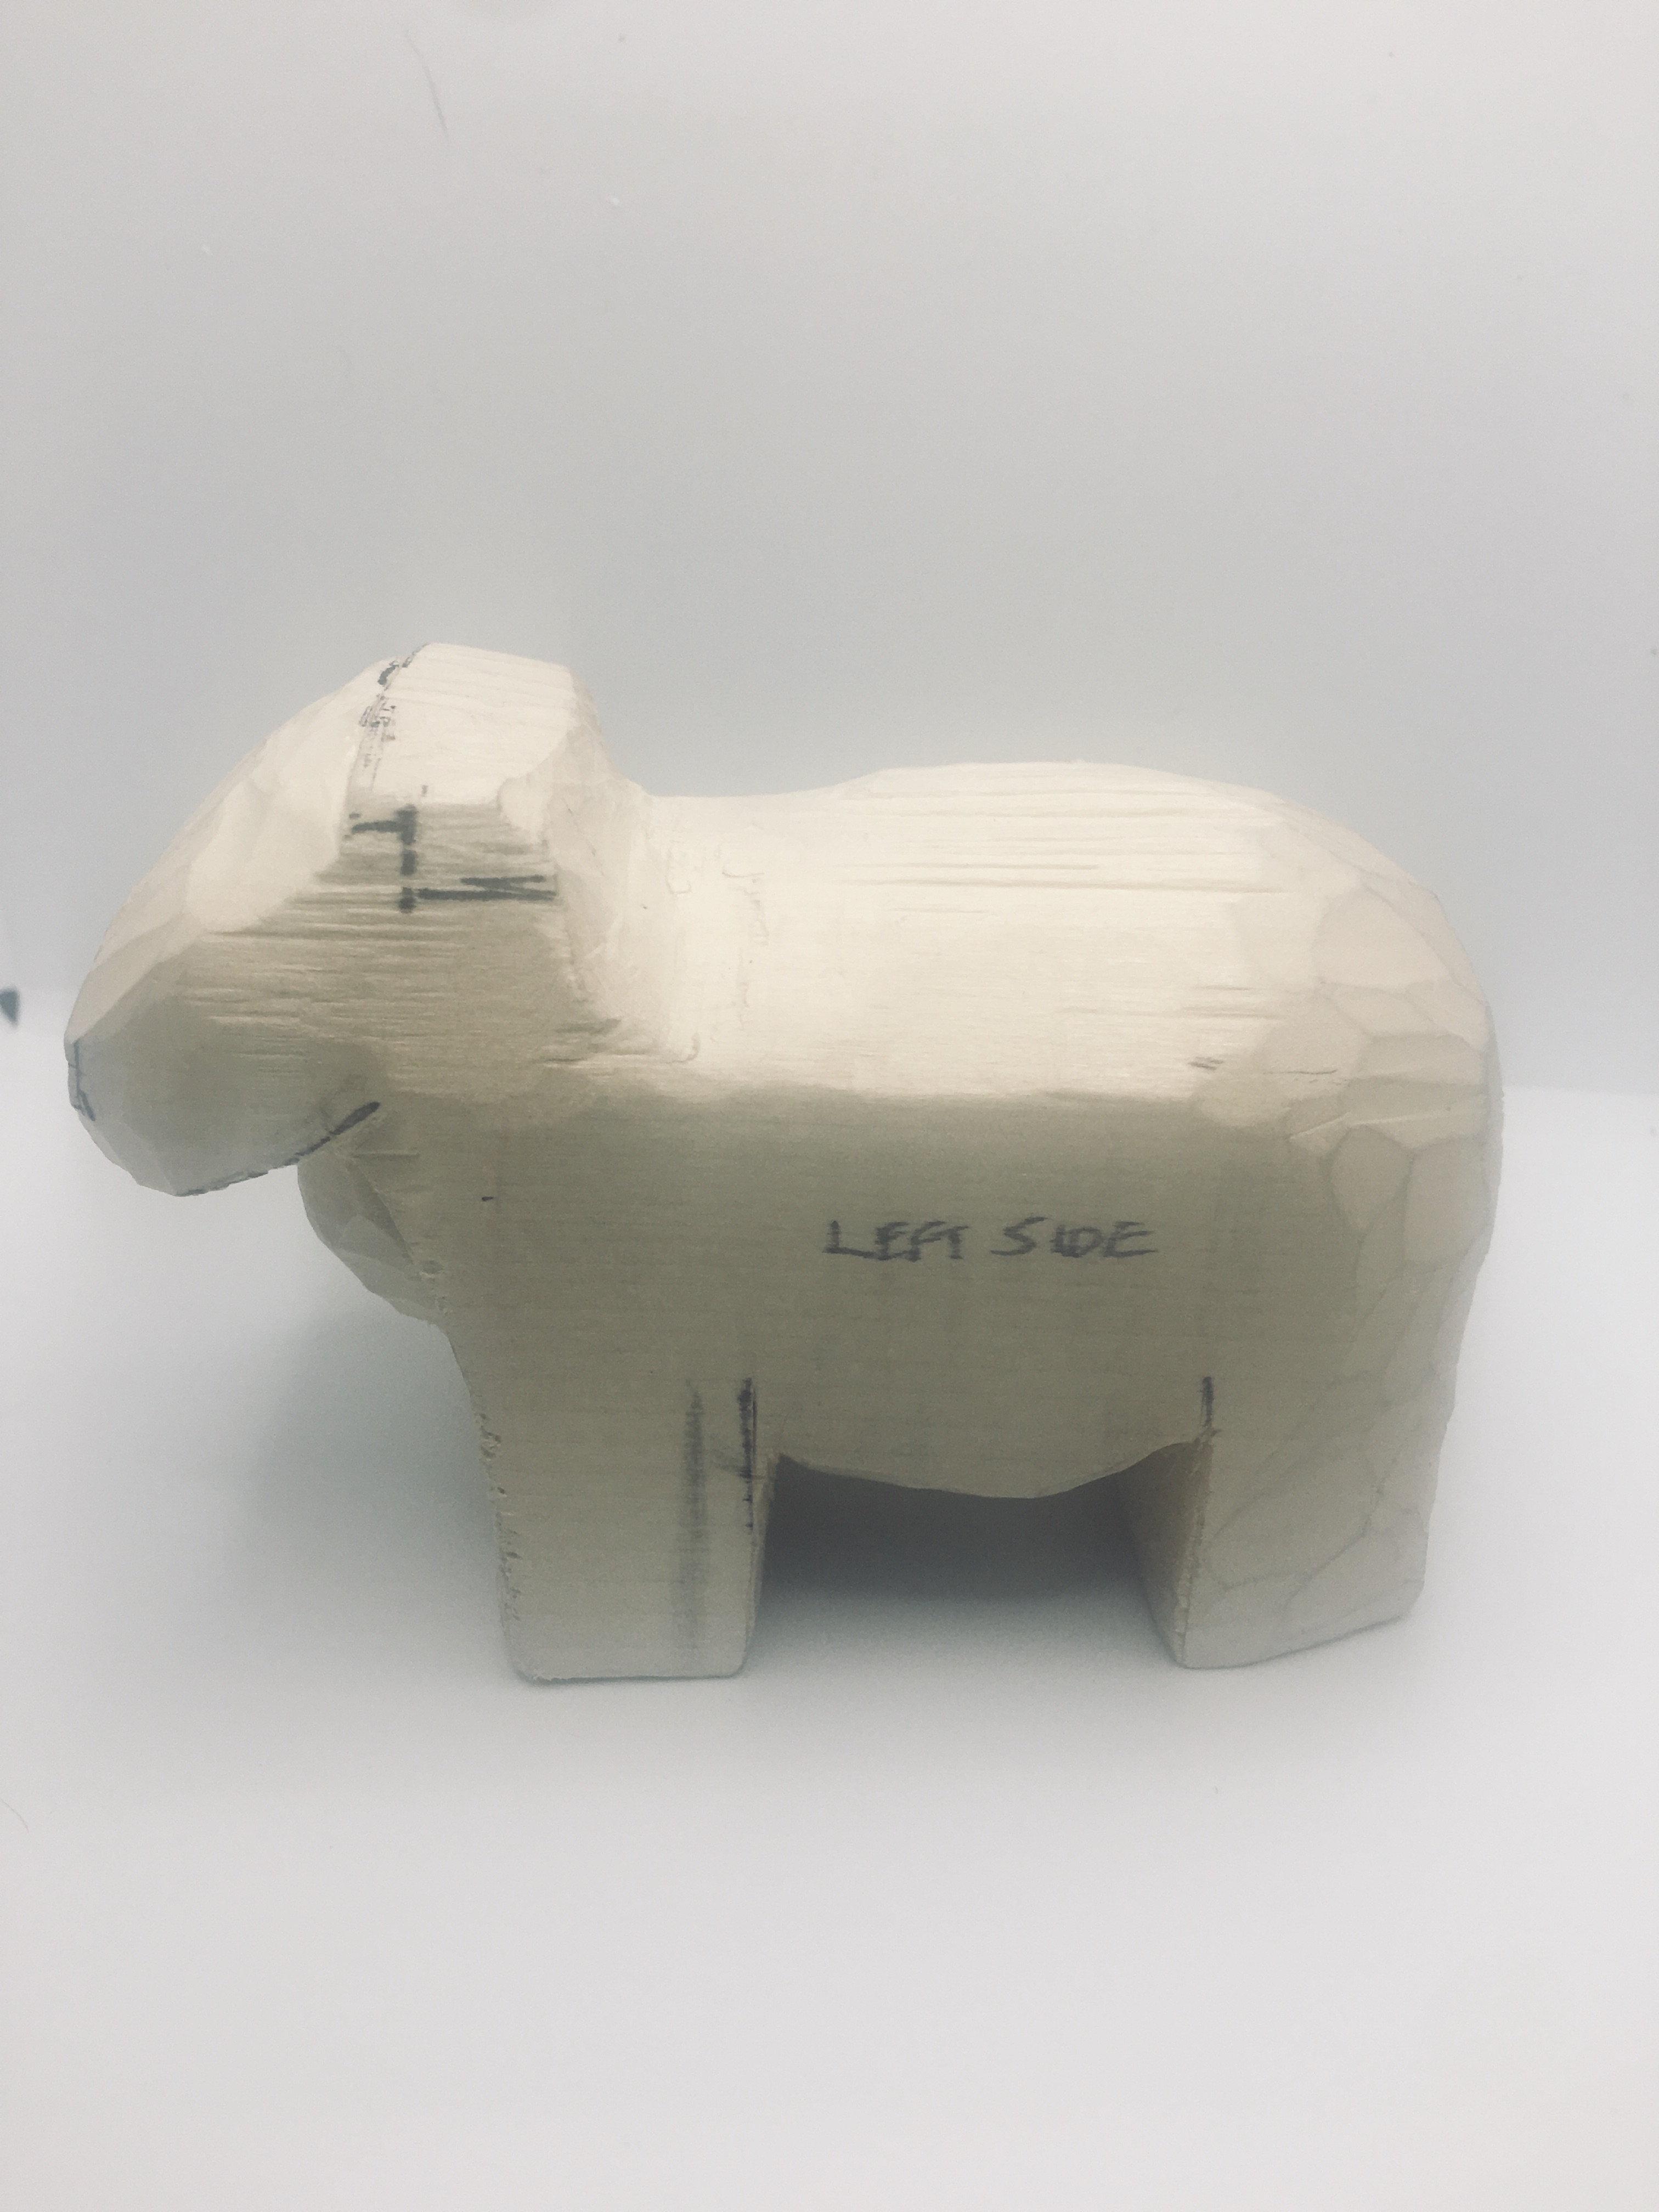 14. Left view
7. Refine the snout of the sheep wood carving
- Using deep stop cuts, continue removing wood to narrow the snout of the sheep wood carving (photo 15).
- Using a stop cut, remove wood at the corners of the box that you drew earlier to reserve wood for the ears (photo 15).
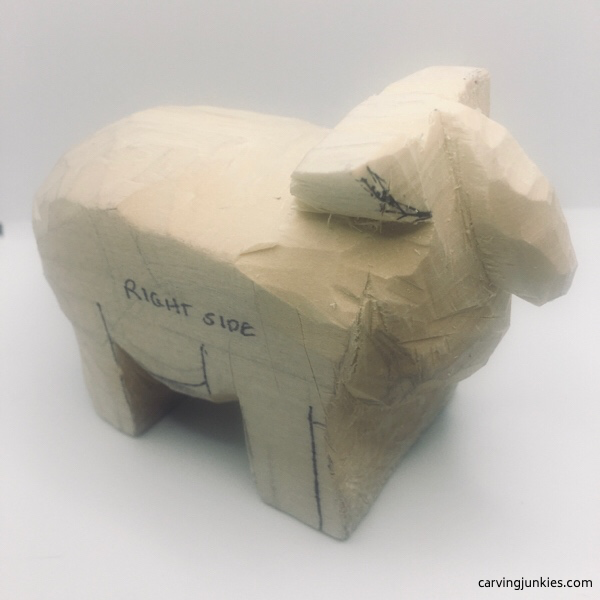 15. Snout is refined and bottom of the ear is cut
7. Carve the ears and start the legs of the sheep wood carving
- Using a knife (we use a detail knife), cut the rough shape of the ears (photos 16,17).
- Using a V-cut, make a notch on each side of the head to further separate the ears (photos 16,17).
- Using a sturdier knife, split the legs in the front and back (you can redraw them first to guide you). We use V-cuts to split the legs (photos 16,17).
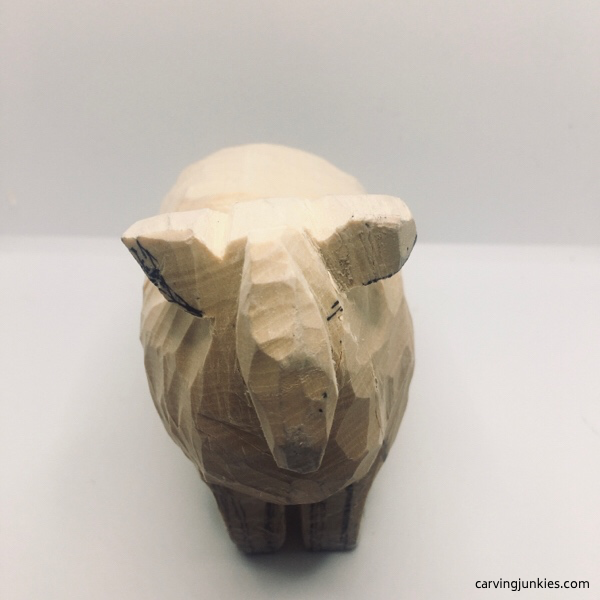 16. Ears are shaped and legs are cut
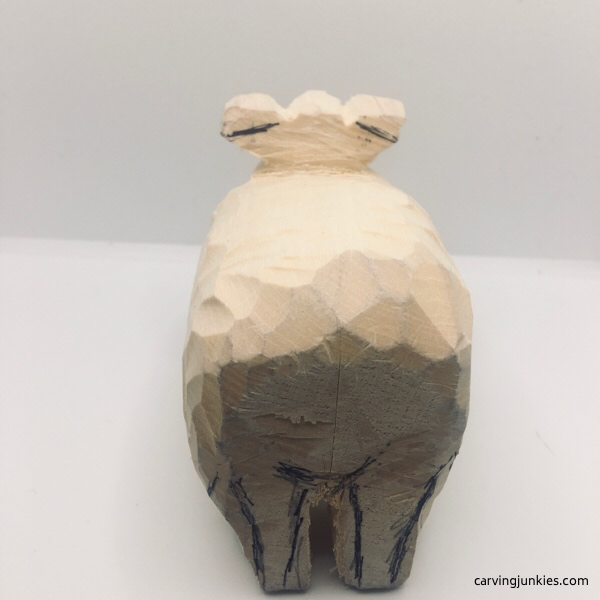 17. Back view
8. Refine and add details to the sheep wood carving
- Refine the ears of the sheep wood carving (photos 18,21).
- Use a V-cut to create the mouth, small nose, and small slits for the eyes (photos 19,20).
- Narrow the legs and use your knife to deepen the cuts that separate the body from the legs (photos 18-21).
- Use a knife to make uniform push cuts to create wood facets all around the sheep, carving with the grain (photos 19-21).
- Clean up any rought cuts or fuzzies before you begin to paint the sheep wood carving.
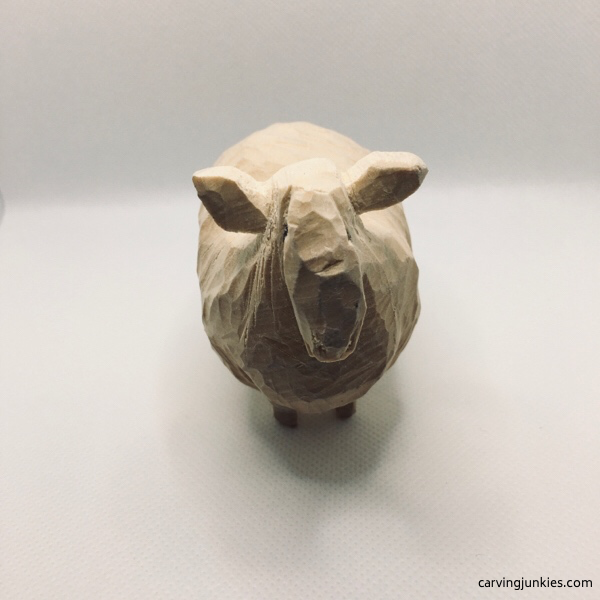 18. Face details are added
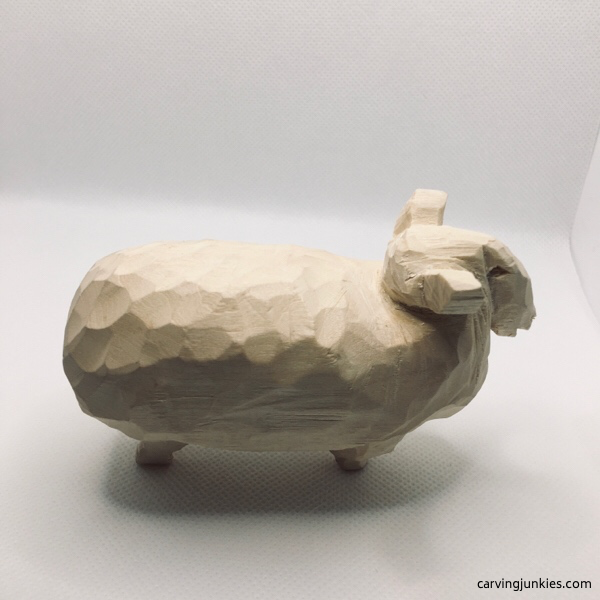 19. Legs are narrowed
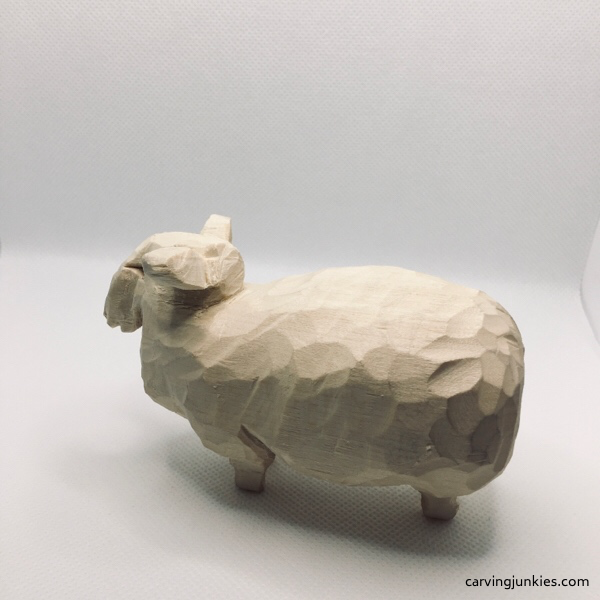 20. Carved facets are visible
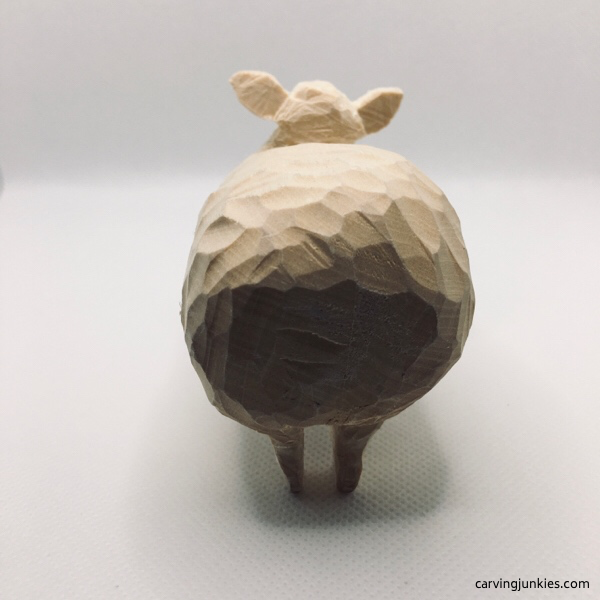 21. Back view of sheep wood carving
9. Paint your sheep wood carving
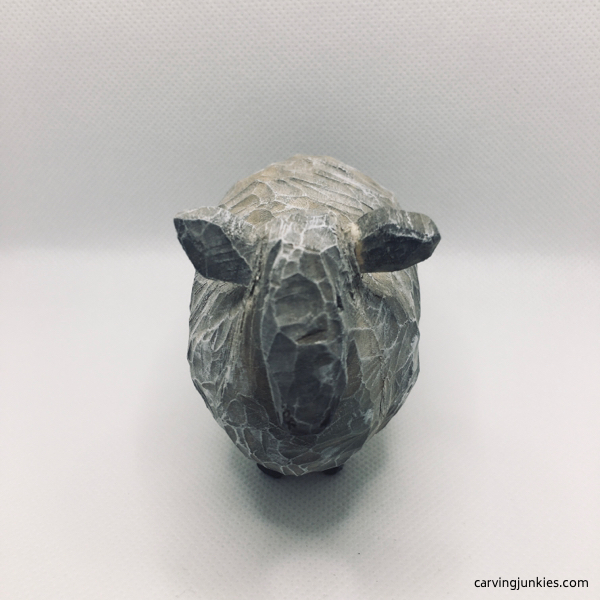 Front of sheep wood carving
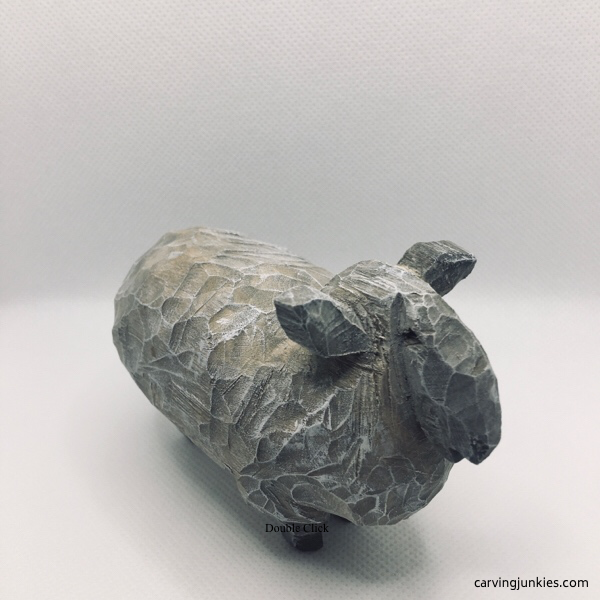 Right view
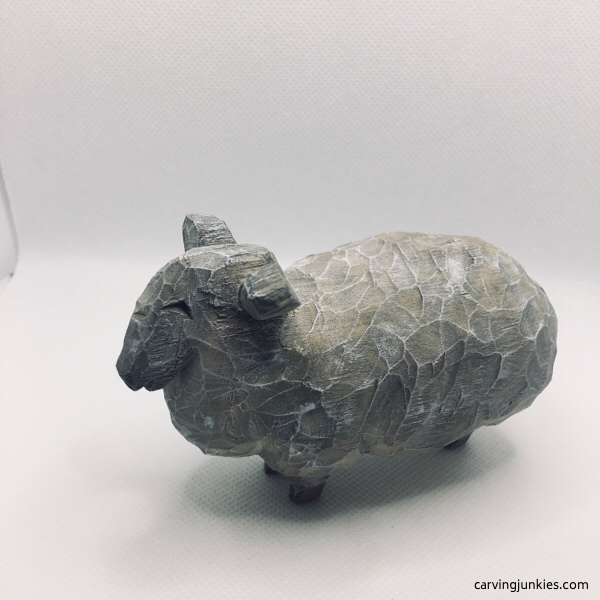 Left view
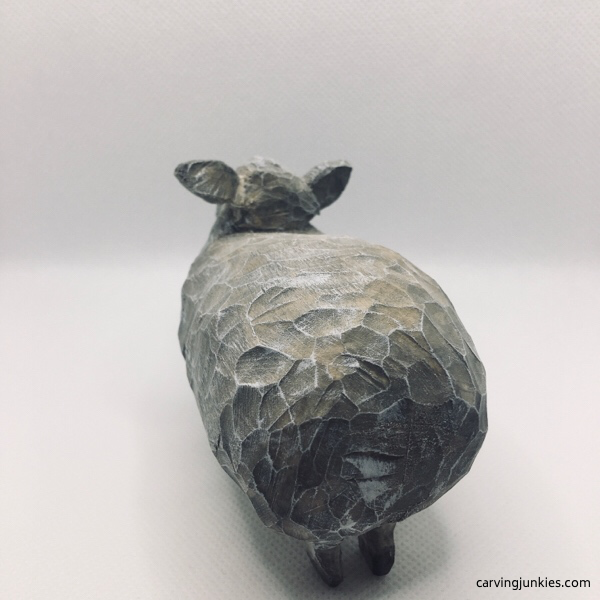 Back view
To get this look, we layered acrylic paints as follows:
- Layer 1: 4 drops of Craft Smart gray paint mixed with 100 drops water.
- Layer 2: 1 drop of Craft Smart black paint mixed with 3 drops of Craft Smart gray and 100 drops of water.
- Layer 3: 2 drops of Craft Smart black paint mixed with 50 drops of water.
- Layer 4: 2 drops of Apple Barrel light mocha mixed with 50 drops of water.
- Layer 5: Dry brush Artist Loft titanium white.
Sheep wood carving tutorial summary
- This primitive sheep wood carving makes a wonderful gift or can enhance your home decor.
- Most of the "work" is removing the wood to shape the body.
- Dry brushing enhances the wood facets that you carve.
- The layered painting really adds to the primitive look and feel (just be sure to let paint dry completely between layers).
Get 50 Wood Carving & Painting Tips when you join our FREE Covered in Chips club.
Share this page
carvingjunkies.com never sells your personal information.
This site uses cookies for its operation and to enhance your experience. As an Amazon Associate and Focuser Carving affiliate we earn from qualifying purchases.
Home | About Us | Privacy Policy | Terms of Use | Contact | Sitemap
