- Home
- Things to carve
- How to carve a spoon
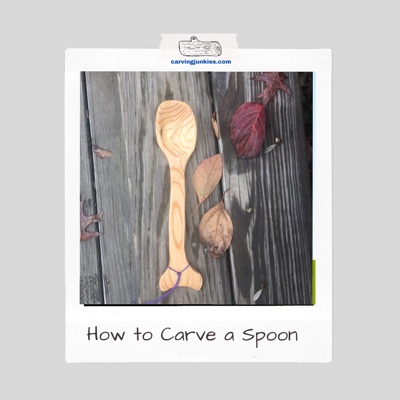
How to carve a spoon with ease
Make this whale of a spoon for your next dinner.
We're excited to show you how to carve a spoon with a step-by-step tutorial that features plenty of progress pictures.
This 9-inch (22.86-cm) carving spoon was made as a gift for our friend (nicknamed "the Weed") who is always cooking hot, spicy, and delicious concoctions in the great outdoors.
Full disclosure: this is a wife-watching-husband project, so we hope our explanation of how to carve a spoon translates. We do both suffer from chronic spousal deafness.
Bon appetite!
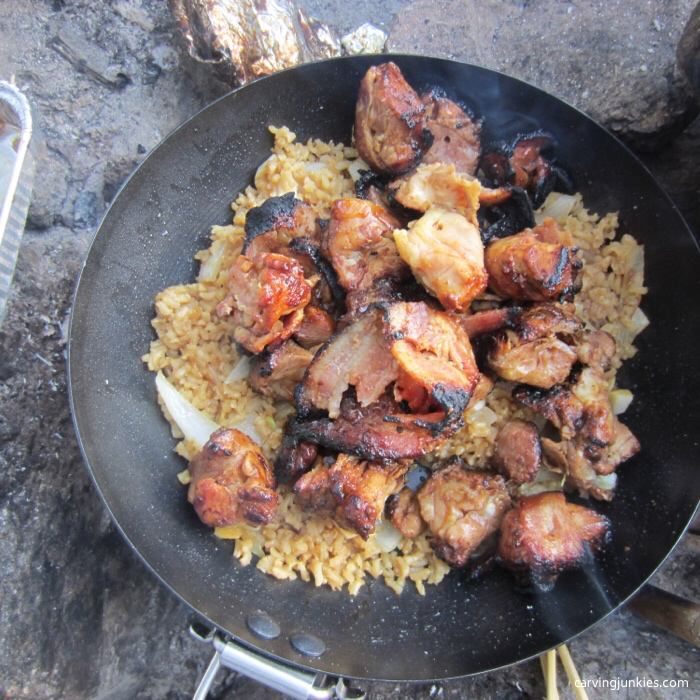 Outdoor yum
How to carve a spoon: What you will need
- A piece of wood (photo 1). We split a log of white pine using a froe and a homemade bushcraft mallet.
- An axe or small hatchet (watch the safety video below).
- Spoon carving knives (we use Mora and Narex knives).
- Sturdy bushcraft carving knife (we use a Mora).
- A belt sander with an 80-grit belt (you can manually use a coping saw, or a draw knife, but someone in our house doesn't have that kind of patience).
- Magic marker or pencil.
- Compass or divider.
- Sandpaper for final hand sanding (100-120 grit).
- Food-safe finish (we use mineral oil).
- Anvil (any old tree stump will do) for leverage and to protect your legs from the axe and saw.
Please watch this video on axe safety before you touch one.
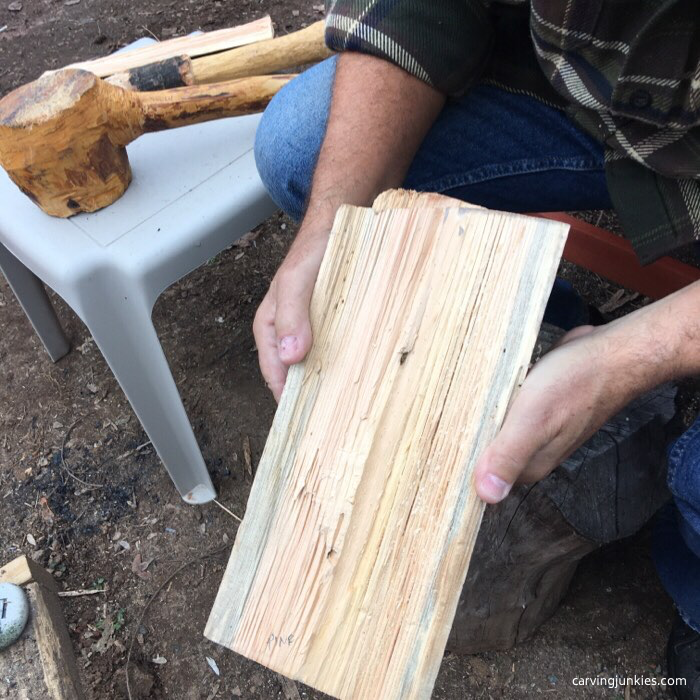 1. Log of white pine
How to carve a spoon: Getting started
- Inspect your wood for knots or cracks that will make it challenging to carve your spoon successfully (photo 2). This will also help you determine which end you will use for the bowl of the spoon.
- Note: Some cracks can be gently relieved with a knife, or saw, but it is always a risk (fortunately our crack wasn't a problem).
- Determine which direction the grain is going to be sure you are not cutting against it.
- Mark the center line and use a compass or divider to mark an even width on each side of the center line (photos 3,4).
- Draw the depth of the bowl as a reference (does not have to be exact) on the short side of the log (photo 5).
Tip: Make your design wider than needed to have room to play with.
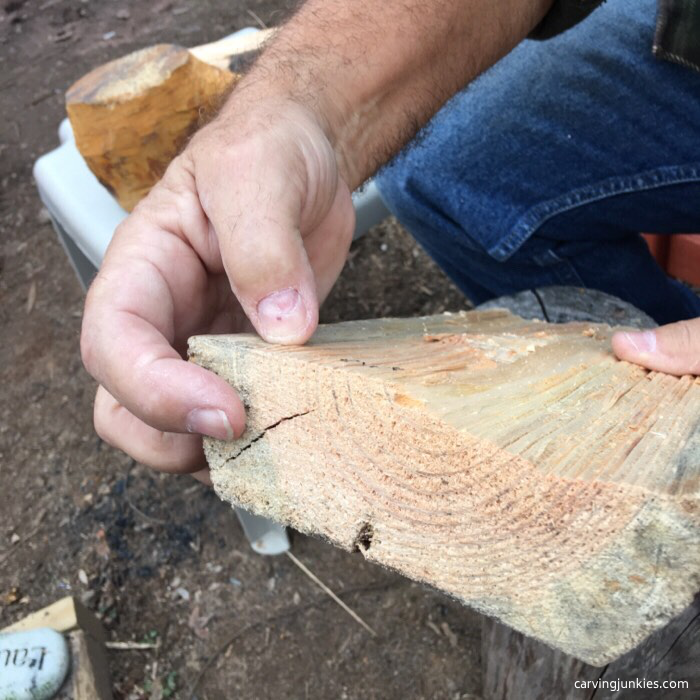 2. Look for problematic cracks in the wood
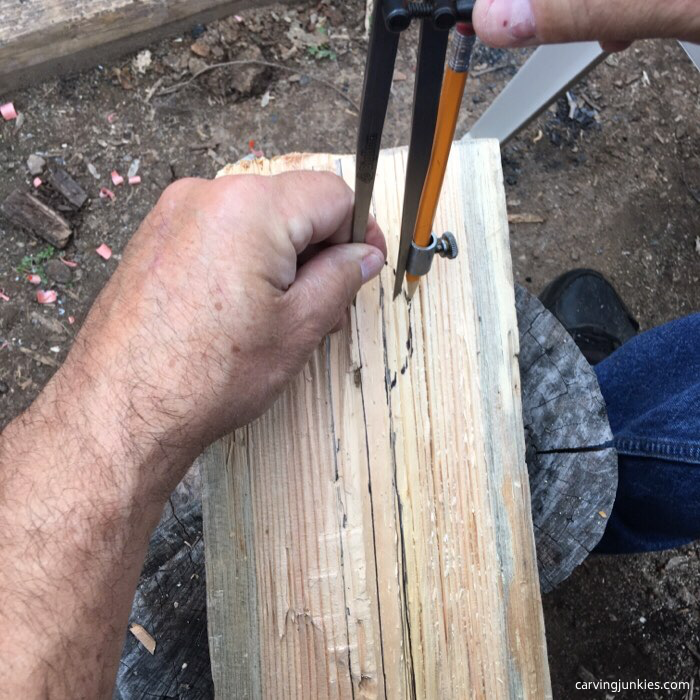 3. Measuring the bowl around the center line
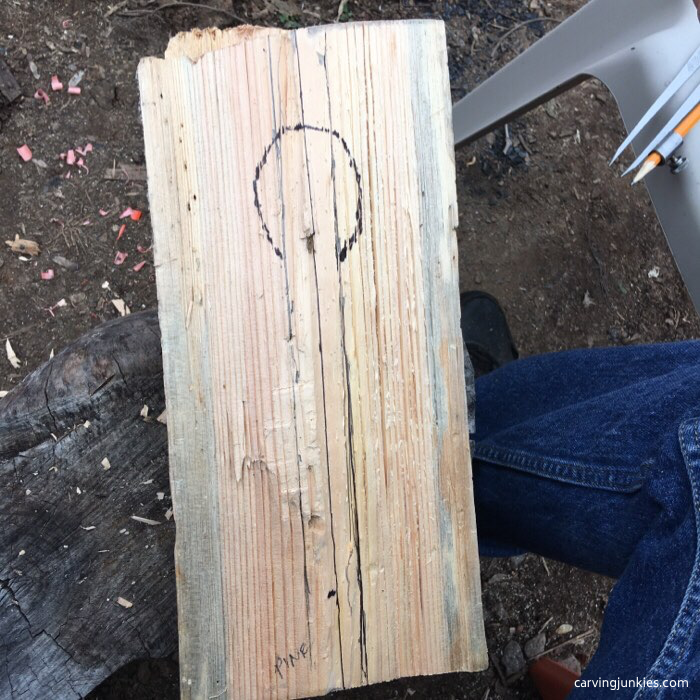 4. Spoon is ready for cutting
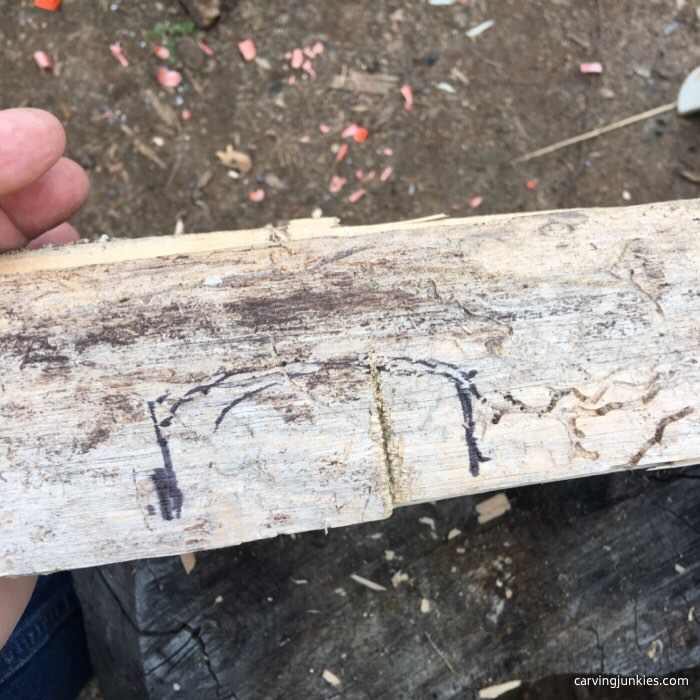 5. Bowl depth is drawn on side for reference
How to carve a spoon: Time to saw
- Use a folding saw (photo 5) to create several stop cuts in the wood (photo 6). These stop cuts will make it easier to chop wood off on the sides of the spoon with an axe (or hatchet).
- Tip: Be careful not to break the tip of the saw (photo 6).
- You will make 3 cuts on each side, or less, depending on the size of your wood (photo 7).
Tip: Use a folding saw (or knife) to relieve a crack in the wood.
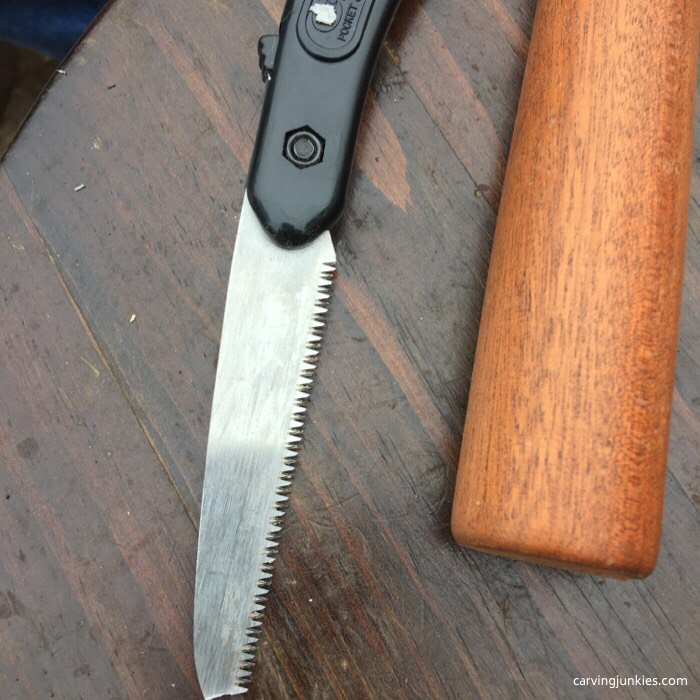 6. Oops! Folding saw with broken tip
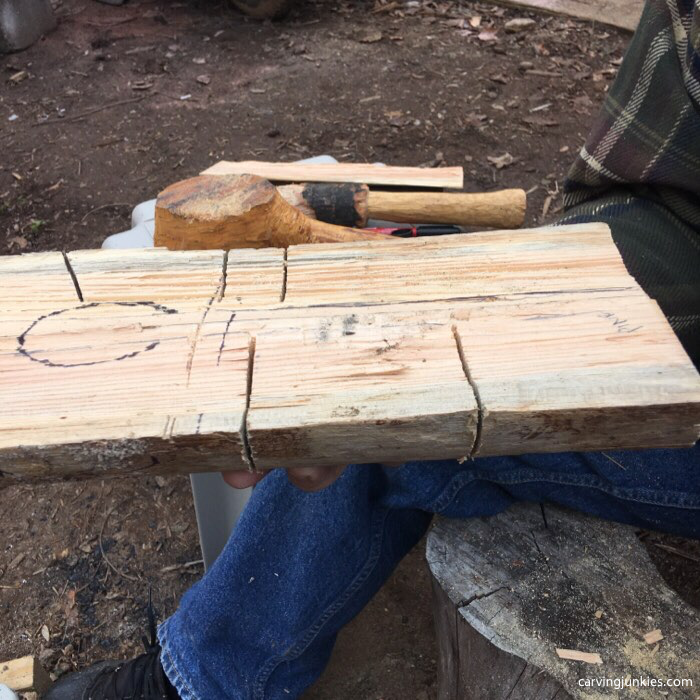 7. Multiple stop cuts are made
How to carve a spoon: Time to chop
- Use an axe to chop wood off (sometimes called hogging wood off) from each side (photo 8).
- Start to cut into the spoon crank (the part of the spoon that bends) by chopping wood at an angle. Chop inward to remove wood around the bowl.
- Continue to hog wood off all around the outline of the spoon (photo 9).
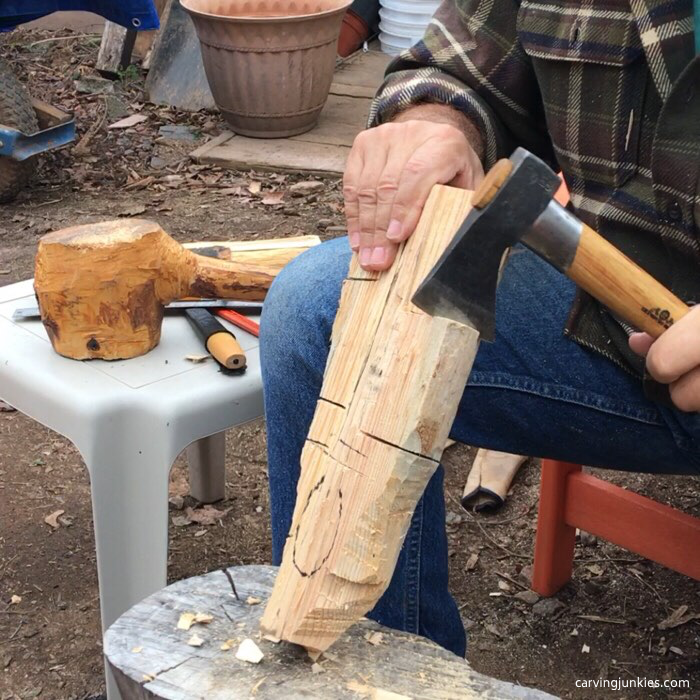 8. Chopping wood off
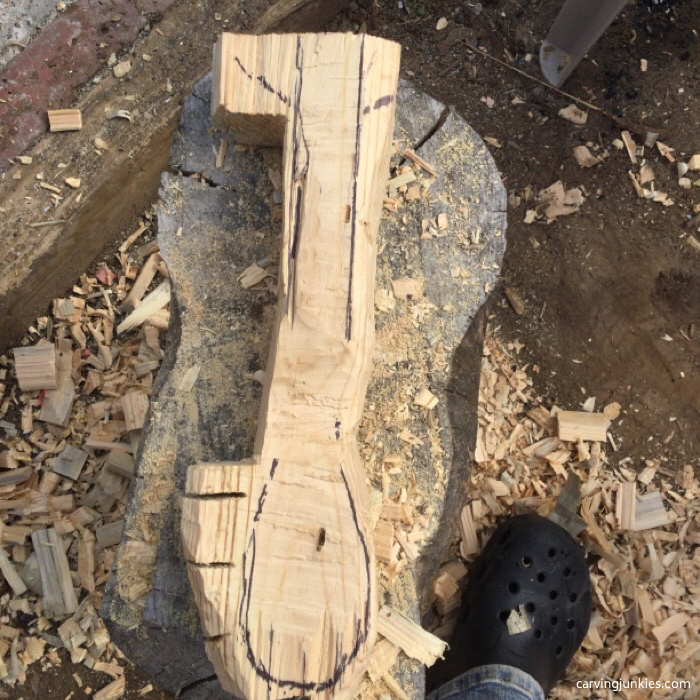 9. Making progress (it's hard work)
How to carve a spoon: Refining the shape
- Once you get close to the desired shape you can hold your bushcraft knife like a draw knife (or use a draw knife) to remove wood to shape the sides of the spoon handle and bowl (photo 10).
- It is always a good idea to wear safety gloves (you will see why later), but this husband thinks he knows better!
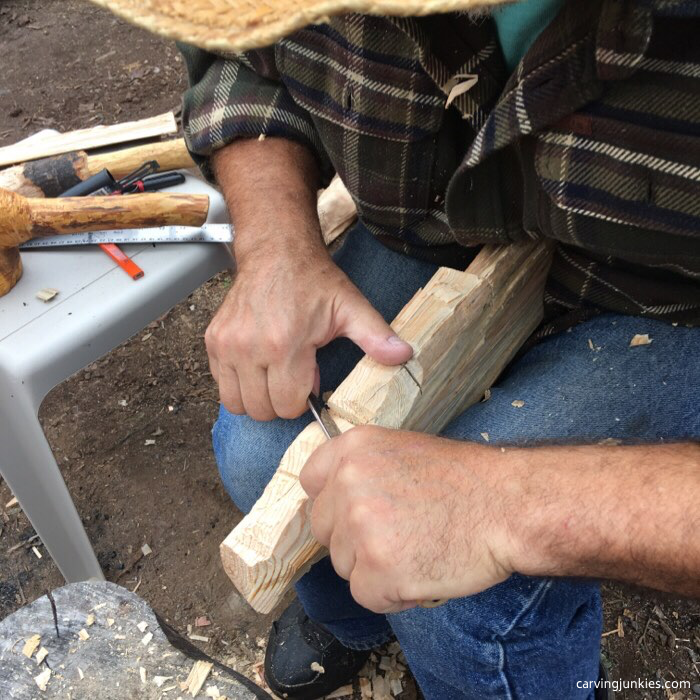 10. Starting to shape with a knife
How to carve a spoon: Time to sand
- Sand the spoon to shape using a 80-grit belt with a belt sander (photo 11). If you do not have a belt sander, keep carving with a draw knife or other sturdy knife until you get the shape you want. Then use regular sandpaper to smooth the spoon.
- Once you have a more defined shape, draw the bowl of the spoon with a pencil (photo 12).
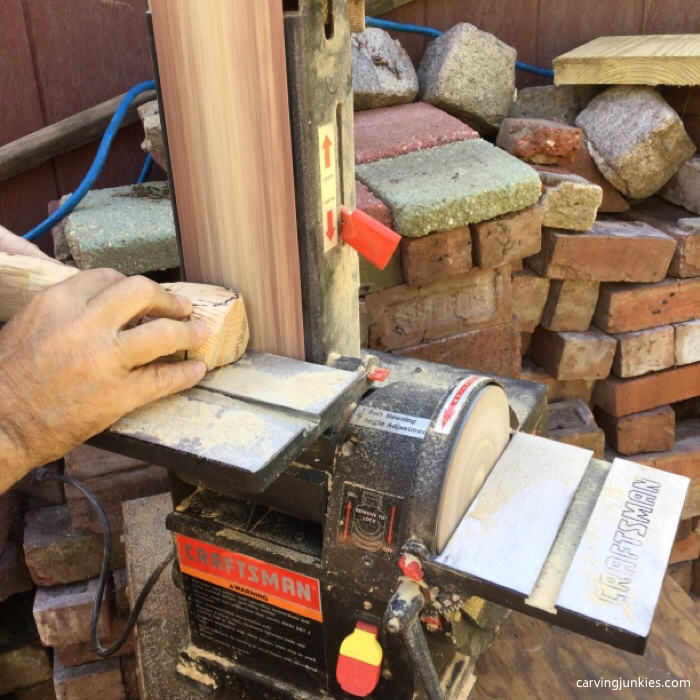 11. Using the sander to narrow the spoon
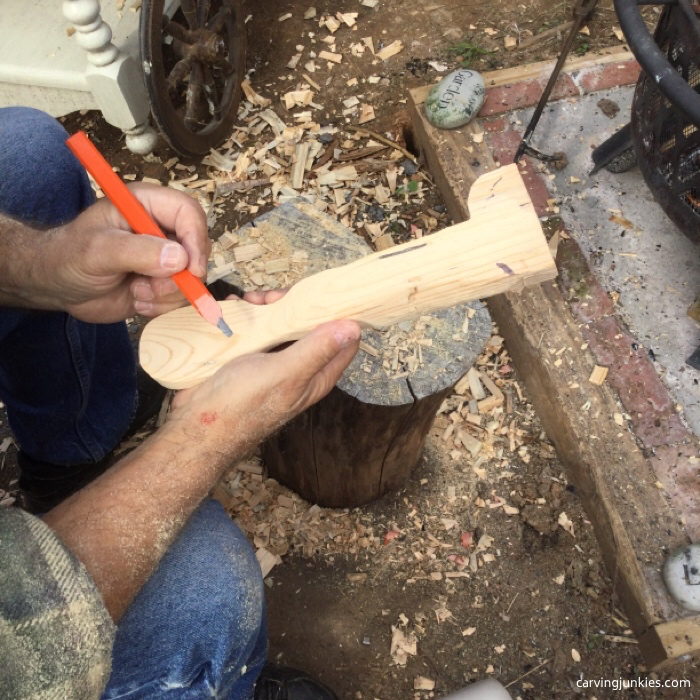 12. Draw the bowl of the spoon that you will carve
How to carve a spoon: Time for a hook knife
- Scoop out the bowl with a hook knife (we use Mora and Narex knives).
- At this point, David noticed that he cut himself, and declared, “Into every spoon a little blood must fall” (photo 13). He also heard the words that so many husbands fear: "I told you so."
- Note: The Narex is a heavy duty knife that is thicker and sturdier for making initial cuts. The Mora blades are a joy to work with and are sharper.
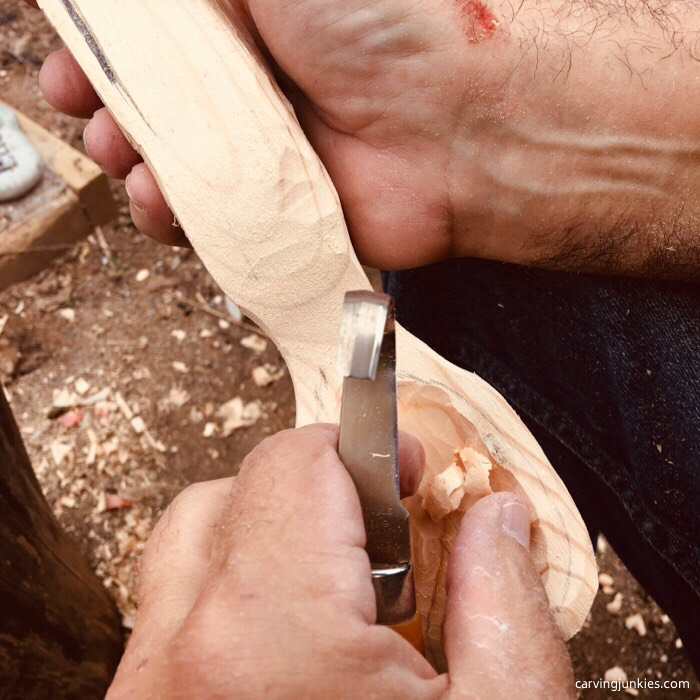 13. Using the hooked knife to carve out the bowl
How to carve a spoon: Refine the shape
- Using the belt sander, shape and refine the spoon until you achieve your final shape.
- David's spoon features his signature whale tail handle (photos 14-16), which are purposely not perfect ("Adds character," he claims).
- Finish your spoon with a food-safe oil, such as mineral oil (photo 15).
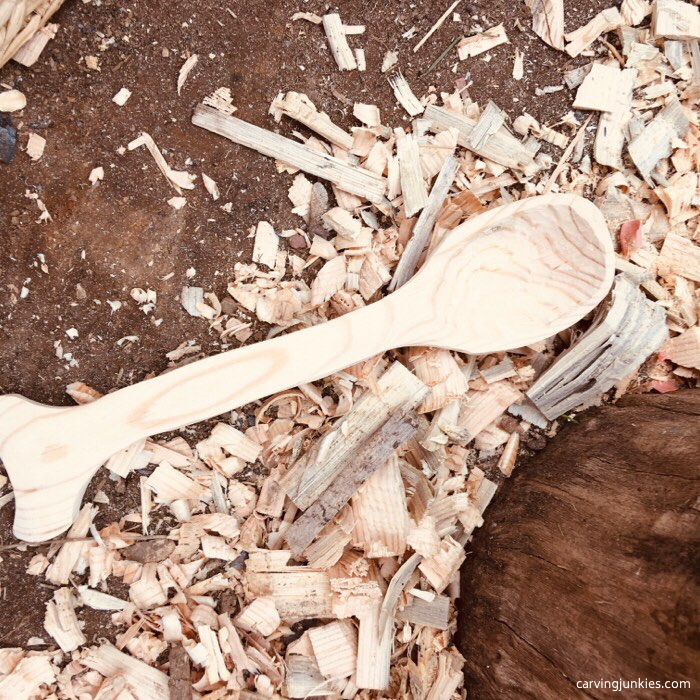 14. Further refined spoon with whale tail
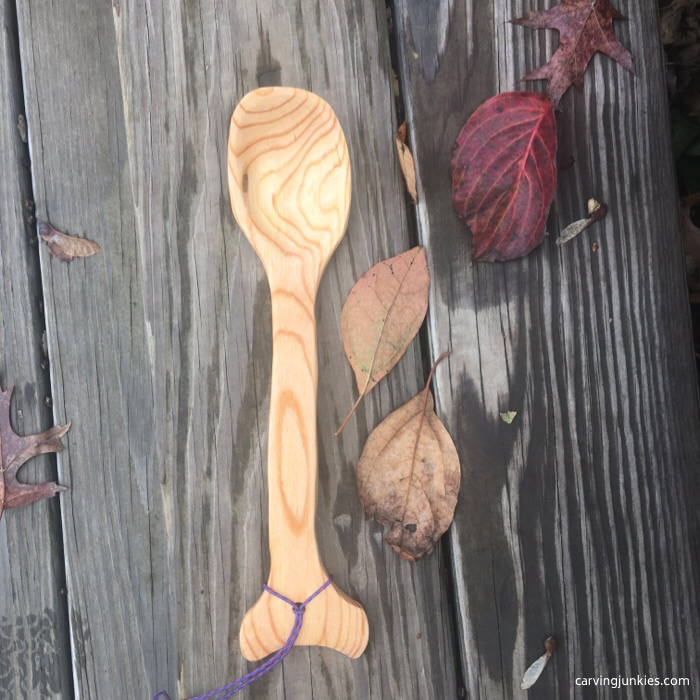 15. Oiled spoon accentuates beautiful grain
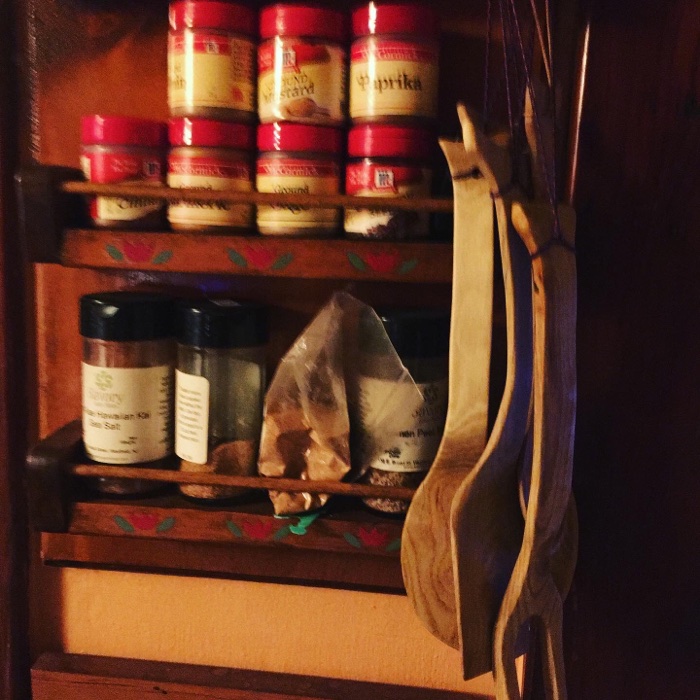 16. More whale tail utensils
How to carve a spoon tutorial summary
- Before starting a spoon, learn how to safely use an axe (or hatchet), saw, and bushcraft knife.
- You will need a hooked knife. David is a leftie and Mora does make some knives for lefties.
- Using a belt sander makes removing wood easier, and faster, but you can hand carve this spoon if you want to
- This is one man's way of how to carve a spoon. To get a woman's perspective, check out The Art of Spoon Carving by Lora S. Irish. She provides excellent tips for using a coping saw, scroll saw, and draw knife (image contains affiliate link). It is a wonderful book.

Get 50 Wood Carving & Painting Tips
FREE when you join our free Covered in Chips Club
Your information is 100% private and is never shared. Unsubscribe anytime. See our Privacy Policy .
Share page on:
Home | Privacy Policy | Terms of Use | Contact | Sitemap
