- Home
- Carving wood animals
- Carving a cat
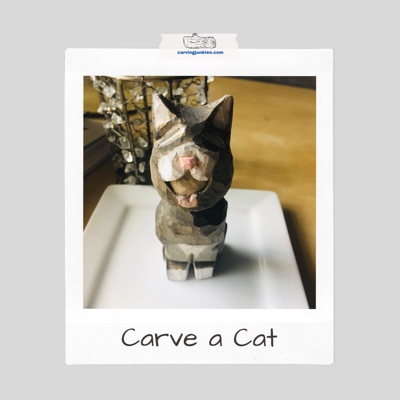
Carving a cat everyone will adore
You can easily create this feline in a weekend using our free tutorial.
LEVEL: EASY
Carving a cat is a purrfect wood carving project for cat lovers. This pattern was inspired by Trixie, our beautiful tuxedo cat who went to the rainbow bridge far too soon.
Once you get started, carving a cat with our pattern goes pretty quickly. The painting is also uncomplicated.
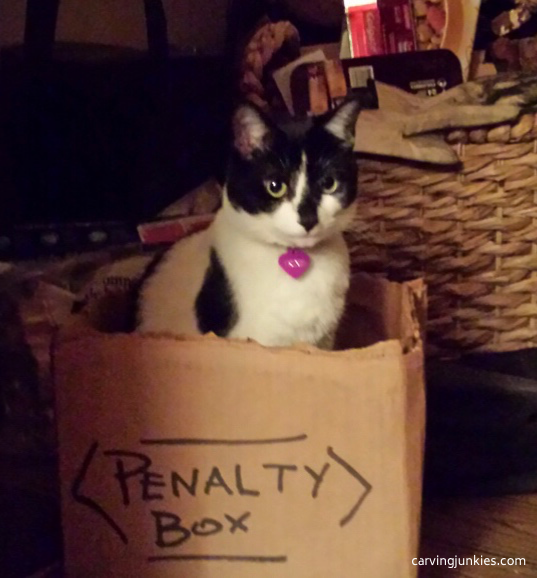 Trixie inspired this design
What you will need for this carving a cat tutorial
- Cut-resistant gloves.
- 1.5 x 1.5 x 4-inch (3.81 x 3.81 x 10.16 cm) basswood block.
- Pencil to draw your guidelines.
- Permanent pen to highlight your pencil marks (optional).
- Knife of choice (we use a roughout knife and a detail knife).
- Paints (we use acrylic) and paint brushes (small for details and larger for the body).
- Water (to dilute the paint).
Carving a cat: getting started
- Draw a line around the block that is 1 3/4-inch (4.445 cm) down from the top (marks bottom of the head).
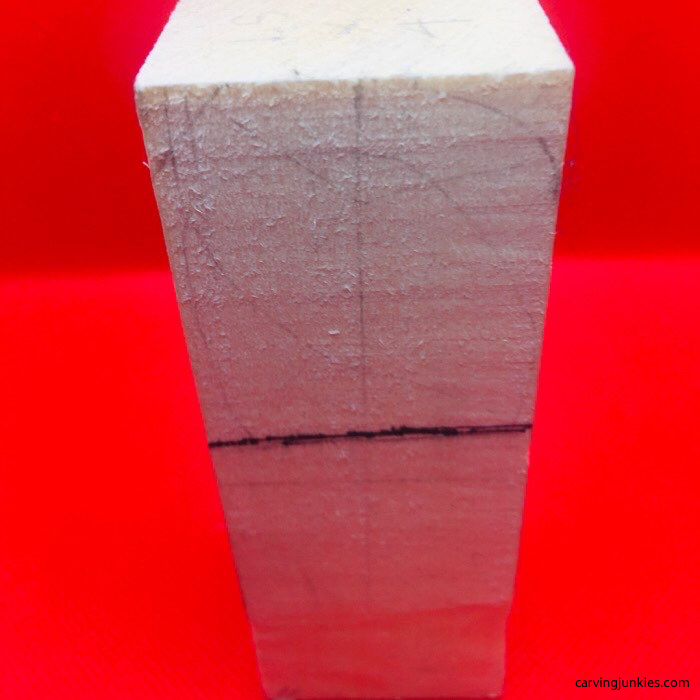 Front line marks bottom of the head
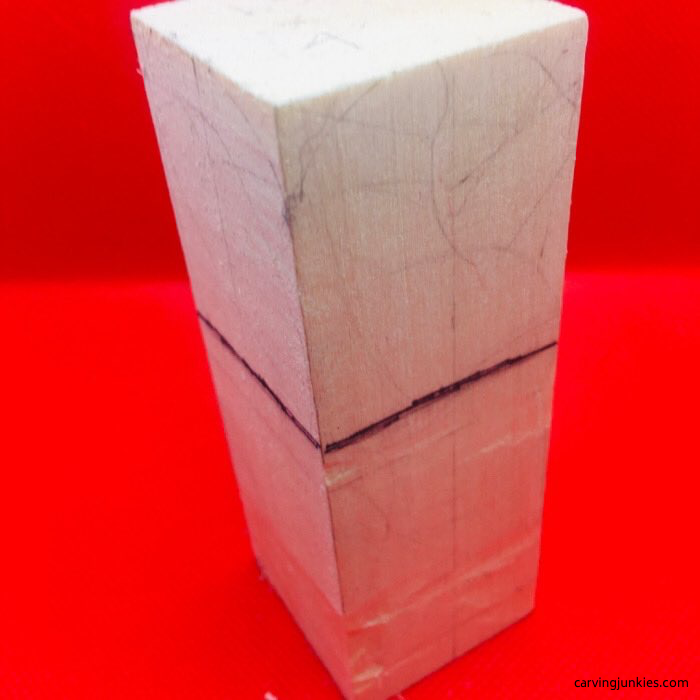 Draw line all around the block
Round the corners
- Round the corners (we use a push cut).
- Use sweep cuts to remove wood inward on the top of the head on the front and repeat on the back side.
- Draw the ears on both sides to mark where you will reserve the wood when carving a cat.
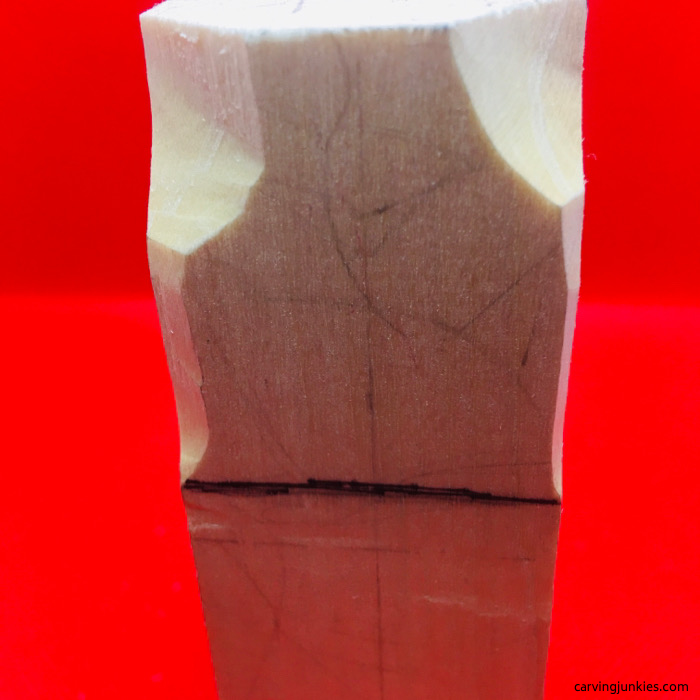 Corners are rounded
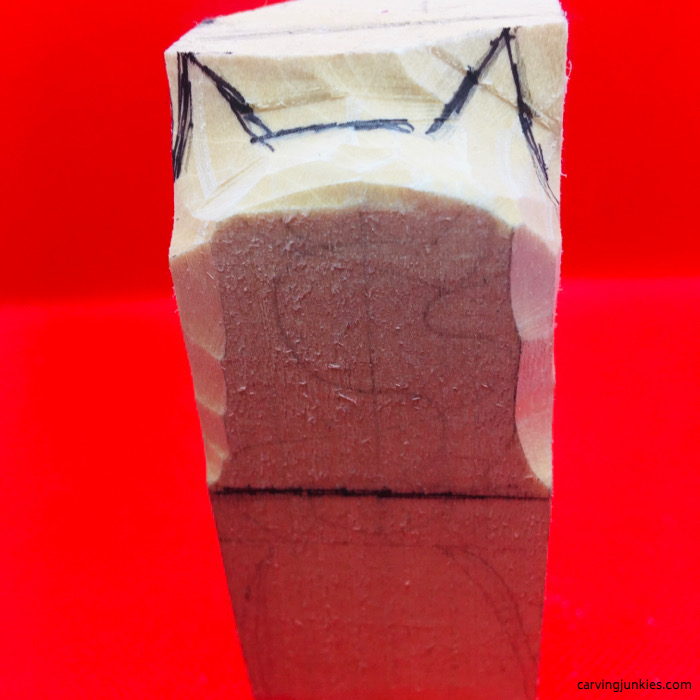 Use sweep cuts to curve the top of the head inward on both sides
Separate the body
- Using a stop cut, separate the head from the body.
- Continue rounding the corners below the head.
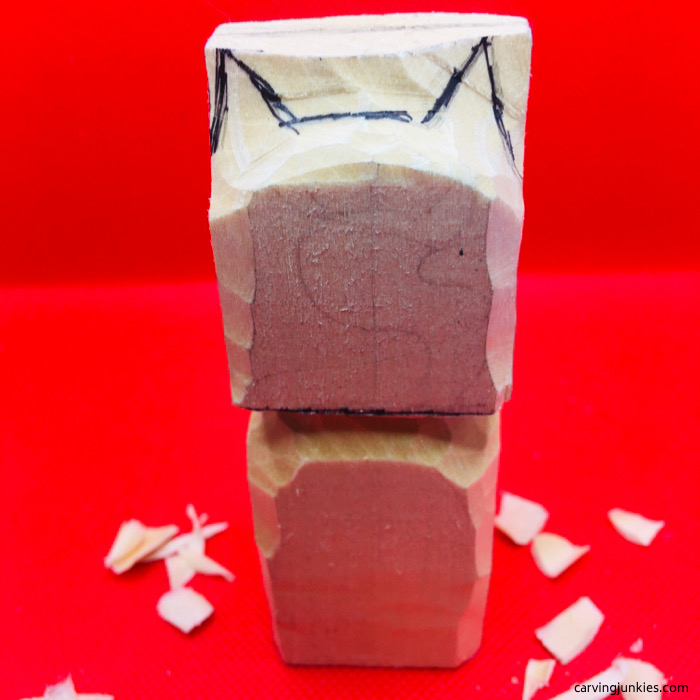 Separated neck from head (front)
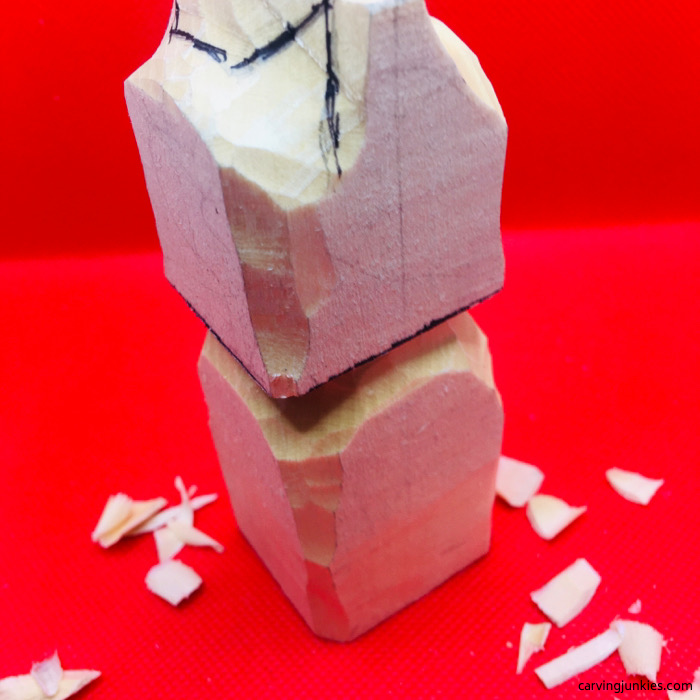 Side view
Shape the cat further
- Use sweep cuts to create a slightly curved neck on the front and back.
- Round the corners around the face.
- Use the pattern (at bottom) to draw the face on the front.
- Mark areas of wood that will be removed (see crossed lines below).
- Draw the tail that curls around from the back to the left side.
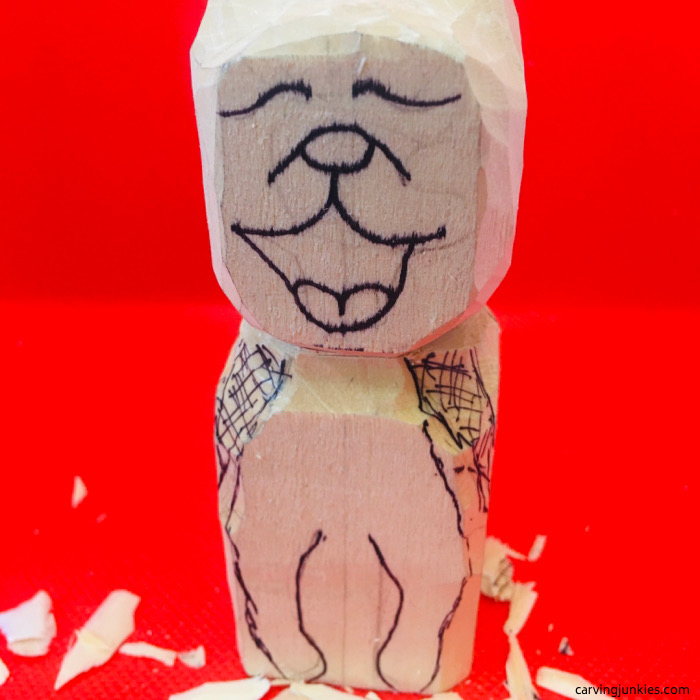 Neck and head are rounded and pattern is drawn (front)
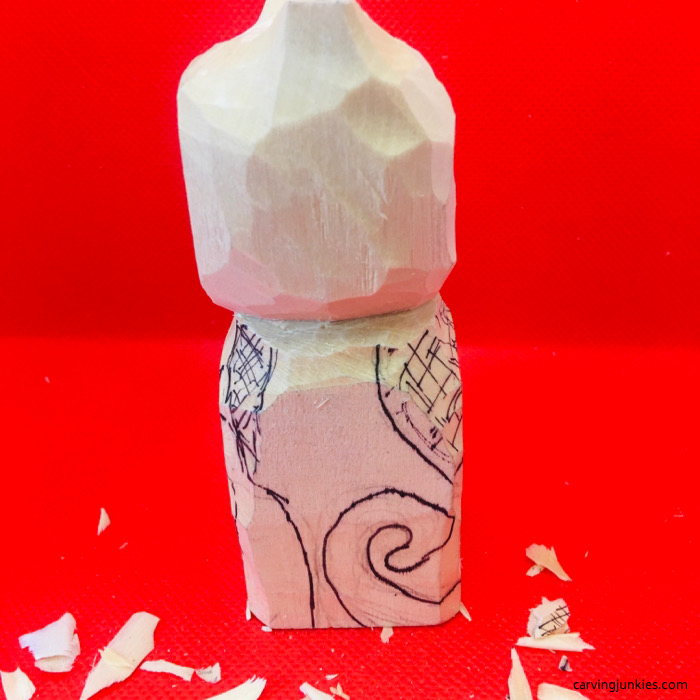 Left side view of tail wrapping around
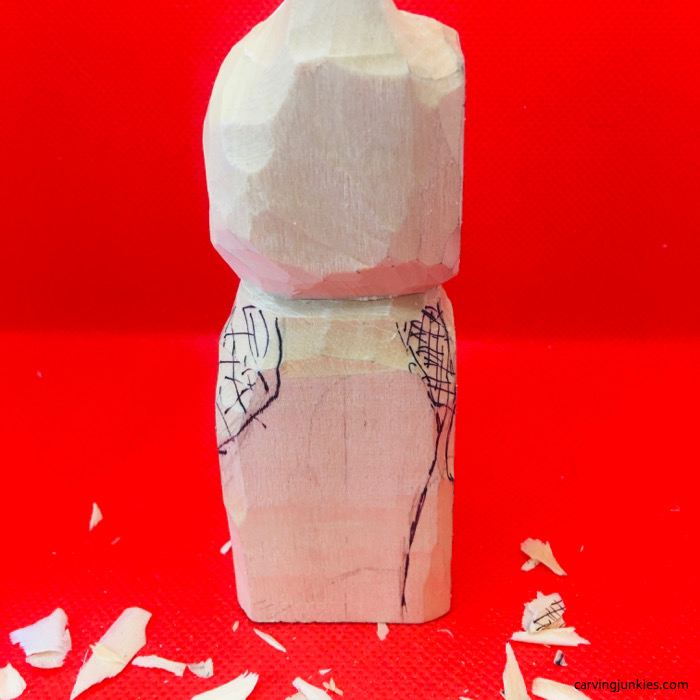 Right side view
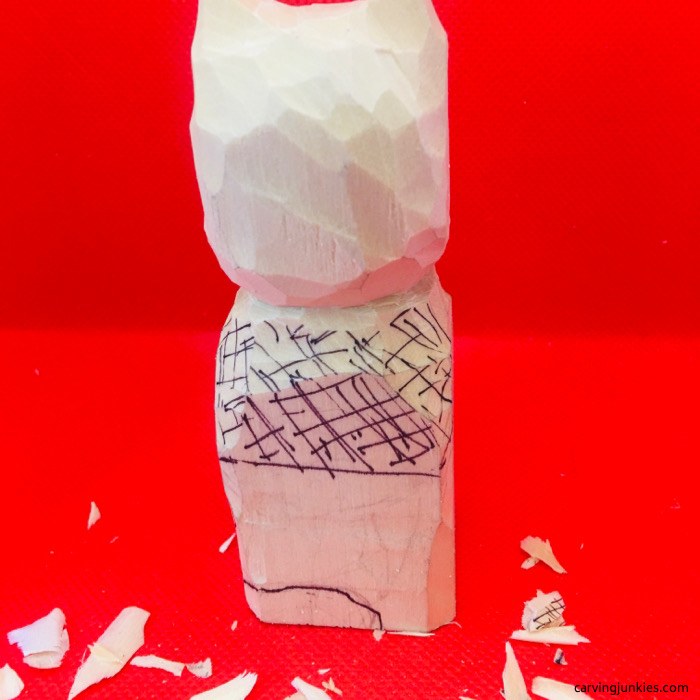 Back view with tail at bottom
Round the shoulders, face, and shape the ears
- Remove wood to narrow the shoulders of the cat.
- Also remove wood to shape the ears (thin them further at the end to avoid breaking the ears when carving a cat).
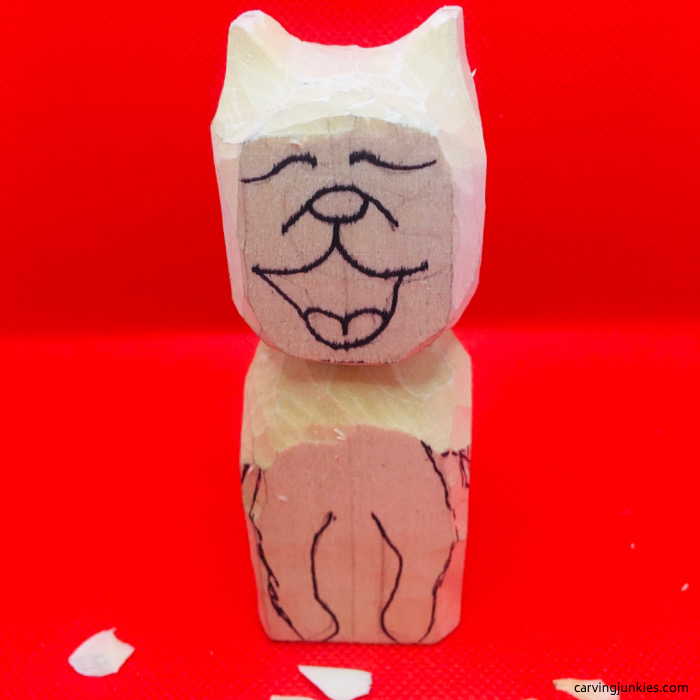 Head and shoulders are rounded and ears are defined (front)
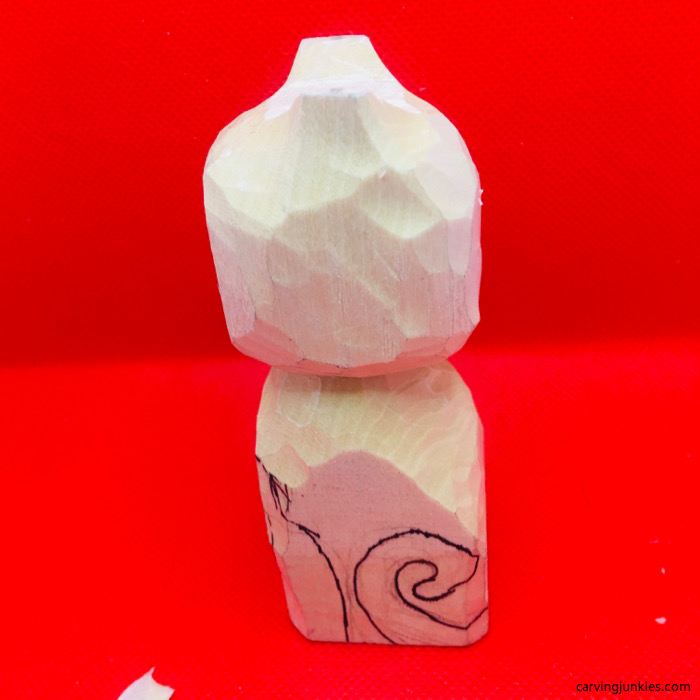 Left side view
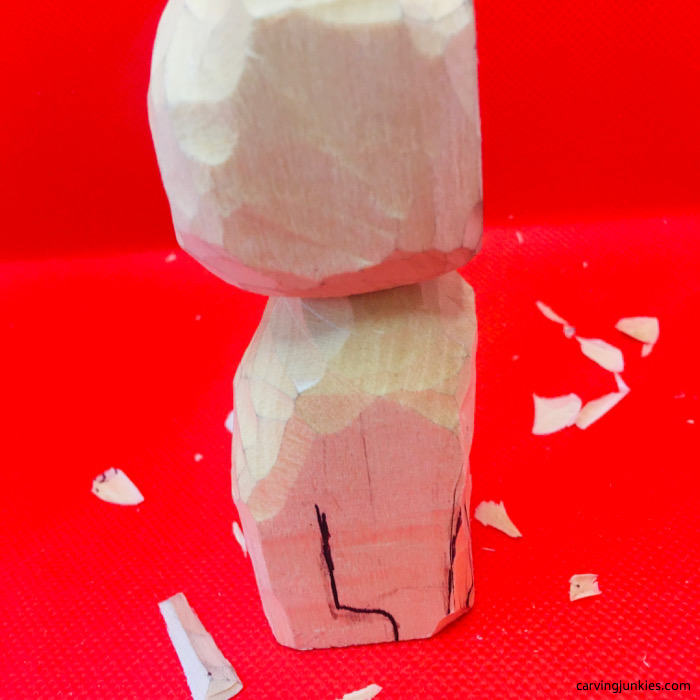 Right side view
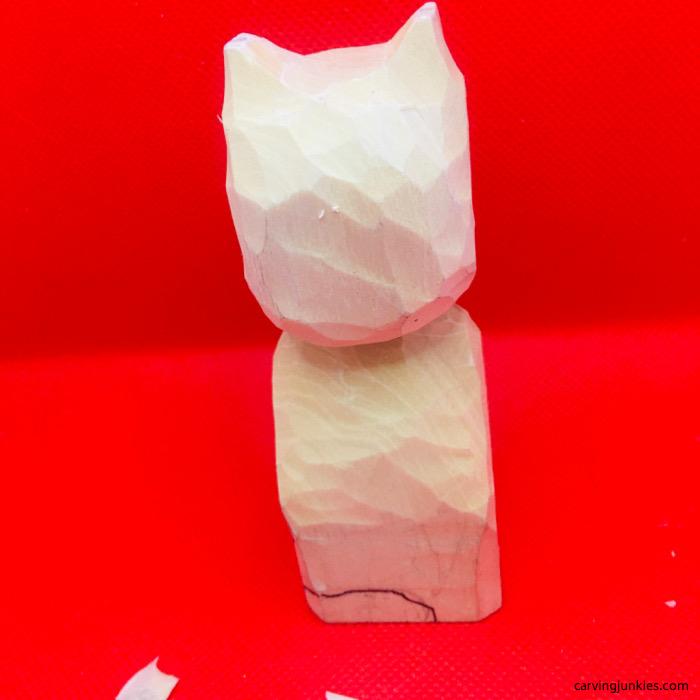 Back view
Split the front legs
- Split the front legs by making a V-cut about a 1/4-inch from the bottom of the block (slight design change).
- Separate the legs further with V-cuts.
- Use V-cuts to define the front paws and remove wood to narrow the legs about the paws.
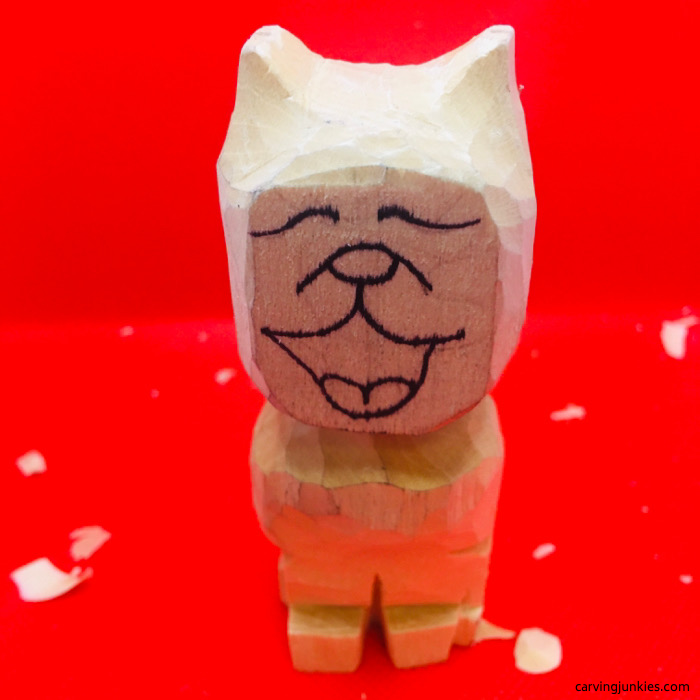 Front legs are split and paws are defined
Define the face
- Use deep stop cuts to create the outline of the eyes.
- Remove wood from underneath (inside the eye).
- Cut into the top of each eyelid to add a shadow when carving a cat.
- Use small stop cuts to carve the nose and remove wood around the nose.
- Cut out wood to create the mouth and jowls (use line cuts to start and remove wood from the middle out).
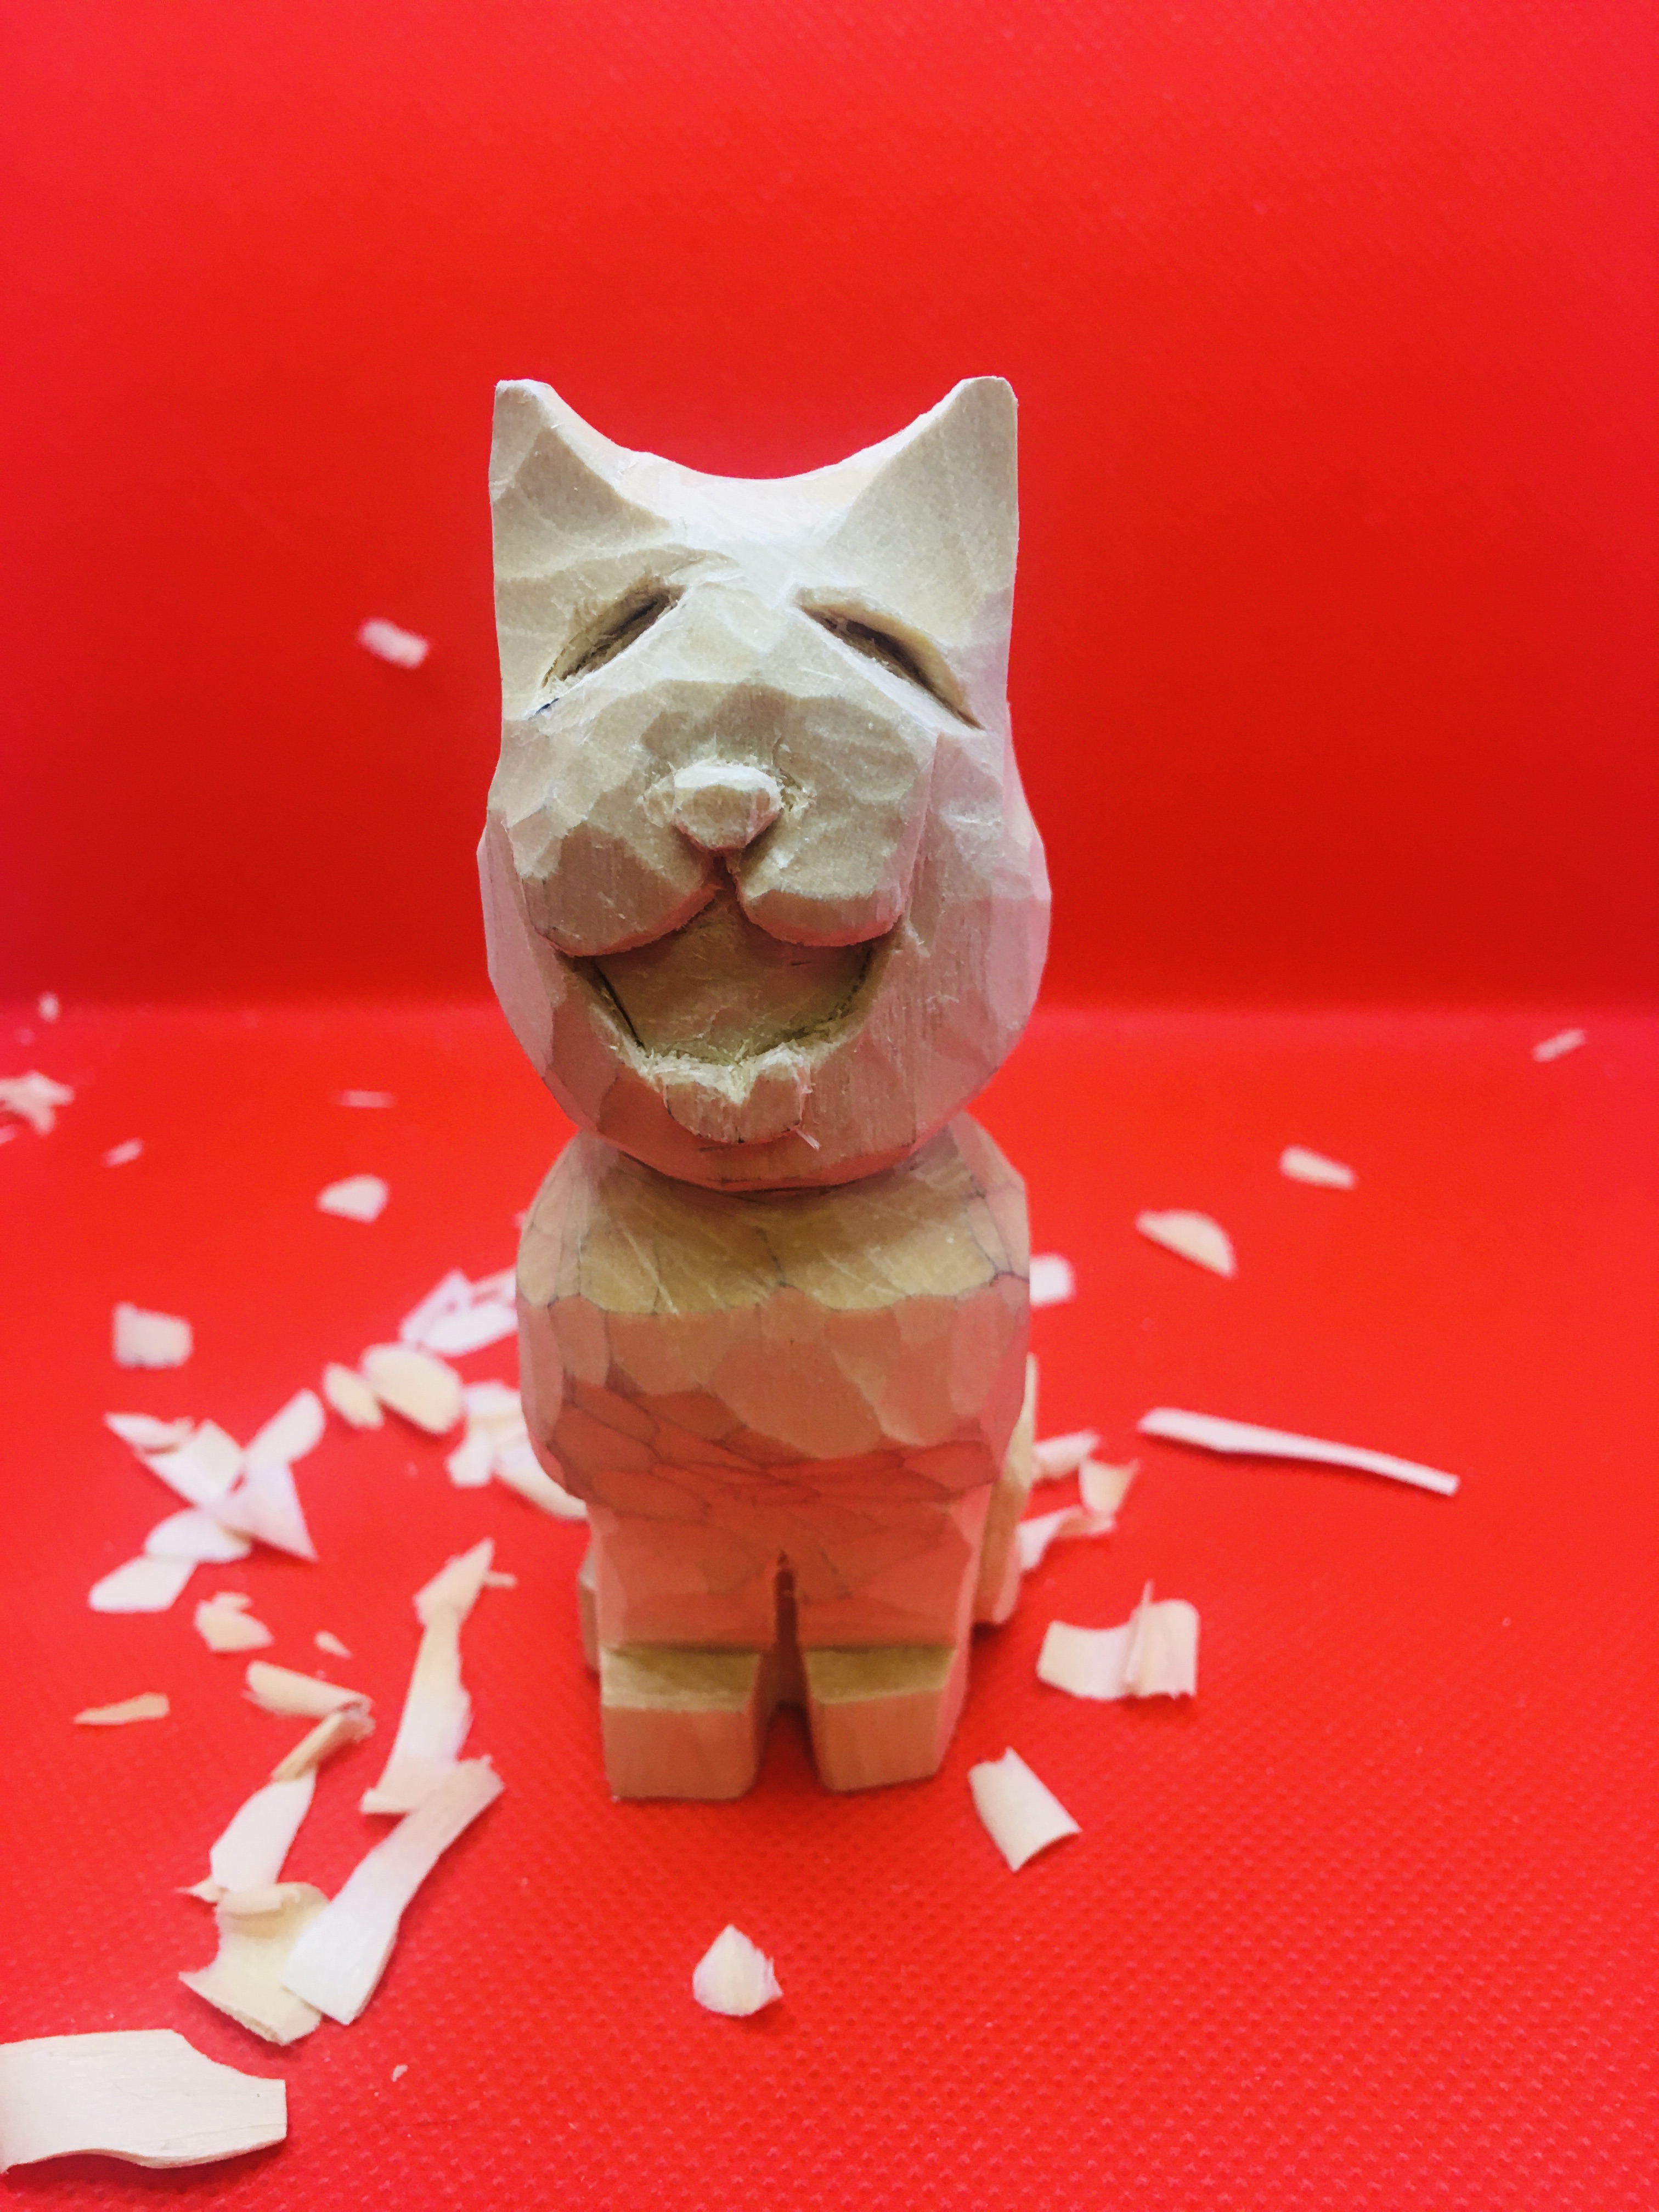
Carve the hind paws and tail
- Remove wood to define the tail from the back to the left side (using one stop cut on the back and short stop cuts for the curved tail).
- Define the hind paws on each side.
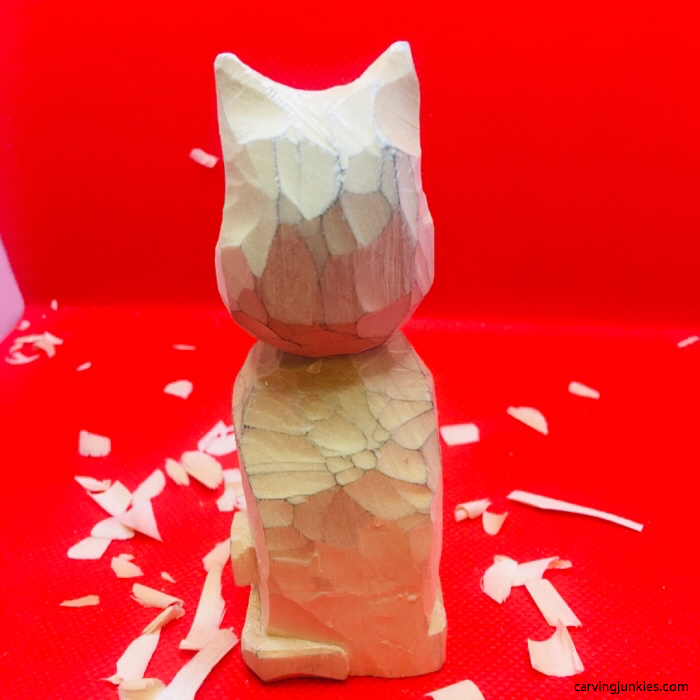 Back of tail
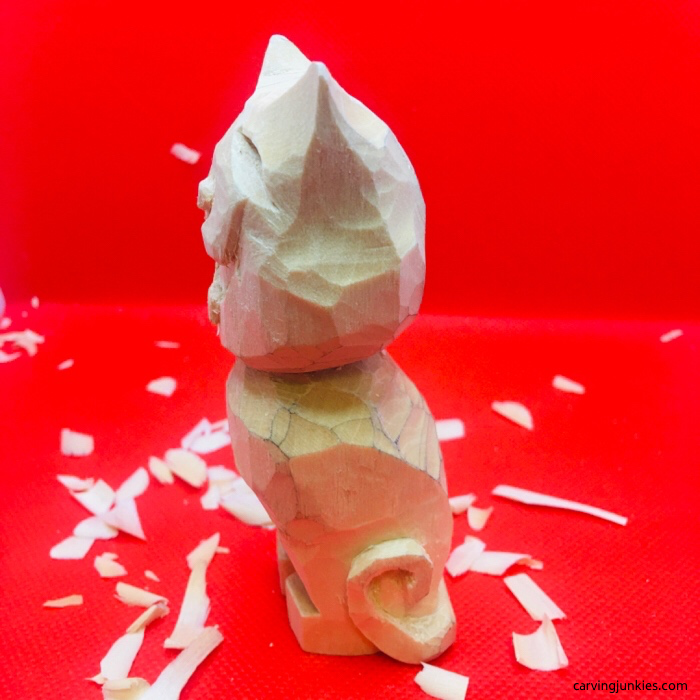 Tail is defined
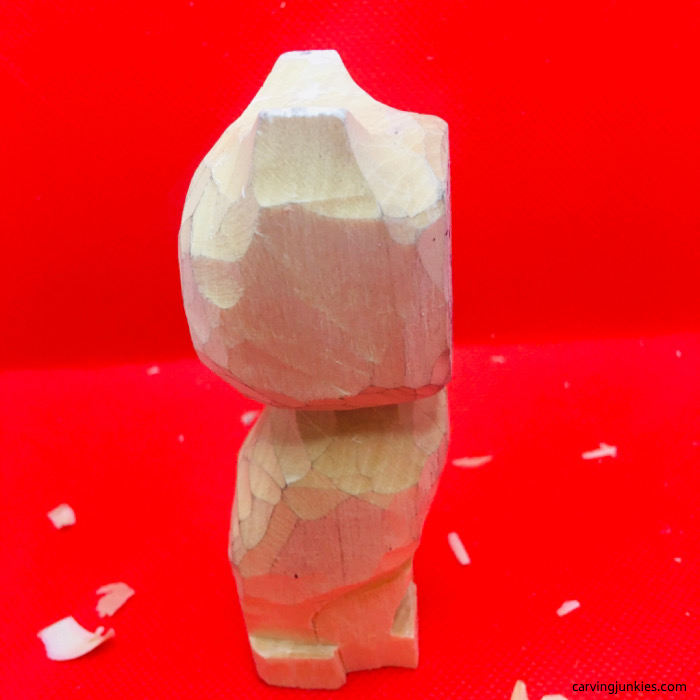 Hind leg is defined
Before you paint
- Clean up any fuzzies prior to painting, which will make the paint look more professional.
- Wash the cat with a little dish soap to remove dirt or pencil lines.
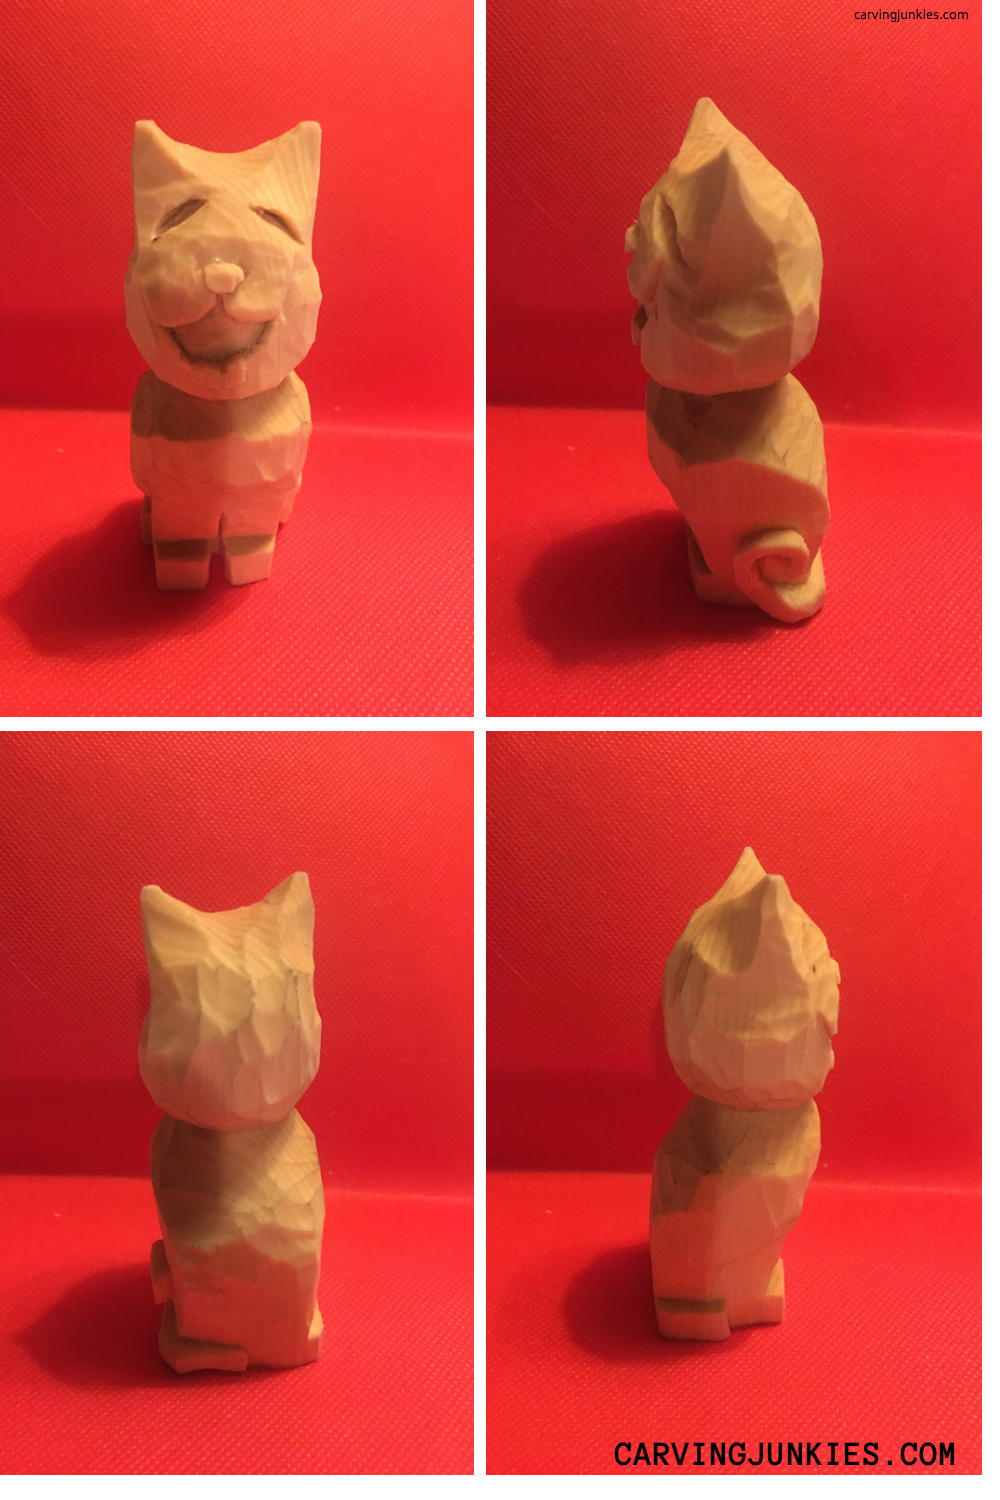 Cat from all sides prior to painting
Painting the cat wood carving
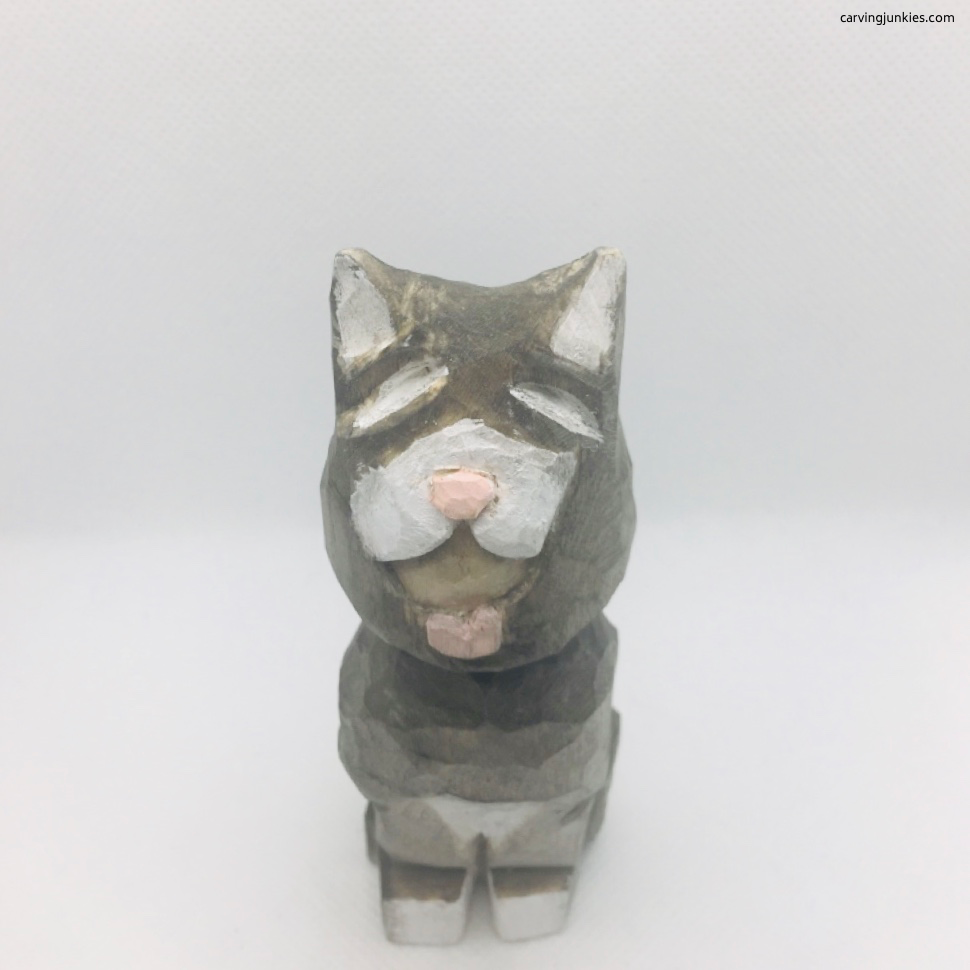
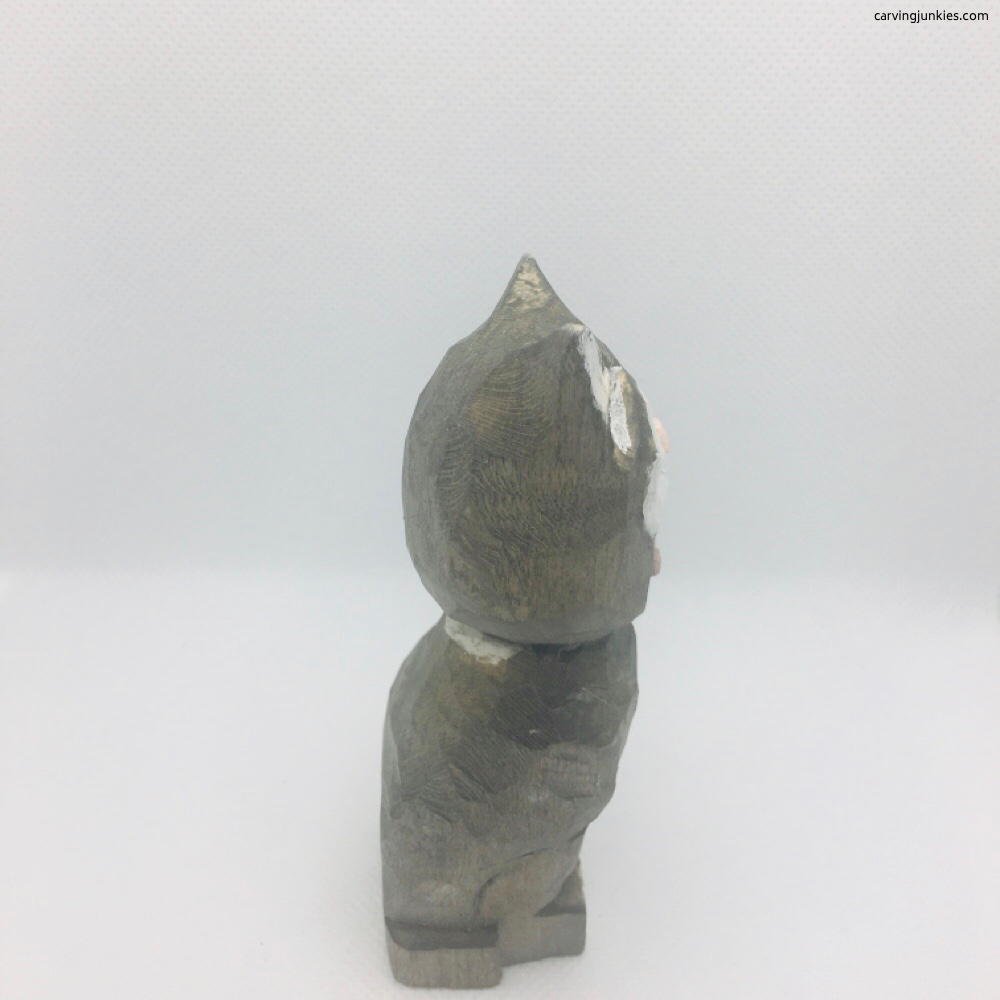
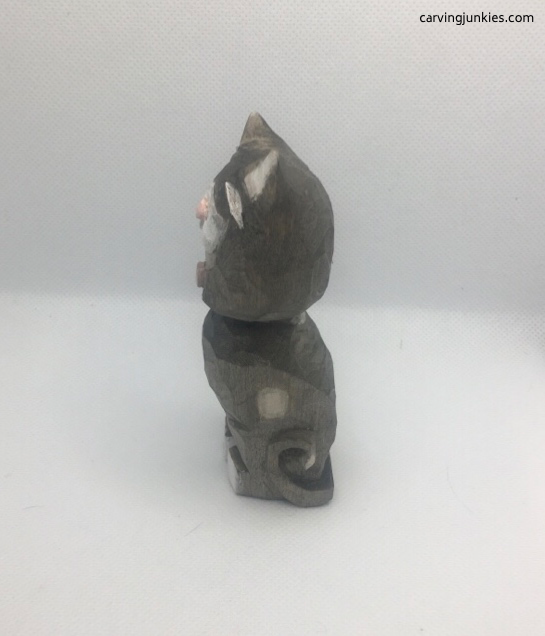
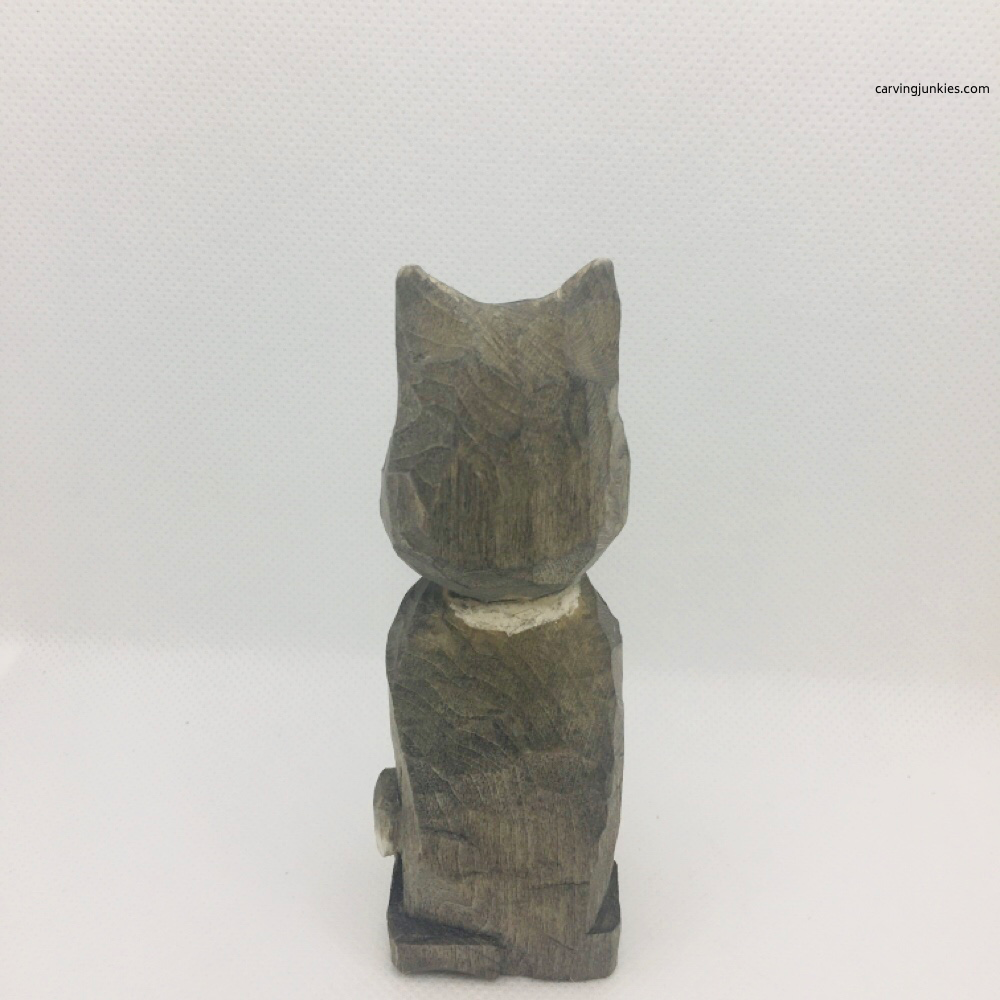
Here is the paint (and brands) we used in order of application:
- Ears, eyes, snout, paws, and side circle: 100% titanium white (Artist’s Loft).
- Nose: 1 drop of pink paint (Apple Barrel) diluted with 25 drops of water.
- Body: (first coat): 1 drop of black (ArtSkils) diluted with 25 drops of water. (Second coat) 1 drop of black paint (ArtSkills) diluted with 10 drops of water.
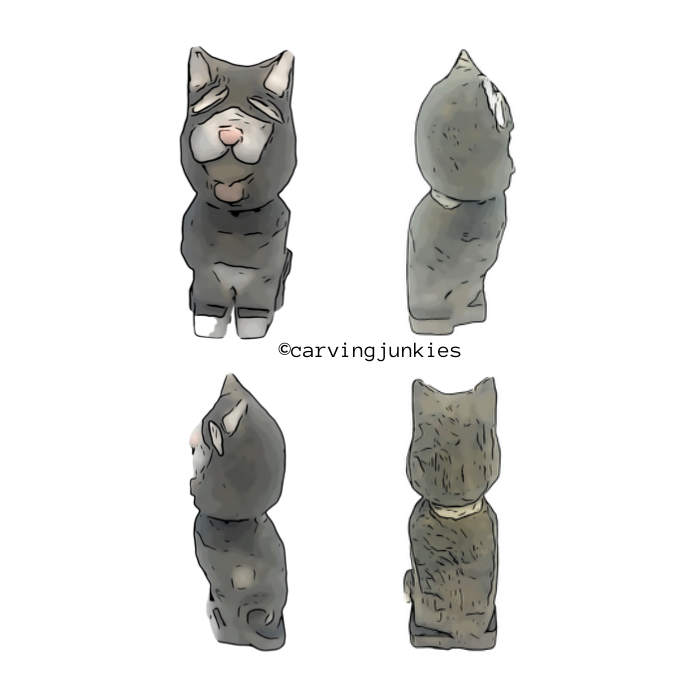
Pattern for carving a cat
If you prefer to carve with a pattern, photocopy this to size to fit your wood block.
Summary
- This cat can easily be carved in a day or two.
- It makes a great gift for any cat lover.
- You can adapt the paint colors to capture the essence of any feline (find cat pictures here).
Get 50 Wood Carving & Painting Tips
FREE when you join our free Covered in Chips Club
Your information is 100% private and is never shared. Unsubscribe anytime. See our Privacy Policy .
Share page on:
Home | Privacy Policy | Terms of Use | Contact | Sitemap
