- Home
- Christmas wood carving ideas
- Cardinal wood carving pattern
Free cardinal wood carving pattern and tutorial
You can carve this beautiful bird in no time.
LEVEL: EASY
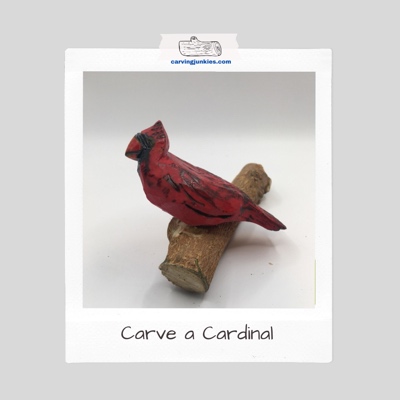
Our cardinal wood carving pattern is super easy to use and can be carved very quickly, too. If you glue your bird to a stick (like we did) it makes a beautiful piece that can be displayed anywhere.
The Northern cardinal is one of our favorite birds. We have a male and female that visit our bird feeders every day. They are quite territorial, and once they ”claim” a home, they tend to stay there. The males are bright red, while the females are more muted.
What you need for this cardinal wood carving pattern and tutorial
- Our template at the end of this page to trace the pattern.
- Basswood block (ours is 1 x 1 x 3 inches (2.54 x 2.54 x 7.62 cm). For a bigger bird, just double or triple the size of your wood.
- Knife of choice (we use a Helvie Boxcutter that is great for both roughing out and detail work).
- Pencil or pen.
- Wood burning pen (optional).
- Acrylic paints and brushes of choice.
- Good carving gloves for safe carving.
Cardinal wood carving tutorial at a glance
Cardinal wood carving pattern: Trace the shape
- Use our free cardinal wood carving pattern (at the end) to trace your bird on one side (photo 1). You can use Scotch tape or glue to affix it.
- Reverse the cardinal wood carving pattern (white side will be up) to draw the opposite side of the bird on your block (photo 2).
- You can also trace the back of the bird on the top of your block (photo 1) or just eyeball it like we did.
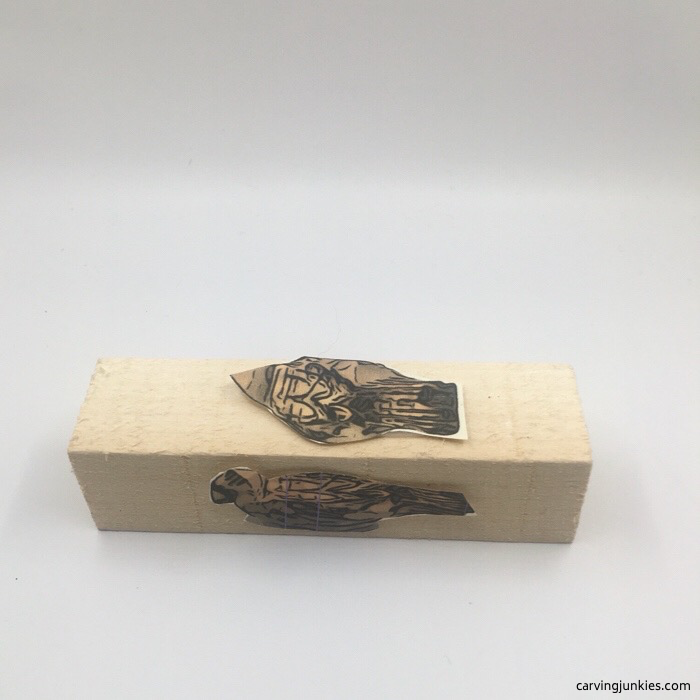 1. Attach and trace an outline of the pattern
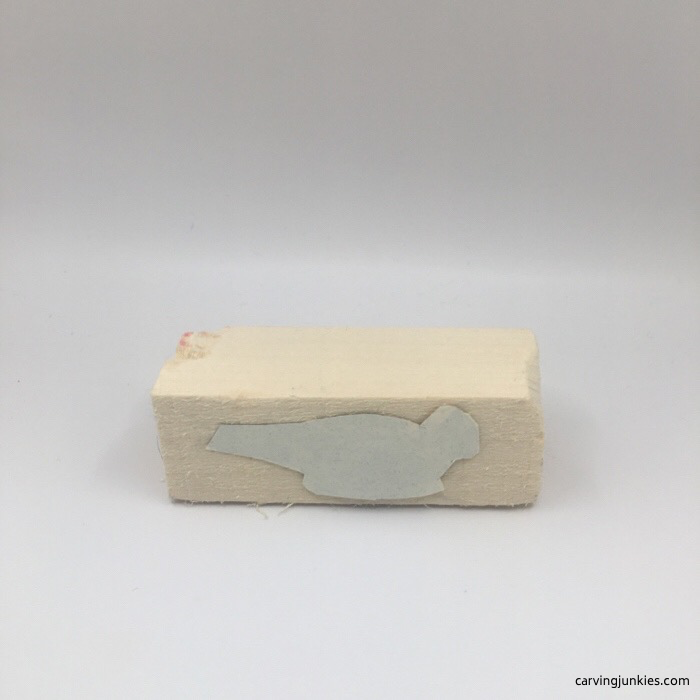 2. Reverse side of template
Cardinal wood carving pattern: Roughout the shape
- Using a roughout knife, start to remove wood around the pattern on both sides (photos 3,4).
- Use a stop cut to cut the underside of the beak, removing wood from underneath (photos 5,6).
- Draw a line to indicate where you will reserve wood for the head (photo 6).
- Remove wood from the back of the cardinal (photo 7).
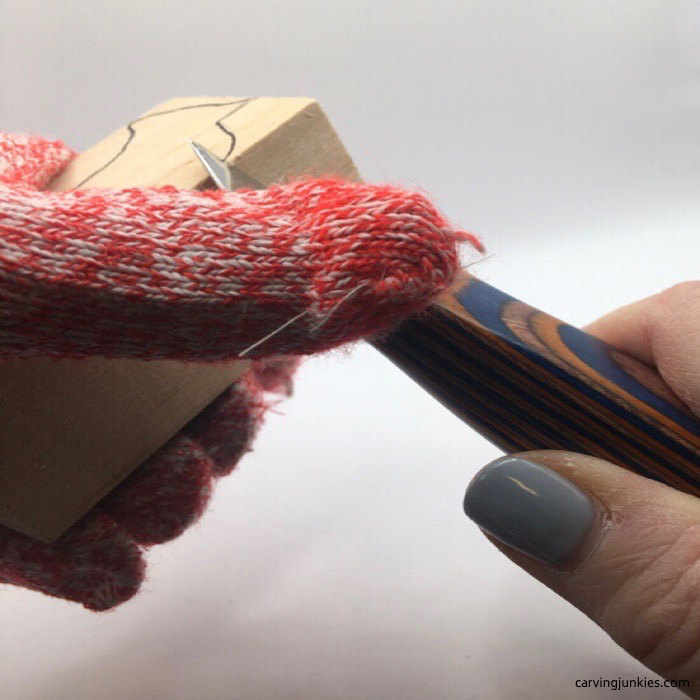 3. Remove wood around guidelines
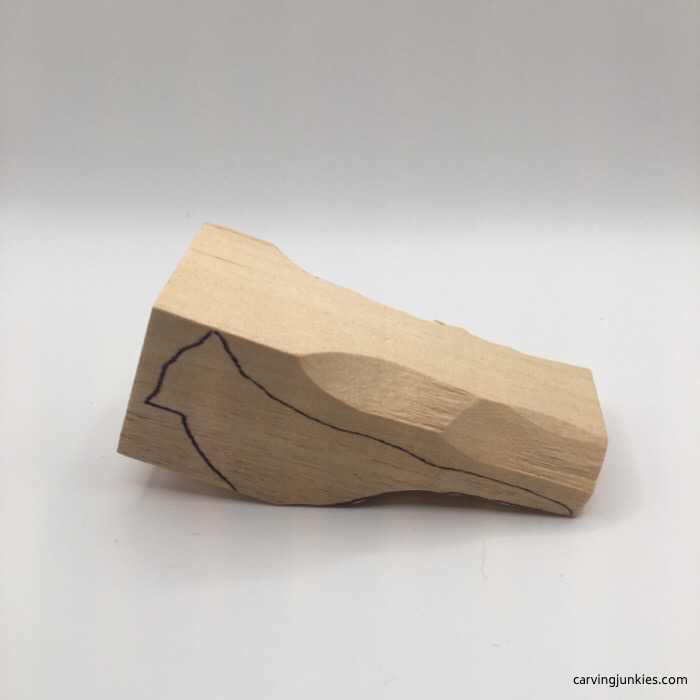 4. Continue roughing out wood
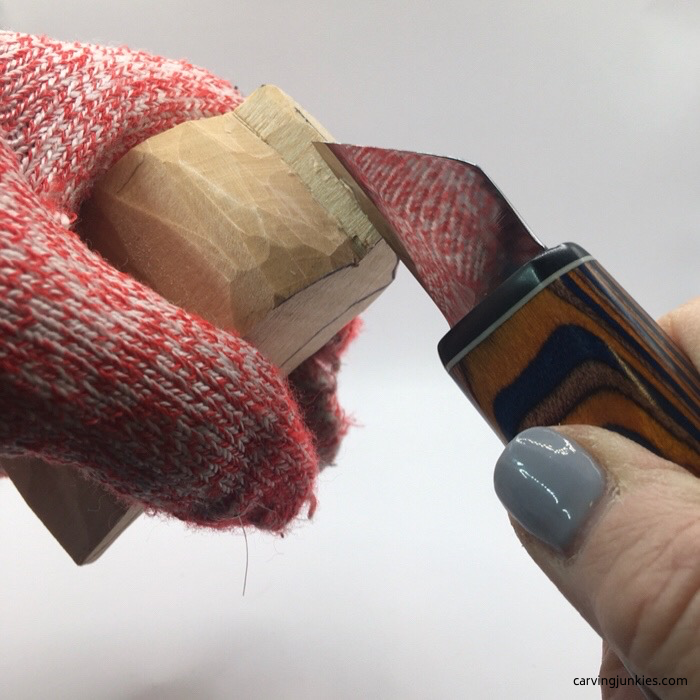 5. Use stop cuts to create the beak
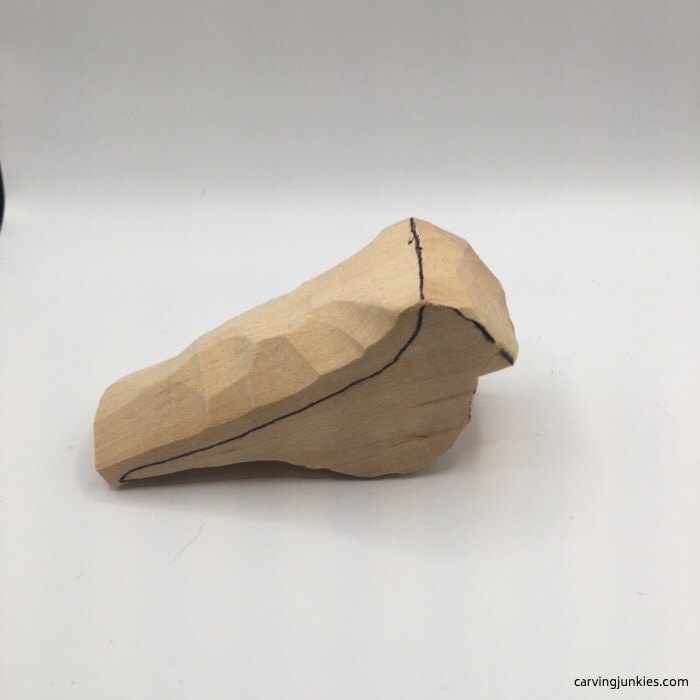 6. Beak is cut and wood for head is reserved
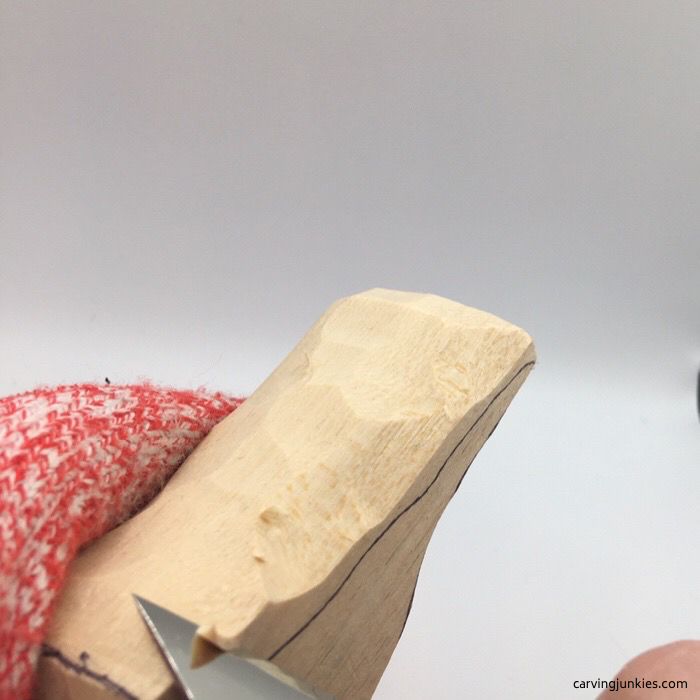 7. Shaping back of the cardinal
Cardinal wood carving pattern: Shape the head and beak
- Shave wood off each side of the head to narrow the shape (photo 8).
- Mark wood on the top and the sides of the head where you will use 2 pyramid cuts to remove wood (photos 9-11).
- Use an angled cut to remove the wood from the back of the head (marked in photo 11 and completed in photo 14).
- Mark the wood that you will remove to shape the tail (photos 11,12).
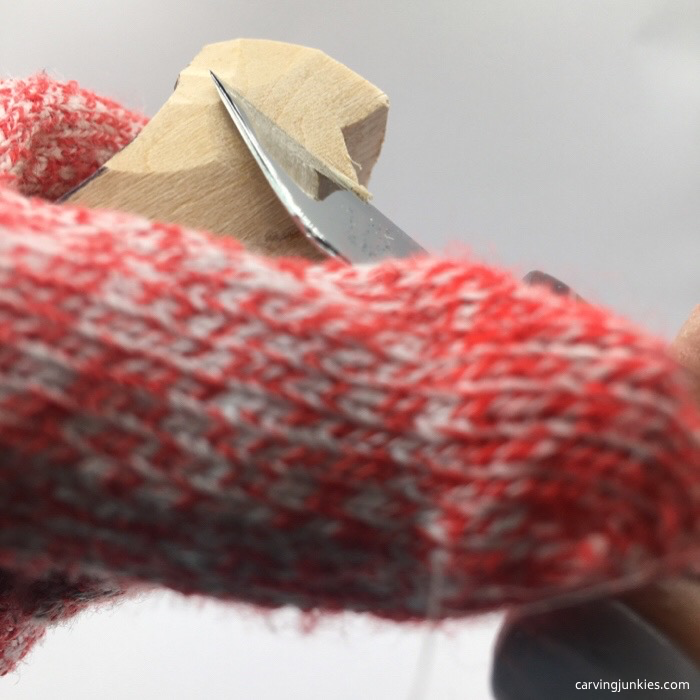 8. Narrowing each side of the head
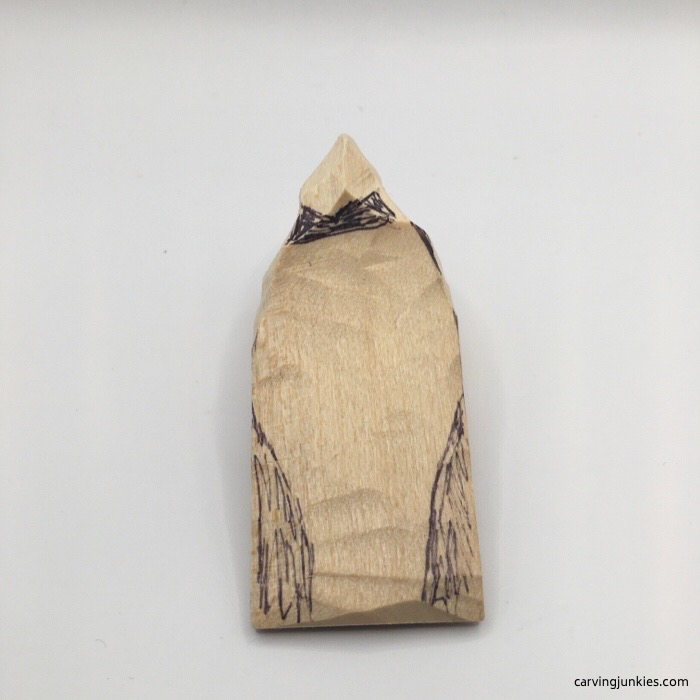 9. Wood is marked for removal
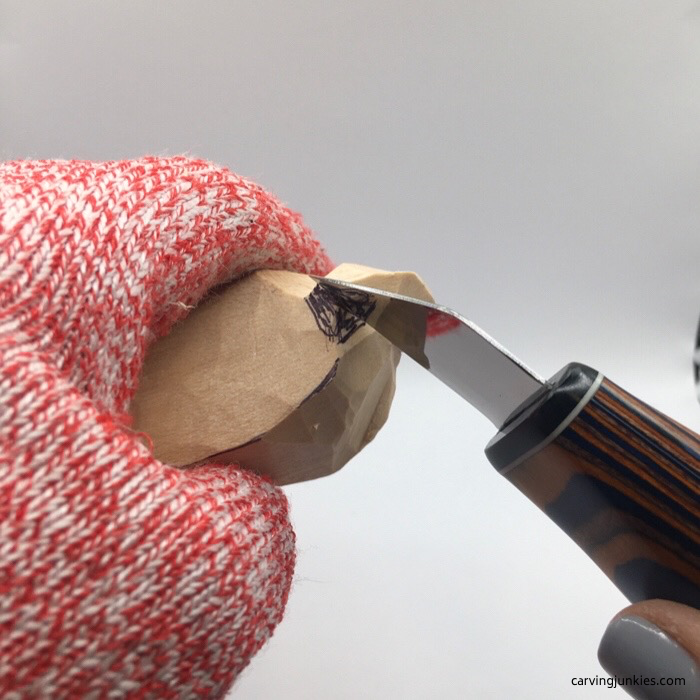 10. Starting first pyramid cut
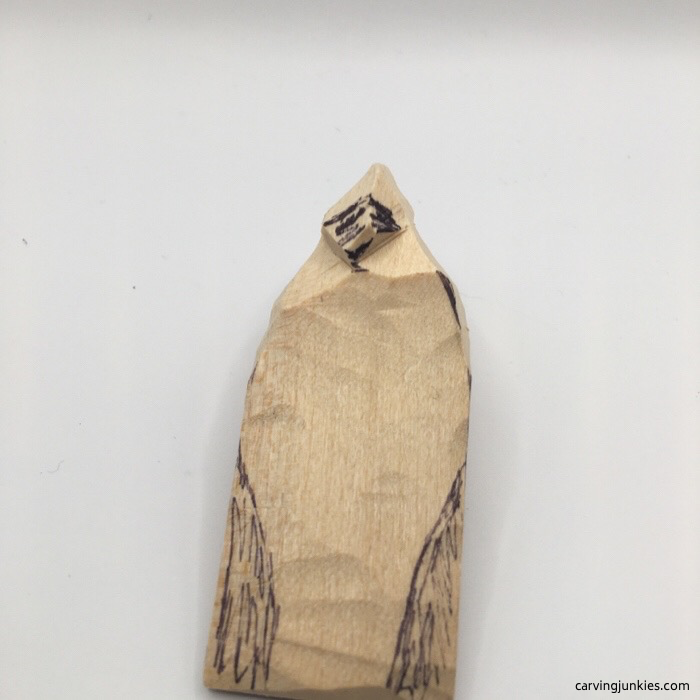 11. Pyramid cuts are made on each side
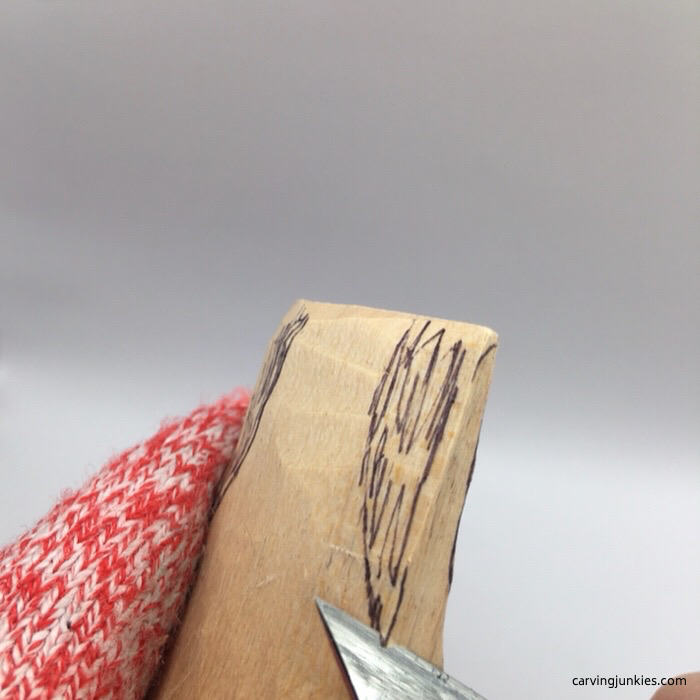 12. Removing excess wood
Cardinal wood carving pattern: Refine the bird
- Continue refining the cardinal until you reach the desired shape (photos 13-16).
- Make a line cut on each side to define the underpart of the wing (photos 14,15).
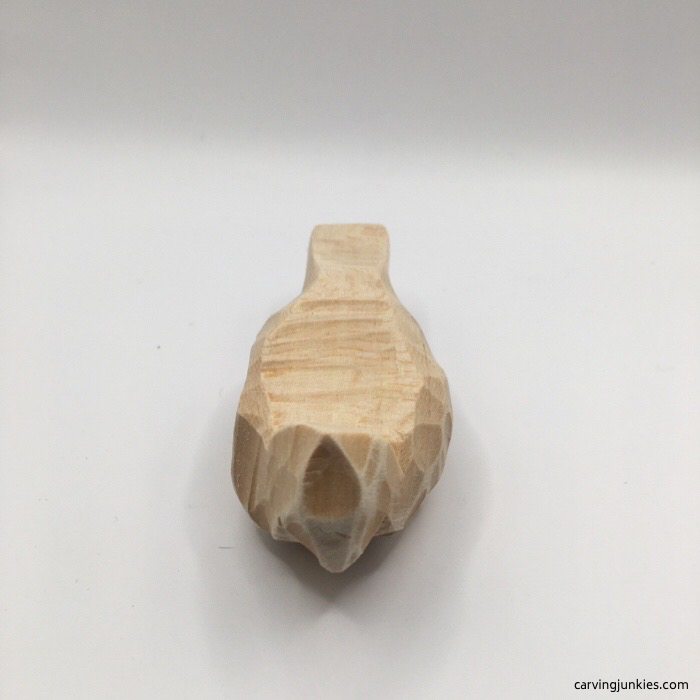 13. Front view of cardinal
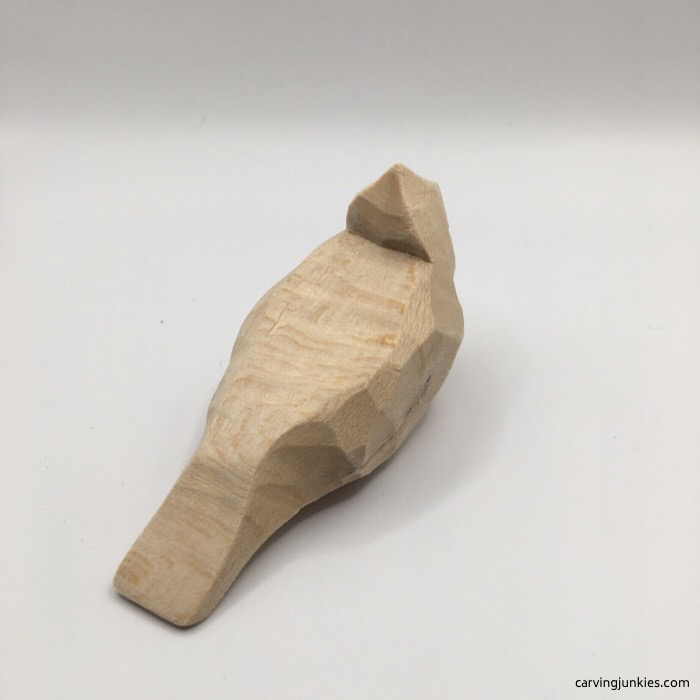 14. Right view
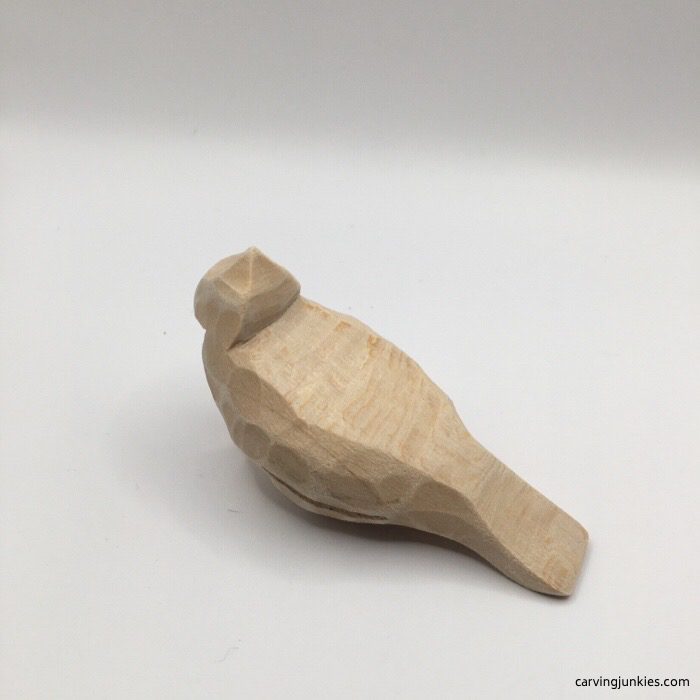 15. Left view
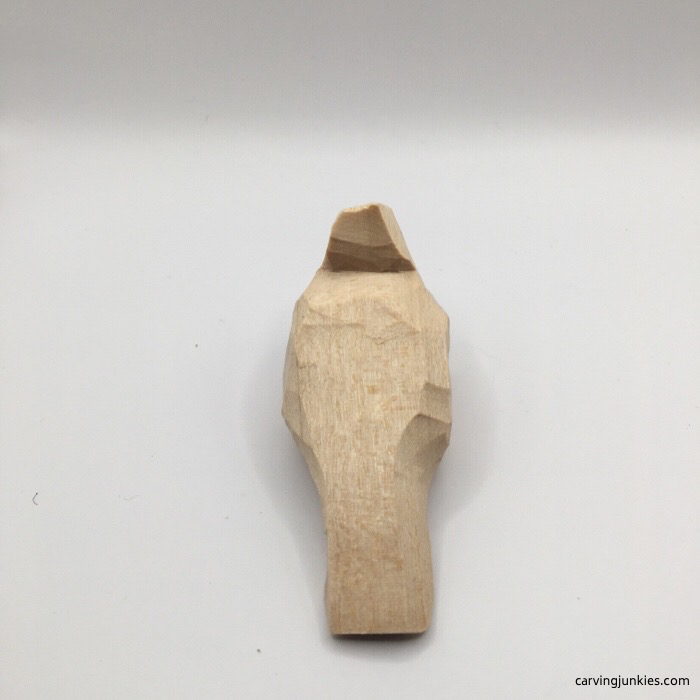 16. Back view
Cardinal wood carving pattern: Wood burn to add texture (optional)
- You can use a wood burning pen to create texture and interest on the beak, head, wings, and tail of the cardinal (photos 17-21).
- Look at photos of real cardinals to help guide you (photo 22).
- If you do not have a wood burner, you can use your knife to make cuts and use brown paint.
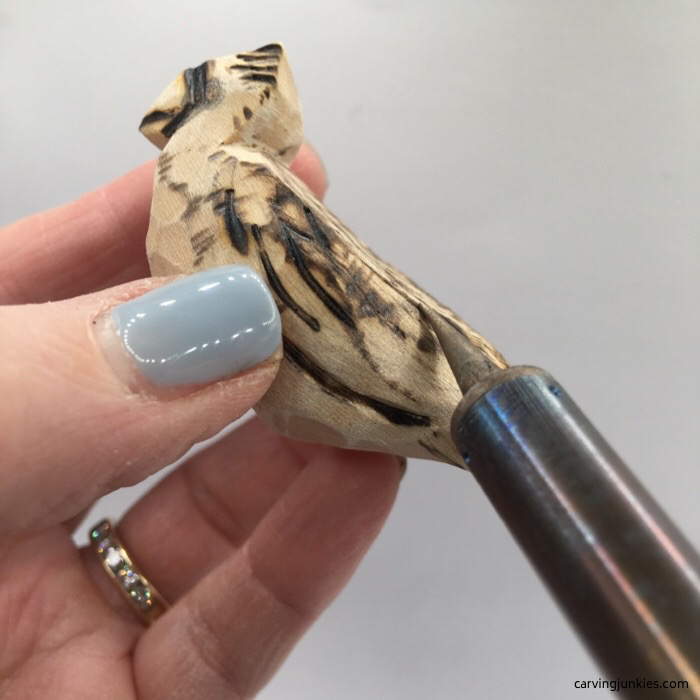 17. Creating texture with wood burning pen
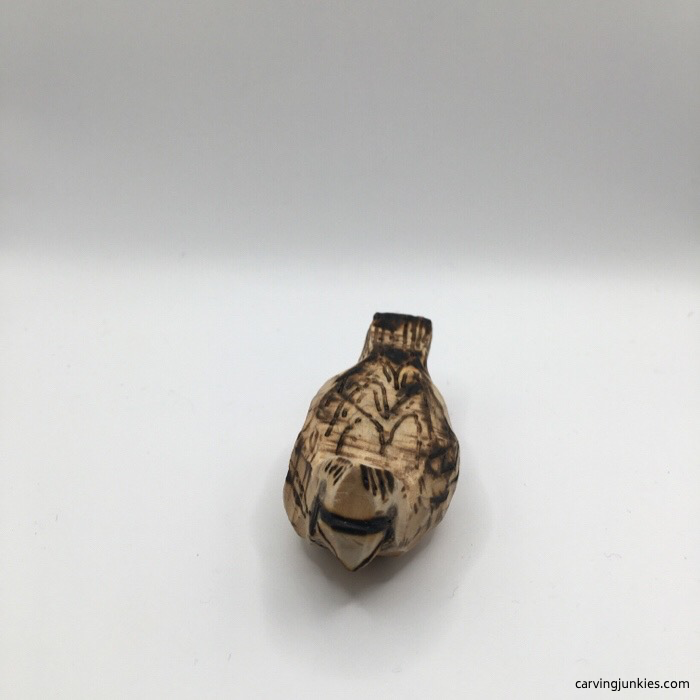 18. Front view
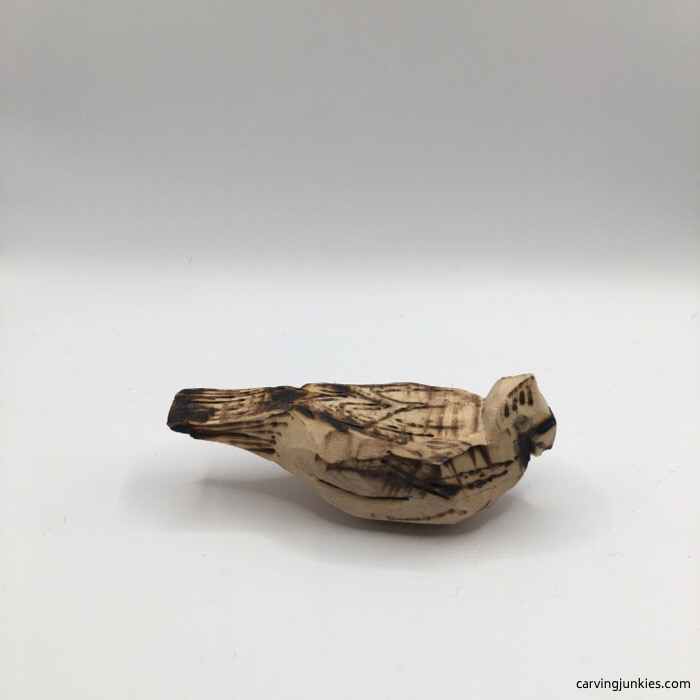 20. Right view
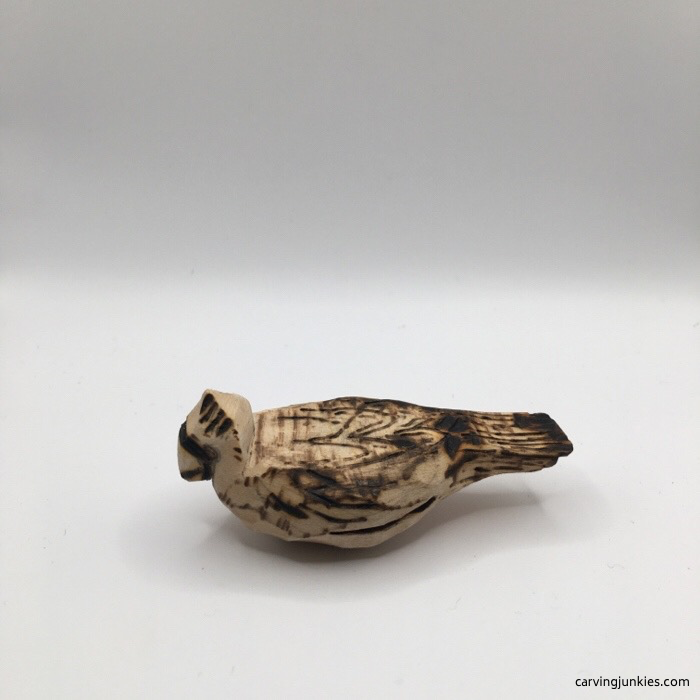 19. Left view
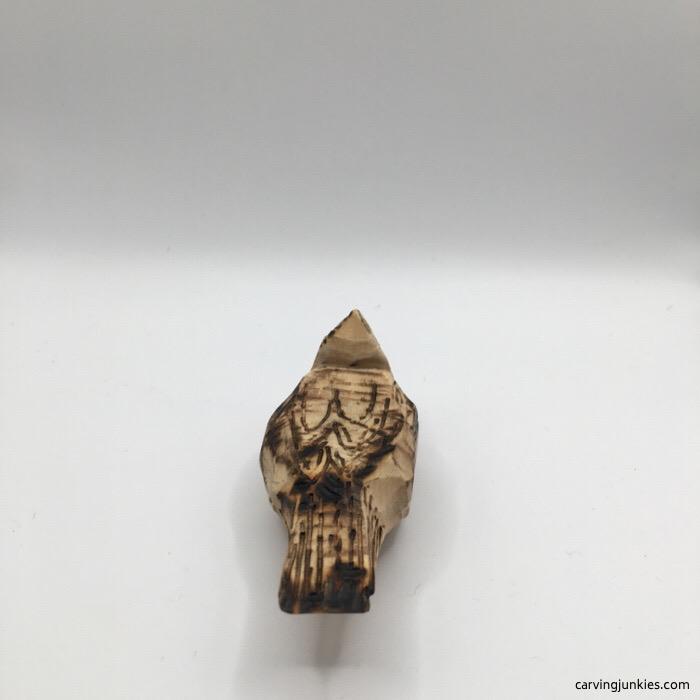 21. Back view
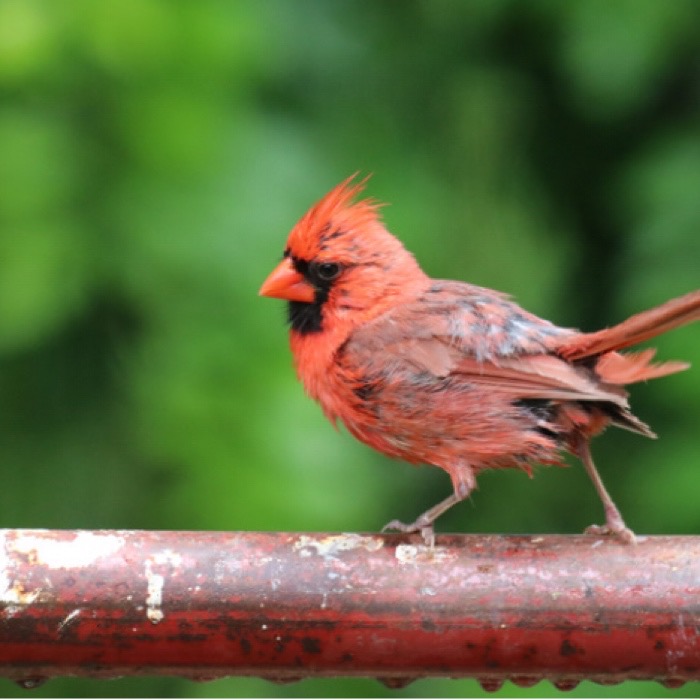 22. Use real pictures for guidance
Cardinal wood carving pattern: Time to paint
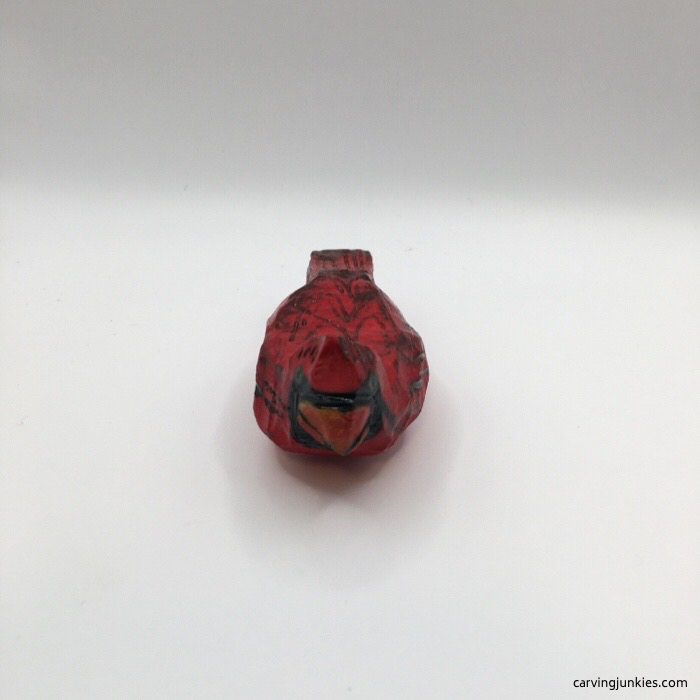
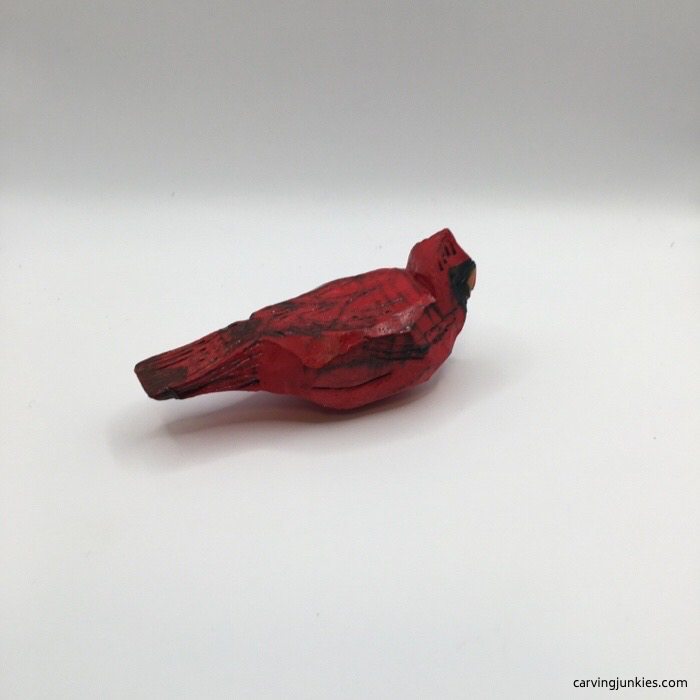
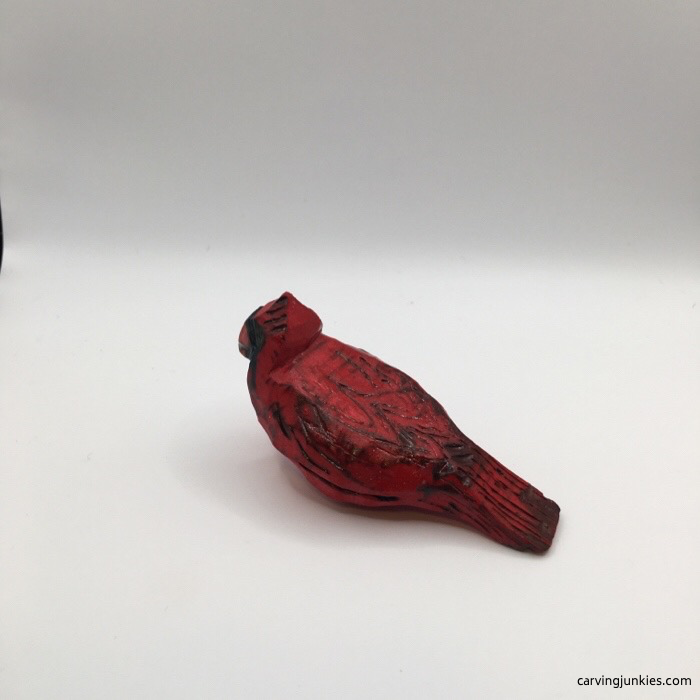
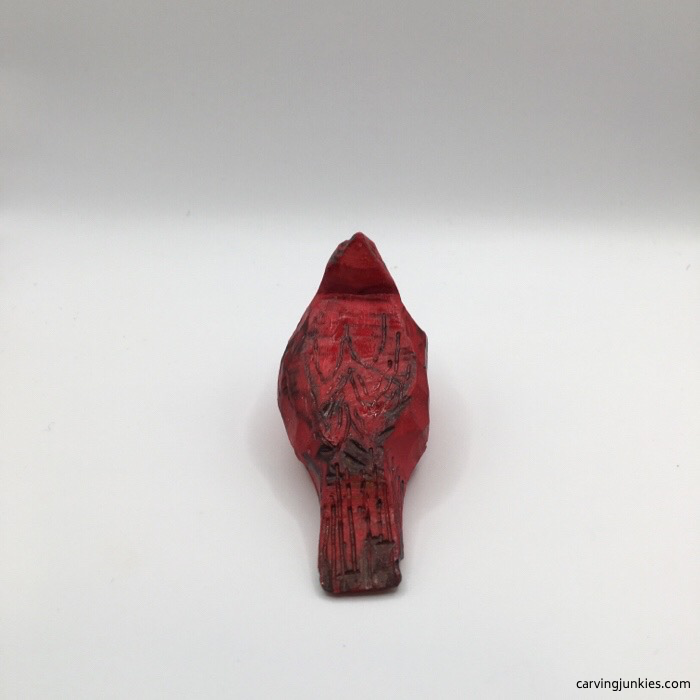
To get this look:
- First body wash (including beak): 1 drop of ArtSkills red paint mixed with 5 drops of water.
- Second body wash: 1 drop of Badger crimson paint mixed with 3 drops of water.
- Beak: 100% Badger yellow paint on top of wet red paint (blend).
- Head and back accents: 100% Badger crimson paint.
Photocopy this pattern to size
If you prefer to carve with a pattern, photocopy this to size to fit your wood block.
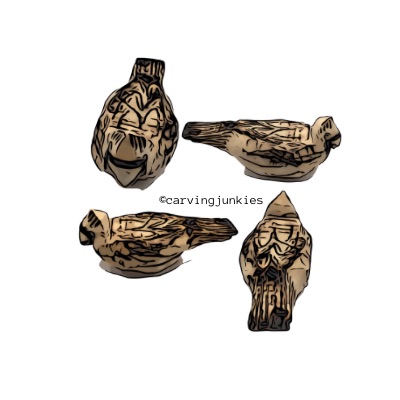
Cardinal wood carving pattern and tutorial summary
- Our cardinal wood carving pattern is easy to use and carves up very quickly.
- You can carve the entire piece from a basswood block with just a knife.
- A wood burning pen is optional for texture (you can use your knife if you don’t have one).
- The paint is applied in layers so the top is darker than the underbelly.
- Click here to see more pictures of real Northern cardinals for reference.
Get 50 Wood Carving & Painting Tips
FREE when you join our free Covered in Chips Club
Your information is 100% private and is never shared. Unsubscribe anytime. See our Privacy Policy .
Share page on:
Home | Privacy Policy | Terms of Use | Contact | Sitemap
