- Home
- Christmas wood carving ideas
- Wooden Christmas caroloers
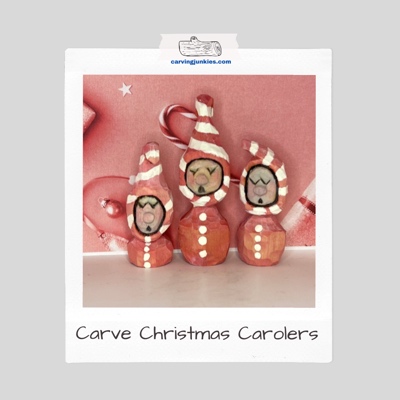
Wonderful wooden Christmas carolers
Carve a peppermint-painted singing caricature.
These wooden Christmas carolers are cute as a button. The more you make—the more the merrier! They are perfect to display on a window sill to brighten up your holidays.
After following this step-by-step tutorial, you can carve more carolers of different sizes and change up the hats to add visual interest. Of course, you can change up the colors too. Maybe paint them solid red or green.
What you will need for your wooden Christmas carolers
To carve the largest wooden Christmas caroler (in the middle in the picture above), use a wood block that is 1 x 1 x 4 inches (2.5 x 2.5 x 10.1 cm). I used basswood. As always, if you want to go bigger, simply double or triple the measurements throughout this tutorial.
Information about painting supplies—and a color guide—are also provided at the end of this page.
I used a chip carving knife. To carve successfully, be sure to stop and strop your knife every half hour.
Please always use a carving glove for safety. Also protect your lap with a cutting board—or a piece of wood—if you are a lap carver.
You will need a writing instrument to sketch your guidelines. I used a woodburner to accentuate some details. You can also use dark brown paint to highlight the same areas.
Wooden Christmas carolers tutorial at-a-glance
Take a minute to watch this slide show to see the key steps for this wooden Christmas carolers tutorial before you get started.
First steps for your wooden Christmas carolers
You will carve off the corner for this project to give you some instant depth for the nose.
First, round down all the corners on your wood block. Draw a guideline that is 1.5 inches (3.8 cm) from the bottom of your wood block all around to mark bottom of head (photos 1,2).
Draw a second guideline that is 2.75 inches (7 cm) from bottom all around to mark top of head (photos 1,2).
Then, draw a square nose box that is a little less than 1/2 inch (1.3 cm) down from the top of the head guideline. It should extend about 1/4 inch (0.6 cm) on each side (photos 1.
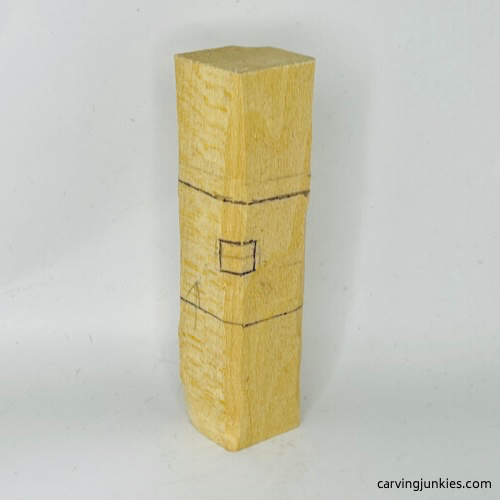 1. Front guidelines are drawn
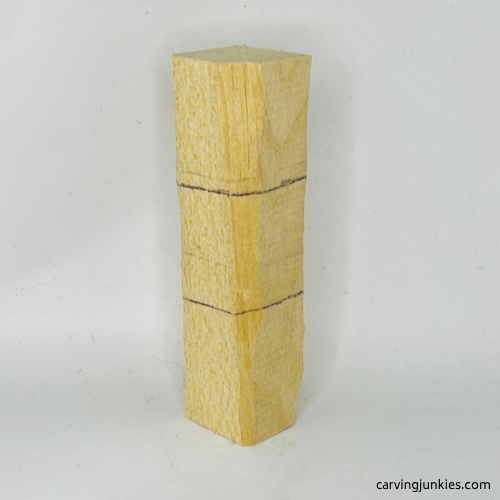 2. Back guidelines for wooden Christmas caroler
Separate the bottom of the head on your wooden Christmas carolers
Use stop cuts (photo 3) to separate the bottom of the head all around, removing wood from underneath (photo 4).
I turned the piece upside down and used a push cut (photo 5) to narrow and shape the bottom of the head. You could also use a paring cut. I generally like pointing my knives away from my body!
Next, use something round (I used water bottle cap) to draw a circle that marks the outline of the face (photo 6). The space between the nose box and the circle is a little more than 1/2 inch (1.3 cm). Don’t sweat it if your space is a little more or less. It won’t matter.
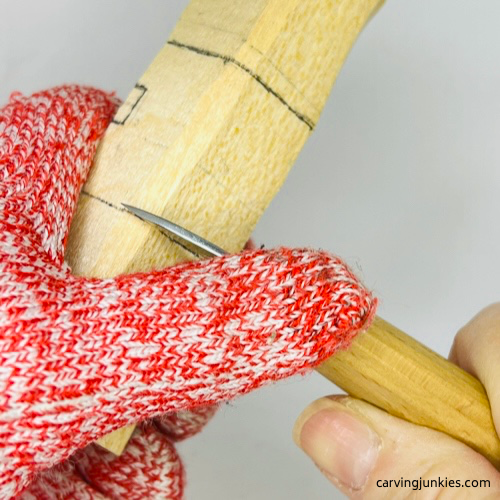 3. Making a stop cut
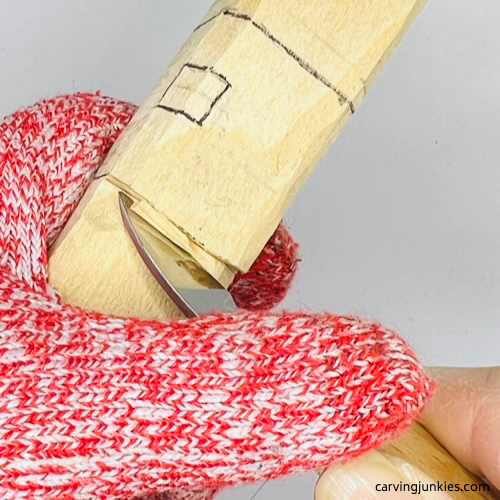 4. Removing wood from underneath
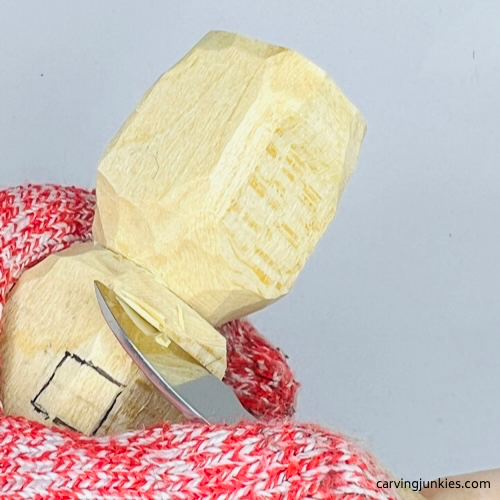 5. Shaping the head
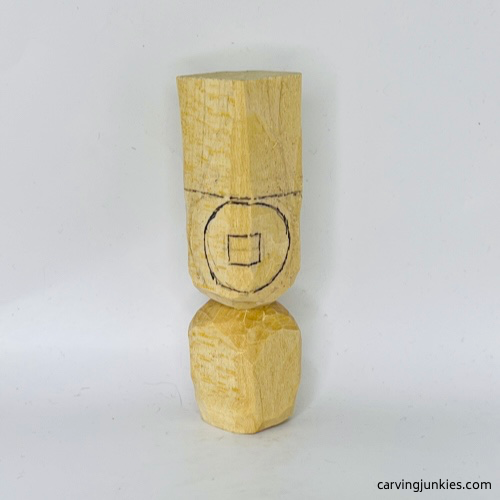 6. Face outline is drawn
Start the hat on your wooden Christmas carolers
Remove wood to start to to shape the hat. The process is kind of like sharpening a pencil. Turn your piece often to be sure it is symmetrical. Again, you can use a push cut (photo 7), or a paring cut, depending upon your preference.
Once you have the desired shape, draw a guideline about 1/2 inch (1.3 cm) across the middle of the back of the hat (photo 9). It marks where you cut the notch later.
When you are finished, your hat should look something like photos 8,9). Don’t worry if your hat shape is a little different. You can make these wooden Christmas carolers your own.
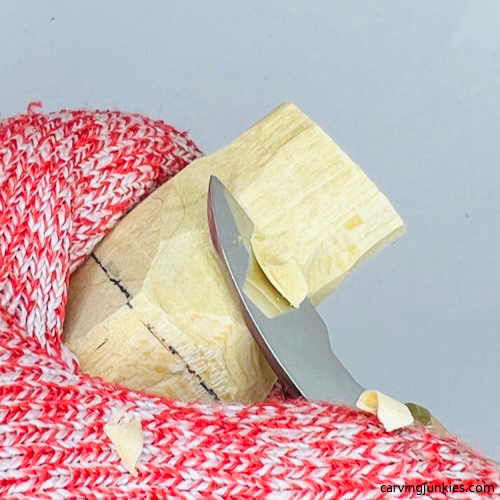 7. Narrowing the hat
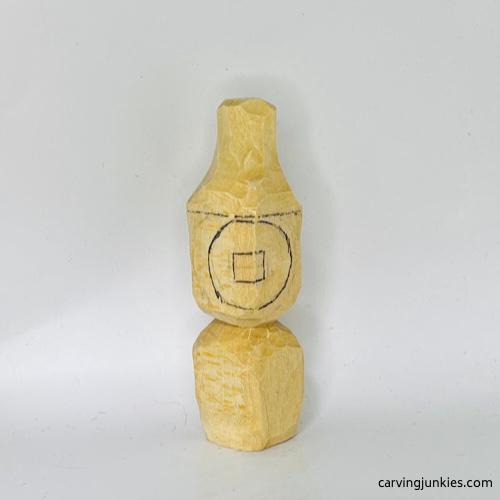 8. Hat is shaped
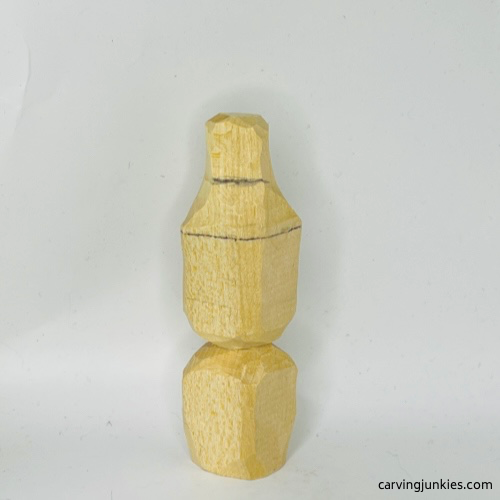 9. Back view of shaped hat
Start the notch on the hat of your wooden Christmas carolers
Make a stop cut (photo 10) on the back of the hat. Remove wood from underneath—until you have a nice indentation (completed in photos 11,12).
Draw a triangle on each side (photos 11,12) to mark the wood that you will remove later.
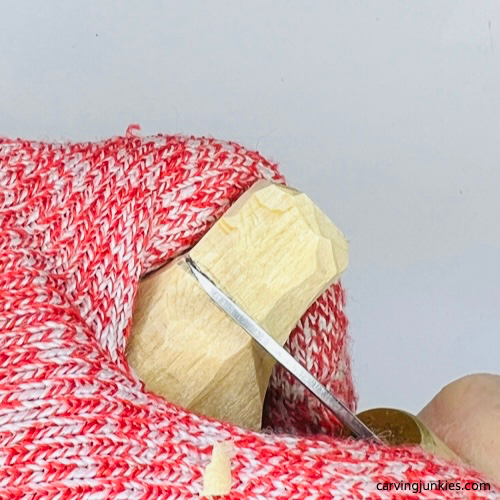 10. Cut into the hat to set up the notch
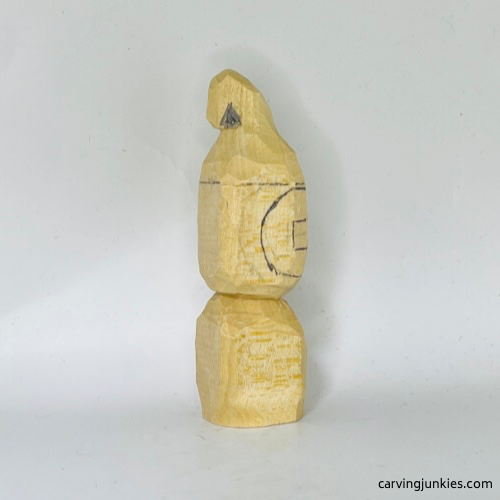 11. Notch wood to remove is notched (right view)
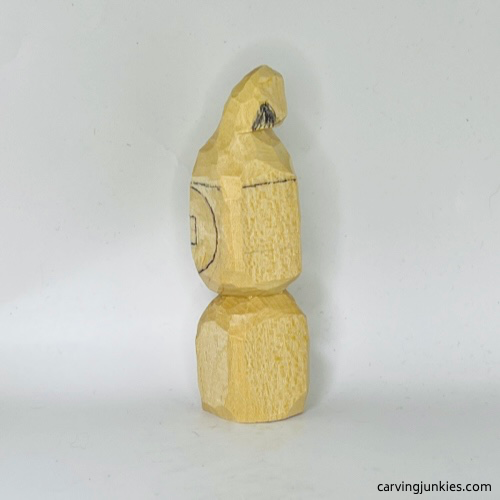 12. Notch wood to remove is notched (left view)
Start the face on your wooden Christmas carolers
Run your knife along the guideline for the round face. Make a second, slicing cut to cleanly remove wood along your first cut (photo 13). Continue to shape the face until it is evenly round (completed in photo 14).
Next, make a stop cut under the nose box (photo 14) and remove wood from underneath. Work your way around the nose box in the same manner until it is fully separated (photo 15). Color in the corners (photo 15) to mark where you will remove wood to round the nose.
Also, narrow and shape the top of the hat so that it slightly curves up in the front (completed in photo 14). You can do this by making a sweeping cut (as you make a push cut, rotate your wrist). When you are finished, the hat should look like photo 14.
After you carve off the nose corners and round the nose (completed in photo 16), draw on the eyes and the mouth. The lines for the eyes are much easier to carve than typical eyes and they give the impression that the eyes are closed.
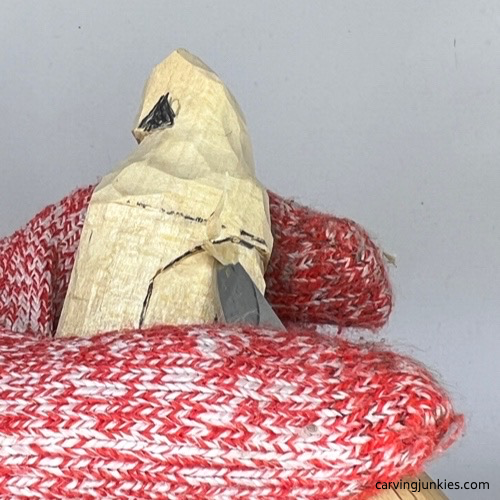 13. Separating the face
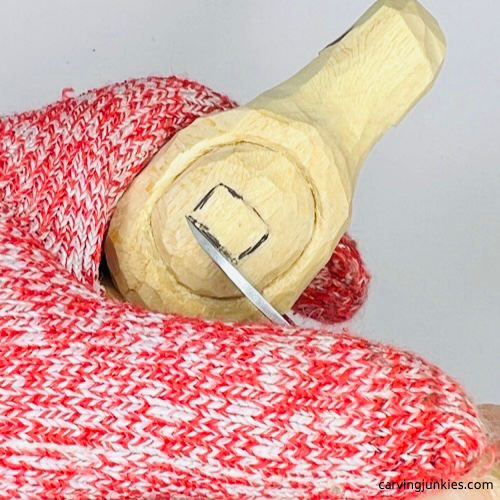 14. Making a stop cut under the nose
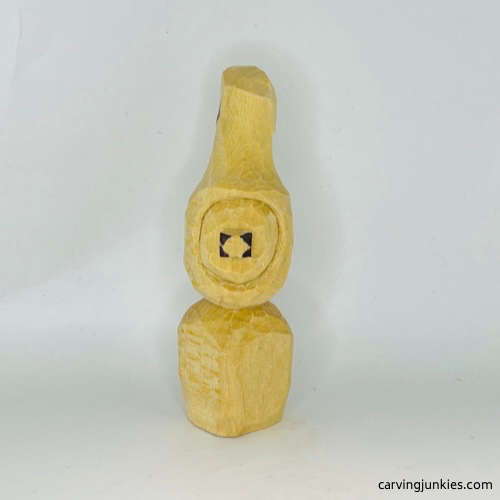 15. Nose wood is marked for removal
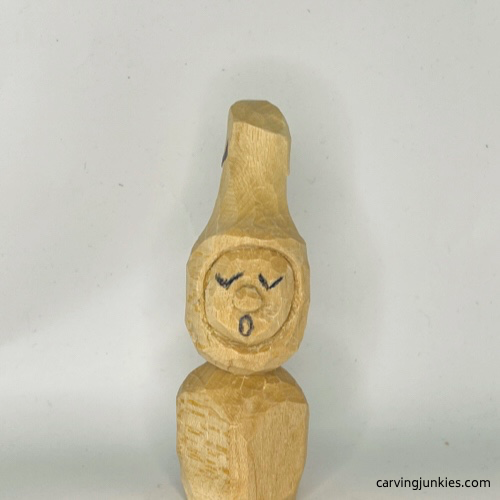 16. Face details are drawn
Carve some details on your wooden Christmas carolers
Make slit cuts for the eyes and remove wood from above them (photo 17). Then, carefully carve the outline of the mouth. Make a slicing cut to remove wood between the outline (completed in photo 19). The wood is fragile here so take your time.
Use a pyramid cut to make a notch on the left and right sides of the hat (photo 18). You can continue to refine the hat as needed.
Now, shape the neck and the bottom of your wooden Christmas caroler (photo 19). These little guys don’t have arms, which makes it really easy to carve the body!
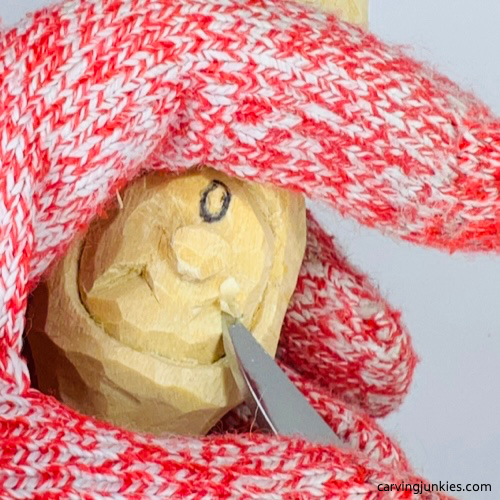 17. Carving the eyes
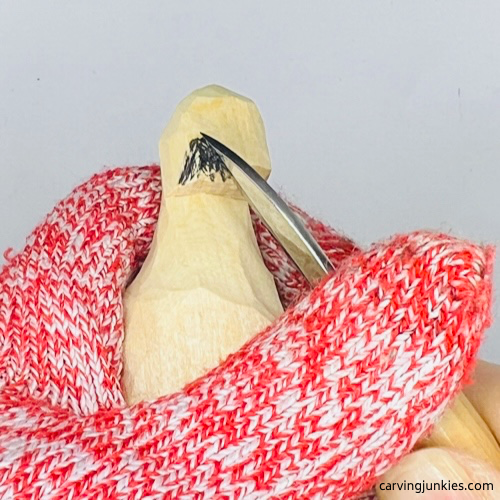 18. Making a pyramid cut
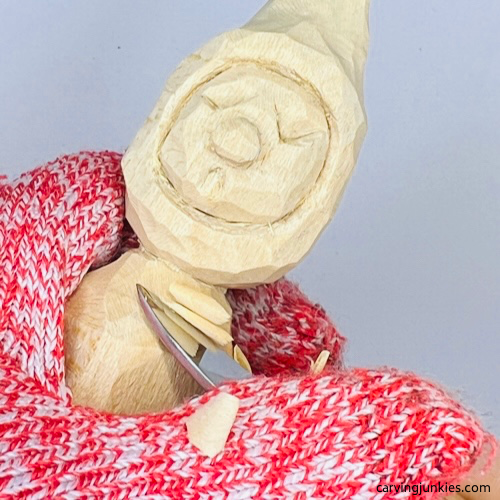 19. Narrowing the neck
Wood burn your wooden Christmas carolers
Use a wood burner to burn the outline of the face, eyes, mouth, and the notch on each side of your wooden Christmas carolers (photos 20-23). If you don’t have a wood burner, you can use dark brown paint—or even a black magic marker.
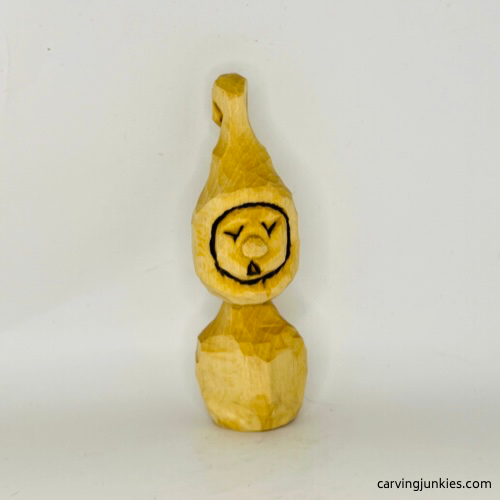 20. Front view of caroler
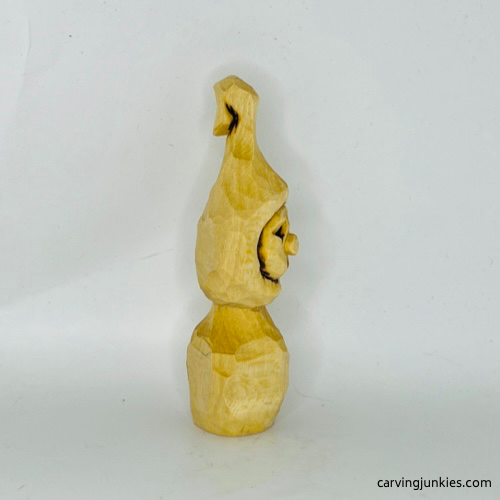 21. Right view of caroler
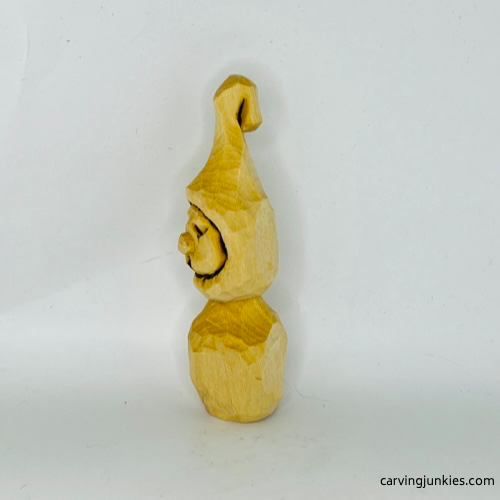 22. Left view of caroler
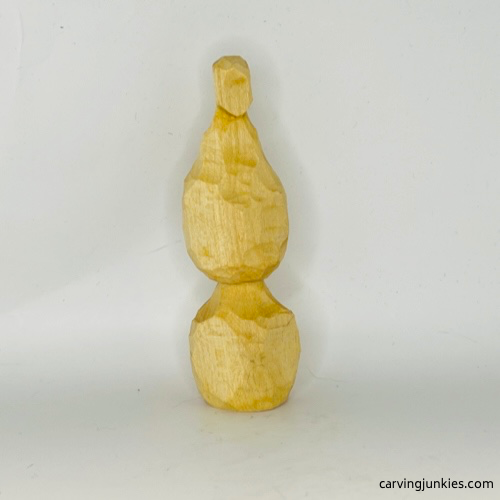 23. Back view of caroler
Color your wooden Christmas carolers
To get this exact look, use the paints listed below. However, feel free to change up the colors, or go with a solid design. I typically dilute my acrylic paints with 15-20 drops of water to create a wash. Test a little on a piece of newspaper. If the newsprint shows through the consistency is good.
You can use whatever paint brushes you want. For these wooden Christmas carolers I used an angled brush.
- Body: FolkArt lipstick red wash. Reserve a little paint to blush the cheeks and the nose after you paint the face.
- Face: Ceramcoat dolphin gray wash.
- Stripes: 100% Ceramcoat ivory.
- Finish with your sealer of choice.
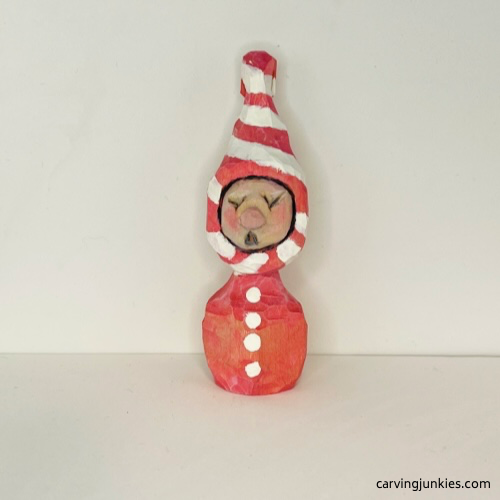 24. Front of painted caroler
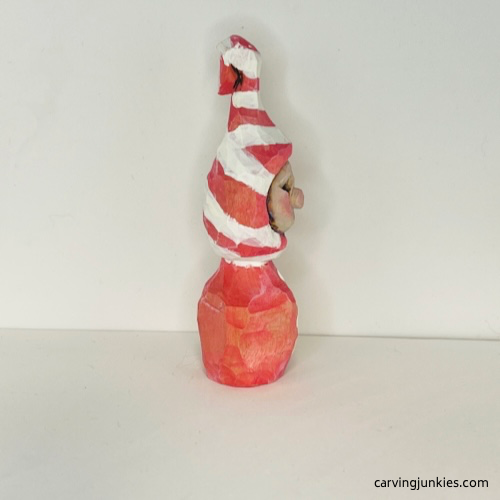 25. Right view of painted caroler
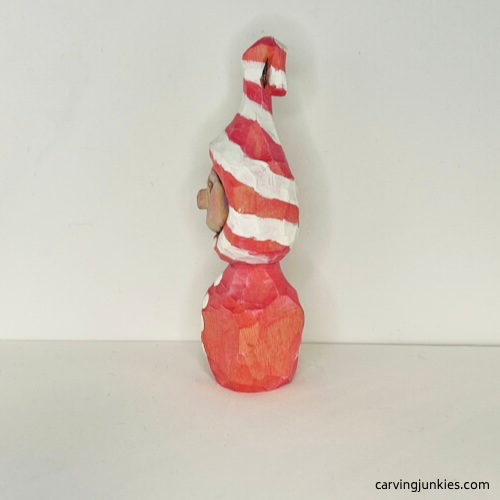 26. Right view of painted caroler
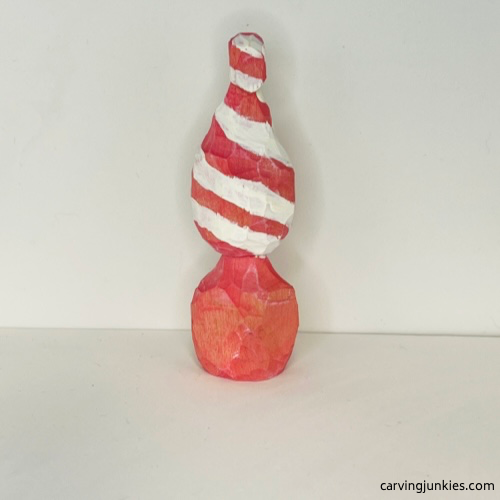 27. Back of painted caroler
Wooden Christmas carolers tutorial summary
- These wooden Christmas carolers are fun to carve and make great window decorations.
- They are a perfect project for new carvers because the eyes are easy and they don’t have arms.
- Make a few that are different sizes and try to vary the hats a bit.
- A wood burner adds to the final project, but you can substitute with paint or a magic marker.
Get 50 Wood Carving & Painting Tips
FREE when you join our free Covered in Chips Club
Your information is 100% private and is never shared. Unsubscribe anytime. See our Privacy Policy .
Share page on:
Home | Privacy Policy | Terms of Use | Contact | Sitemap
