- Home
- Easy wood carving ideas
- Toothpick monster wood carving
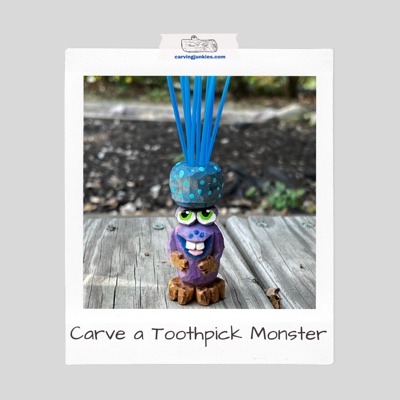
Teeny toothpick monster wood carving tutorial
The perfect gift—or to brighten your dinner table.
This adorable toothpick monster wood carving is fun to carve and makes a great gift. The next time you go to a dinner party, or event, you can place this little guy in the middle of a food or snack tray for that little something extra that is sure to make your host or hostess smile!
You can use your imagination to carve other toothpick monster wood carvings, or take this design and vary up the colors when painting it. I’ve included photos with different colored toothpicks to show you how you can easily change up the color pattern. Plain wooden toothpicks work well, too.
Of course, you can completely skip the toothpicks altogether and still end up with a fabulous teeny monster wood carving.
Supplies needed for your toothpick monster wood carving
For this toothpick monster wood carving tutorial you will need a wood block that is 1 x 1 x 3 inches (2.5 x 2.5 x 7.6 cm). As is typical, I use basswood because it is easy to carve and holds details well.
You will need a knife of choice (I used one long-blade straight knife). A pencil for marking your toothpick monster wood carving—and a ruler for measuring your guidelines—will be of help to you.
A U-gouge is optional for scooping wood out of the toes.
As always, a painting guide is included at the end of this page.
Please carve safely with a good carving glove and something hard to protect your lap (especially if you carve while sitting like I do).
Finally, you will need a small pin vise to create the holes (or a small hand drill) and some colored or plain toothpicks to complete the carving.
Let’s have some fun and start your carving!
Toothpick monster wood carving at-a-glance
Watch this short video to see the key steps for making this toothpick monster wood carving.
Starting your toothpick monster wood carving
You will carve off the corner for your toothpick monster wood carving, which will give you some extra room for big feet that will give the piece stability.
First, slightly round down all of the corners (visible in photo 1).
Draw your first guideline 0.75 inches (1.9 cm) from the top all around. Add a second guideline that is 1.25 inches (3.2 cm) from the top. Draw your final guideline 2.5 inches (6.4 cm) from the top all around (all visible in photo 1).
Now, separate the first guideline all around. You can start by making a stop cut at each corner (photo 2)—and work your way in between the corners—removing wood from underneath.
When making a stop cut along the second guideline, remove wood from above and beneath (photo 3).
Also, separate the third guideline all around, removing wood from underneath (photos 4,5). Draw on some details, including the eyes, mouth, arms, and hands (photo 4). Mark wood for removal to split the feet on the front (photo 4) and the back (photo 5).
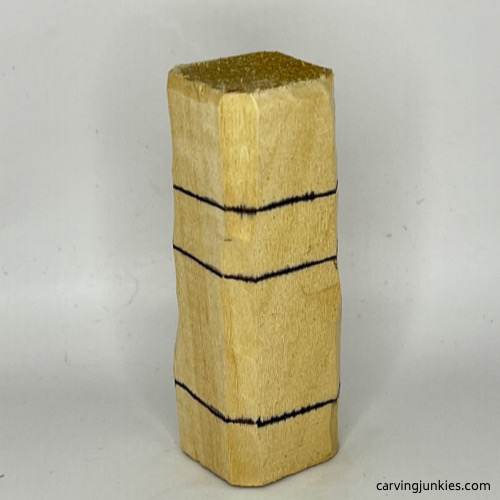 1. Guidelines are drawn
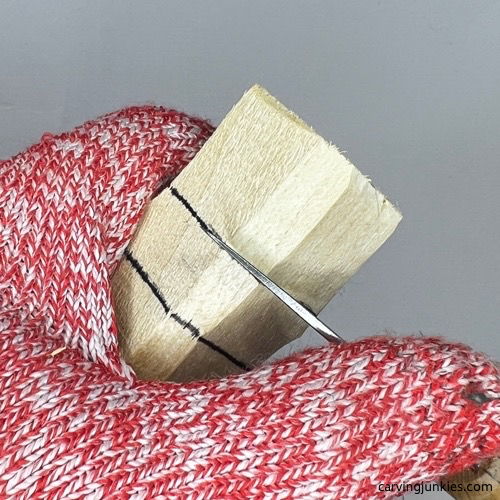 2. Making a stop cut
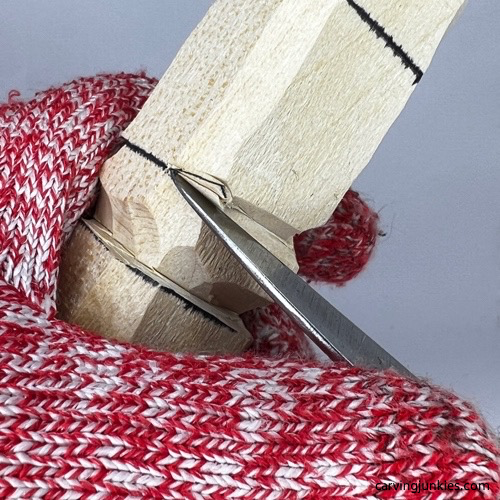 3. Removing wood from above and below
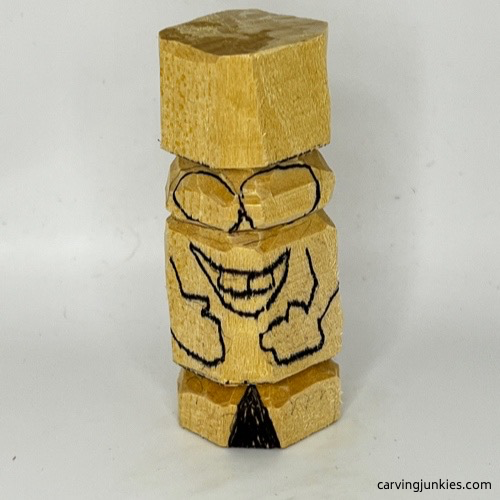 4. Front details are drawn
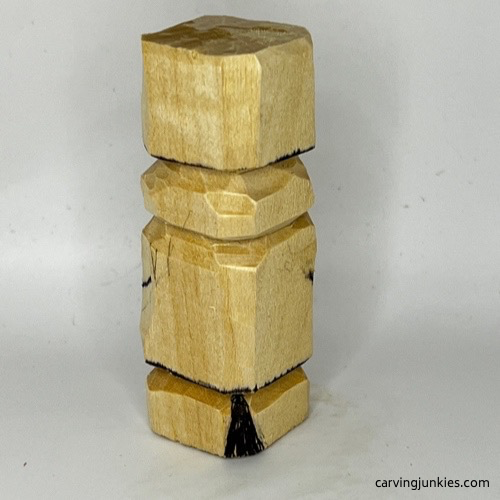 5. Back wood marked for removal
Carve some details on your toothpick monster wood carving
Use your knife to round the eyeballs all around, starting on the sides (photo 6). Make small pyramid cuts to split the eyes on the front (photos 7,8) and the back.
Now, shave wood off the front of the eyes to create a flat surface for even painting (photo 9).
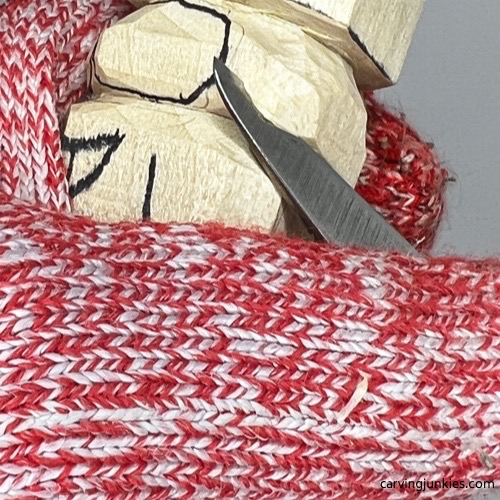 6. Carving the eye
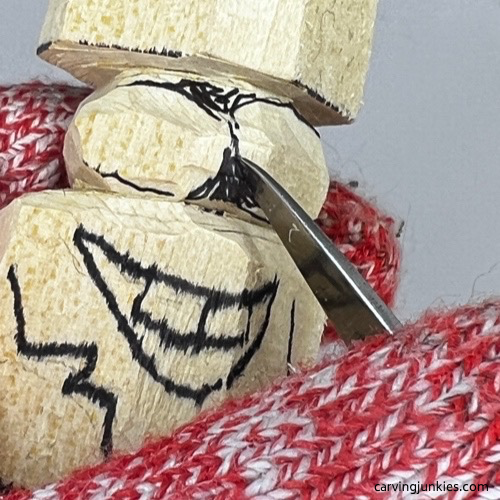 7. Making a pyramid cut
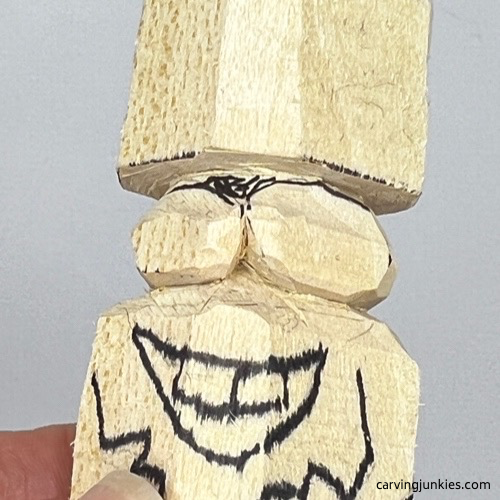 8. Bottom of the eye is cut
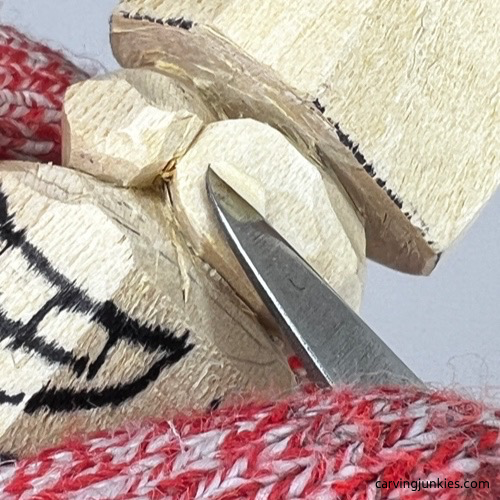 9. Flattening the eye socket
Carve the mouth of your toothpick monster wood carving
Make a stop cut under the teeth, removing wood from underneath (photo 10). Use a pyramid cut to remove each corner of the mouth (completed on the left side in photo 11 and both sides in photo 12) and refine the shape of the teeth and the tongue (completed in photo 12).
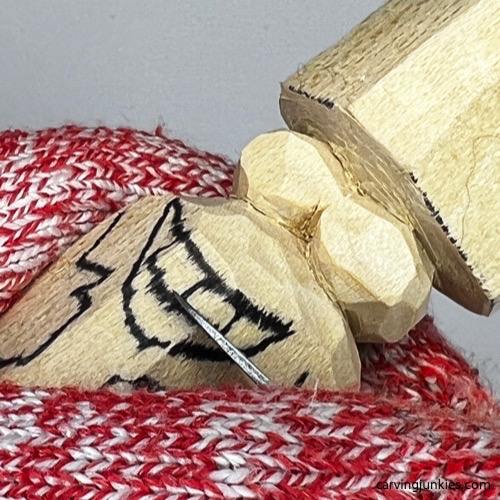 10. Making a stop cut under the teeth
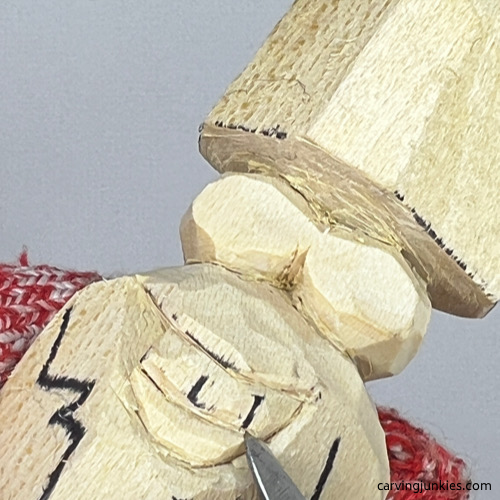 11. Shaping the teeth
Separate the arms and hands on your toothpick monster wood carving
Use your knife to separate the hands and arms (photo 12). You can use stop cuts (or slicing cuts), removing wood from around the guideline.
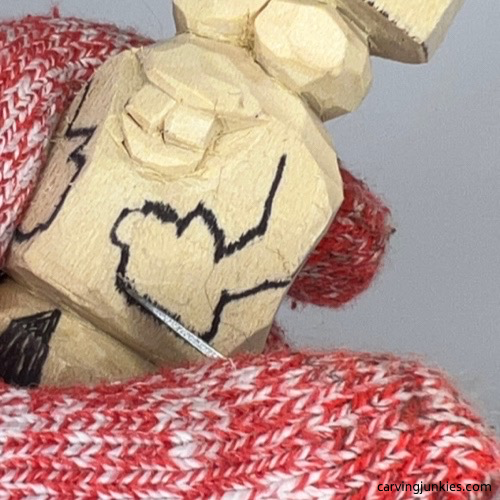 12. Separating the hands
Carve the feet of your toothpick monster wood carving
Use your knife to shave wood off the top of the feet, to make them flatter (photo 13). Don’t remove too much wood as thicker feet will be less likely to snap off as you carve them. Tip: Go slowly and carefully remove wood in layers (if necessary) to avoid cracking the feet and breaking the tip of your knife.
Make a wide V-cut on the front (photo 14) to split the feet and repeat on the back. Tip: If the wood doesn’t cut easily, make multiple, shallow V-cuts to remove all the wood.
Draw the three toes on the toothpick monster wood carving (visible in photo 15) and make shallow V-cuts (photo 16) to separate them.
Optional: Use your knife to scoop out some wood on the top of the feet (visible in photo 17). You can also (very carefully) use a U-gouge to scoop the wood out. Go slow because it is easy to snap a toe off!
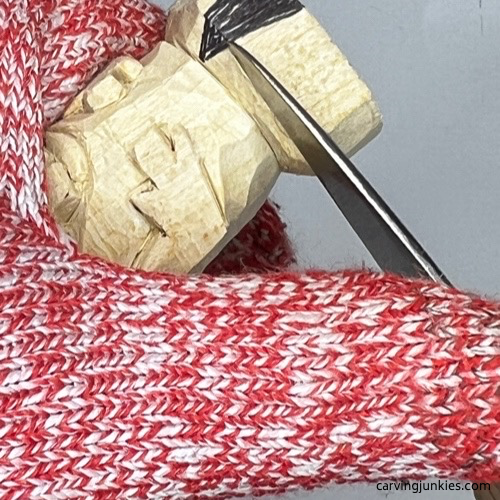 13. Flattening the foot surface
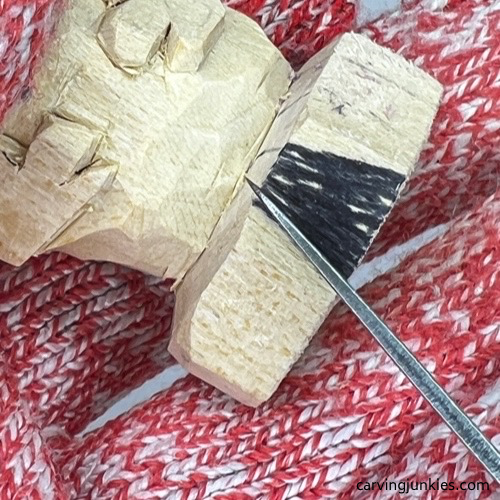 14. Making a V-cut
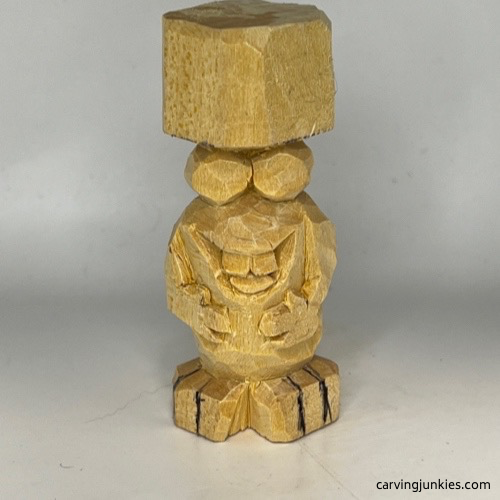 15. Toes are drawn
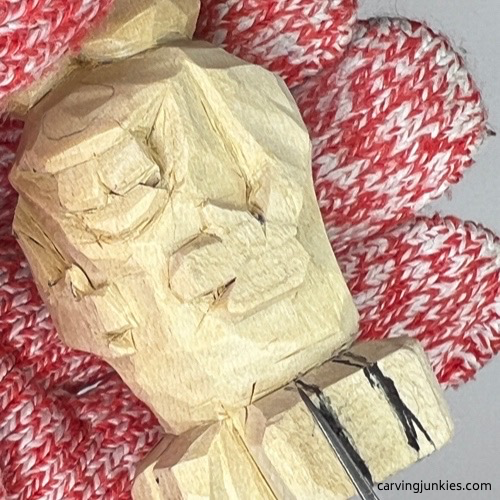 16. V-cuts to carve the feet
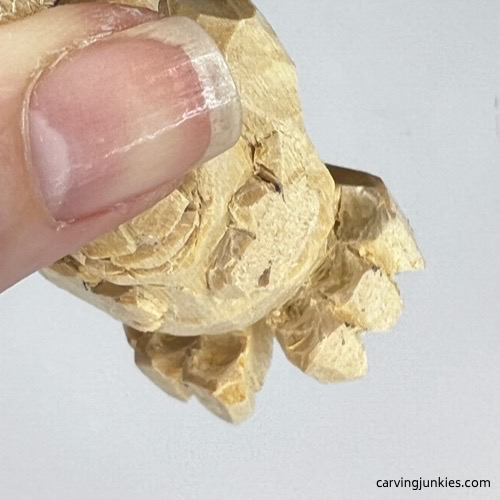 17. Toes are carved
Carve the top of your toothpick monster wood carving
Using your knife, carve down the bottom of the top of the toothpick monster carving (photo 18). Also, curve the top of your toothpick monster wood carving all around so it looks more like a dome (photo 19).
Once you have the desired shape, use a pin vise (or small hand drill) to create the holes for the toothpicks (photo 20). Make sure that you test your holes with actual toothpicks before you start to paint or stain the wood. It will be much easier to cleanly make the holes deep enough for the toothpicks to stand up straight.
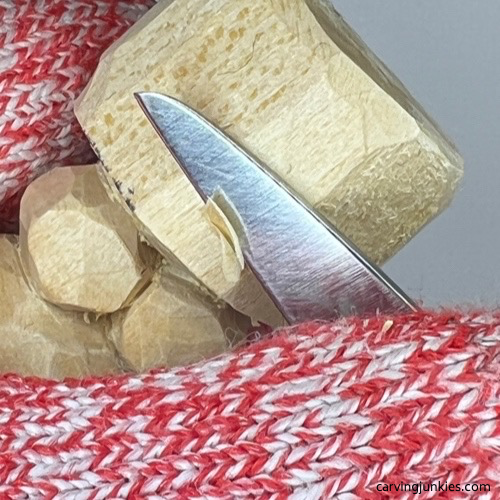 18. Carving down the bottom
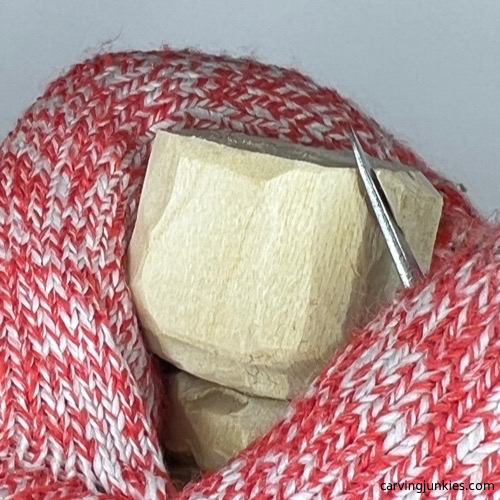 19. Shaping the top
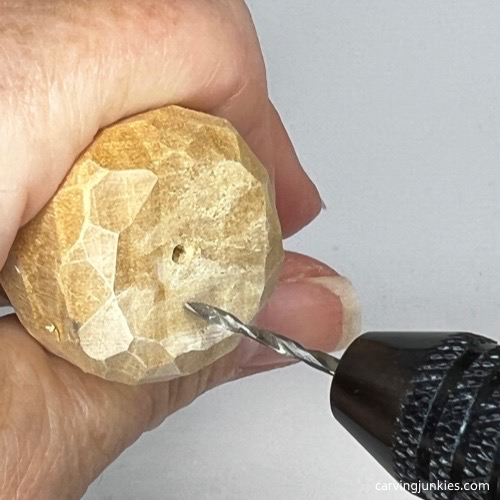 20. Adding holes
Refine your toothpick monster wood carving
Clean up your cuts on your toothpick monster wood carving. Also, make a final check for symmetry. Remember to insert the toothpicks to be sure they fit and will stand on their own (photos 21-24).
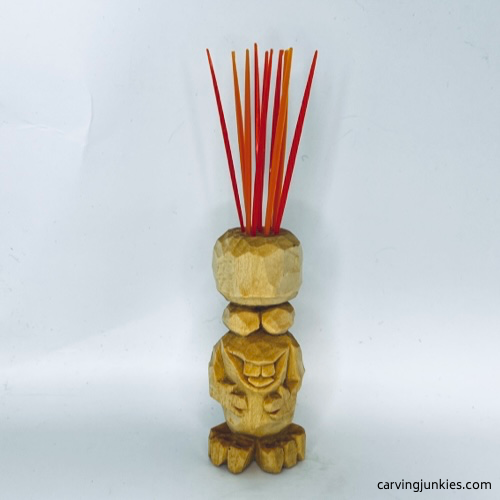 21. Front of toothpick monster wood carving
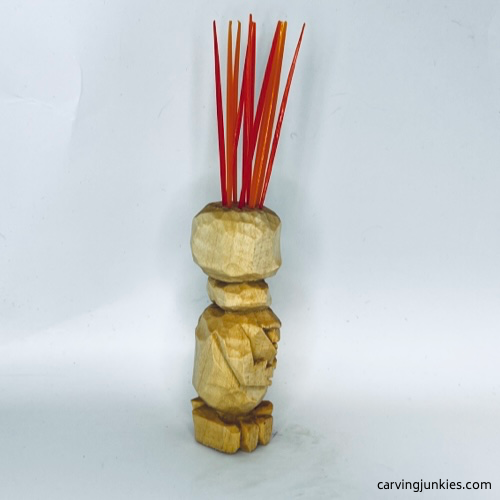 22. Right view of toothpick monster wood carving
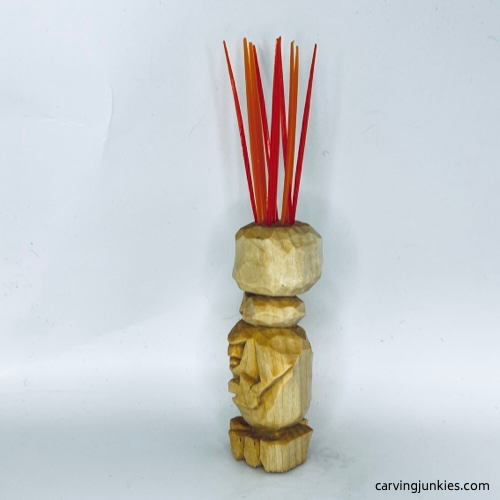 23. Left view of toothpick monster wood carving
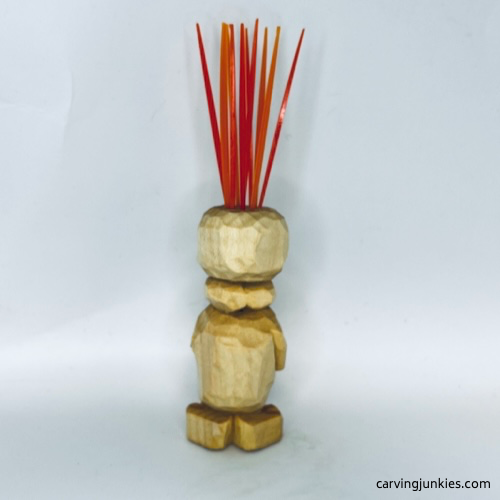 24. Back of toothpick monster wood carving
Finish your toothpick monster carving
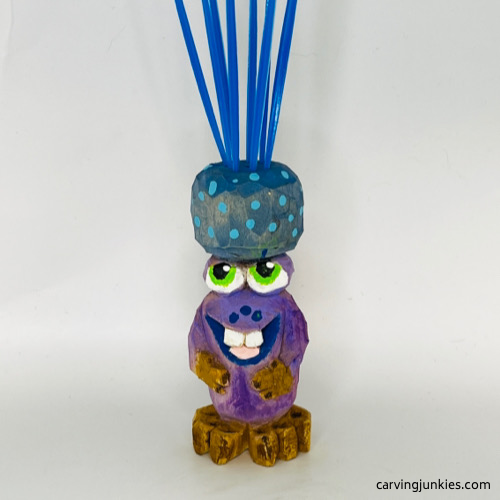 25. Painted front of monster toothpick wood carving
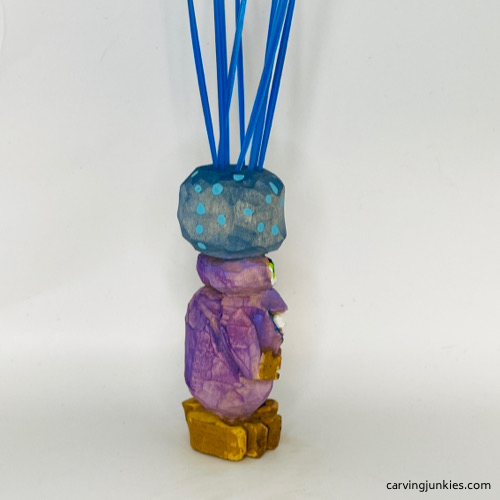 26. Right side of monster toothpick wood carving
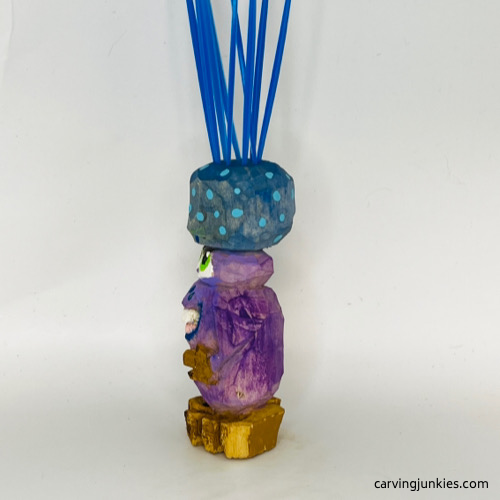 27. Left side of monster toothpick wood carving
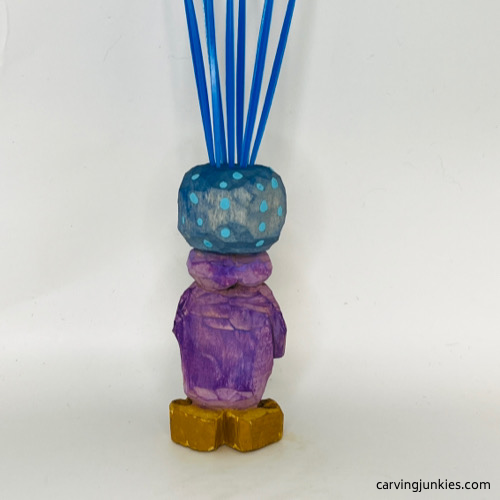 28. Back of monster toothpick wood carving
Feel free to use whatever paint or finish you want for your toothpick monster wood carving. I like to use watered-down acrylic paint (called a wash). When it comes to brushes, you can also use whatever shape or style brush you prefer.
To get this exact look, use the colors below that are also listed (with the brand names):
- Full body (base coat): Academy burnt sienna wash.
- Eyes and teeth: 100% Craftsmart vanilla.
- Body: Ceramcoat purple wash.
- Body highlights: Craftsmart purple wash. Then dry brush with Folk Art violet pansy.
- Tongue: 100% Apple Barrel cameo pink.
- Dome: Folk Art true blue wash.
- Mouth and nose dots: Folk Art 100% true blue.
- Feet and hands: Apple Barrel classic caramel wash.
- Eye color: Folk Art apple orchard.
- Pupil: 100% Ceramcoat black.
- Polka dots: Folk Art calypso sky.
- Fingers and feet highlights: 100% DecoArt burnt umber.
- Finish: Let your toothpick monster wood carving dry for at least 24 hours. Dip (or brush) with boiled linseed oil. If you use paper towels, be sure to dispose of them outside right away because they can combust!
Want to learn more about painting a wood carving? Click here.
Toothpick monster wood wood carving summary
- This teeny toothpick monster wood carving is fun to make with—or without—holes for the tootpicks.
- Change up the colors when painting (or the toothpicks) to easily alter the look of your toothpick monster wood carving.
- A simple and inexpensive pin vise is all you need to easily create the toothpick holes.
- Remember to check your holes to be sure they are big enough to fit the toothpicks before applying your finish.
Get 50 Wood Carving & Painting Tips when you join our FREE Covered in Chips club.
Share this page
carvingjunkies.com never sells your personal information.
This site uses cookies for its operation and to enhance your experience. As an Amazon Associate and Focuser Carving affiliate we earn from qualifying purchases.
Home | About Us | Privacy Policy | Terms of Use | Contact | Sitemap
