- Home
- How to hand carve wood
- Painting a wood carving
Painting a wood carving brings it to life
Learn techniques you can experiment with.
Painting a wood carving can be as simple or complicated as you want it to be. Here are some questions to ask yourself to determine what method will be right for you.
How much paint to use when painting a wood carving?
If you look at photo on the left (below), you can clearly see the wood grain on the pants. You can also see the pattern of knife cuts coming through the white shirt. This carving was painted with acrylic paints that were diluted with drops of water (called a wash).
In the photo on the right, the paint was not thinned down with water and the grain is not visible.
By allowing the wood grain to show through, you can clearly tell your work is a wood carving. It also adds another level of texture when you can see the wood grain running through a piece.
Some carvers use oil paint but it is a lot harder to clean up. You can use oil paint over acrylic, but you cannot use acrylic over oil paint.
There is no right or wrong way when painting a wood carving. It is always a matter of personal preference.
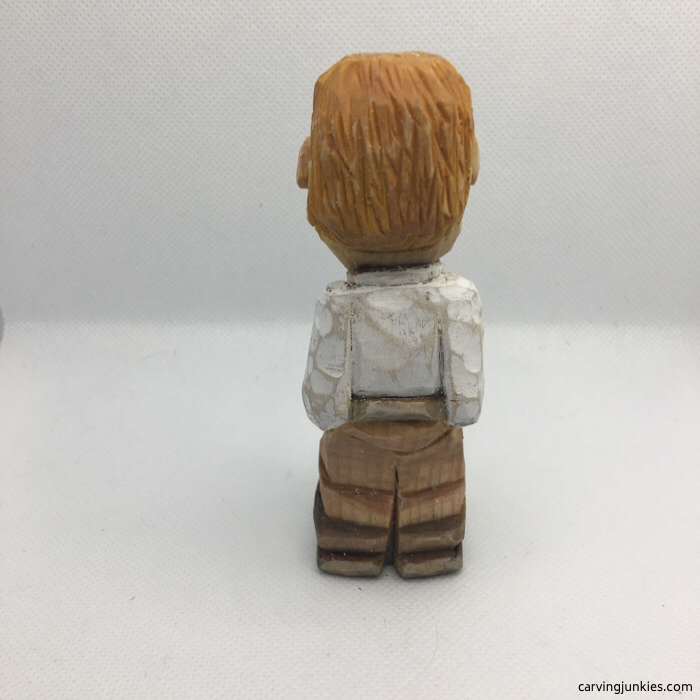 Wood grain shows through
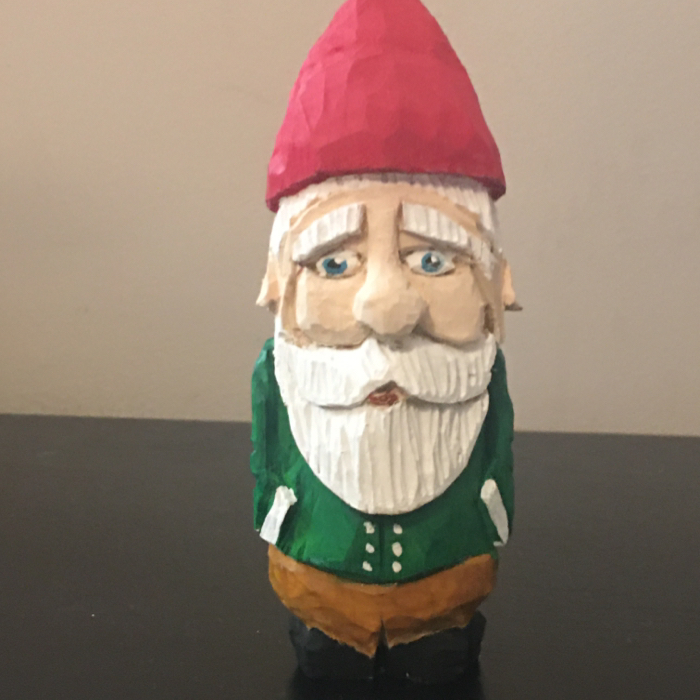 Wood grain is not visible
How much water should you add to acrylic paint?
We typically start with one drop of acrylic paint mixed with 10 to 25 drops of water when painting a wood carving. Some times we use more or less (for eyes we always use 100% white).
All of our tutorials provide the exact acrylic paint-to-water ratios we use. Even if you follow the painting guides we provide for our tutorials, you may end up with subtle differences. Every piece of wood is different.
How can you mix paints when painting a wood carving?
There are a number of simple household tools you can use to mix acrylic paints or to create washes.
We used to use small plastic cups for easy clean up but it is not environmentally friendly. A few of our carving friends on Instagram (@carvingjunkies) suggest using plastic ice cube trays or a piece of glass.
We pulled a piece of glass from an inexpensive picture frame. But we reserve it for paint that is not too watered down because it can run off the glass.
We also place an old shower curtain on a table to protect against spills (from water or paint) before we start painting a wood carving.
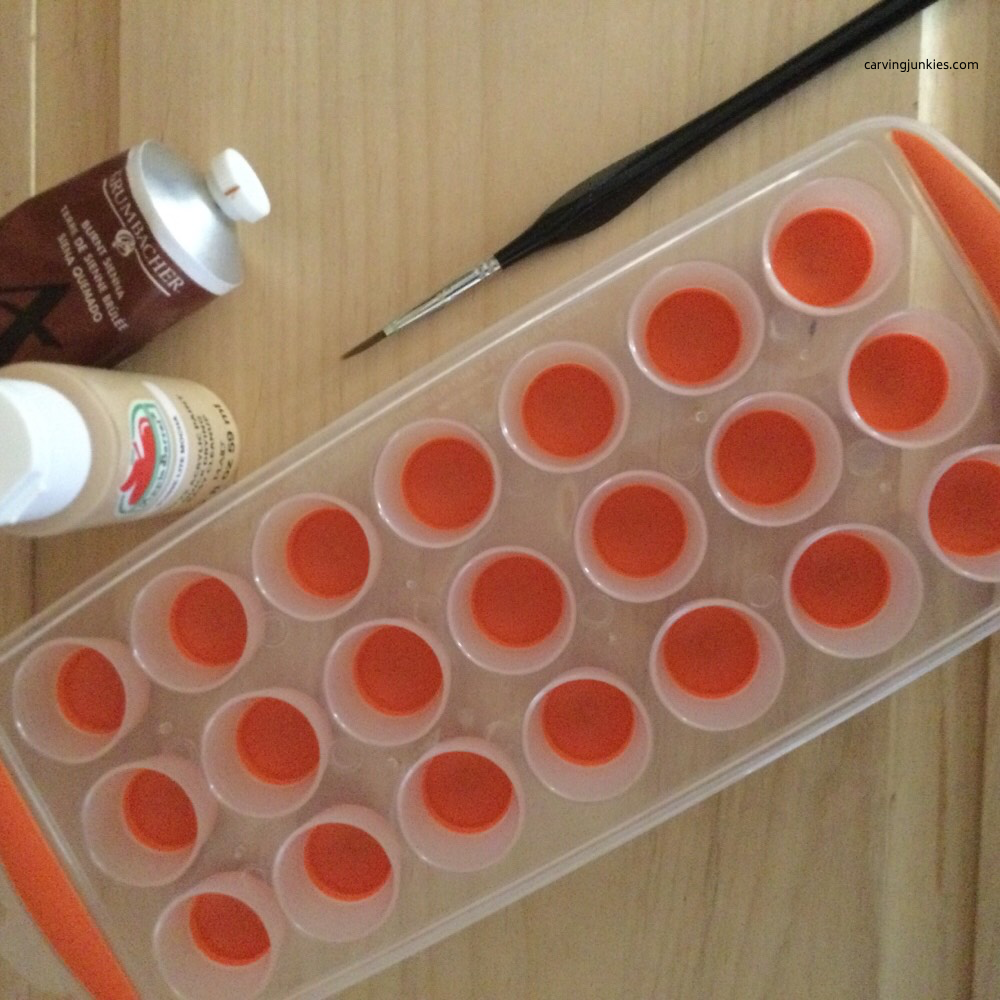 Ice cube trays for mixing paint
 Glass and plastic cups can be used
How can you get the right color when painting a wood carving?
When you are painting a wood carving, the paint you see in a cup or plastic tray may look very different on actual wood. There is always a little alchemy involved to get the right color, especially when you are trying to achieve natural flesh tones for caricatures.
We suggest keeping a scrap piece of wood handy to try out your paint before putting it on your carving.
If you plan to use the same color again, write down how much water you used, or how you mixed it with other colors on the wood (or in a small notebook) for future reference. This will save you a lot of frustration down the road.
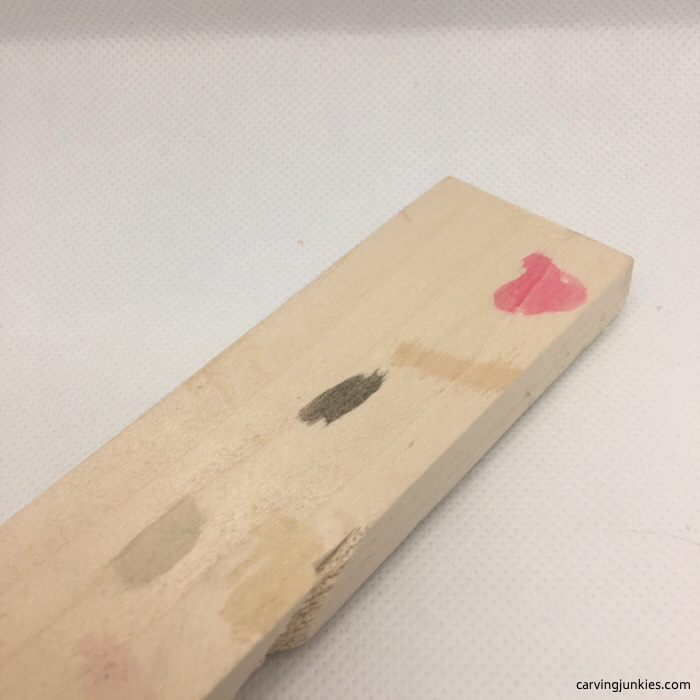 Test paint out on a piece of scrap wood
What brushes will you need when painting a wood carving?
A brush is a brush, right? Not really. We kept hearing wood carvers sing praises about round brushes. So we opened our wallet and bought a few. They made a big difference when painting a wood carving, especially in areas that have a lot of detail.
On larger areas that don't require a lot of controlled painting, we're not as picky about our brushes. Again, this is probably a matter of personal preference when painting a wood carving.
How should you care for your brushes?
Taking care of your brushes is very important. We store ours flat in take-out meal containers. If they come with a plastic tip, we put them back on when putting brushes away.
The worst thing you can do is leave your brushes standing up in a glass of water (or an empty glass). It will ruin their structure. Also avoid using super hot water while cleaning your brushes with a little soap, or you may destroy the glue that keeps the bristles together.
Gently blot your brushes dry with a paper towel (never rub the bristles).
 Store your brushes properly
How much should you spend when painting a wood carving?
Painting supplies can quickly add up. Sometimes craft stores offer coupons or discounts for paint bundles. When paint goes on sale we purchase new colors so we have more choices when painting a wood carving.
We used to not be selective about craft paint (we used different brands). But now we will spend a little more on better paints to help get good mixtures for harder-to-achieve flesh tones. Our favorite paint (right now) is Delta Creamcoat.
We have splurged on a couple of finer (Princeton and Windsor Newton, Kolinsky sable) brushes that we faithfully protect so they will last a while.
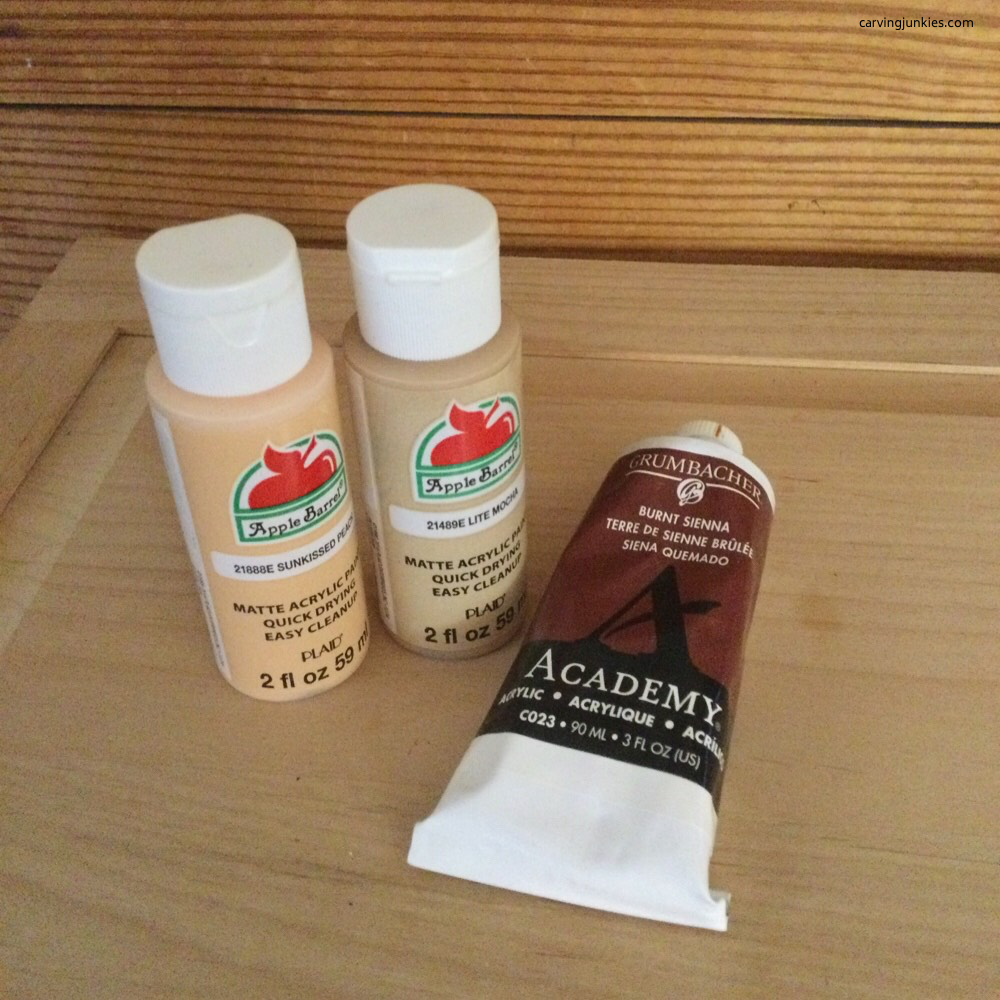 Craft paint (left) is cheaper
Where can you store your stuff after painting a wood carving?
Over time, your painting "stash" can become as extensive as your carving tools. Stackable storage shelves with removable fabric-covered baskets are great for storing supplies and cutting down on clutter. When it is time to paint a wood carving, we just pull out the basket.
We often like to paint a wood carving outside when the weather is good. An old vintage makeup case (or a plastic container with a handle) is perfect for carrying paints and other needed supplies.
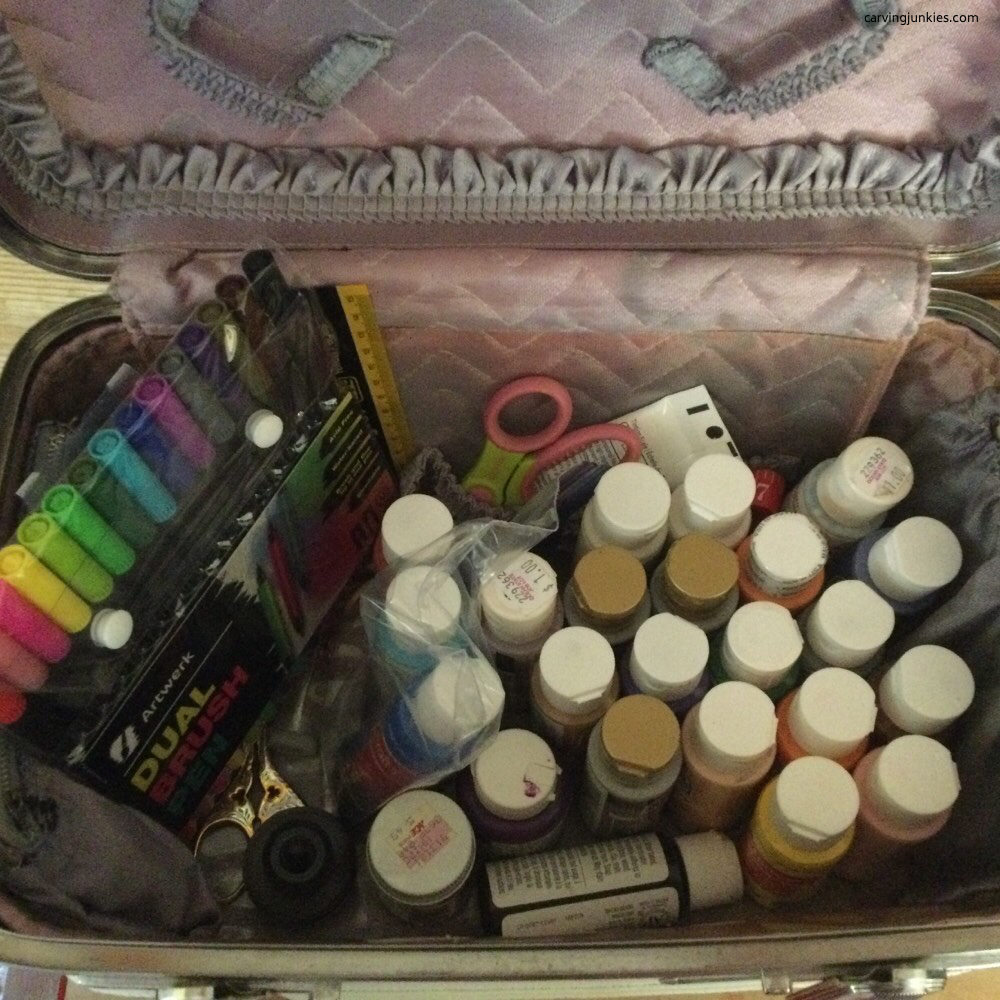 An old travel case is a great paint carrier
How should you prepare for painting a wood carving?
Before painting a wood carving, inspect for anything that needs to be cleaned up, such as wood “fuzzies.” These imperfections will prevent your paint from going on smoothly.
We use a magnifying glass to find fuzzies. Another option is to take a picture of your wood carving. All the imperfections are much more noticeable.
You can use a small piece of a green ScotchBrite (or a similar type) cleaning pad and use it to smooth any wood fuzzies before painting a wood carving.
We also like to use our Deepwoods Ventures butter knife to go over cuts between areas that will have a different paint color. This helps prevent color bleeding.
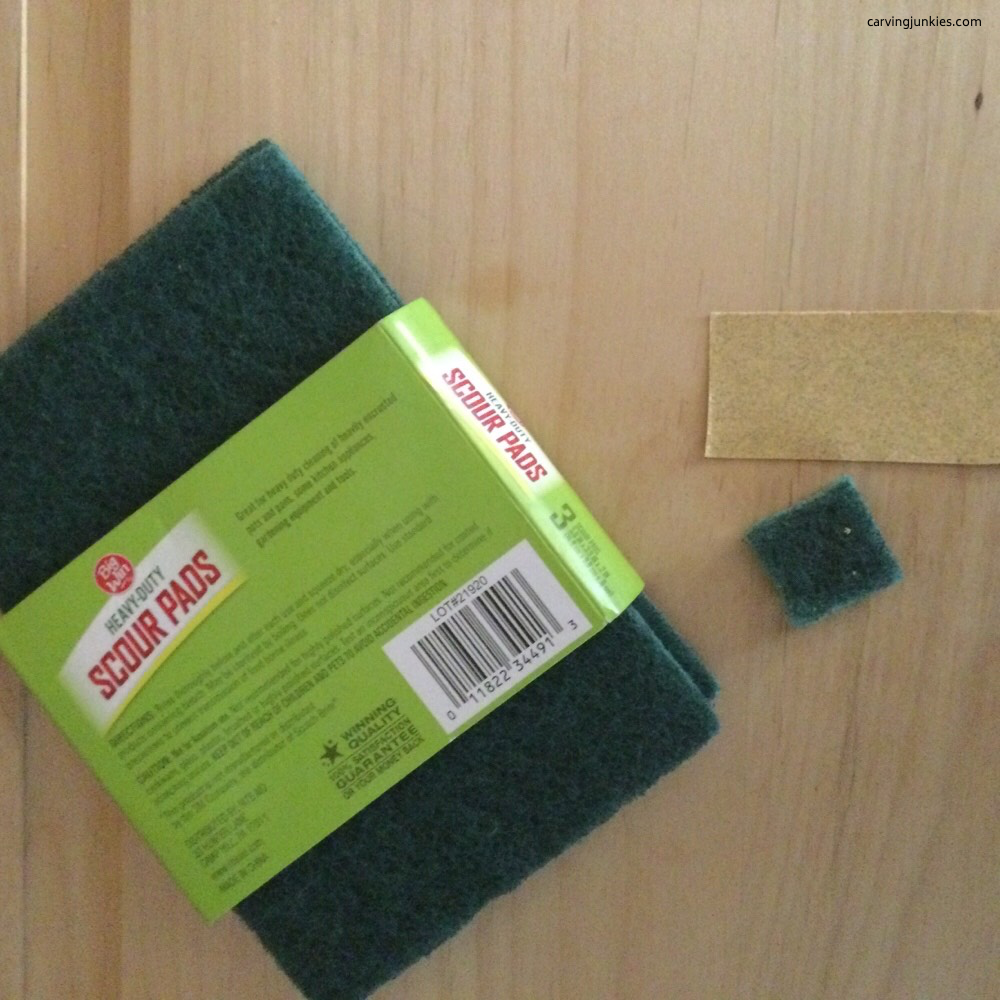 Little squares are great for hand smoothing
Should you wash a piece before painting a wood carving?
If your piece gets dirty during carving (common with gloves or when you use a pencil to draw a pattern) you can wash it with a toothbrush, warm water, and a little bit of dish soap.
Must the carving be dry before painting a wood carving?
No you can paint a wood carving while it is still wet. We find painting on a wet carving helps prevent color from bleeding.
Sometimes we will brush a washed carving with boiled linseed oil or mineral oil and let it sit for 10 minutes. Then we wipe it down with a paper towel before painting. Reserve a brush for using oils and clean it well with soap and warm water.
Note: With any oils or sealers you apply, always dispose of the used paper towels or rags in the garbage outside of your home as they can spontaneously combust.
How can you keep your hands clean while painting a wood carving?
Consider using a dowel with a screw so you can paint a wood carving without having to touch the piece.
This will avoid getting paint on your hands, and on your carving, which can be messy and annoying.
If you do get paint on the piece, simply cut off any mishaps with a carving knife after the paint has dried.
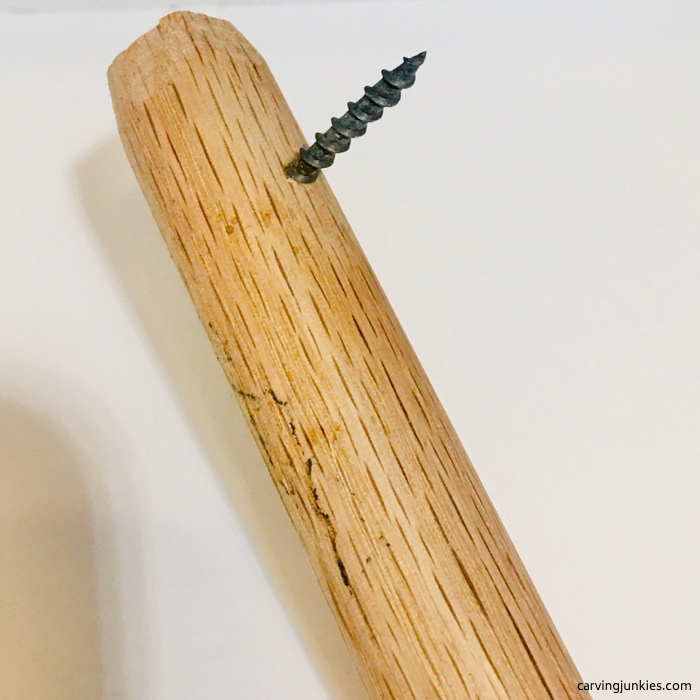 Dowel with a screw
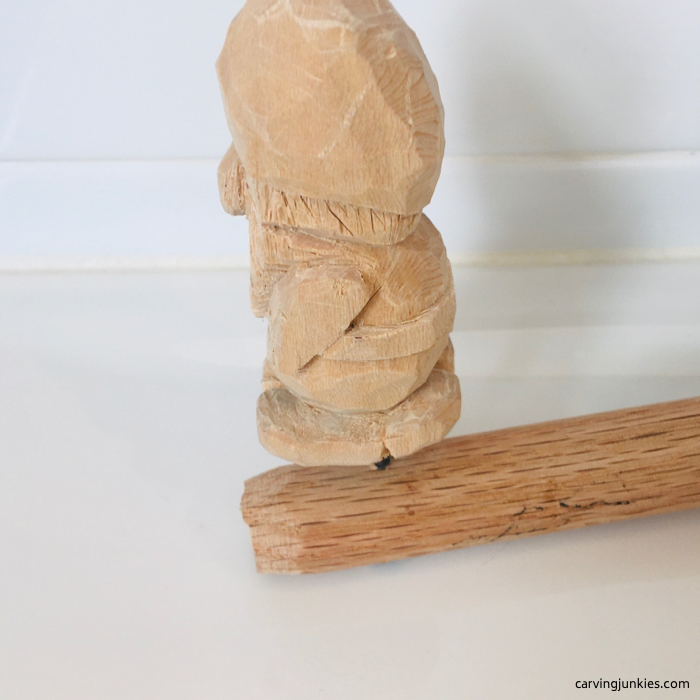 Dowel with carving attached
What if you make a mistake when painting a wood carving?
Dip a clean brush in water and try to "erase" the area where you made a mistake. Keep dipping the brush in water to remove the color, going over the same area.
If that doesn't work to your satisfaction, let the area dry completely and use a carving knife to remove the unwanted color.
Also keep a wet paper towel handy for cleaning up paint drips when painting a wood carving.
Does one color need to dry before adding another?
Yes, yes, and yes! If you do not let the paint dry completely, you run the risk of the paint bleeding into another color.
Painting a wood carving can be a slow process. Make sure you have a few hours to devote to it and take your time. If you rush, chances are you will make a mistake.
That being said, you can speed the drying process a bit when painting a wood carving by using a hair dryer.
TIP: Need to take a break during painting? Cover your paint container of choice with plastic wrap.
Should you paint from light to dark?
Yes it is a good idea to start with the lightest colors first. It is much easier to cover up white paint with darker paint if you make a mistake than vice-versa.
Should you layer colors when painting a wood carving?
Adding paint in layers is a great way to create the look you want and to add highlights in specific areas. You may need to experiment until you develop a style that suits your taste.
We really like blending acrylic paints, where we go from dark to light colors that are in the same family. For example, we will start with a dark purple paint on a wood carving. Then we will dip our brush into water to wet it and place it into a paint well with a light purple paint and mix it around. Then we will go over part of the section of the dark purple and blend it into the light purple paint.
There is also a technique called dry brushing that can add a lot of character to your wood carvings.
With dry brushing you:
- Dip the brush into the paint.
- Blot the brush on a paper towel until it is dry.
- Apply where desired.
How much detail should you add when painting a wood carving?
A good carving can become a great carving if you paint it right. You can create more interest in your wood carving by adding:
- Polka dots or other geometric designs (simple or intricate).
- Flowers, hearts, or other endearing details.
- Symbols or emojis.
- Plaid and other clothing designs.
- Little scenes.
- Anything you want! Let your imagination run wild.
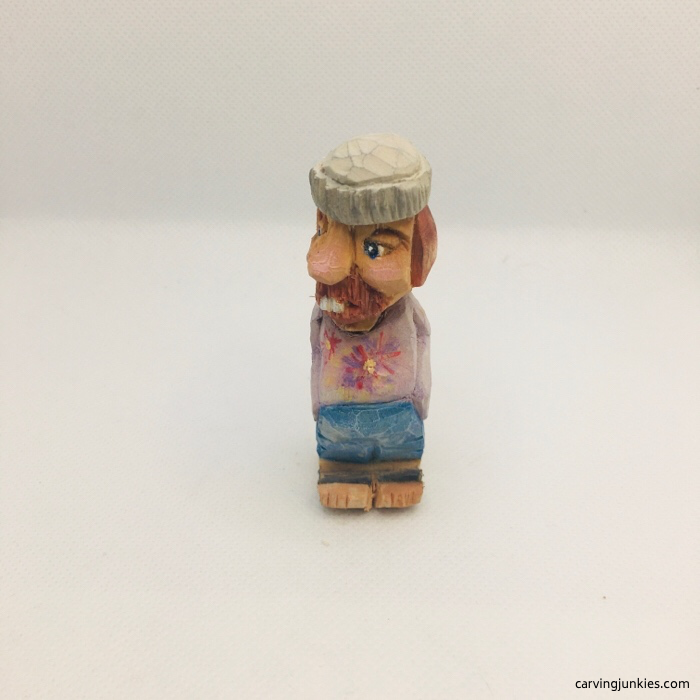 Adding painted details creates interest
What paint is good for flesh tones?
You could probably write a whole book on achieving flesh tones! We're still on a mission to find the ideal flesh tone.
We do like to use a wash of burnt Sienna as a base coat on the face (1 drop of paint and 25 drops of water).
We might add another coat to get the look we desire and add a little watered down pink or red in areas we want to be appear more rosy (such as the nose and cheeks).
How can you add tiny details when painting a wood carving?
Toothpicks and paper clips are great for painting little details or getting paint into small nooks and crannies.
If we are doing a pattern (like the plaid on the caricature below that we carved from Harley Refsal's book), we sometimes use a fine-lined magic marker.
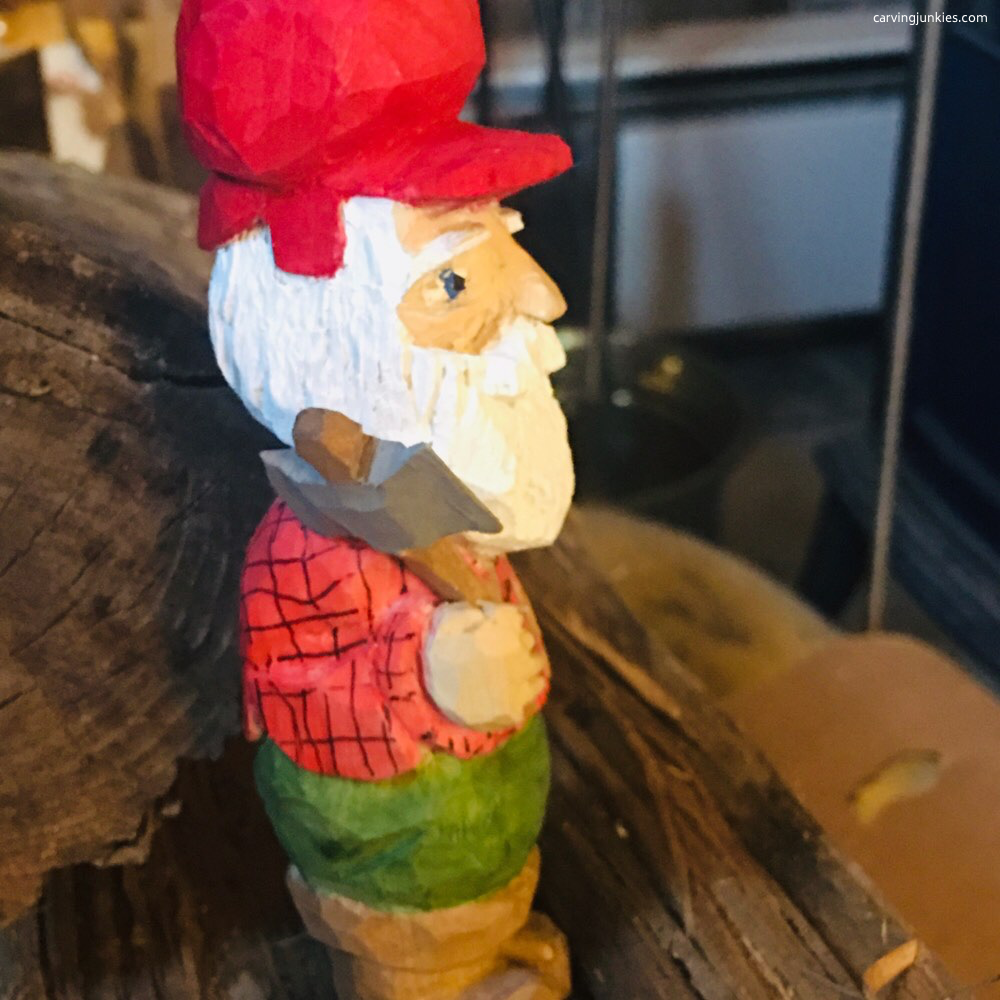 A thin magic marker is good for some details
How can you elevate your skills in painting a wood carving?
- Always ask yourself "What can I add with paint that will make my carving even more nuanced?
- Look at the work of other carvers to see what works and what you like (Instagram and Pinterest are great places for inspiration).
- Consider buying a few good books that provide great instructions for painting.
Should you antique after painting your wood carving?
Antiquing is a process that will soften bright paint colors. Whatever medium you use, it will flow into the recessed nooks and crannies of your carving. Most of the medium will be removed when you wipe the carving down.
Note: You have to be careful with some antiquing mediums (like gel stains). You may need to ensure that your carving has been sealed with several coats of polyurethane spray before you add the stain. Otherwise your carving will be too dark. You may want to experiment on scrap wood first.
We stumbled upon a natural way to create an antiquing effect when we painted the shirt on the caricature below. We used 100% white for the shirt and didn't like how it looked. So we took a small square piece of ScotchBrite and rubbed the white shirt. Then we rubbed the same square on the shoes and belt. It created a nice crackle effect that instantly aged the piece.
We are still experimenting with antiquing and plan to add a page about it in the future. If you sign up for our newsletter (Covered in Chips), you will know when new pages are added.
 Antique effect without using any medium
Summary of painting a wood carving
- Painting is a process that requires a little patience.
- Experiment with different methods when painting a wood carving.
- Add painted details to make your wood carvings more interesting.
- Check out wood carving forums to learn what other carvers like to use.
- Take what you like and develop your own style of painting a wood carving.
Get 50 Wood Carving & Painting Tips when you join our FREE Covered in Chips club.
Share this page
carvingjunkies.com never sells your personal information.
This site uses cookies for its operation and to enhance your experience. As an Amazon Associate and Focuser Carving affiliate we earn from qualifying purchases.
Home | About Us | Privacy Policy | Terms of Use | Contact | Sitemap
