- Home
- Easy wood carving ideas
- Ice cream cone wood carving
Irresistible ice cream cone wood carving
Carve yourself a delicious dessert!
LEVEL: EASY
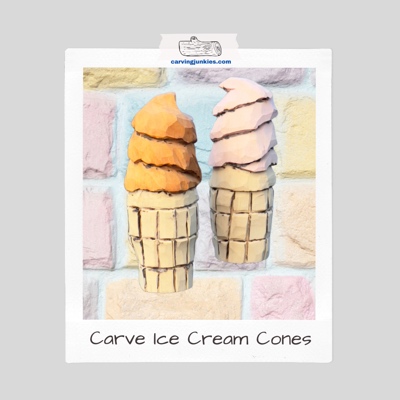
Are you ready to create a scrumptious ice cream cone wood carving? Make a stunning wood carving that looks good enough to eat, using just a knife and a wood block. This is a fun and easy project that can be a one-off, or lined up on a shelf to create an ice cream menagerie.
The swirls of the ice cream, and the perforations of the wafter cone, are fun details that are easy and meditative to carve.
Let's get started on this indulgent sweet!
Supplies need for your ice cream cone wood carving
- A block of wood that is 1 x 1 x 3 inches (2.5 x 2.5 x 7.6 cm) will give you a cute and delectable ice cream cone. You can also very easily scale up to a larger sized wood block, if you want a larger cone. Feel free to use other types of wood, but know that basswood holds details well and is easy to work with.
- Grab a good and sharp carving knife (I also note areas where you could use a V-tool). If you are looking for solid knives, check out the carving knives listed on the bottom of this page.
- Keep a pencil or pen on hand to sketch your guidelines. I use magic marker so you can see the lines better. I also like it because it doesn't smudge like pencils can. Simply carve off the marks!
- Protect your hands with a carving glove. Are you a lap carver? Definitely cover your lap with something hard (a piece of wood or cutting board will do) to protect the blood arteries in your legs. Slips happen once in a while to even the most experienced wood carvers.
- Painting is easy for this one (just think about your favorite ice cream flavors) and I've included a painting guide at the end. I prefer flat brushes but any paint brush will do.
- I used a wood burning pen (optional) to accentuate the carved lines.
Quick tutorial overview
Watch this short video to see the key steps to make your ice cream cone wood carving. It's super easy.
Start your ice cream cone wood carving
Draw a guideline around the middle of your wood block (photo 1), which separates the top of the wafer cone from the bottom of the ice cream. Mark the bottom of the wood block (photo 2), which is the wood you will remove to create the cylinder-shaped wafer cone.
Separate the middle guideline using stop cuts, removing wood from underneath (photo 3). You could also use a V-tool here. Tip: Start in each corner and work your way toward the middle.
Round and shape the bottom half of the wood block (photo 4) to create the wafer cone. The wafer cone should progressively be narrower toward the bottom (see photos 11-14 for reference).
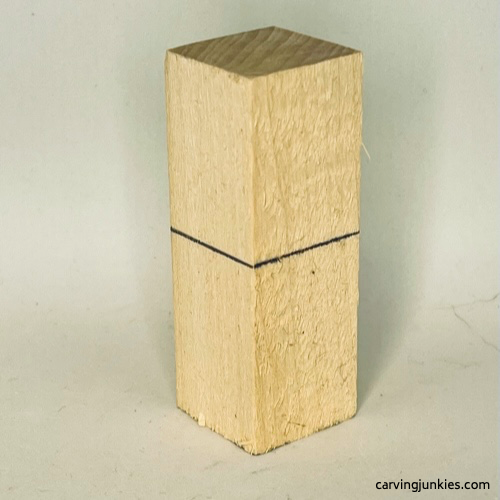 1. Guideline is drawn
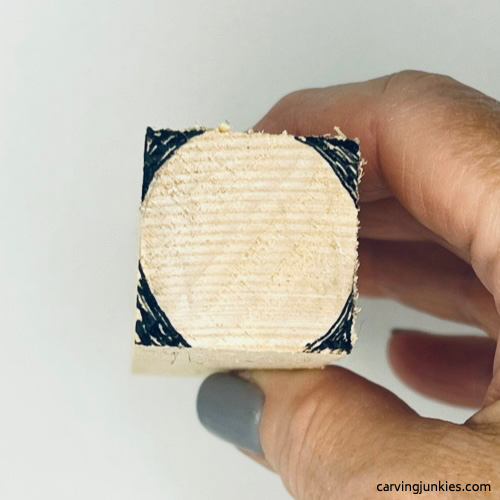 2. Wood is marked for removal
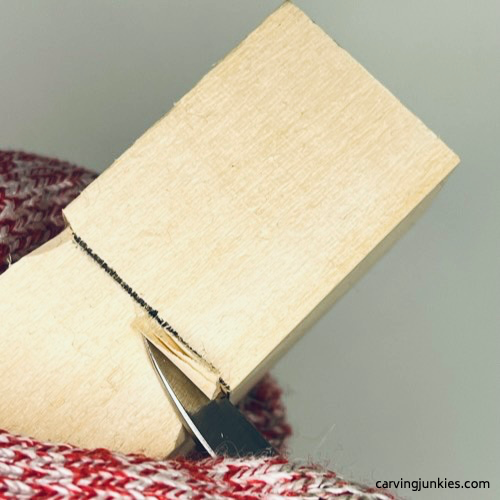 3. Separating top of wafer cone
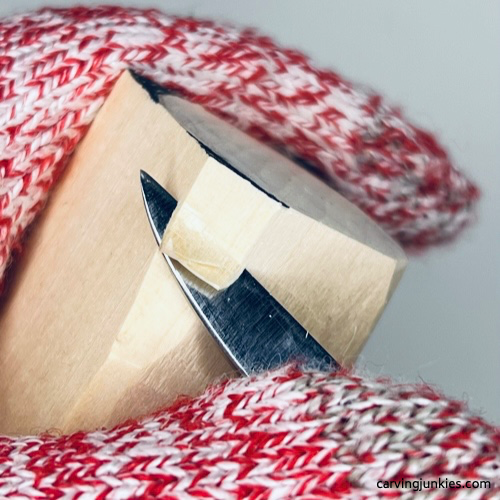 4. Rounding the wafer cone
Shape the top of of your ice cream wood carving
Start to shape the top of the ice cream cone, making it slant from the top down (photo 5).
Turn the piece so you are looking down at the highest point of the slanted top (photo 6) and use a V-cut to remove wood and create a notch under the top (visible in photo 7). Once the notch is started, you can make a scooping cut to curl the wood (see photo 15 for reference). Tip: Turn your wrist as you carve.
Sketch another guideline all around about 1/4 inch (0.6 cm) up from the where you used stop cuts to separate the middle (photo 7).
Also, sketch the square sections for the wafer cone (photo 7). Mine are about 1/4 inch (0.6 cm) wide and 1/2 inch (1.3 cm) tall. Tip: Try to get your wafer cone shape close to photos 11-14 before you start sketching. I had to narrow mine later and redraw some squares.
Sketch the ice cream swirl all around (photo 7). Tip: Start from the top, and turn your piece as you sketch, to create one guideline that evenly extends around the entire ice cream section.
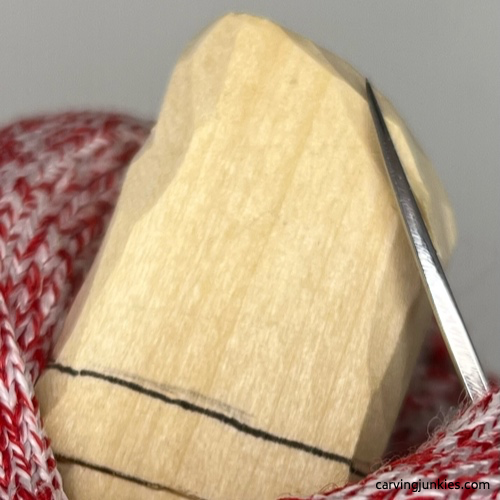 5. Shaping top of cone
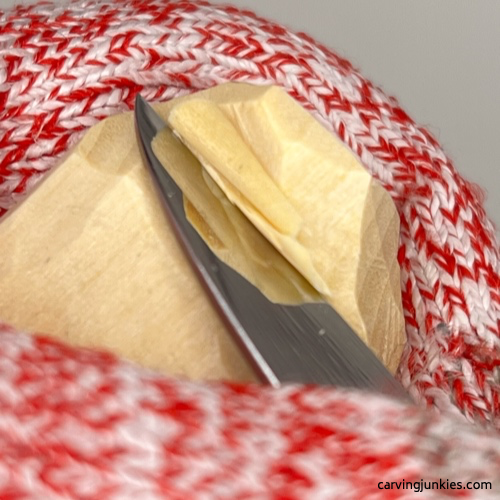 6. Removing more wood
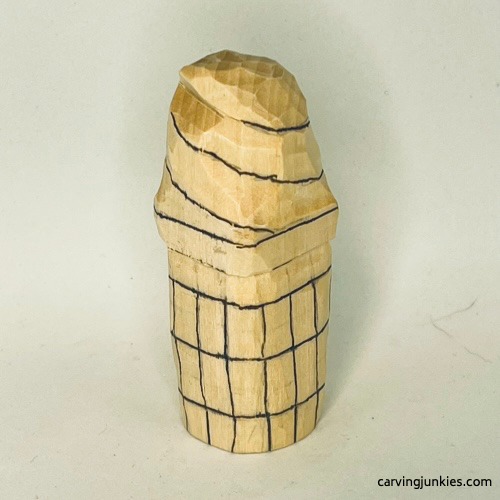 7. More guidelines are drawn
Carve the details on your ice cream cone wood carving
Carve the swirl all around the top of the ice cream cone (photo 8). You can use stop cuts, removing wood from underneath. Or, you could use narrow V-cuts. Tip: Turn and check the carving frequently to maintain symmetry. When you get to the bottom of this section, remove/shape the wood to make it less boxy (see photos 11-14 for reference).
Now, carve the squares on the wafer cone. Separate the horizontal guidelines first (photo 9). Then carve the vertical guidelines section by section. You can use a stop cut, or a very narrow V-cut.
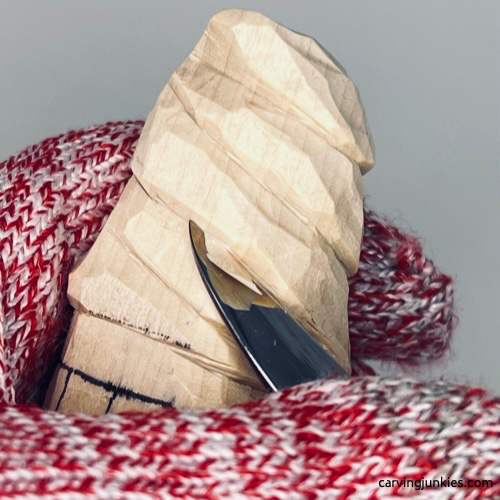 8. Separating ice cream swirl
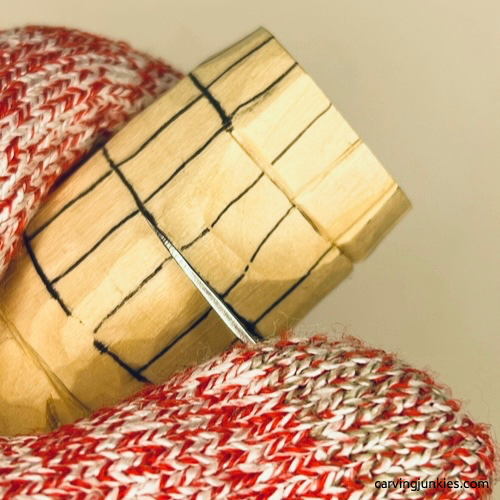 9. Separating wafer cone squares
Finish your ice cream cone wood carving
Clean up all of your wood carving cuts. Use a woodburning pen (optional) to accent your cuts (photo 10).
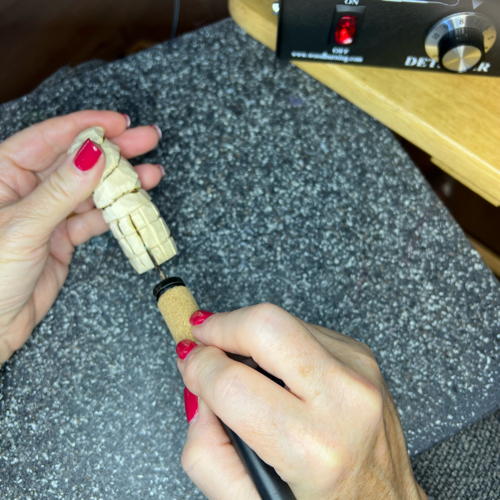 10. Wood burning details
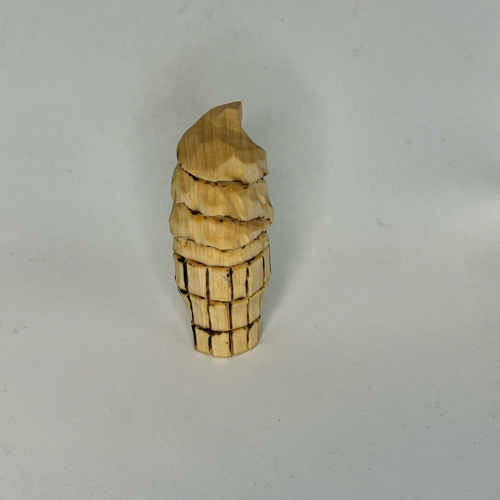 11. Front view of ice cream cone
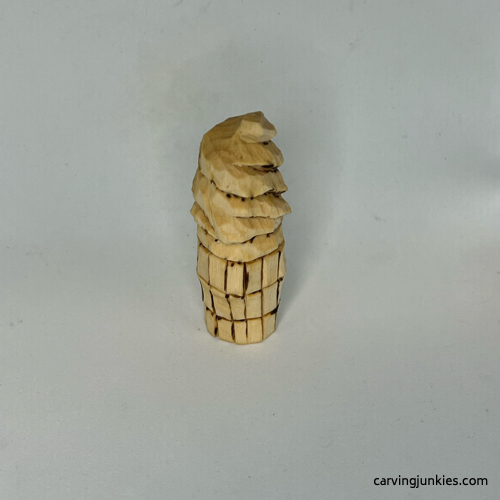 12. Right view of ice cream cone
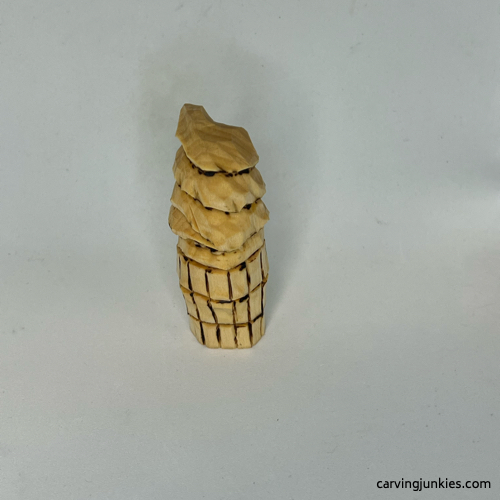 13. Left view of ice cream cone
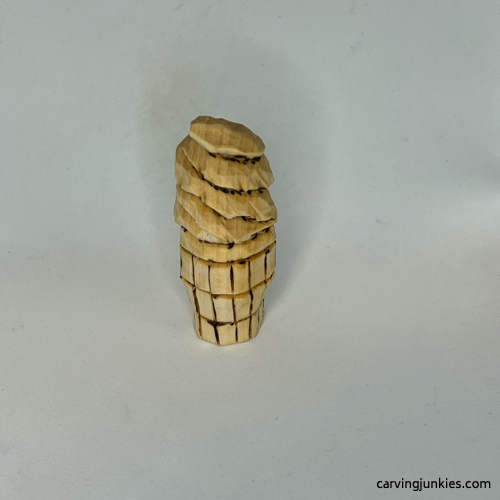 14. Back view of ice cream cone
Time to paint your ice cream cone wood carving
If you are new to painting a wood carving, read this article. If you want your carving to look similar, here are the acrylic paints that were used:
- Chocolate ice cream topping: Americana milk chocolate wash.
- Wafer cone: Create a wash with 1 drop of Americana milk chocolate and 3 drops of Deco Art buttermilk paint.
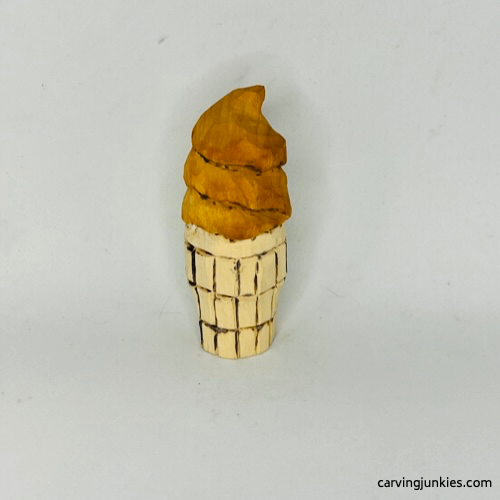 15. Front of painted ice cream cone
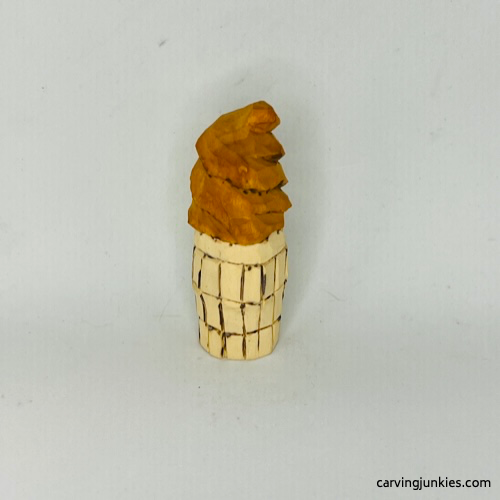 16. Right view of painted ice cream cone
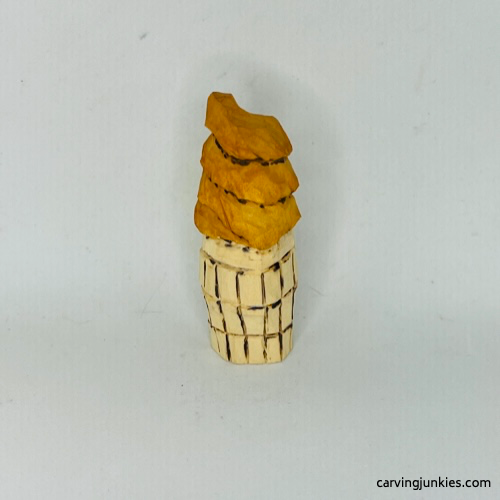 17. Left view of painted ice cream cone
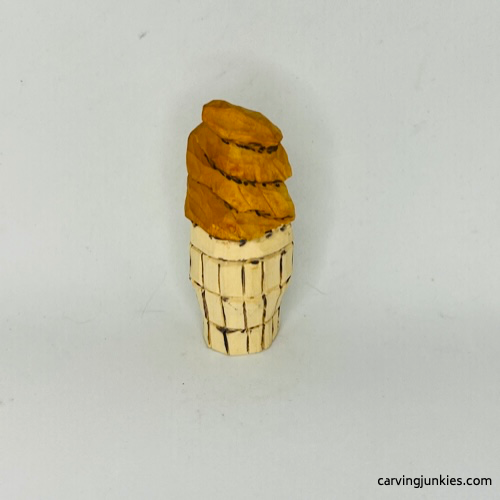 18. Back of painted ice cream cone
Free ice cream wood carving pattern
If you prefer to your carve ice cream cones with a pattern, photocopy this to size to fit your wood block.
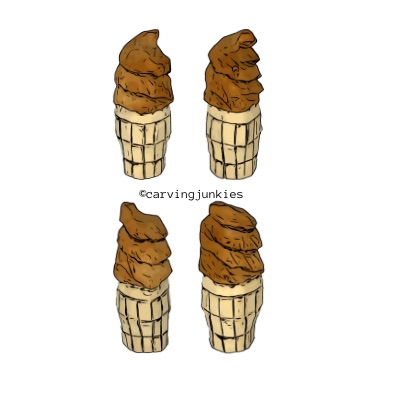
Summary of ice cream cone wood carving pattern
- This ice cream cone wood carving is fun, fast, and easy to carve.
- Adding accents with a wood burning pen is optional, but really makes the details pop.
- Carve ice cream cones in different colors to create your own ice cream store!
- Pastel colors would be adorable in a baby's room.
Get 50 Wood Carving & Painting Tips
FREE when you join our free Covered in Chips Club
Your information is 100% private and is never shared. Unsubscribe anytime. See our Privacy Policy .
Share page on:
Home | Privacy Policy | Terms of Use | Contact | Sitemap
