- Home
- Carving wood animals
- Fox wood carving
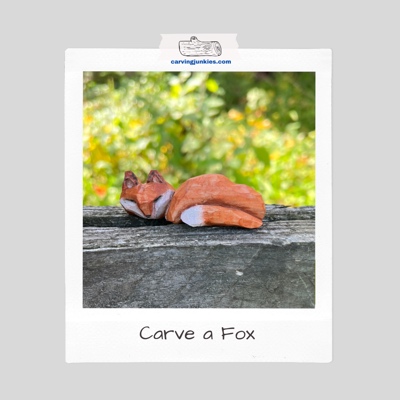
Friendly fox wood carving tutorial
You can quickly whittle a fox that is lying down.
LEVEL: EASY
I’ve been wanting to do a fox wood carving for a while and decided to try a curved sleeping pose. This little guy could easily become a comfort fox (if you used a power sander), but I wanted to see how the angled cuts would look after painting. The facets of the wood really pop (much more than is visible in the photos).
Like many of my little whittles, this one carves up fast. No worries about getting bored with a slow-to-carve pattern. You can whittle this small fox in a day or two at the most. His front paws are curled under him (and not visible), which makes it easy to carve the body proportionately.
What you need to create your fox wood carving
You will need a wood bock that is 1 x 1 x 3 inches (2.5 cm x 2.5 cm x 7.6 cm). Keep a pencil handy to sketch the fox (and an eraser to fix any mistakes).
You can easily carve this fox with just one knife. I like using a straight-edged knife with a nearly 2-inch (5 cm) blade for smaller blocks.
Always use a good carving glove for safety (you can extend the life of your glove by wrapping the fingers and palm area with vet tape). If you plan to carve on your lap, please also protect your legs with a hard surface.
As always, a painting guide is provided at the end of the tutorial. Or, you can simply use a little boiled linseed oil to accentuate the grain (visible in photos 18-21).
Fox wood carving tutorial at-a-glance
Take a minute to watch this short video to see an overview of the key steps to make your fox wood carving.
Prepare your fox wood carving
Sketch the front of the fox freehand or by tracing the pattern at the end of this page (photocopy to size to fit your block).
Color in the sections of the wood that you will remove with your knife (photo 1).
Tip: Don’t stress about getting the shape exactly right. You will be able to finesse your fox as you carve.
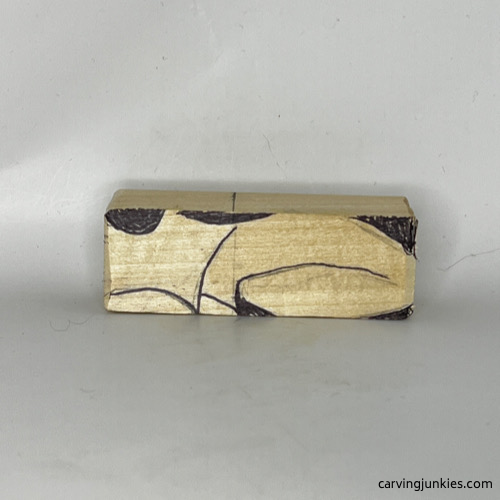 1. Wood is marked for removal
Start your wood fox carving
Round the backside of one corner of your wood fox carving by slicing off the wood that you marked (photo 2). Then, remove the same amount of wood on the opposite side.
Carve the end grain off the wood block (photo 3) on both sides. This will be the hardest wood to remove.
Start to shape the back curve on the fox (photo 4). You will refine it later. You can use a push or pull cut here.
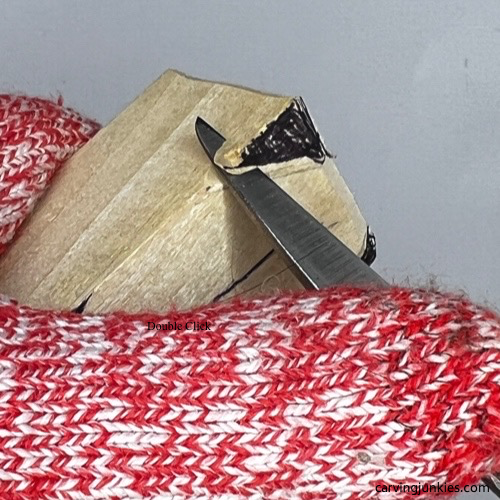 2. Rounding the back of the fox wood carving
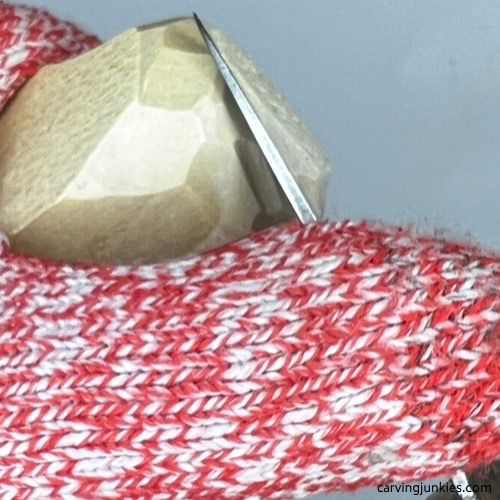 3. Carving off the end grain
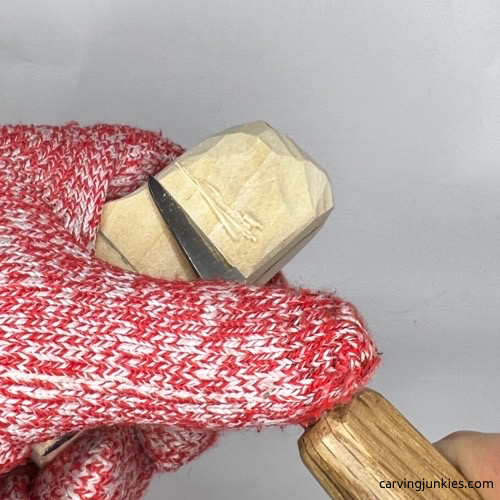 4. Shaping the curve on the back of the fox wood carving
Start the head of your fox wood carving
Shave off the wood you marked for removal to start to shape the head of your fox wood carving (photo 5). Tip: Cut from one side to the middle. Then, cut from the other side to the middle. This will help you avoid carving against the grain and splintering the wood. Note: You will use the side of the block to your advantage to create the shape of the left ear.
Repeat this process (cutting in from each side toward the middle) to remove wood between the ears of your fox wood carving (photo 6). You will narrow the ears further later.
Once you have the desired shape on the front, repeat on the top of the back side (photo 7). When you are done, the top of your fox wood carving should look like photo 8.
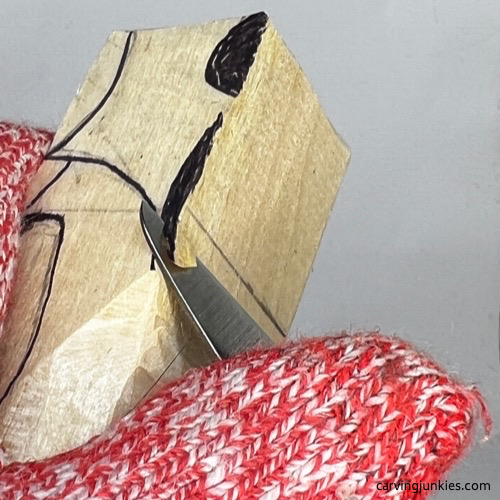 5. Starting to shape the head of the fox wood carving
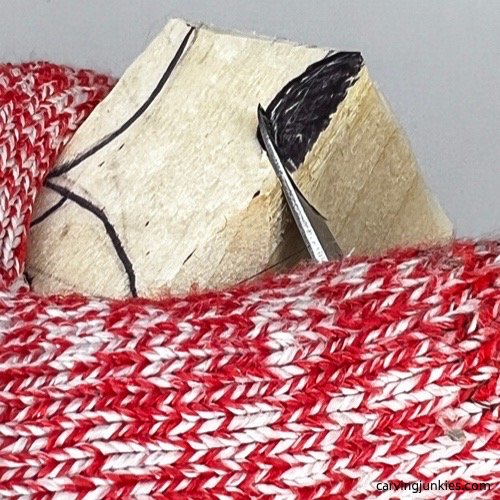 6. Removing wood between the ears of the fox wood carving
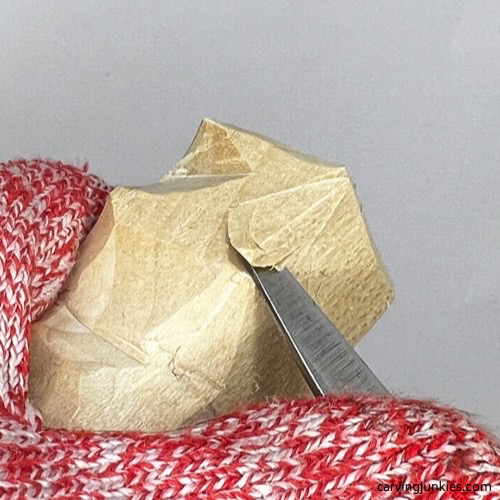 7. Shaping the back side of the ears
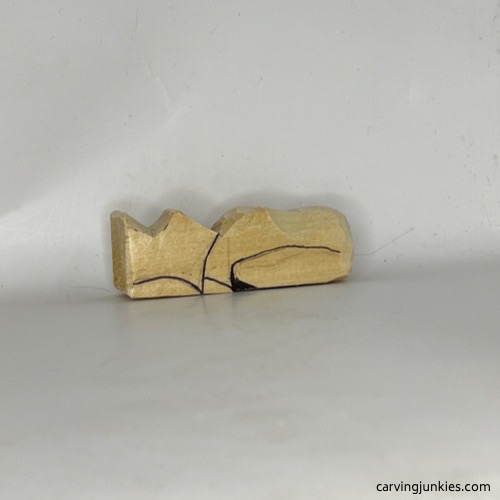 8. Progress of the fox wood carving
Narrow the head of your fox wood carving
Continue to shape the back of the fox wood carving (photo 9). Then, narrow the head on the front and back (photo 10) by shaving off wood. Tip: You can remove wood in thin layers here to avoid carving too much wood off. Check the shape all around for symmetry as you carve.
Use a stop cut to begin to separate the tail that curves around the front of the fox wood carving (photo 11). You will further refine the shape of the tail later.
After separating the tail, draw more areas of the wood to remove on the face—and the angled cuts that you will make to shape the nose—on your fox wood carving (photo 12).
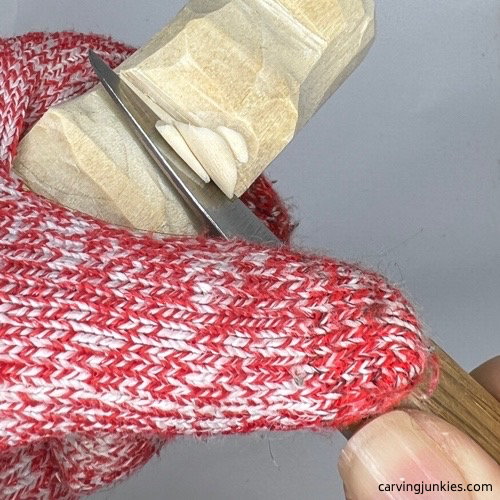 9. Shaping the back of the fox wood carving
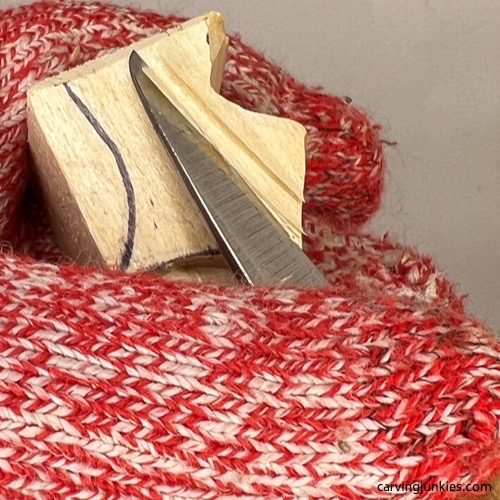 10. Narrowing the head of the fox wood carving
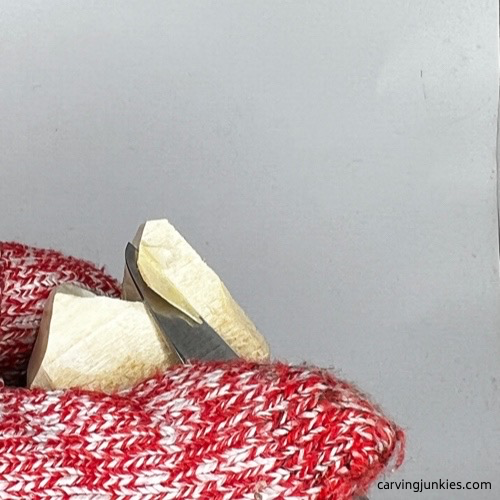 11. Starting the care the tail of the fox wood carving
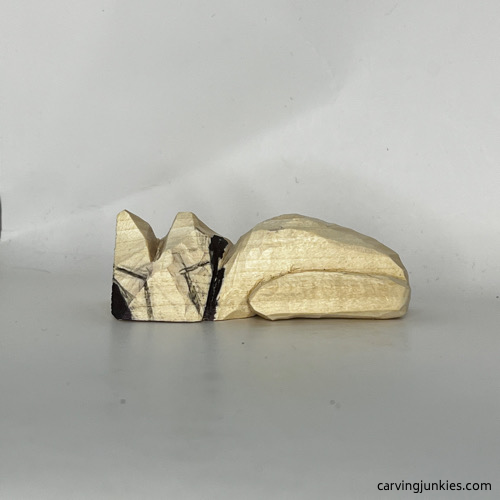 12. Areas to remove are drawn
Carve the nose on your fox wood carving
Make a pyramid cut on each side of the nose of your fox wood carving (photo 13) to easily remove a large chip of wood. Try to keep your cuts clean and angled. Tip: You may also have to remove some wood along the top of the nose to reduce the thickness.
Use a stop cut to carefully flatten the head so the ears will appear to be set back (photo 14). Tip: Keep the ears thick to avoid breaking them. You may also need to narrow the inside of the ears to create a wider space between them (visible in photo 15). Tip: Make a stop cut on each side (of the inner ear) and carefully slice wood off between your cuts (visible in photo 15). It may take a try (or two) as the space between the ears is narrow.
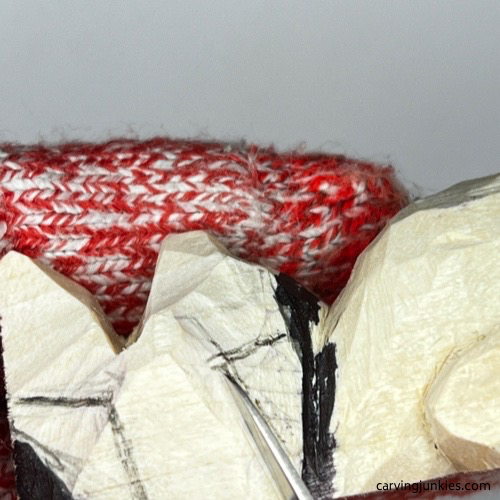 13. Starting the first pyramid cut
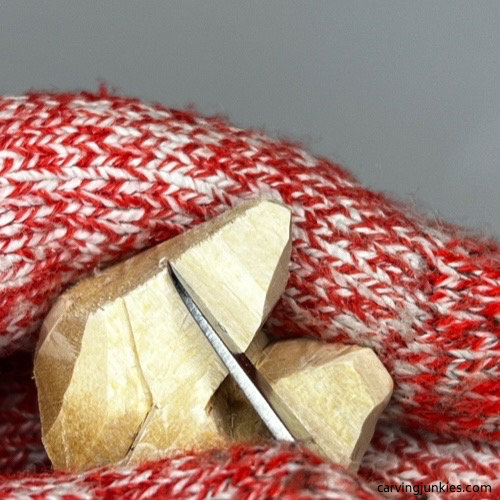 14. Making a stop cut
Refine the ears on your fox wood carving
Mark the wood that you will remove from the middle of the ears (photo 15). Carefully make a small pyramid cut in each ear (photo 16). Tip: Start with a stop cut across the bottom. Take your time here—and do not apply a lot of pressure—to avoid breaking the ears.
Next, taper the back of the tail so it appears to be slightly fuller at the end (photos 17,18).
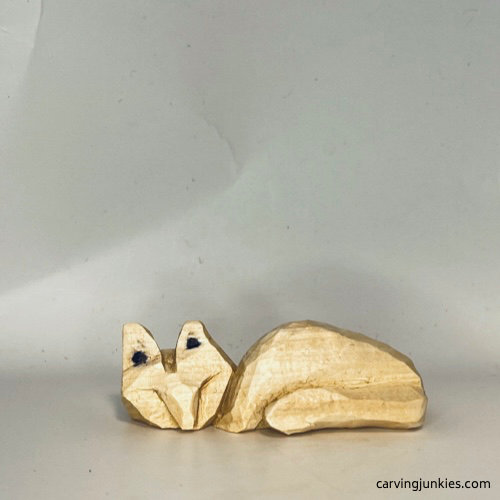
Carefully examine your fox to be sure the ears and the sides of the nose are symmetrical. Also, refine the shape of the body. When you are done, your fox should look similar to photos 18-21.
 15. Mark the ears for wood removal
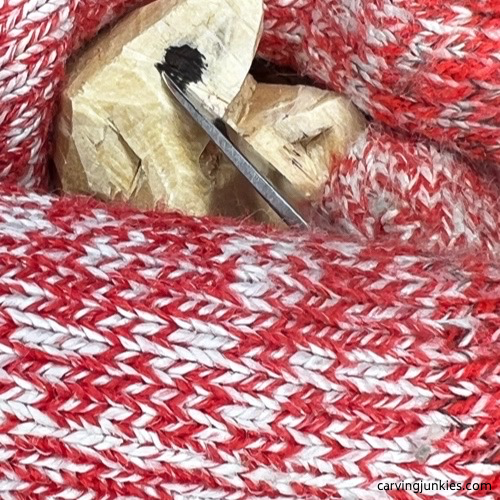 16. Making the second pyramid cut
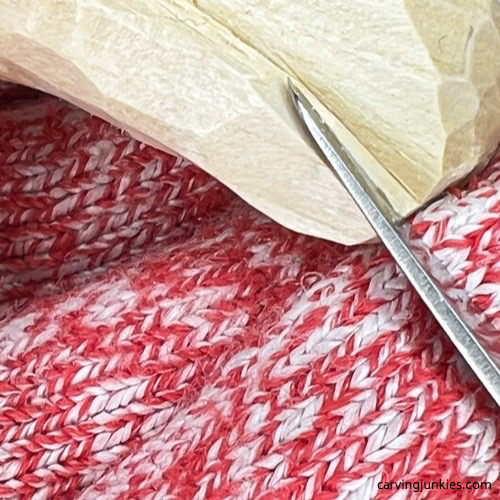 17. Tapering the tail
Clean up cuts on your fox wood carving
Prior to painting, clean up any wood fuzzies. You can also use some sandpaper to smooth any rough areas.
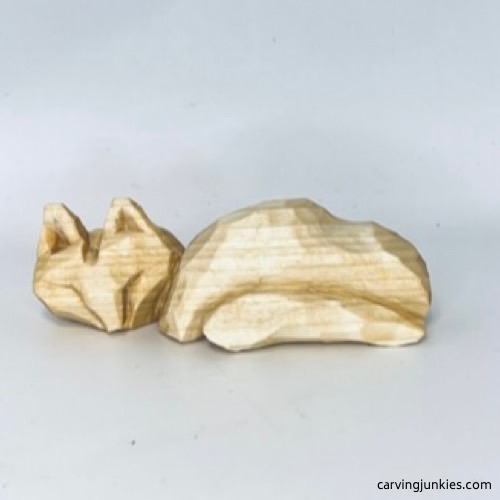 18. Front of unpainted fox wood carving
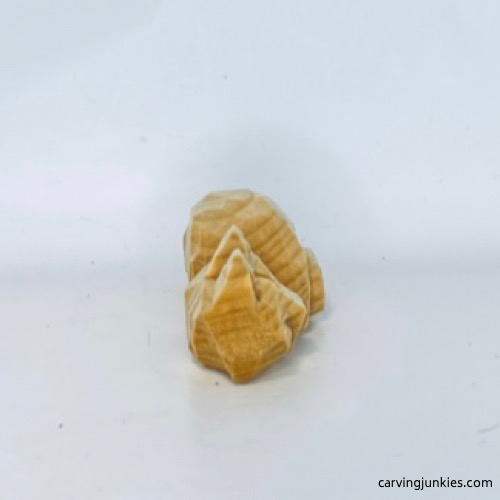 19. Right view of unpainted fox wood carving
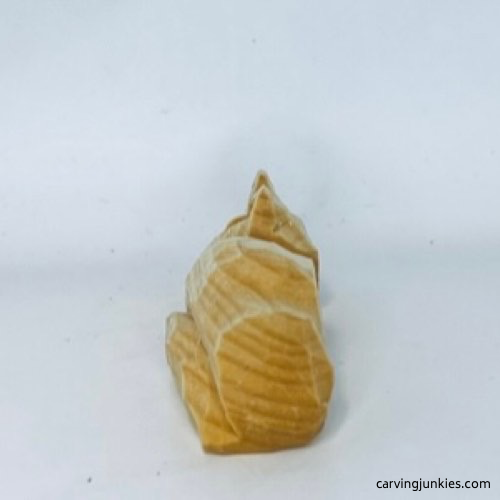 20. Left view of unpainted fox wood carving
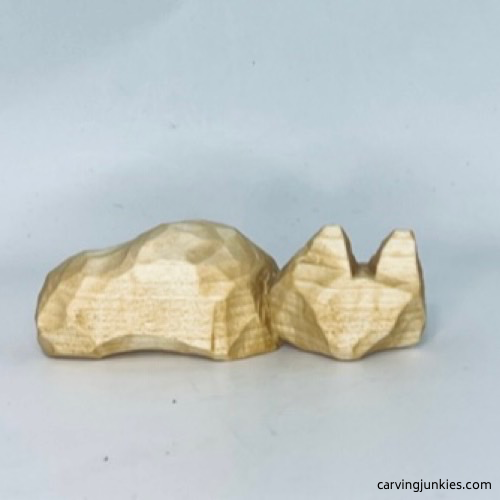 21. Back of unpainted fox wood carving
Finish your fox wood carving
As always, use your acrylic paints of choice. Add drops of water to create a milky wash that will reveal some of the wood. Or you can simply use boiled linseed oil—or a wood stain—if you want a more natural look that accentuates the grain on your fox wood carving.
To get this same look, use these paints:
- Base coat: Academy burnt sienna wash (very diluted).
- Ears, jowls, tail, and neck: Ceramcoat white 100%.
- Body: Ceramcoat tangerine wash.
- Body highlights: Mix Ceramcoat tangerine with Ceramcoat burnt umber and apply with a dry brush.
- Ears: Highlight with black magic marker and scrape off some (to create texture) with an old knife. Dry brush with Ceramcoat tangerine.
- Highlights: Very diluted Ceramcoat black wash to add some shadow around cuts.
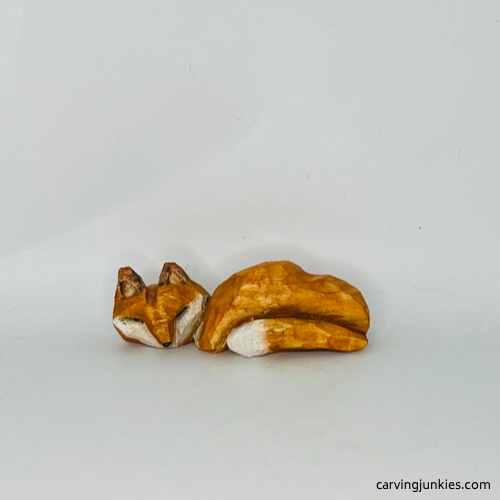 22. Front view of painted fox wood carving
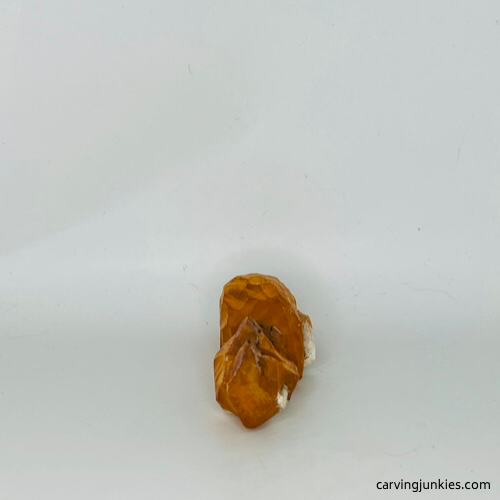 23. Right side of painted fox wood carving
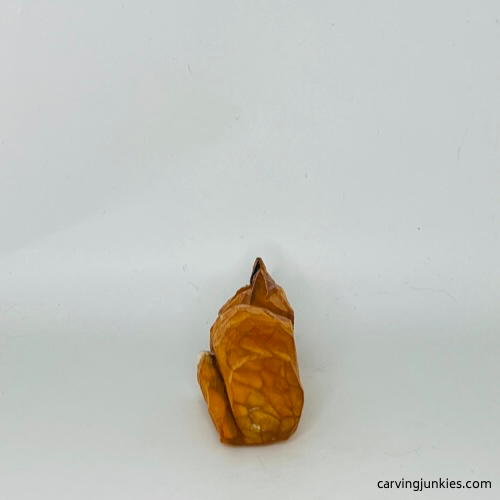 24. Left side of painted fox wood carving
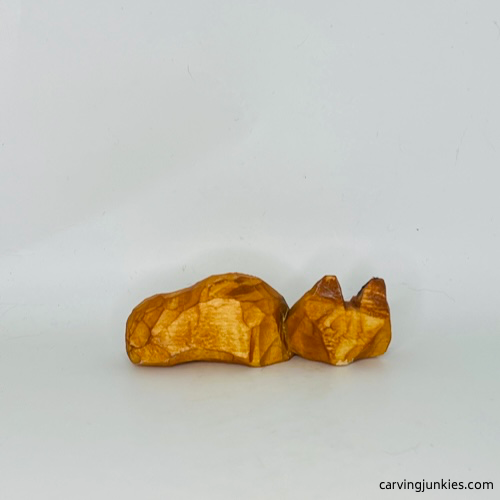 25. Back of painted fox wood carving
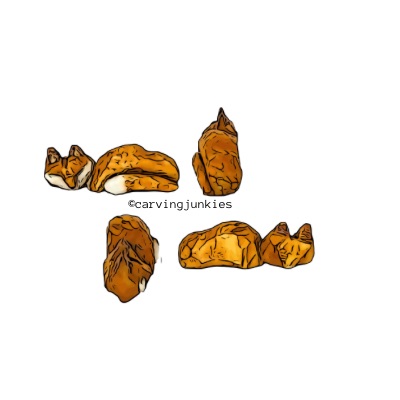
Free fox wood carving pattern
If you prefer to carve your fox with a pattern, photocopy this to size to fit your wood block.
Fox wood carving tutorial summary
- This sleeping fox wood carving is fast and easy to carve.
- Feel free to use a natural finish (like boiled linseed oil) instead of acrylic paints.
- Once you get the hang of this whittle, you will probably want to make these little foxes for everyone!
Get 50 Wood Carving & Painting Tips
FREE when you join our free Covered in Chips Club
Your information is 100% private and is never shared. Unsubscribe anytime. See our Privacy Policy .
Share page on:
Home | Privacy Policy | Terms of Use | Contact | Sitemap
