- Home
- Easy wood carving ideas
- Four-leaf clover wood carving tutorial
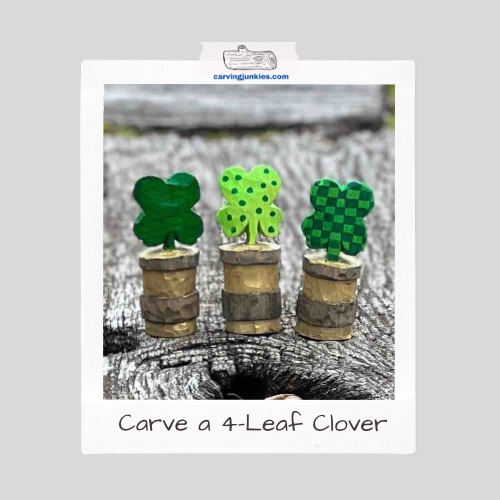
Simple four-leaf clover wood carving tutorial
Make yourself a fun St. Patrick’s Day decoration.
LEVEL: EASY
Welcome to this enchanting four-leaf clover wood carving tutorial, which brings a touch of Irish charm to your St. Patrick’s Day celebration and your home decor.
In just a few easy steps, this easy-to-follow four-leaf clover wood carving tutorial will teach you how to carve a whimsical four-leaf clover standing in a bucket that is adorned with shimmers of gold.
You can very quickly carve multiple little clovers and have fun by varying up the painting and patterns. It is such an easy and festive project.
What you will need for this four-leaf clover wood carving tutorial
- This four-leaf clover wood carving tutorial uses a basswood block that is 1 x 1 x 3 inches (2.5 x 2.5 by 7.6 cm).
- Going larger is super easy. Just increase the dimensions to fit any size wood block.
- A pencil and an eraser will help you with your sketching.
- This four-leaf clover wood carving can be made with one good, sharp knife. I used a roughout knife with a 2-inch (5 cm) blade. Need some great knife suggestions? Click here.
- Please always wear a good carving glove. And protect your thighs with something hard (like a piece of wood) if you are a lap carver. Slips sometimes happen and there are critical arteries in your thighs that you absolutely want to protect.
- A painting guide is provided at the end of this page that includes the acrylic paints I used. Use whatever paint brushes you like.
Four-leaf clover wood carving tutorial at-a-glance
See the key steps before you put knife to wood.
Four-leaf clover wood carving tutorial: Set up
Sketch a guideline all around that is 1.5 inches (3.8 cm) from the top to mark the top of the bucket (photo 1).
Using stop cuts, separate the guideline all around (photo 2). Tip: Start at the corners and work your way in toward the middle.
Remove wood from the front and the back to flatten the surface for your four-leaf clover wood carving (visible in photo 3). Sketch the shape of the clover on the front (photo 3). Tip: Add a vertical guideline down the middle to help maintain symmetry as you are sketching your clover.
Don’t worry if your sketch isn’t 100% perfect. Once you start carving you will be able to easily shape your four-leaf clover.
Use your sketch on the front as a landmark to complete your sketch on the back (photo 4).
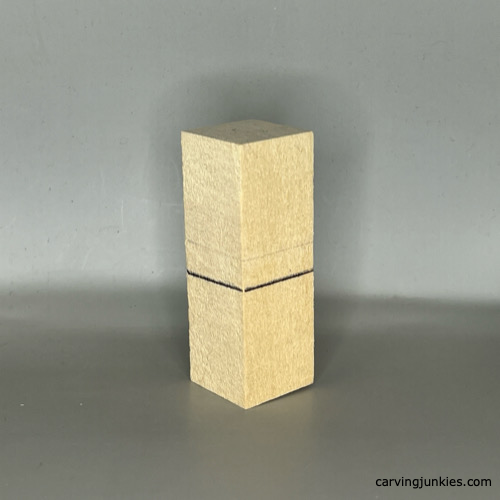 1. Guideline is drawn all around
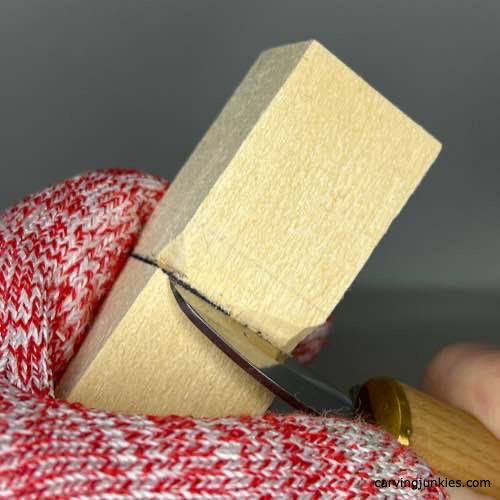 2. Making a stop cut
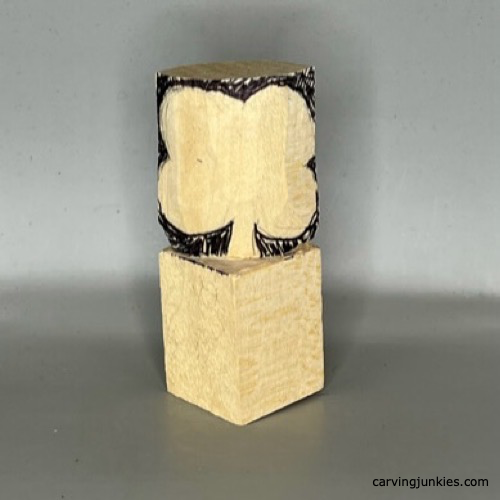 3. Clover is sketched (front)
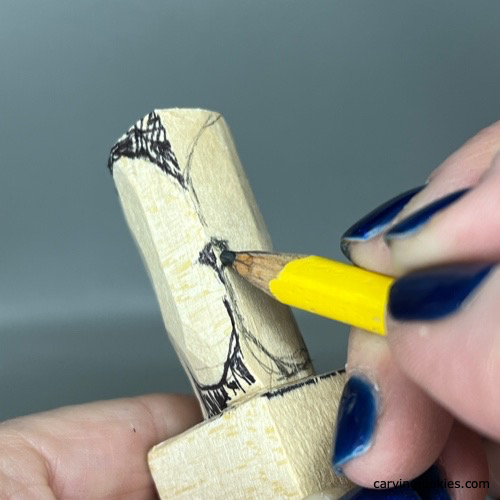 4. Using front landmarks for the back
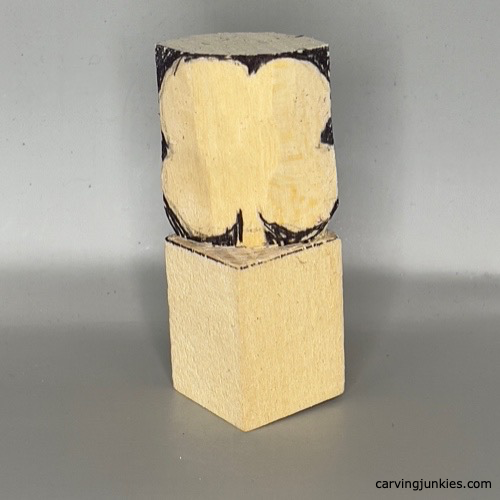 5. Clover on the back
Four-leaf clover wood carving tutorial: Shape
Use V-cuts and shave off marked wood on the top and sides to roughout the shape of the clover (completed in photo 6). Draw a center line across the middle of the top (photo 6).
Use stop cuts, paring cuts, or hold your knife like a pencil to carve the centerline (photo 6). Remove wood from each side to shape the top heart-like leaf (photo 7).
Use a pyramid cut to remove a triangular piece of wood around the stem of the clover (photo 8). This will give you more access with your knife to remove wood from around the stem. Tip: You may have to make more than one pass if your pyramid cuts aren't too deep.
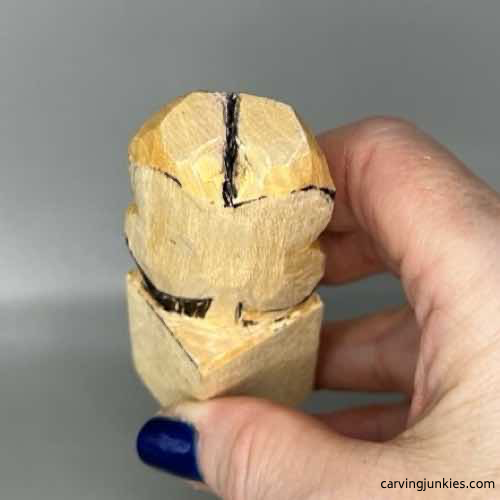 6. Centerline is drawn
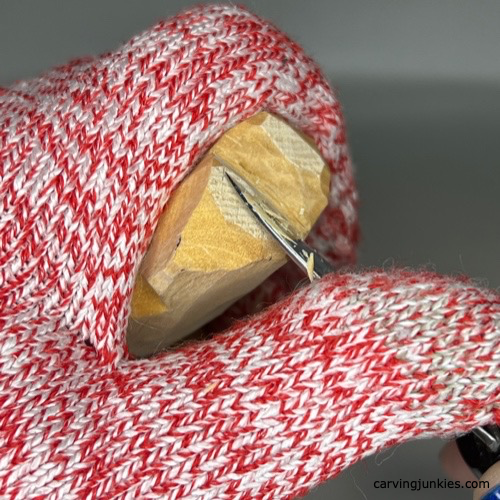 7. Shaping the top leaf
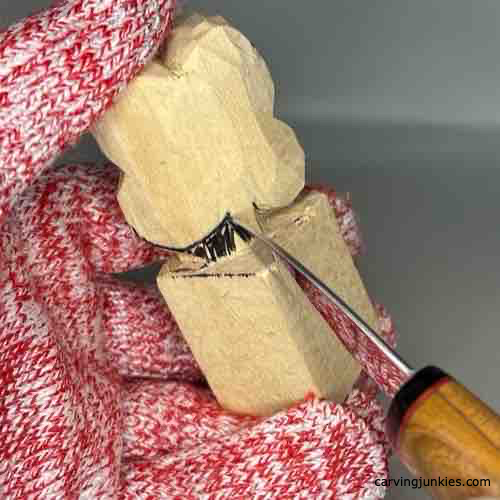 8. Starting pyramid cut
Four-leaf clover wood carving tutorial: Start the bucket
Reduce the thickness of your clover (if needed) on the front and the back by slicing wood off (completed in photo 9). Round the corners of the bucket (photo 9). Continue shaping the bucket until it is round all around (completed in photo 10).
Sketch a guideline all around that is a 1/4 inch (1.3 cm) from the top of the bucket. Sketch another guideline all around that is 1/4 inch (1.3 cm) from the bottom of the bucket. Sketch a third guideline all around that is in the middle of the 2 guidelines you just drew (photo 10).
Use your knife to separate these new guidelines. You can use stop cuts, paring cuts, or hold your knife like a pencil and draw it along the guidelines to make your cuts (photo 11). Tip: You want to remove wood from underneath your first guideline, from above your second guideline, and from below the third guideline. See photo 11 for reference.
Mark the leaves where you will use small V-cuts to achieve heart-like shapes (photo 12), which is completed in photos 13 and 16.
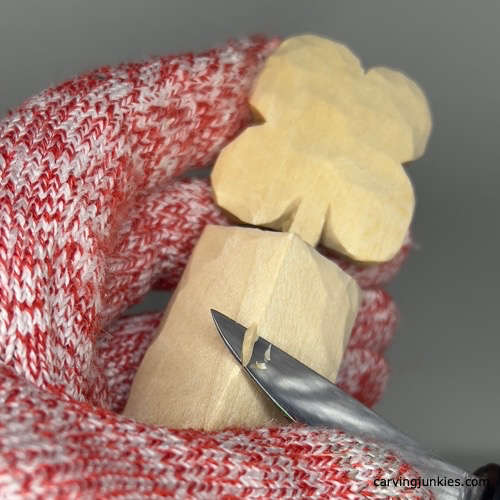 9. Rounding the bucket
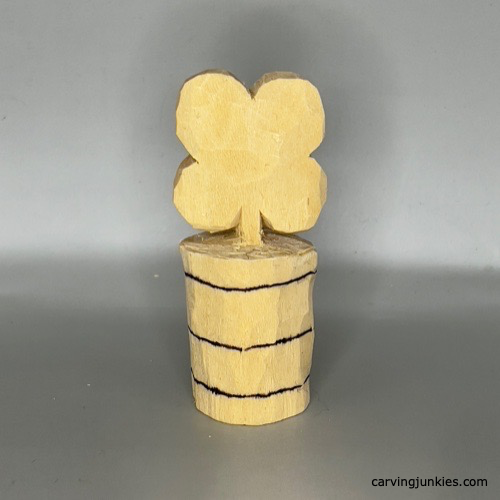 10. Guidelines are sketched
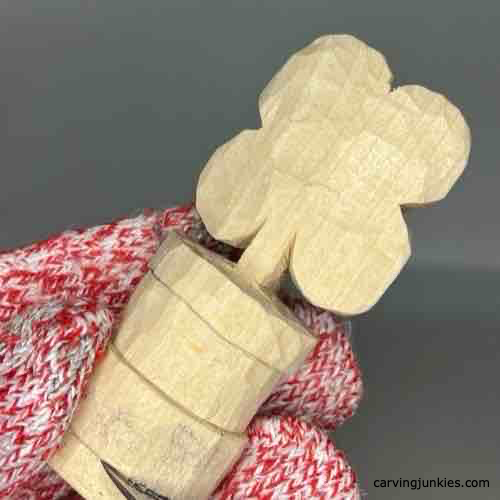 11. Separating the sections
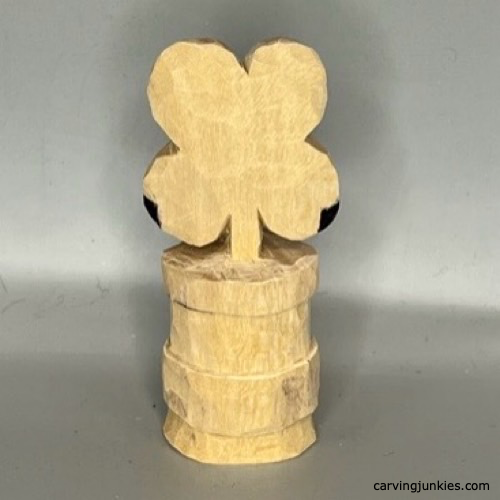 12. Wood to remove is marked
Refine your four-leaf clover wood carving tutorial
Refine the final shape of your four-leaf clover carving. When you are done, your clover should look similar to photos 13 to 16.
Once you are happy with your clover shape you can use a piece of sandpaper to smooth the wood before you start painting. Tip: Do not use your knife on the wood carving after you use sandpaper to protect your knife blade.
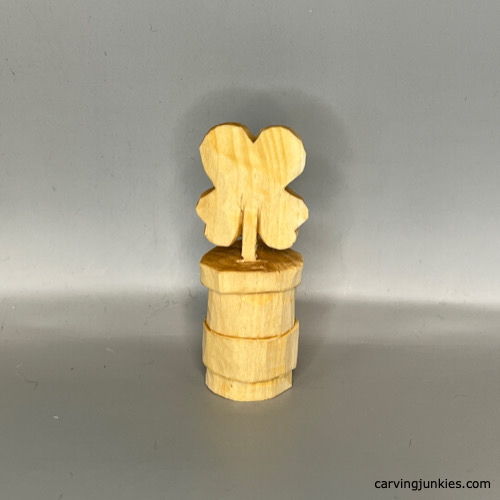 13. Front of unpainted clover
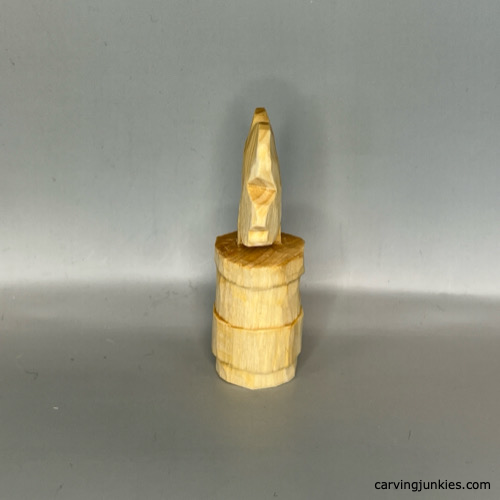 14. Right view of clover
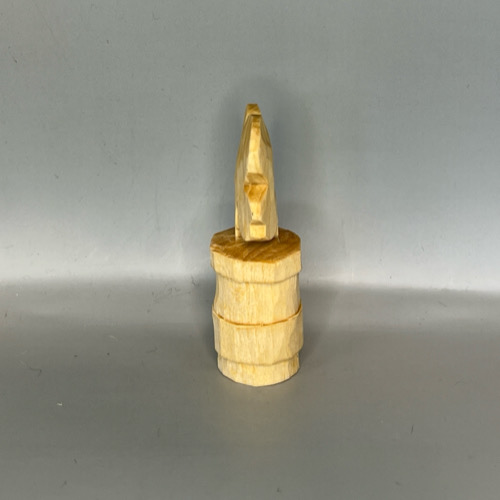 15. Left view of clover
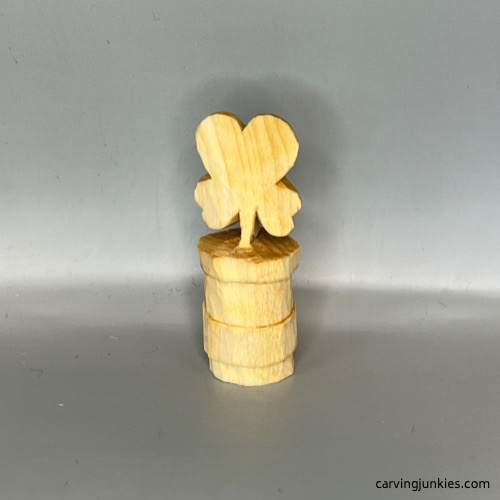 16. Back view of clover
Paint your four-leaf clover
To learn some general tips about painting wood carvings, read this.
Here are the acrylic paints I used if you want your clover to look similar:
- Clover leaf: FolkArt apple orchard wash.
- Polka dots: I used a green magic marker. You can also use dark green paint applied with a toothpick or mandala dot or even the top of a pencil eraser.
- Bucket: DecoArt burnt umber wash and 100% Ceramcoat metallic gold on the top and around.
- Finish: Walnut oil medium.
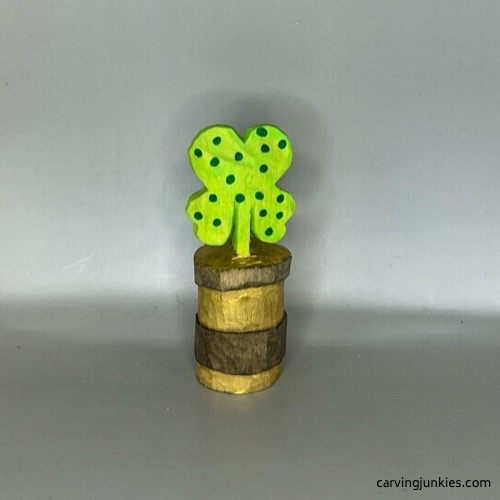 17. Front of painted clover
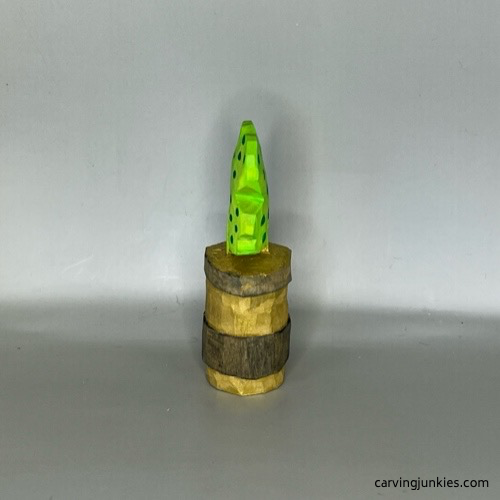 18. Painted clover (right)
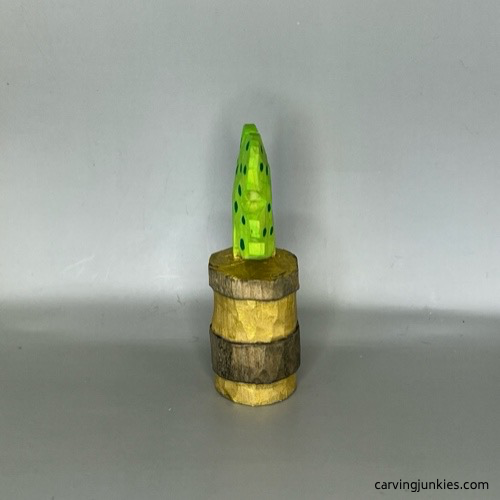 19.Painted clover (left)
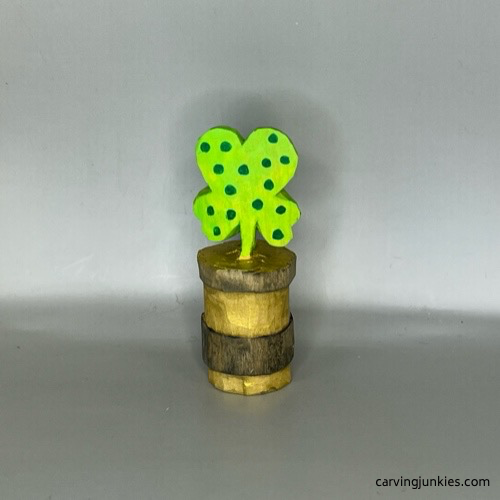 20. Back view of painted clover
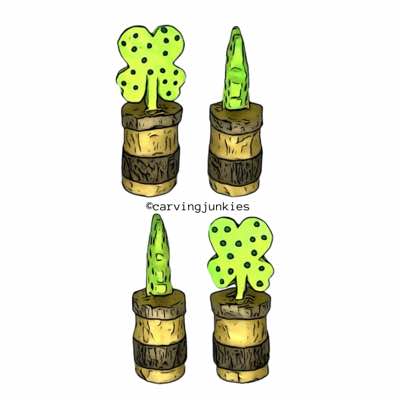
Four-leaf clover wood carving pattern
Photocopy pattern to size to fit your wood block if you prefer using a pattern.
Four-leaf clover wood carving tutorial summary
- This easy tutorial makes it fun to carve and paint a little four-leaf clover wood carving.
- Use different shades of green (and/or designs) if you plan to carve multiple clovers.
- A trio of clovers looks adorable on a windowsill.
- Carve multiple clovers to decorate each dinner plate on your holiday table.
- This tutorial can be easily adapted to make a much larger clover.
Get 50 Wood Carving & Painting Tips
FREE when you join our free Covered in Chips Club
Your information is 100% private and is never shared. Unsubscribe anytime. See our Privacy Policy .
Share page on:
Home | Privacy Policy | Terms of Use | Contact | Sitemap
