- Home
- Wood carving gnomes
- DIY Valentine gnome
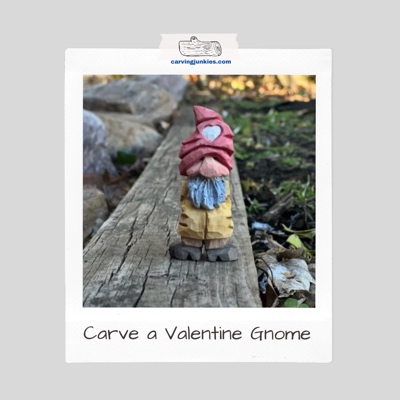
DIY Valentine gnome wood carving tutorial
Makes a wonderful gift for Valentine’s Day.
LEVEL: SOME CHALLENGES
Nothing says “I love you” like a hand carved DIY Valentine gnome that is absolutely adorable. This little whittle pairs nicely inside a jewelry box to accompany a special piece of jewelry.
The only real challenge with this gnome is cleanly carving the little heart on his hat. You can always skip this step and paint the heart instead.
Otherwise, you should be able to carve this little guy in one or two sittings, depending on how fast you carve.
What you need for your DIY Valentine gnome
I used a basswood block that is 1 x 1 x 3 inches (2.5 x 2.5 x 7.6 cm). Feel free to make a much larger DIY Valentine gnome. Just increase all the dimensions to fit your wood block.
Want to get the same look as this gnome? Follow the free painting guide that is provided later.
I primarily carve with just a knife, however, I did use a soft V tool and a micro V-tool to carve the beard and a micro U-gouge that I love for carving nostrils. If you don’t have these tools, don’t stress over it. I’ll tell you what cuts you can use instead. You will also want something to sketch with and a ruler.
Always use a safety glove when you carve and protect the precious arteries in your lap with a piece of wood or a protective cutting board.
DIY Valentine gnome carving tutorial at-a-glance
Before you start carving, take a minute to view this short overview. It will help you understand how the tutorial comes together.
1. Set up your DIY Valentine gnome carving
Draw a guideline that is about 2.5 inches (6.4 cm) from the top all around to mark the top of the legs (photo 1). Make stop cuts to separate the legs from the body, removing wood from underneath (photo 2).
Carve off the corners on the front and back of your wood block (completed on front in photo 3). Also, slightly carve off the corners on the sides.
Now, loosely sketch the shape of the hat and mark wood to remove (photo 3). Make the back of the hat lower than the front (about 1.5 inches [3.8 cm] at the widest point).
Remove wood to carve the hat (photo 4), shaping it as you go. Tip: Use the corner of the wood block to your advantage to create the curved hat point (photos 5,7).
Once you have the desired shape on the right side of the hat, make a wide V-cut on the left side (photo 6) to refine the shape (visible in photo 7).
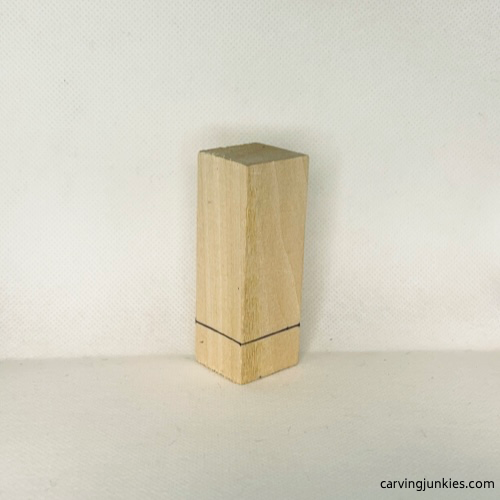 1. Guideline is drawn all around
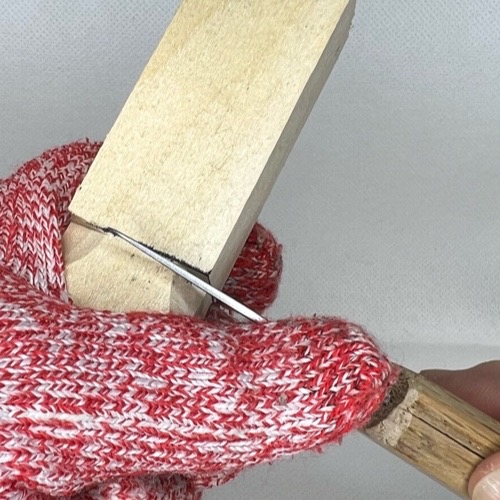 2. Making stop cuts all around
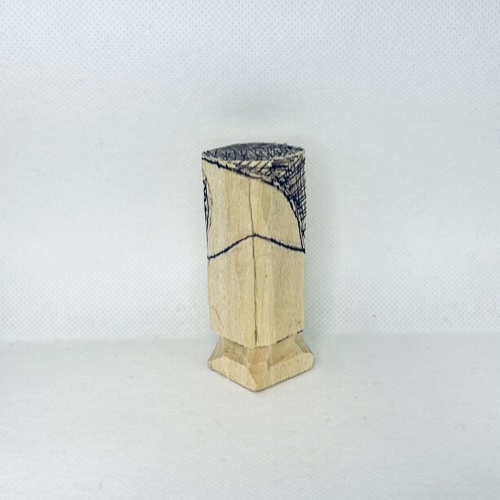 3. Hat is sketched
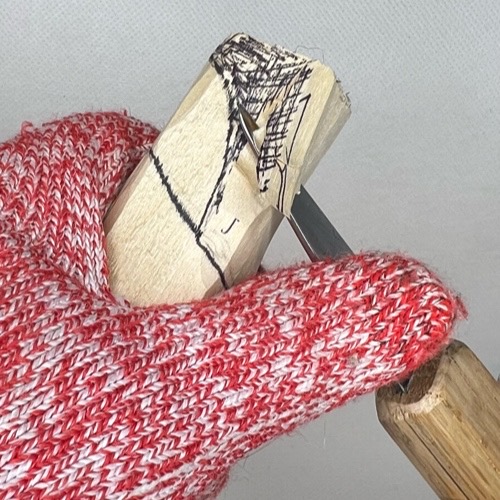 4. Removing wood to shape the hat
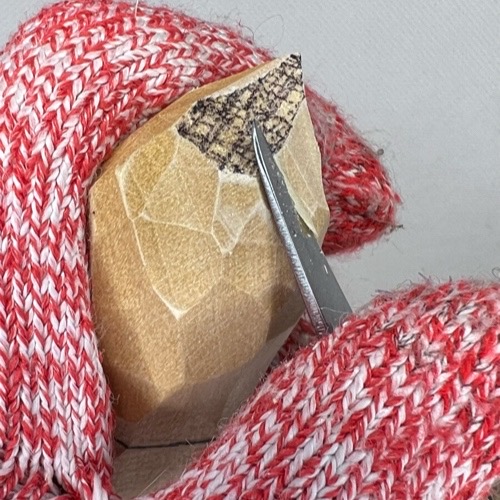 5. Narrowing point of hat
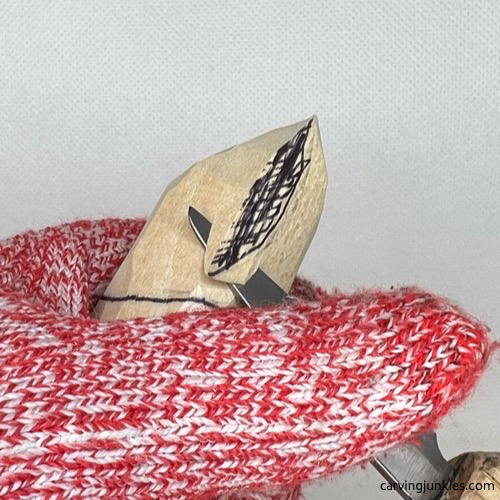 6. Starting a wide V cut
2. Start the nose on your DIY Valentine gnome carving
You’re going to give this gnome a large nose, which adds the “cuteness” factor. Sketch a half moon line about 1/2 inch (0.6 cm) down from the bottom of the hat—at the widest point in the middle (photo 7)— to mark the bottom of the nose. Draw another guideline 1/2 inch (0.6 cm) lower than that to mark the bottom of the beard (photo 14).
Sketch the arms on each side (photos 8,9). Make the arms wider than you need to—about 1/2 an inch (0.6 cm) wide.
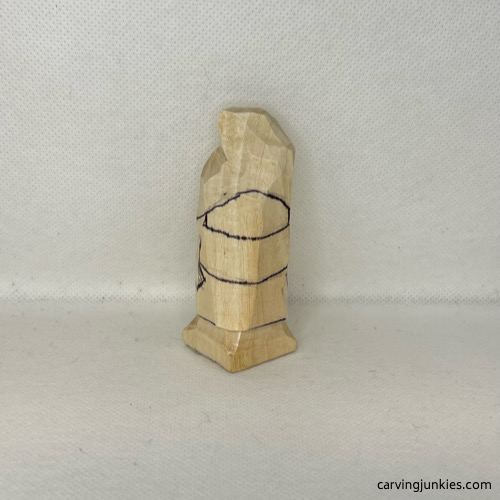 7. Front guidelines are drawn
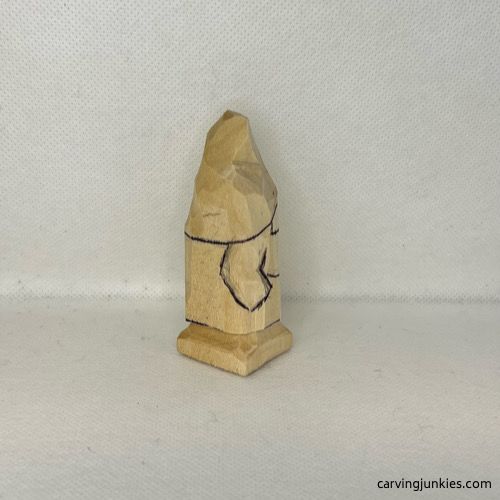 8. Right arm guideline is drawn
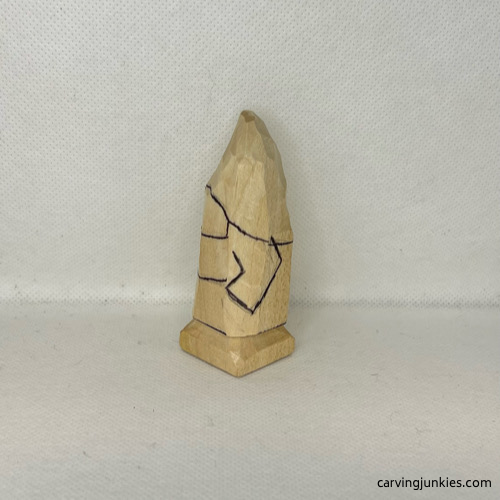 9. Left arm is drawn
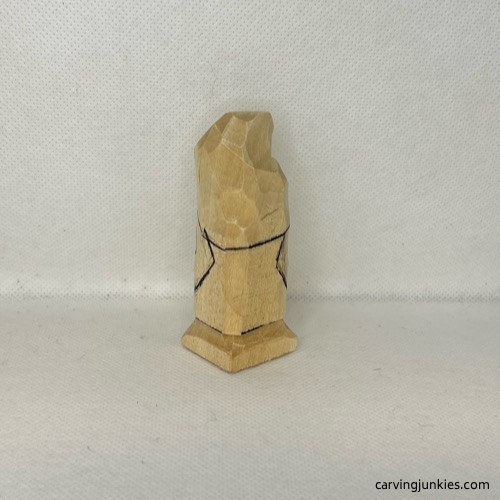 10. Back of arms
3. Separate the arms on your DIY Valentine gnome wood carving
Separate the arms on each side (photo 11). You can use a knife and make stop cuts, or use a V-tool. Just roughout the shape for now. You will refine the arms later.
Use stop cuts (or a V-tool) to separate the hat all around (photo 12), removing wood from underneath. Then, use your knife to separate the bottom of the nose and cheeks (photo 13).
Mark a triangle on each side where you will carve the nostrils (photo 14). Make a small pyramid (chip) cut to carve each nostril (right side is completed in photo 15). I learned this technique from carver Bruce Ankeny and it makes it very easy to carve the nose, cheeks, and eye sockets.
If you struggle with carving noses, check out my triangle-by-triangle nose carving technique.
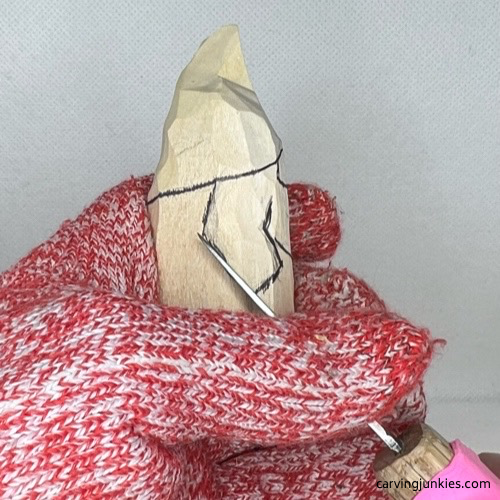 11. Separating the arm
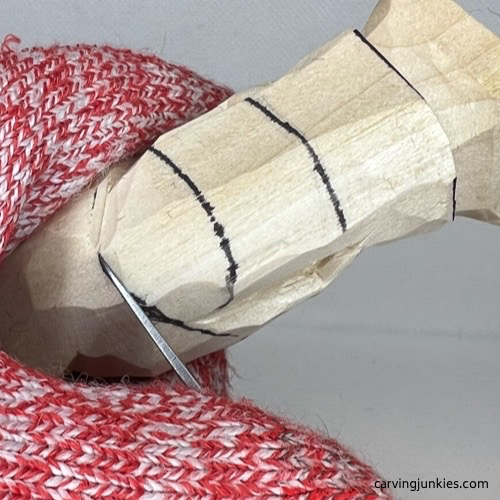 12. Separating the head
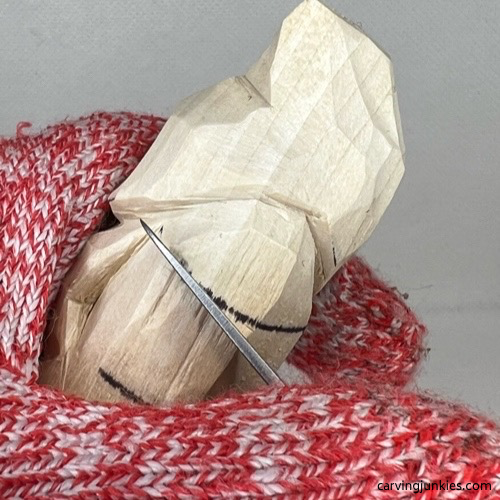 13. Separating bottom of the nose and cheeks
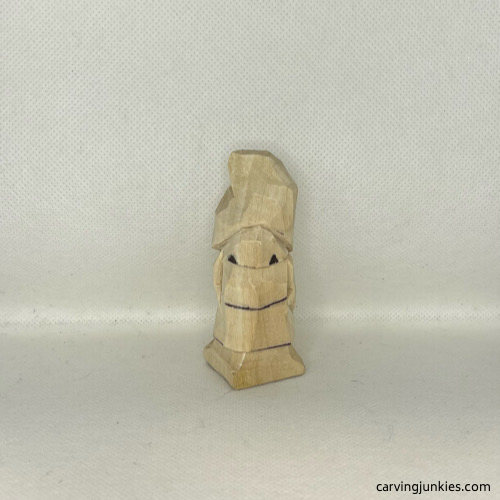 14. Wood is marked for removal
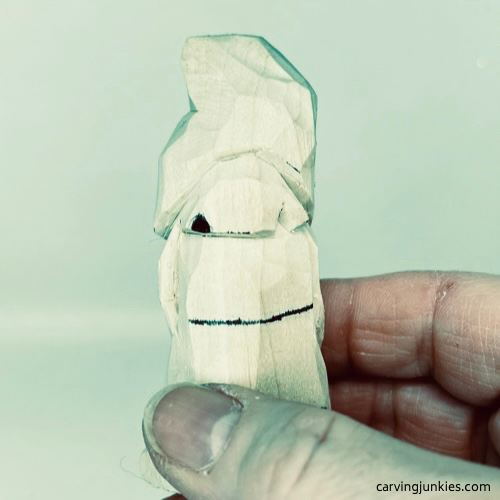 15. Chip cut is made
4. Refine the nose and cheeks of your DIY Valentine gnome wood carving
Sketch the sides of the nose (photo 14) and use your knife to remove wood, carving up toward the eye socket (photo 16). You can use a pencil cut or stop cut—with a second slicing cut—and carve along the guideline.
Sketch the curved nostrils that can be carved with a micro U-gouge. If you do not have this tool, carefully use a sharp knife that has some flex to it. Also, separate the next guideline to define the beard (completed in photo 17). You will carve the individual beard sections later.
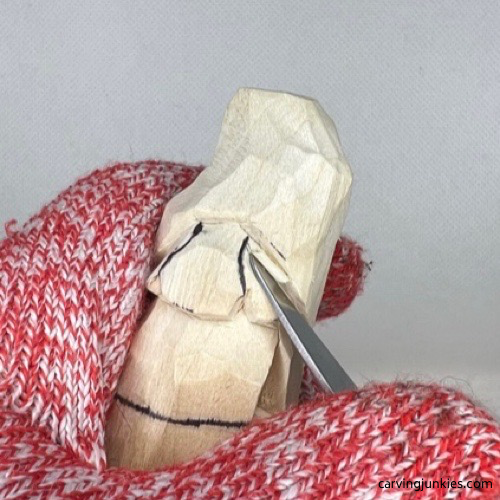 16. Shaping the nose
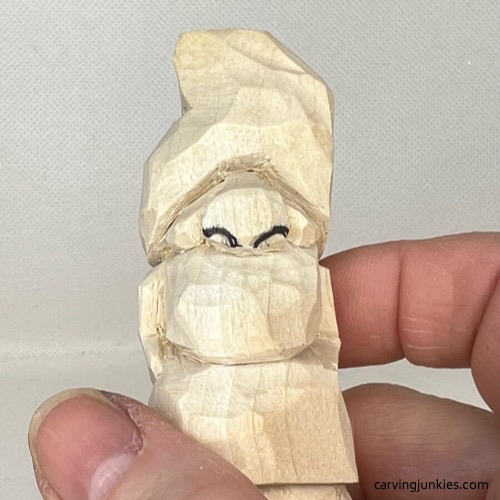 17. Nostril guidelines are drawn
5. Start the legs of your DIY Valentine gnome wood carving
Slice off excess wood from the the front and back of the legs/shoes (photo 18). Mark the wood that you will remove to split the legs on the front (photo 19) and the back (photo 20) of your DIY Valentine wood carving. Carefully make a wide V cut to split the legs. Tip: If you are concerned about breaking the tip of your knife, make a series of shallow chip cuts and remove wood in layers.
Turn the carving upside down and mark the wood to remove to shape the shoes (photo 21). Carefully shape the shoes with your knife (photos 22, 23). Use your knife to make stop cuts to create the bottom of the pants all around (completed in photo 23). Also, mark the wood on the front (and back) where you will use small V cuts to carve the heels (photo 23).
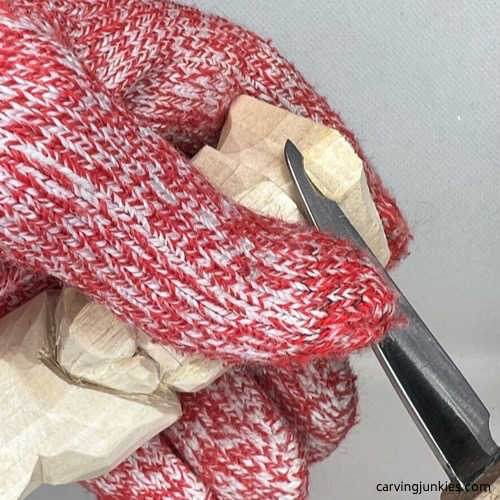 18. Flattening front of shoes
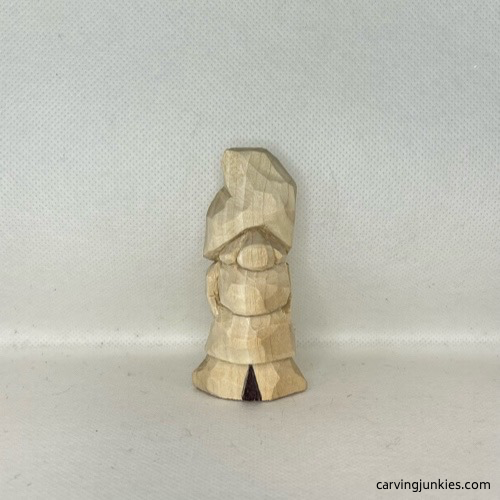 19. Wood is marked for removal on front
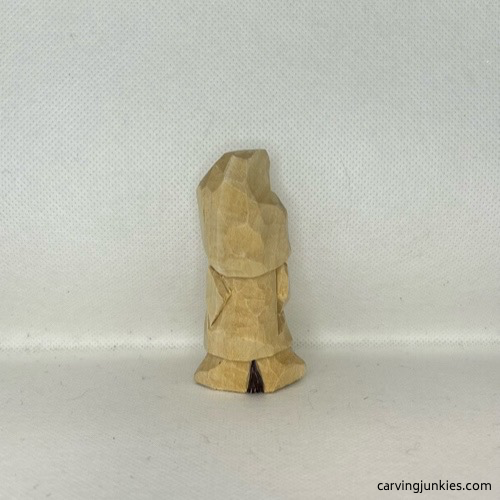 20. Wood is marked for removal on back
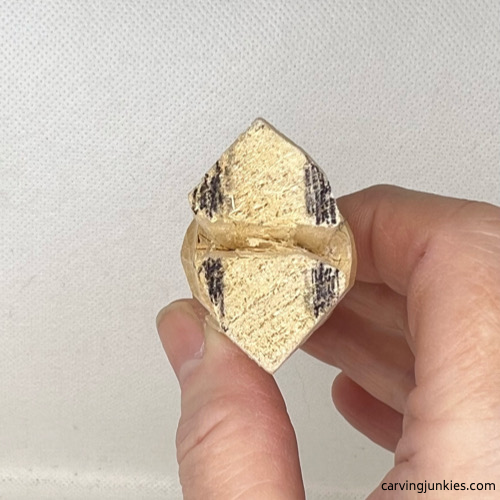 21. Wood is marked for removal to shape the shoes
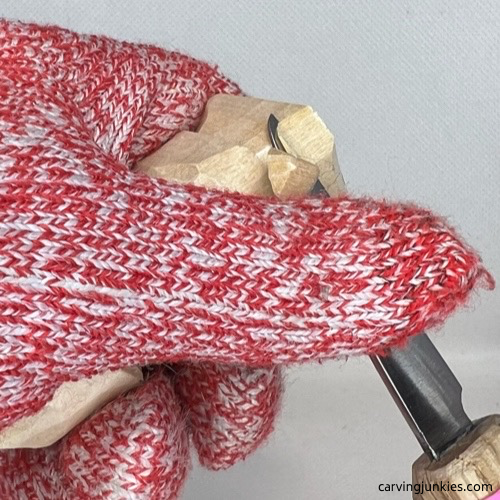 22. Carefully shaping the legs and shoes
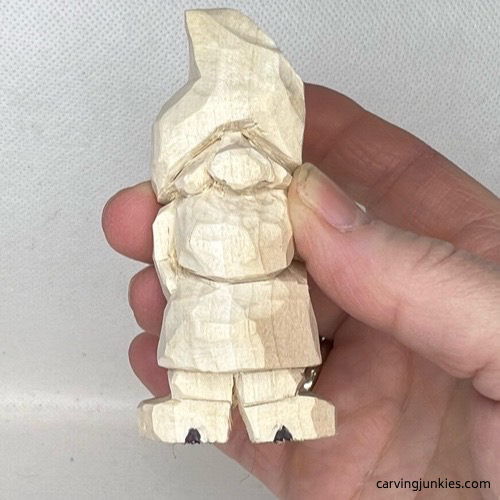 23. Wood is marked for removal to shape heels
6. Finish the details on your DIY Valentine gnome wood carving
Using your knife, make deep stab cuts in the corners of each of the eye sockets (photo 24). You will add small black dots for the eyes during painting.
Add a jacket midline, beard section lines, and sketch lines around the hat where you will separate the wood (all visible in photo 25).
Start to carve the beard with a wide, soft V tool (photo 25). Tip: If you do not have one, make wide V cuts. Use a micro V-tool to carve between the valleys you just carved (or make narrow V cuts with a knife). Hold your knife at an angle to make some V-cuts at the bottom of the beard—all going in one direction—to create a subtle flow of the beard (completed in photo 27).
Use your knife to separate the sections of the hat. You can use stop cuts, or use a V-tool (completed in photo 27). Use stop cuts to separate the sections of the hat, removing wood from underneath. Sketch a heart on the hat and make stop cut or slicing cuts to separate the heart. Use V-cuts to add some wrinkles to the gnome’s jacket on the front and the back (all completed in photos 27-30).
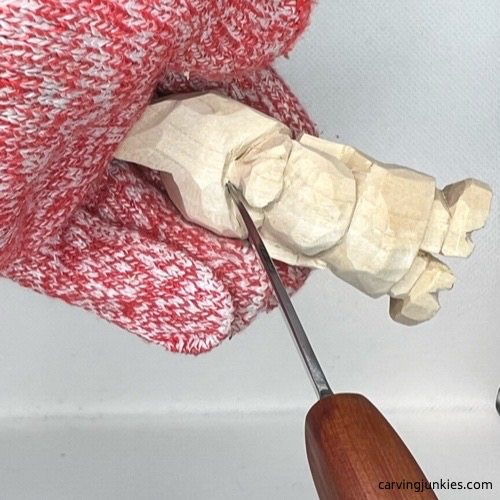 24. Making stab cuts for eyes
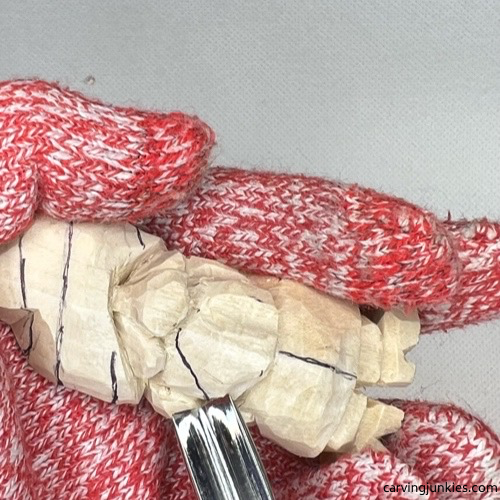 25. Carving the beard
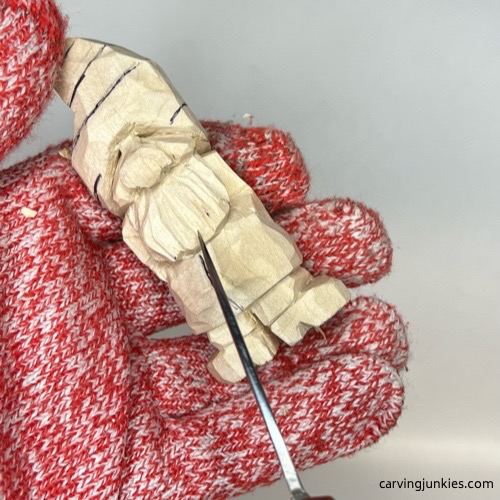 26. Angling knife to carve sections
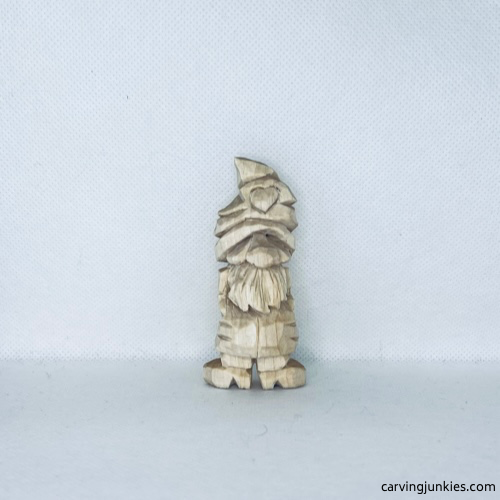 27. Front view of unpainted gnome
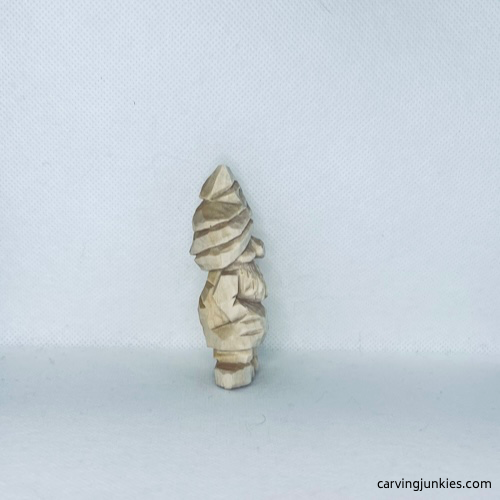 28. Right view of unpainted gnome
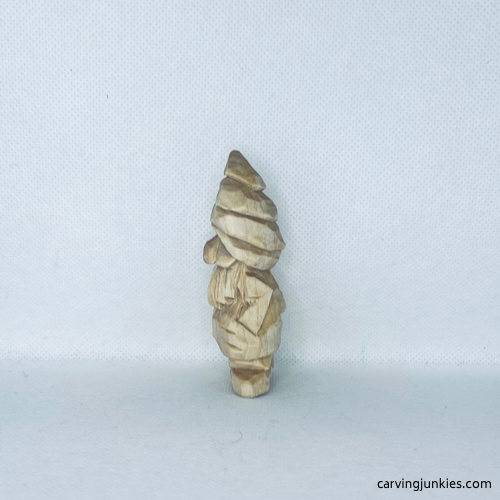 29. Left view of unpainted gnome
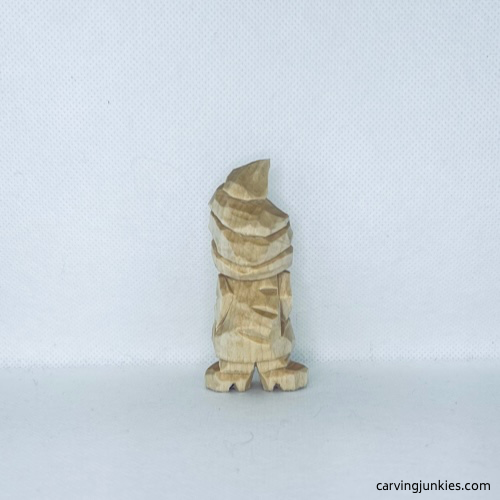 30. Back view of gnome
7. Finish your DIY Valentine gnome wood carving
Read our page about painting a wood carving to learn great tips and techniques, including how to create washes (paint diluted with water). To get this same look use:
- Face and hands: Wash of 3 drops of Ceramcoat tawny light paint mixed with 1 drop of FolkArt terra cotta.
- Heart and beard (first layer): Craftsmart vanilla wash. Let completely dry and highlight beard with Ceramcoat dolphin gray (100% paint) mixed with 1 drop of Ceramcoat black. Let dry and add black specs with toothpick.
- Jacket: Americana antique gold wash. Mix in some burnt umber to highlight the creases.
- Shoes: Ceramcoat black wash.
- Hat: Apple Barrel flamenco red wash (reserve some to highlight cheeks and nose). Add in a little burnt umber to highlight under the cuts.
- Eyes: Apply black dot in each corner around the nose with a toothpick.
- Finish as desired (I simply burnished mine with a brown paper bag).
 31. Front of painted Valentine gnome
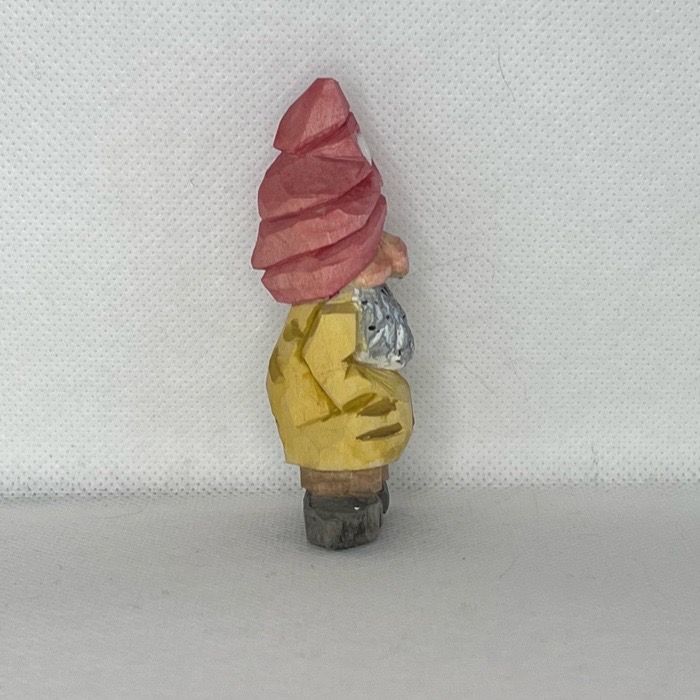 32. Right view of painted Valentine gnome
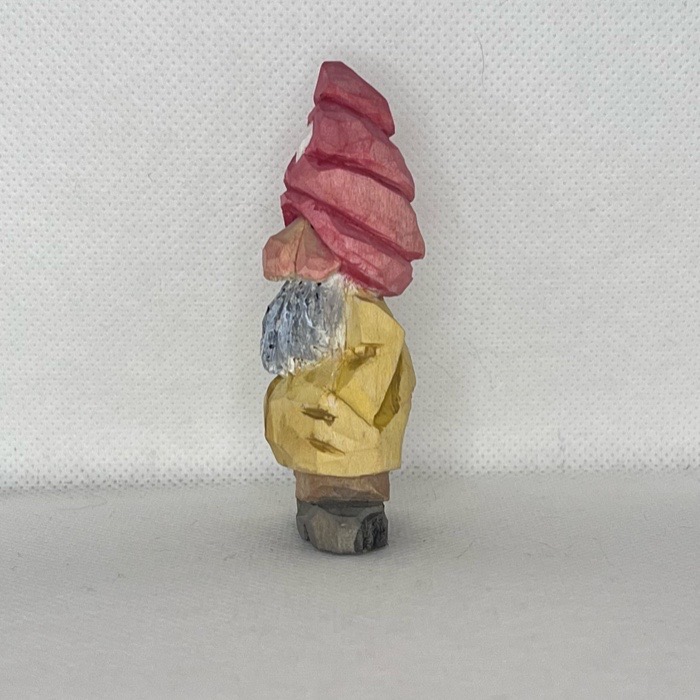 33. Left view of painted Valentine gnome
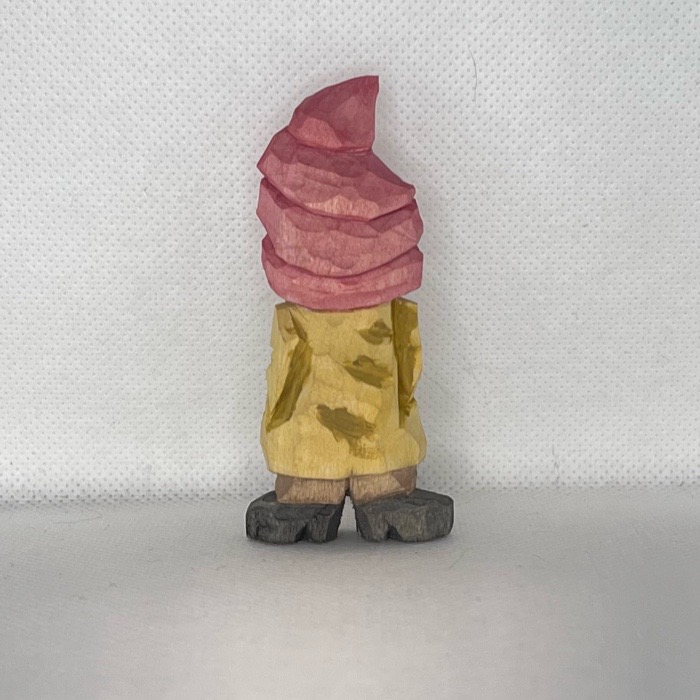 34. Back of painted Valentine gnome
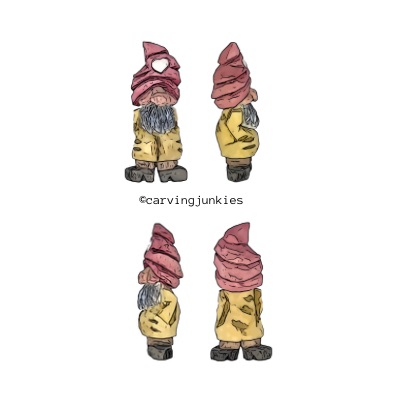
Free valentine gnome wood carving pattern
If you prefer to carve your valentine gnome with a pattern, photocopy it to size to fit your wood block.
Get 50 Wood Carving & Painting Tips
FREE when you join our free Covered in Chips Club
Your information is 100% private and is never shared. Unsubscribe anytime. See our Privacy Policy .
Share page on:
Home | Privacy Policy | Terms of Use | Contact | Sitemap
