- Home
- Things to carve
- Coffee scoop wood carving
Simple coffee scoop wood carving
Carve your own rustic scoop.
LEVEL: EASY
Welcome to this easy-to-follow tutorial for a beautiful coffee scoop wood carving! If you're passionate about woodworking and enjoy creating practical, beautiful items, this tutorial is perfect for you.
Crafting a wooden coffee scoop not only enhances your carving skills but also adds a personal touch to your coffee-making routine. It also makes a wonderful gift.
By the end of this tutorial, you'll have a beautifully carved wooden coffee scoop that is both functional and a testament to your creativity.
Let's dive into the art of coffee scoop wood carving and create something special together!
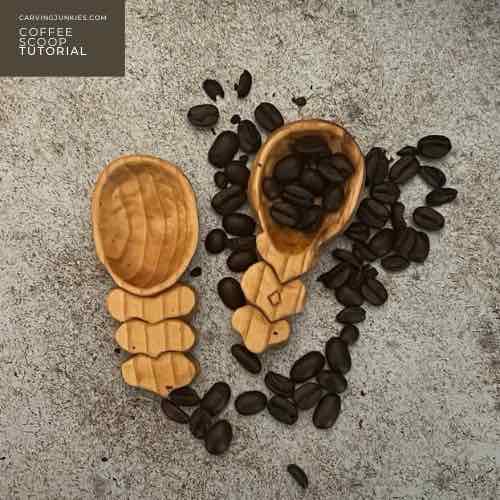
Everything you need for your coffee scoop wood carving
- I used a basswood block that is 1.75 inches by 3.5 inches (4.4 cm x 8.9 cm). The depth of the wood was about 1.5 inches (3.8 cm). I used a scrap piece of wood so the depth was much more than I needed.
- You will need a ruler and something to sketch with, such as a pencil, pen, or magic marker.
- I used a roughout knife and a shorter detail knife to refine the scoop handle. I also used a Mora hook knife to carve out the bowl.
- Always wear a carving glove for safety! If you carve over your lap, protect your leg arteries with something flat and hard.
- I applied food safe walnut oil medium with a brush to finish my coffee scoop. You can use any food-safe oil.
Carving a coffee scoop wood carving tutorial at-a-glance
Take a look at this short video to see the key steps for carving a coffee scoop before you begin carving.
Sketch the design for your coffee scoop wood carving
Sketch the bowl of your coffee scoop, and the handle, which a series of stacked hearts (photo 1).
You can easily adapt the handle if you want something plain. Another option is to sketch three boxes that narrow toward the end. You can also add a little geometric design (see picture above) that you can highlight with kolrosing.
Tip: If you want your bowl to be a symmetrical circle use a compass to make your sketch, or find something in your kitchen that is round, and trace your bowl.
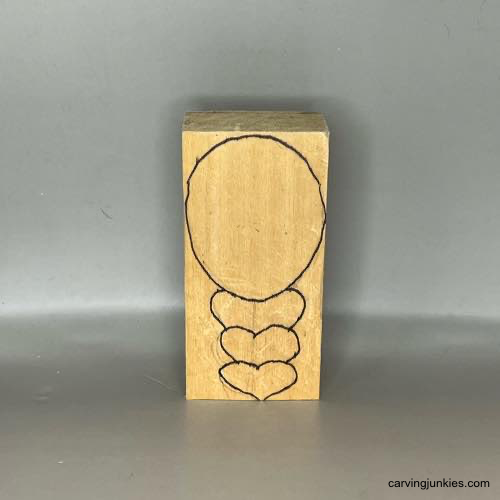 1. Guidelines are sketched
Use a roughout knife (or another sturdy knife with a long blade) to roughout the shape of your coffee scoop. I like to start removing wood from the top corners (photo 2).
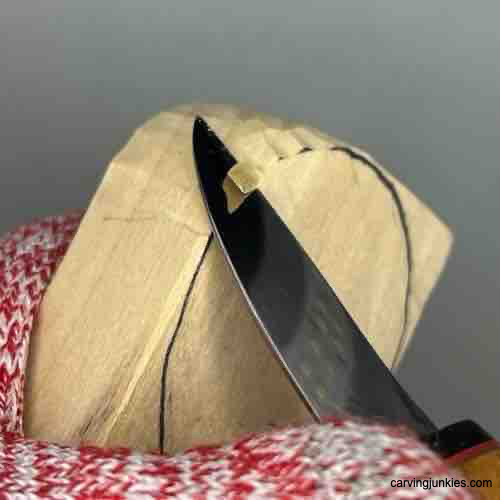 2. Roughing out the bowl
Use a deep V-cut to start to remove wood directly above the coffee scoop handle (photo 3). Continue your V-cuts across to the back of the coffee scoop (photo 4).
Rough out the handle of your coffee scoop (photo 5) and shape the hearts (completed in photo 6).
Sketch the inner rim of the coffee scoop bowl (photo 6). Mine is about a 1/4 inch (0.6 cm) wide.
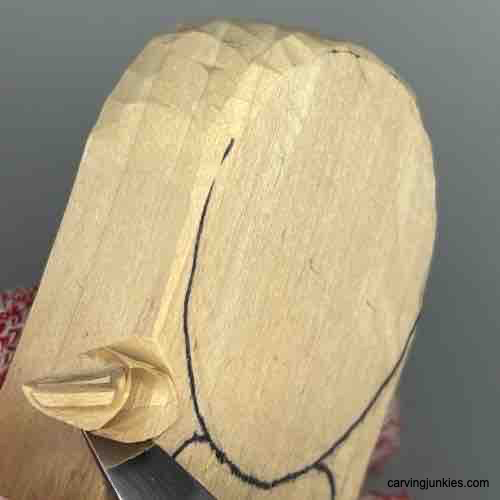 3. Making deep V-cut
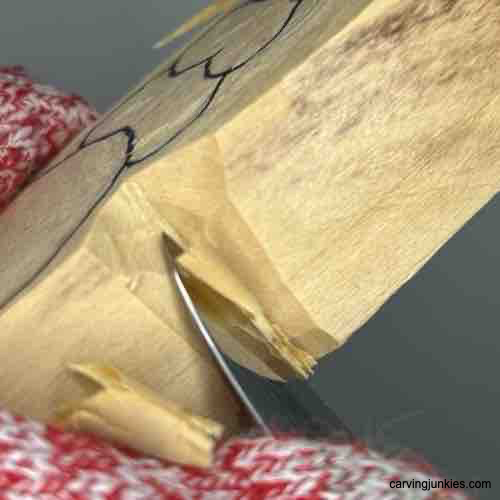 4. Extending V-cuts
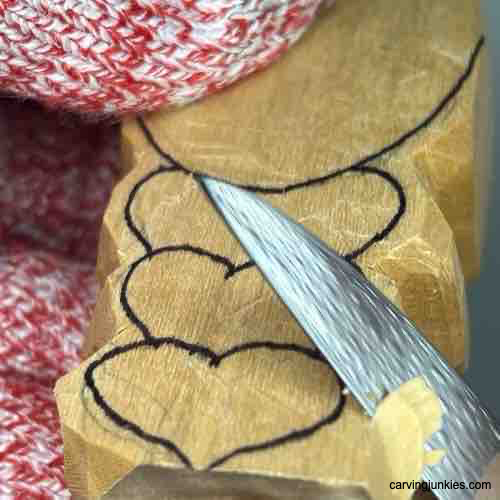 5. Rounding out handle
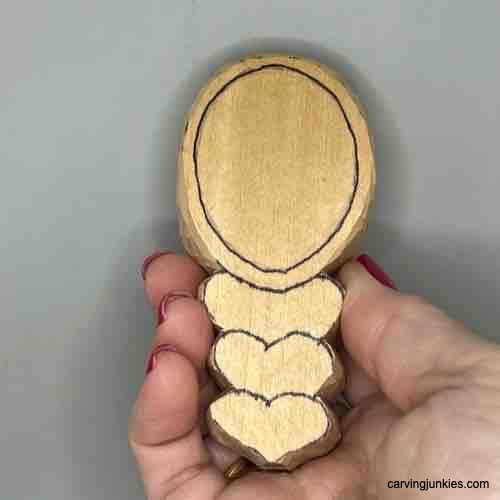 6. Rim is sketched
Carve the bowl of your coffee scoop
Use your hook knife to remove wood from the bowl (photo 7). Tip: Practice on a piece of scrap wood if you have never used a hook knife. It takes a little practice to get the hang of it. You can see in photo 7 I've stopped about half way into the bowl because I need to remove the rest of the wood from the opposite direction to avoid grain issues.
Keep removing wood until your bowl is uniform (see photo 8). Use your knife to refine the inner rim of your bowl, but be careful here. You will remove more wood and refine the back of the bowl later.
Tip: Continually check the thickness of the bowl as you are carving by placing your thumb on the top of the bowl, and your index finder under the bowl (see photo 12). Keep your bowl a little thicker than normal if this is your first scoop. It's easy to remove too much wood and poke a hole in the bowl. But don't give up! By my third coffee scoop wood carving, I was able to carve a nice, thin bowl. :)
Separate both the rim from the handle and the hearts (photo 8). You can make stop cuts, removing wood from underneath. You can also use a paring cut, or hold your knife like a pencil to make your fist cut, and make a second slicing cut.
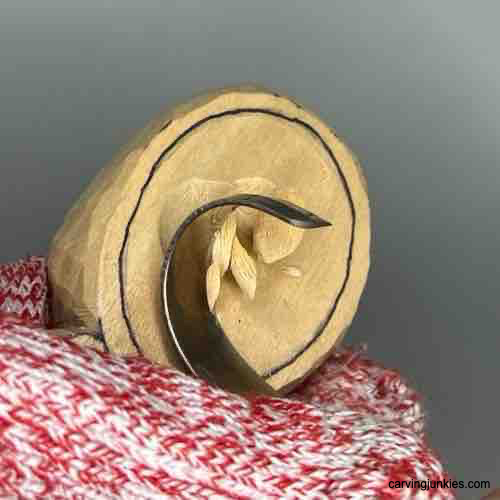 7. Carving the bowl
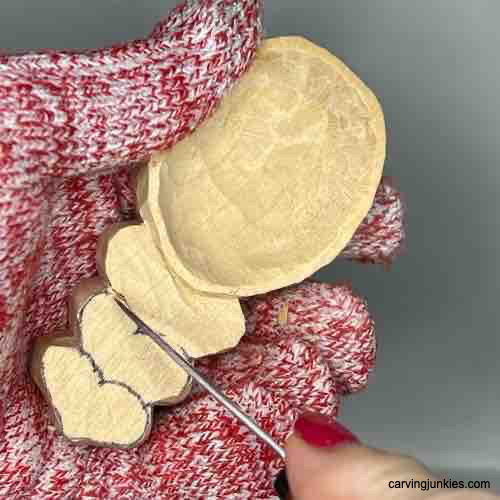 8. Separating the hearts
Refine the handle on your coffee scoop
Once the hearts are separated, you can further shape and reduce wood off the top of the coffee scoop handle (photo 9).
Keep removing wood off each heart, angling your handle to be lower in height at the end (photo 10).
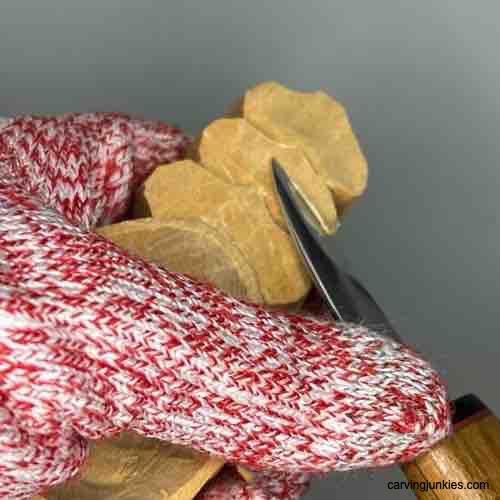 9. Shaping handle
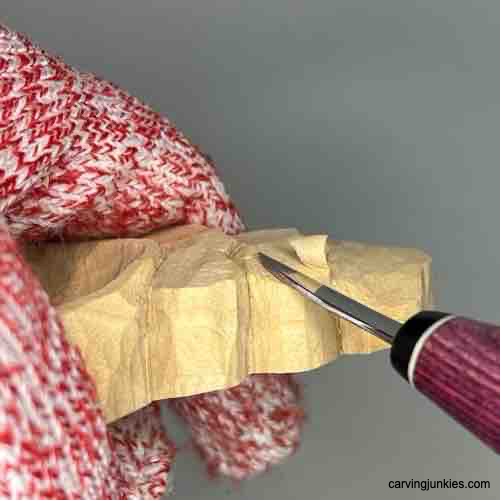 10. Angling the handle
Refine the outer bowl of your coffee scoop
Use your knife to shape the outer rim of the coffee scoop (photo 11) and round the outer bottom of the bowl (photo 12). Continue to shape and remove wood, periodically checking the thickness of your scoop with your fingers (photo 13) to gauge where you need to remove more wood.
Tip: Go slow and be careful not to remove too much wood at one time. You may run into grain issues on the sides of the bowl and will need to rotate your piece.
Once the outer bowl is shaped, further narrow the bottom side of the handle of your coffee scoop (photo 14). Also, use V-cuts to carve the neck of the scoop (photo 15).
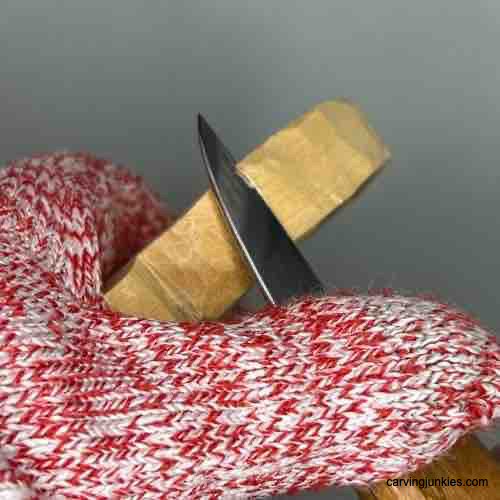 11. Shaping the outer bowl
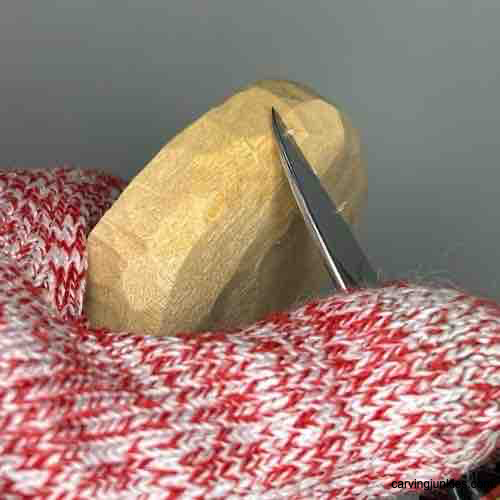 12. Rounding the bottom
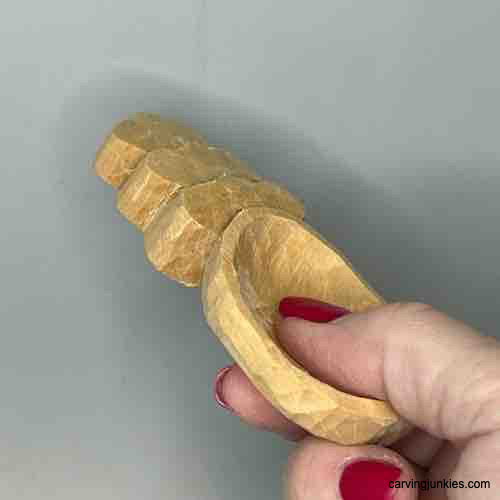 13. Checking the thickness
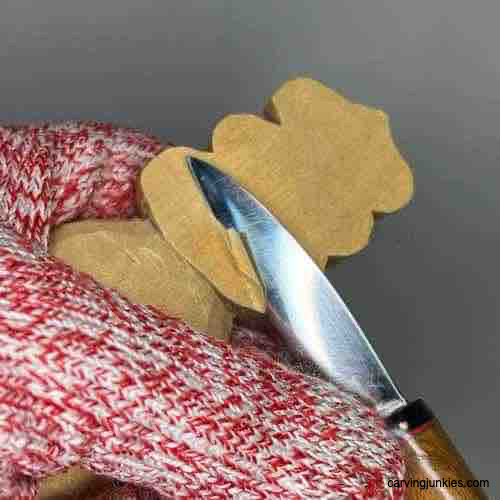 14. Carving the back
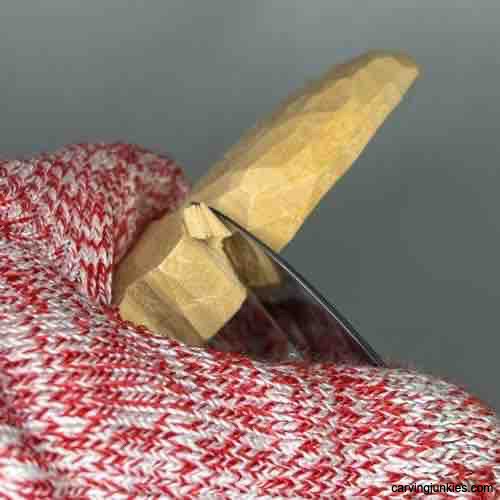 15. Carving the neck
Finalize your coffee scoop wood carving
Use a carving knife to refine the final shape of your coffee scoop (completed in photos 16-18).
I used my hook knife to thin the bowl a bit more. When you are happy with your coffee scoop wood carving, use a food safe finish to seal and protect your carving.
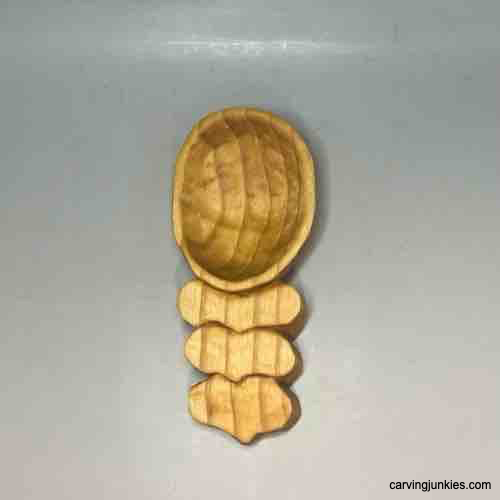 16. Top view of scoop
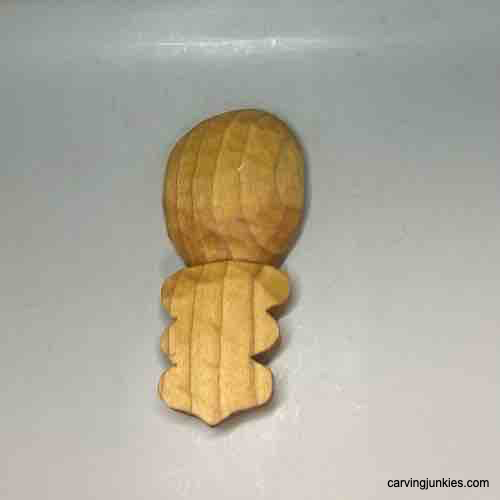 17. Back view of scoop
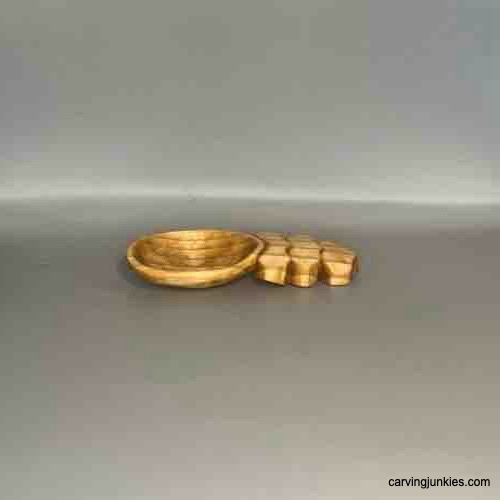 18. Side view of scoop
Coffee scoop wood carving tutorial summary
- This is a fun and easy project that you can easily carry with you.
- Keep your first coffee-scoop bowl a little thick until you get the hang of using a hook knife.
- Take your time as you shape and refine your scoop.
- Use a food safe finish to seal your scoop.
Get 50 Wood Carving & Painting Tips
FREE when you join our free Covered in Chips Club
Your information is 100% private and is never shared. Unsubscribe anytime. See our Privacy Policy .
Share page on:
Home | Privacy Policy | Terms of Use | Contact | Sitemap
